How to Repair Small Gelcoat Chips and Scratches
Fill and blend small chips, dings and scratches in your boat's gelcoat with a repair kit so they stop letting water into the fiberglass and look close to new. Also learn to spot damage that is structural and needs a pro.
Time
3 h
Shop would charge
$150-500
Applies to
All engines
Safety first: Gelcoat hardener (catalyst) is a strong chemical that can cause serious eye and skin burns. Wear safety glasses and nitrile gloves, work with good ventilation, and keep acetone away from flames. Wear a dust mask when sanding. If the damage goes through the fiberglass, feels soft, or is below the waterline and leaking, this is not a DIY gelcoat job: keep the boat out of the water or call a marine repair shop. If the boat is taking on water, call USCG on VHF 16 or 911.
Owners often ask
- How do I repair a small chip or crack in my gelcoat?
This guide walks you through it. Still stuck? Ask the AI Mechanic about your engine.
Tools
- Sanding block
- Wet/dry sandpaper (about 220, 400 and 600 grit, plus finer for polishing)
- Small rotary tool with a burr bit, or a putty knife corner or small flat screwdriver
- Plastic spreaders or a small flexible putty knife
- Mixing cups and stir sticks
- Painter's tape
- Spray bottle with water
- Clean rags and microfiber towels
- Nitrile gloves, safety glasses and a dust mask
Parts & supplies
- Gelcoat repair kit (gelcoat paste and hardener/catalyst) matched to your boat's color, or white
- Tint or pigment kit if your boat is not white
- Acetone or a solvent wipe recommended by the kit maker
- Release film (plastic wrap or wax paper) or PVA spray to seal the repair from air
- Rubbing compound and marine wax
Before you start
What gelcoat is: a thin, hard colored layer over the fiberglass. It looks good and protects the fiberglass from water and sun. Chips and deep scratches let water into the laminate below, so they should be sealed even if they look small.
DIY vs. structural, check before you start:
- DIY: surface scratches, scuffs from docks, small chips and dings about the size of a coin or smaller, where the fiberglass underneath is solid.
- Get a pro: cracks that go through to the fiberglass weave, damage you can see light or fibers through, soft or spongy spots when you press, cracks around stress points (cleats, rails, hull-to-deck joint, transom, engine mounts), long or star-shaped cracks with a hard impact behind them, anything below the waterline that leaks, and damage on a cored deck or hull where water may have entered.
Clusters of spider cracks can mean a flexing deck or a wet core underneath, which is a structural issue, not a cosmetic one. Cracks that radiate out from a cleat, stanchion or other loaded hardware usually mean the hardware is not supported well enough. West Marine's advice is to fix that first (often a larger backing plate under the deck), or the new gelcoat will crack again.
Conditions: gelcoat cures best in warm, dry, shaded conditions. Cold, damp or very hot weather can stop it curing properly or make it cure too fast. Follow the temperature range on your kit.
Steps
For a shallow scuff or a scratch you cannot catch with a fingernail, try wet-sanding lightly with 600-grit on a block, then compound and wax. If the mark disappears, you are done. If your fingernail catches in it, it needs filling.
Wash the area with soap and water, rinse and dry fully. Look closely with a light. Press around it. If anything is soft, cracked deeper than the gelcoat, or the fiberglass fibers are broken, stop and call a pro.

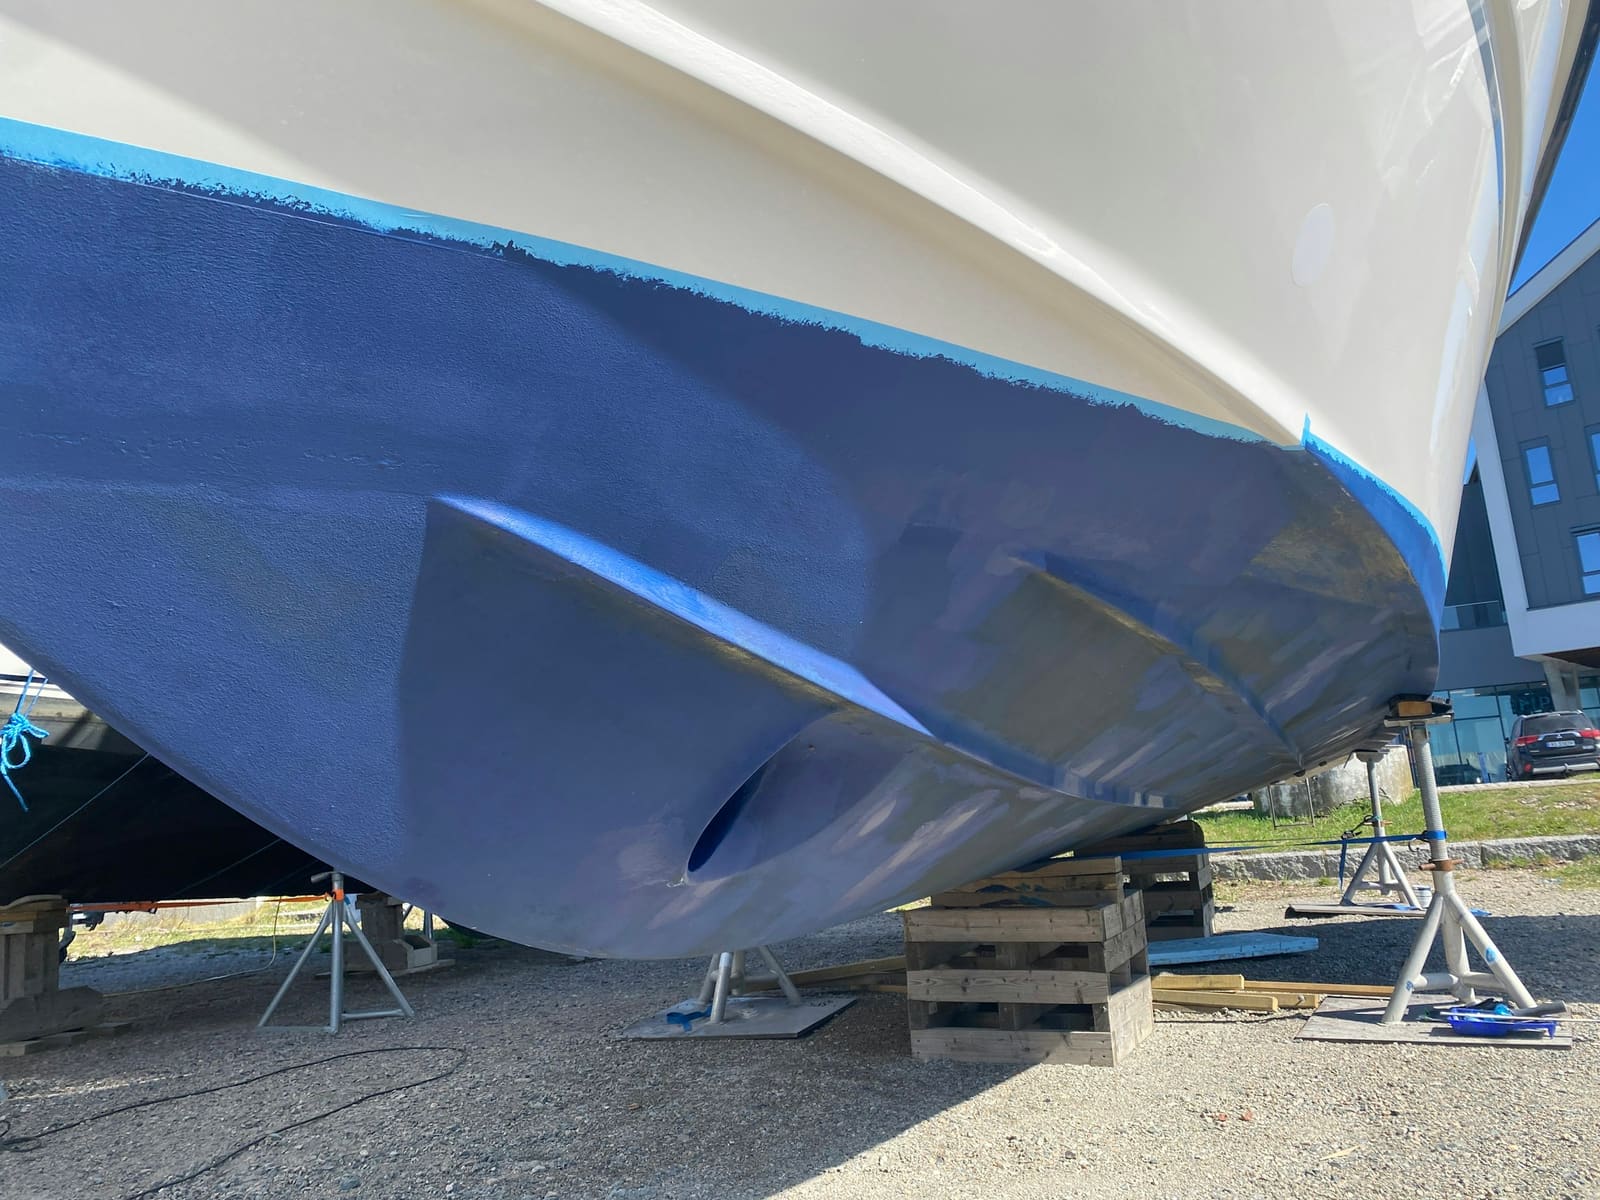
Keels and strakes take the scrapes from beaching and trailering. Check how deep each one goes before you pick a fix. Photo: Jan van der Wolf / Pexels If the hull around the repair is oxidized, compound a small area first. You need to see the true color to match it.
Remove loose, cracked flakes of gelcoat. Shape the damage into a shallow "V" with a putty knife corner, small screwdriver or a rotary tool burr. The V gives the filler something to grip and stops it bridging over air gaps. Lightly scuff the edges with 220-grit.
Wipe the repair with acetone or the solvent the kit recommends to remove wax and oil. Keep solvent off the surrounding finish. Tape around the repair to protect the good gelcoat.
White kits are easy. For colored hulls, add tint to a small amount of paste a tiny bit at a time and mix well. Dab a drop next to the repair to compare in daylight. Add pigment in pinhead-sized amounts; for off-white hulls, tiny touches of yellow and black are usually what it takes. Gelcoat often darkens a little as it cures, so for colored hulls the reliable method is to mix a few small test batches with hardener, let them cure, and compare those in daylight; then mix the real batch with the same pigment ratio. Older boats fade, so "factory" color may not match exactly; get as close as you can. Your builder or a fiberglass supply house may sell matched gelcoat for your model.
Mix only what you will use in a few minutes. Measure the hardener exactly as the kit instructions say and stir thoroughly. Many kits change the amount with the air temperature, so read that table too. Too little and it may never harden. Too much and it can cure too fast, crack or discolor. Do not guess.
Don't set the mixing cup down on the deck or hull. Mixed resin heats up as it cures, and a cup that "kicks" can get hot enough to mark the gelcoat underneath. Keep it on a scrap of cardboard or wood.
Press the paste into the V with a spreader, working out air bubbles. Leave it slightly higher than the surrounding surface, because gelcoat shrinks as it cures. On vertical surfaces, use a thick paste that will not sag.
Most repair gelcoat stays sticky on the surface if it cures exposed to air. Cover the repair with release film, plastic wrap or wax paper, smoothing it flat, or spray it with PVA if your kit uses it. Leave it alone for the full cure time on the kit.
If the surface is still tacky after the cure time, it was most likely exposed to air. Wipe it with acetone, apply a thin fresh layer, seal it properly this time, and let it cure again.
When fully hard, remove the film. Wet-sand with a block, starting with 220 or 320 only if it is very high, then move to 400 and then 600. Keep the paper and surface wet and sand only the repair, not the surrounding gelcoat. Check often with your fingertips; stop as soon as it is flush.
If you see small holes or low spots after sanding, clean the area, fill again with a small amount of paste, seal from air, cure and sand again. Two rounds is normal.
Remove the tape. Use rubbing compound, then polish, to bring the sanded area back to a gloss and blend it into the surrounding finish. Finish with marine wax to protect the repair. Log the repair in BoatMend with a photo so you can watch it over time.
Common mistakes
- Guessing the hardener amount. It is the most common cause of a repair that stays soft or cracks later.
- Leaving the repair open to air. The surface stays tacky and gums up sandpaper. Seal it with film or PVA.
- Filling a shallow round chip without shaping it. The patch pops out later. Open it into a V.
- Sanding the area around the repair. Gelcoat is thin; it is easy to sand through the good finish next to the patch.
- Thinning gelcoat with acetone. Practical Sailor warns it dulls the color and gloss, and a gelcoat maker it interviewed added that acetone also shortens the repair's life, while styrene makes it yellow. Use the reducer the maker sells, if thinning is needed at all.
- Patching over a crack that keeps coming back. That usually means flex or core damage underneath that needs a real repair.
When to call a pro
- The damage goes into or through the fiberglass, or you can see fibers
- The area feels soft, spongy or wet, or water comes out of the damage
- Cracks are at a stress point (cleats, stanchions, rails, transom, hull-to-deck joint) or keep coming back
- Damage is below the waterline or anywhere water may have reached a cored hull or deck
- The repair is large, or on a dark or metallic color where matching is hard
- After a collision, grounding or hard impact: have the hull inspected even if the gelcoat damage looks small
Tips
- Practice a repair on a hidden area or a scrap of fiberglass first.
- Warm, dry, shaded days give the most predictable cure.
- Keep a small white gelcoat kit aboard for quick fixes to dock dings before they let water in. Kits don't last forever: check the date, store them cool and dark, and replace an old kit (or at least its hardener) if a test dab won't harden properly.
- Take a photo of each repair with the date so you can see if cracks return.
Official references
We read these to write this guide. Your engine's own manual always wins.
Safety: BoatMend is for information only and does not replace a certified marine technician. You are responsible for your safety and your boat. Read the full disclaimer.
Last updated 2026-10-25
Related guides

How to Clean, Remove Oxidation and Wax Your Boat's Gelcoat (Plus Pontoon Tubes)
Wash your hull the right way, bring back chalky, faded gelcoat with compound, and seal it with wax so it stays glossy and protected from the sun. Includes how to clean and protect the aluminum tubes on a pontoon boat.

Launch Day and Haul-Out Checklist for Trailer Boats
A step-by-step checklist for getting your boat off the trailer and back on again safely and quickly, from the drain plug and tie-downs to the blower and ramp etiquette. Following it in order prevents the classic mistakes that sink boats and back up the ramp.