Fish Finder and Depth Sounder Transducers: Mounting, Fixing Bad Readings and Cleaning
Where and how to mount a transom-mount transducer so it reads cleanly at speed, how to track down lost bottom readings and noisy screens, how to clean and paint a transducer without ruining it, and why thru-hull transducers are a haul-out job for a pro.
Time
3 h
Shop would charge
$150-600
Applies to
Outboard, Sterndrive (I/O), Gas inboard · Fishing boat, Center console, Bowrider / runabout, Pontoon
Safety first: Every screw hole in the transom below the waterline is a possible leak and a path for water into the transom core, which can rot it. Seal every hole with below-waterline sealant. Never cut a hole in the hull bottom for a thru-hull transducer yourself: that is a haul-out job for a qualified installer. Disconnect power to the fish finder before working on its wiring, and never work on the transom from the water with the engine running or the key in the ignition. If you ever find water coming in around a transducer or its cable, treat it as a leak: see the taking-on-water guide and call TowBoatUS, Sea Tow or the Coast Guard (VHF 16) if you can't stop it.
Owners often ask
- My fish finder loses the bottom reading once I get on plane. How do I fix it?
- Can I paint my transducer with regular bottom paint?
This guide walks you through it. Still stuck? Ask the AI Mechanic about your engine.
Tools
- Drill with the bit size listed in your transducer instructions
- Countersink bit and masking tape
- Screwdrivers
- Straightedge and level
- Caulking gun
- Cable clips or clamps
- Soft cloth, mild detergent and a non-scratch scrub pad
Parts & supplies
- Transducer that matches your fish finder's connector and brand (check before buying)
- Below-waterline marine sealant (polyurethane or polyether type, as your instructions specify)
- Stainless mounting screws (usually supplied)
- Transom cable cover/grommet if the cable passes through the transom
- Plastic mounting block (optional, to avoid drilling the transom)
- Water-based antifouling paint made for transducers (saltwater boats kept in the water)
Before you start
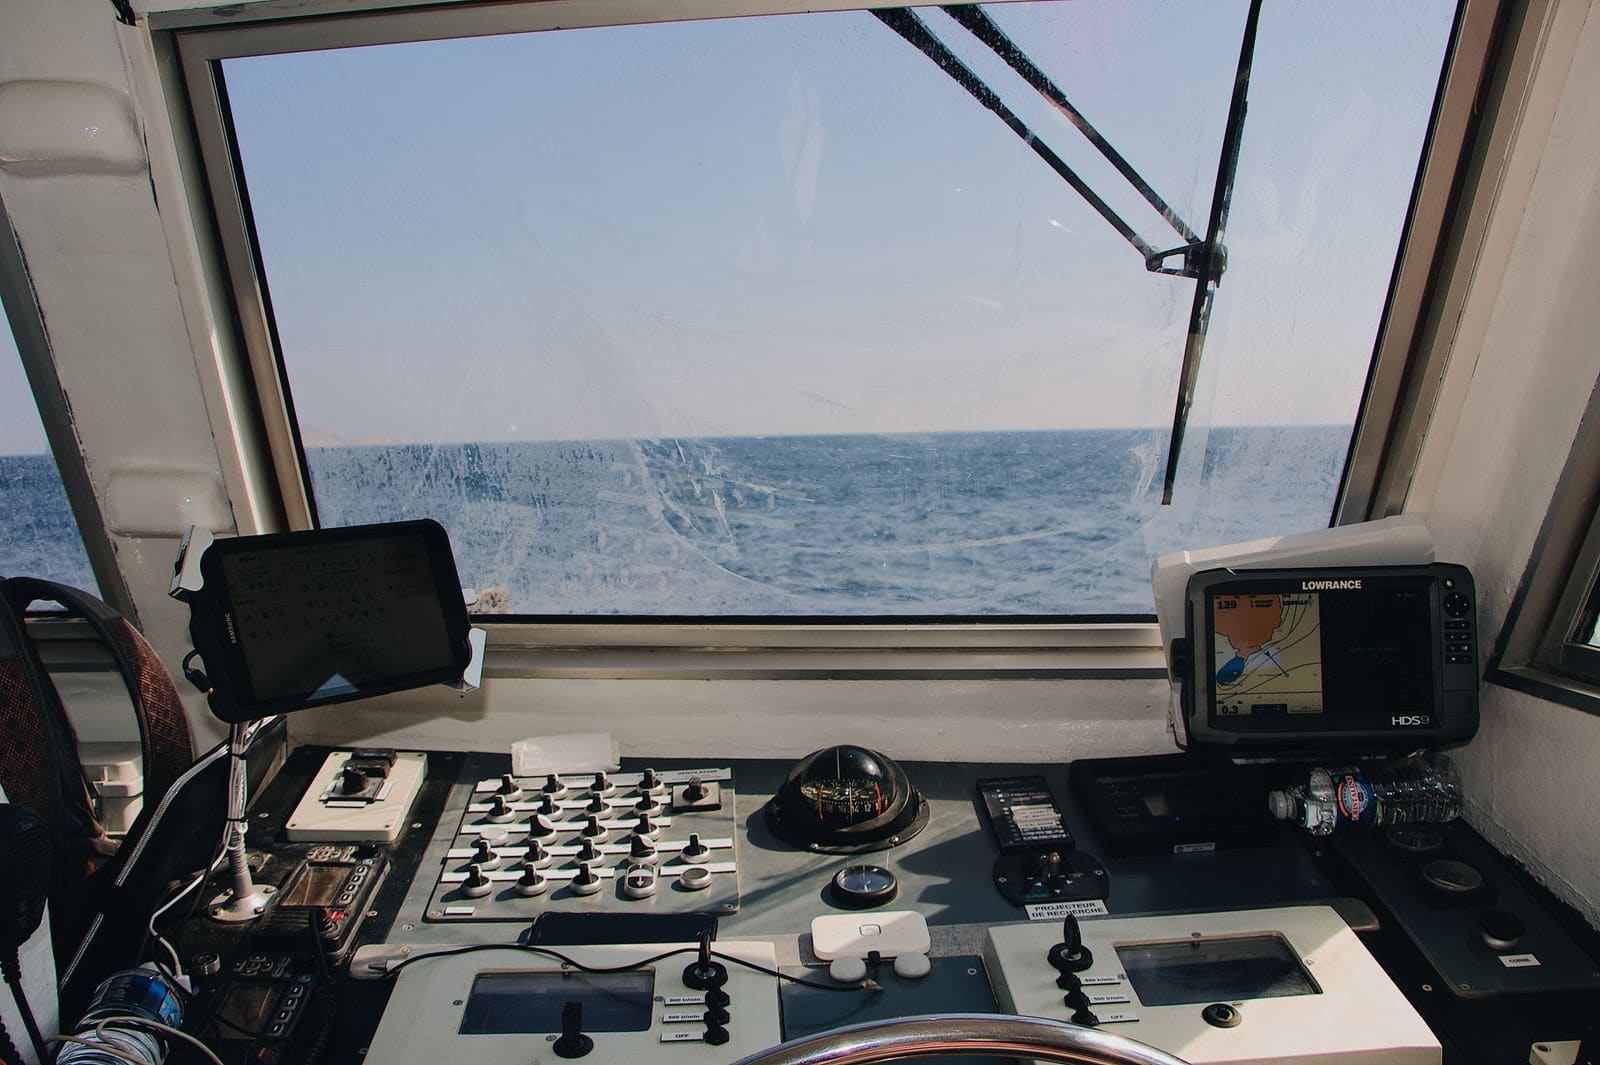
The transducer is the part under the water. It sends sound pulses down and listens for echoes; the screen at the helm only displays what the transducer hears. Most bad readings are a transducer problem, not a display problem.
The three main types:
- Transom-mount: bolted to the back of the boat on a bracket. Cheap and easy to fit, and the most common on outboard and sterndrive boats. Boating Magazine notes the area behind the transom is prone to aeration (bubbles) from water streaming off the hull and from the props, so careful placement matters.
- In-hull (shoot-through): glued inside the hull and "shoots" through solid fiberglass. No holes in the boat. Boating Magazine points out it only works on solid (not cored) fiberglass and can't include speed or water temperature sensors.
- Thru-hull: mounted through a hole in the bottom. The best performance at speed on many larger boats, but installation is a pro job, usually done when the boat is hauled out.
Before buying, make sure the transducer's plug and model match your fish finder; Boating Magazine stresses checking that the connector fits your brand's port.
Steps
Following Airmar's guidance as described by Boating Magazine:
- Single engine: mount on the side where the propeller blades are moving down, which on most single outboards and sterndrives is the starboard side.
- Place it as close to the centerline as you can, but at least 3 inches outside the propeller's swing so the prop's turbulence doesn't hit it.
- Twin engines: mount between the drives.
- Avoid spots directly behind through-hull fittings, water pickups, strakes or anything else on the bottom that churns up bubbles.
Also look at how the boat sits on its trailer: the transducer must not hit a bunk, roller or the trailer frame when you load. On aluminum boats, check that the area behind it is a smooth part of the hull, not a rivet line or keel.
Pontoon boats: there's no flat transom, so the usual spot is a bracket at the back end of the pontoon tube on the console side, which keeps the cable run short. J.D. Power's pontoon guide points to the brackets already on the back of many tubes. Drill only the bracket, never the tube itself, and use stainless hardware. A cable that barely reaches is common on long pontoons; plan the route before mounting rather than cutting and splicing. Keep it clear of livewell pumps and where it would hit trailer bunks.
Before drilling, look inside at the spot you picked: no fuel lines, wiring, livewell plumbing or a hollow area you'd drill into. If your transom is soft or you already suspect rot (see the transom rot guide), fix that first. If you'd rather not drill the transom at all, Boating Magazine suggests a plastic mounting block glued to the hull that the bracket screws into, which is especially handy on aluminum boats.
Most transducers come with a paper template. Tape it to the transom with its bottom reference aligned with the bottom edge of the transom and the template parallel to the waterline (not to a tilted transom edge). Use the hole positions marked for your transom angle; many templates offer two sets.
- Wrap masking tape around the bit to mark the hole depth your instructions give, so you don't drill through.
- Drill square to the transom surface, not level with the ground, so the screw heads sit flat.
- On fiberglass, Boating Magazine suggests running the drill in reverse until you're through the gelcoat, then chamfering each hole lightly with a countersink so the gelcoat doesn't crack.
Fill each hole with below-waterline marine sealant and coat the screws too. Screw the bracket on, but leave the screws snug, not tight, so you can slide it in its slots to set the height. Wipe off excess sealant.
Your transducer's instructions give the exact starting height and angle; follow them. The general rules:
- The face of the transducer should sit slightly below the bottom of the hull so it stays in solid water at speed.
- The bottom of the transducer should run parallel to the water when the boat is at running trim, not just sitting at the dock. Many instructions call for the front to sit slightly higher than the back.
- Too high and it sees bubbles; too low and it throws a "rooster tail" of spray and drag.
Tighten the screws once it's set, then snap the transducer into its bracket.
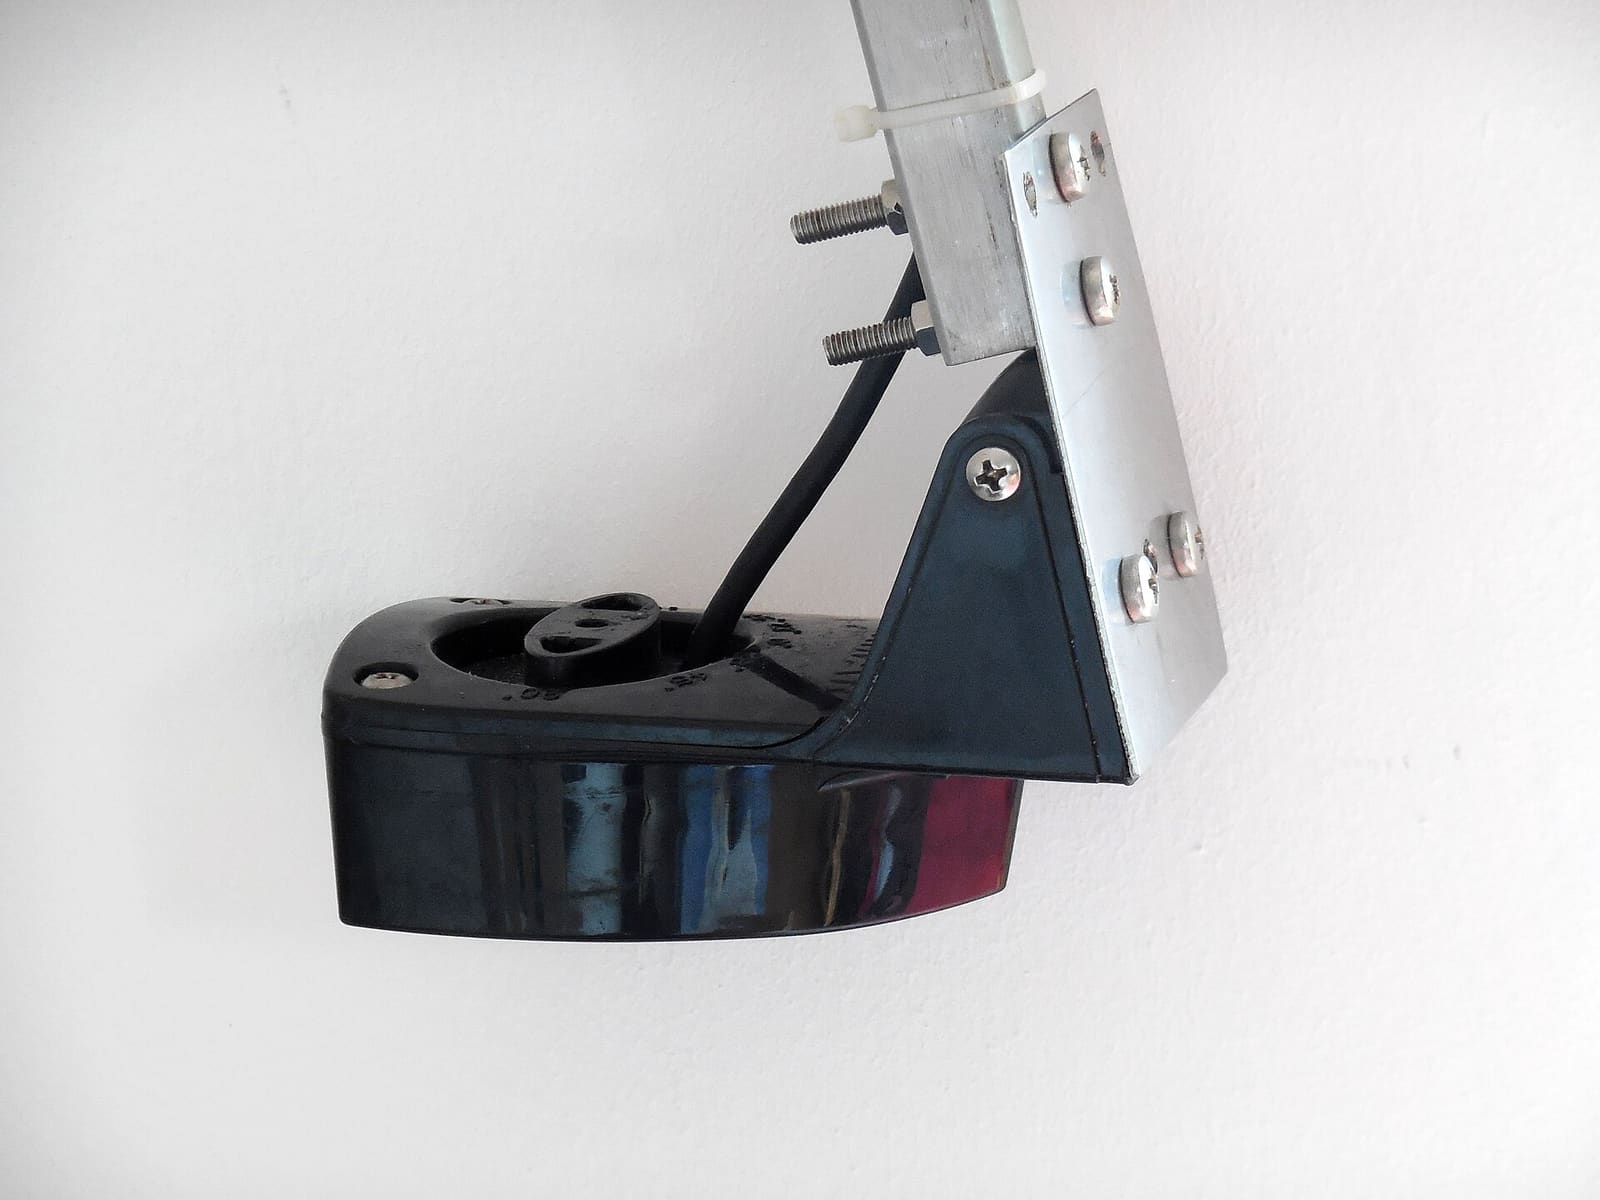
A transom-mount transducer on its pivoting bracket, shown off the boat. The bracket lets it kick up if it hits something. Photo: Markus Bärlocher / Wikimedia Commons · CC0 1.0 - Run the cable up and over the transom if you can, so there's no new hole.
- If it must go through the transom, drill the hole well above the waterline and use the cable cover or grommet supplied, bedded in sealant.
- Leave a small drip loop and enough slack for the bracket to kick up.
- Clamp the cable every so often along its run. Keep it away from engine wiring, VHF coax and power cables where you can, and don't cut and splice it unless the maker allows it.
- Coil extra cable neatly near the display; don't shorten it.
If it has a speed paddlewheel, Boating Magazine suggests spinning it after connecting to confirm the speed reads, and checking that the temperature reading is close to the air temperature. On the water, check the depth reading at idle, then at increasing speeds. Note the speed at which you lose bottom.
Losing the bottom or seeing a screen full of "snow" as you speed up almost always means air bubbles are passing under the transducer.
- Settings first: try manual depth range and gain instead of auto. If the reading comes back, the transducer may be fine and the auto settings were confused. If your unit has more than one frequency or a CHIRP option, try each one.
- Connection: an intermittent plug at the display gives the same dropouts as bubbles. Check it is fully seated with the locking ring tight, and test at idle: dropouts at rest point to wiring, dropouts only at speed point to bubbles.
- Growth or damage: a dirty, scratched or cracked face reads poorly at any speed. Clean it (step 11).
- Height: lower the transducer in small steps (an eighth of an inch or so at a time) and retest. Stay within the range your instructions allow.
- Angle: adjust the running angle slightly so the face meets the water flat at cruising trim.
- Location: if nothing works, something upstream (a strake, through-hull or the prop) may be throwing bubbles. Moving the transducer, adding an in-hull unit (solid fiberglass only), or a thru-hull installed by a pro may be the real fix.
Some boats will lose bottom at high speed no matter what; a transom mount that reads well at fishing and cruising speeds is often as good as it gets.
- No reading at all: check the cable connection at the display (pins clean and dry, plug fully seated and locked), the display's power and fuse, and the cable for cuts or crushing along its run.
- Display flashing zeros or dashes, often with the alarm beeping nonstop: owners often blame the depth alarm settings, but this usually means the unit isn't receiving a usable signal at all. Work through the connector, the cable and the display's 12-volt power and ground first. On an in-hull (shoot-through) transducer, check that it hasn't shifted or lost its bond to the hull.
- Reads fine going forward, garbage in reverse: normal. Prop wash in reverse sends bubbles straight past a transom transducer.
- Side-imaging dark on one side: a hull strake, keel or chine can shadow one side of a side-imaging transducer. Moving it is a trade-off (more prop wash, risk of disturbing flow to the prop if mounted ahead of the lower unit), so read the transducer maker's mounting guide before you drill new holes.
- Interference or lines on the screen when the engine runs: route the transducer cable away from engine and ignition wiring, check the display's power and ground connections (see the electrical corrosion guide), and ask whether two sonars on the same boat need different frequencies.
- Shallow or false readings: confirm the depth offset or keel offset setting in the menu; a wrong offset shifts every reading.
- Speed reads zero: the paddlewheel is fouled with weed or growth; clean it and check it spins freely.
Raymarine notes marine growth can build up on a transducer face and hurt performance within weeks. To clean:
- Start with a soft cloth and mild household detergent.
- For heavier growth, use a non-scratch or green scrub pad with detergent; for severe buildup, fine wet-and-dry sandpaper used gently with detergent.
- Never use harsh solvents such as acetone, and don't scratch the face; both damage the transducer.
On a boat that stays in salt water, Raymarine recommends a thin coat of water-based antifouling paint made for transducers, renewed every six months or each season. Raymarine also warns:
- Never use ketone-based paint, which can attack the plastic.
- Never spray-paint a transducer: spraying traps tiny air bubbles that block the sound.
- Transducers with a built-in temperature sensor may not read correctly if painted, and some "smart" transducers limit where paint can go. Check yours.
Don't use ordinary bottom paint on it, and don't bother painting a transducer on a trailer boat that's rinsed after every trip.
Installing, replacing or removing a thru-hull transducer means a large hole below the waterline, usually a fairing block to aim it straight down, proper sealing of any hull core, and a correct backing and nut. A mistake can sink the boat. Have it done by a qualified installer, usually at haul-out. In between, you can still:
- Inspect the inside nut and fitting for weeping, cracks or corrosion every time you're in the bilge (see the seacocks and through-hulls guide).
- Clean and paint the face during haul-out as in steps 11 and 12.
Common mistakes
- Mounting the transducer directly behind the propeller, a strake or a through-hull.
- Mounting it too high so it sits in bubbles once the boat is on plane.
- Setting the angle at the dock instead of at running trim.
- Drilling through the transom without sealing the holes, letting water into the core.
- Cutting and splicing the cable to shorten it.
- Spray-painting the transducer, or using regular bottom paint or a ketone-based paint.
- Scraping off growth with a metal scraper or cleaning with acetone.
- Mounting it where it hits a trailer bunk or roller every time the boat is loaded.
When to call a pro
- Any thru-hull transducer installation, removal or replacement
- Water weeping around a thru-hull transducer nut, or any leak you can't stop (call TowBoatUS, Sea Tow or the Coast Guard on VHF 16 if water is coming in)
- A soft, wet or rotten transom where you planned to mount
- In-hull mounting on a cored hull
- Networked sonar systems with several displays and transducers, or interference you can't trace
- Persistent loss of bottom after you've tried height, angle and settings
Tips
- Take a photo of the transducer's height and angle once it reads well, so you can reset it if it gets knocked.
- Keep a record of the transducer model and part number in your BoatMend boat profile for replacements.
- A kick-up bracket that pops up after a hit has done its job; reset it and check the bracket for cracks.
- If you also have a trolling motor transducer, give each its own clear cable route to the display.
- Check the transducer and its screws every time you wash the boat; catching a loose screw early prevents a leak.
Official references
We read these to write this guide. Your engine's own manual always wins.
Safety: BoatMend is for information only and does not replace a certified marine technician. You are responsible for your safety and your boat. Read the full disclaimer.
Last updated 2026-10-24
Related guides
How to Wire a 12, 24 or 36-Volt Trolling Motor and Charge Its Batteries
Set up the battery bank for your electric trolling motor the right way: matched deep-cycle batteries in series or parallel, a circuit breaker sized from the motor maker's chart, a proper plug, and a multi-bank charger that keeps every battery healthy. High-current wiring that runs long distances or ties into other systems is a job for a marine electrician.

How to Find and Fix Corroded Electrical Connections on a Boat
Track down the green crust and loose terminals behind flickering lights, dead gauges and slow cranking with a simple voltage-drop test, then remake the connection the marine way: tinned wire, a proper crimp, adhesive-lined heat shrink and a protective coating.
How to Check a Boat for Transom and Stringer Rot
Many older fiberglass boats have wood inside the transom, stringers and deck, and water that gets in slowly rots it. Learn the tap test, the flex test, how to read a moisture meter and the other warning signs, and why a rotten transom or stringer is a structural job for a pro, not a weekend patch.
How to Inspect and Exercise Seacocks, Through-Hulls and Hose Clamps
Check every hole in your hull below the waterline, work each seacock open and closed, and inspect the hoses and clamps attached to them. A single failed fitting or hose is one of the most common reasons boats sink at the dock.

Bottom Paint (Antifouling): Do You Need It, Which Type, and How to Repaint
Learn whether your boat needs antifouling bottom paint, how ablative and hard paints differ, and how to prep and roll on a fresh coat safely, without poisoning yourself or the water and without ruining an aluminum hull.
How to Repair Small Gelcoat Chips and Scratches
Fill and blend small chips, dings and scratches in your boat's gelcoat with a repair kit so they stop letting water into the fiberglass and look close to new. Also learn to spot damage that is structural and needs a pro.
What to Do When Your Boat Is Taking On Water: Emergency Steps and Prevention
A step-by-step emergency plan for water coming into the boat - life jackets on, call for help early on VHF 16, find and slow the leak, pump, and head for shallow water if needed - plus the maintenance checklist that prevents most sinkings.

Launch Day and Haul-Out Checklist for Trailer Boats
A step-by-step checklist for getting your boat off the trailer and back on again safely and quickly, from the drain plug and tie-downs to the blower and ramp etiquette. Following it in order prevents the classic mistakes that sink boats and back up the ramp.