Hose Clamps on Boats: Choosing, Installing and Inspecting Them
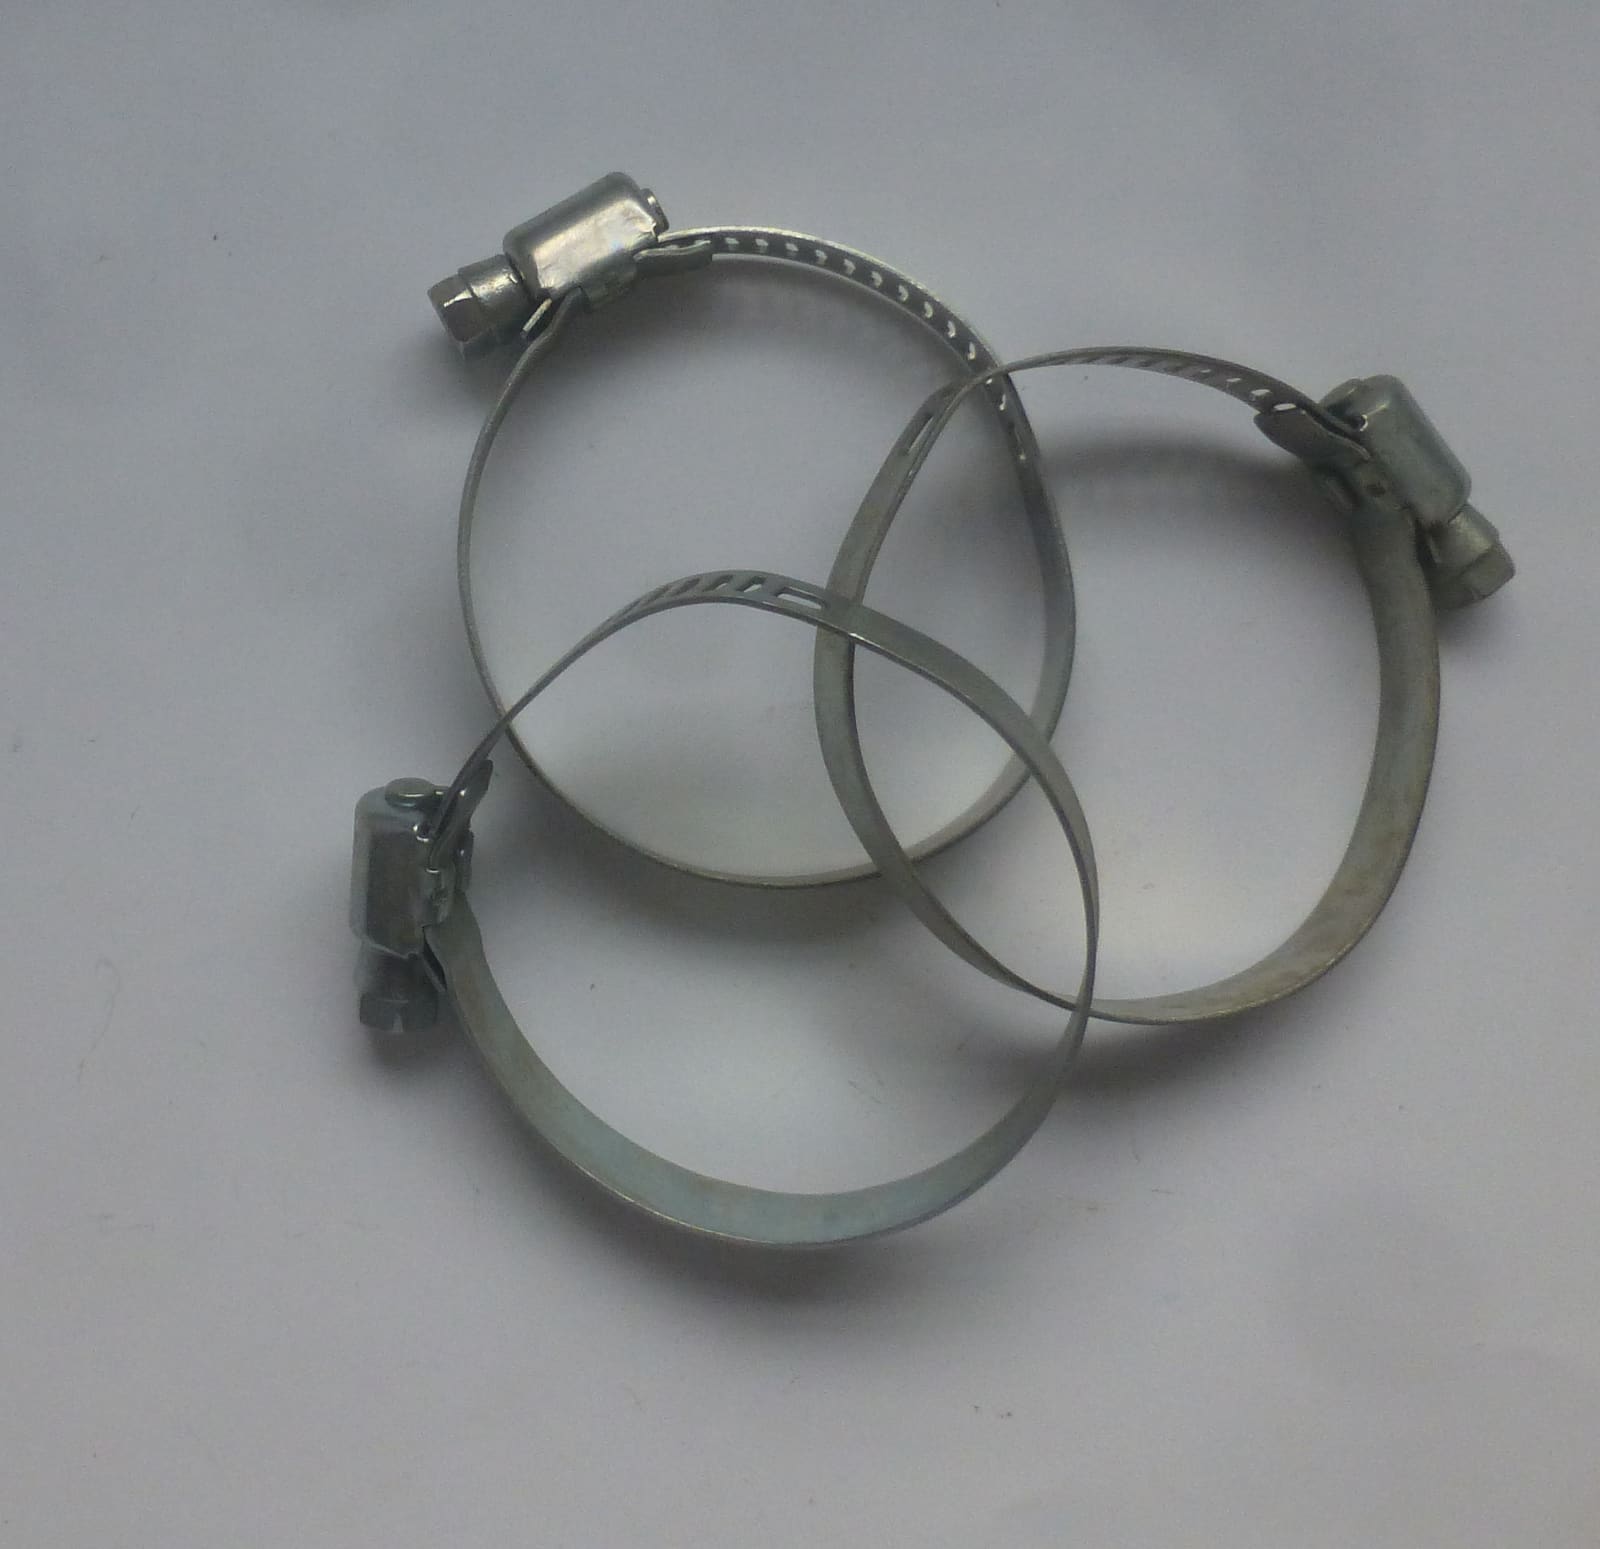
A rusted or wrong hose clamp can sink a boat at the dock, leak fuel or let exhaust into the cabin. Learn which clamps belong on a boat (all-316 stainless, embossed band, T-bolt where needed), when to double them, how tight is tight enough, and how to find the ones that are about to fail.
Time
1 h
Shop would charge
$100-300
Applies to
All engines
Safety first: Never remove or loosen a clamp on a hose connected to a through-hull below the waterline while the boat is in the water unless the seacock is closed and works, and never on a fitting without a seacock. If a hose pops off and water pours in, close the seacock, push the hose back or plug the hole, run the pumps and call USCG on VHF 16 or 911 and your tow service. Work on fuel line clamps only with the engine off and cool, no smoking, and ventilation running; if you smell fuel, stop and get a pro.
Owners often ask
- Do I really need two hose clamps on every through-hull, and how tight should they be?
- Are the stainless hose clamps from the auto parts store OK on my boat?
This guide walks you through it. Still stuck? Ask the AI Mechanic about your engine.
Tools
- Nut drivers in the common clamp sizes (and a flat screwdriver)
- Small inspection mirror and a bright flashlight or headlamp
- A small magnet
- Socket set (for T-bolt clamps only)
- Rags and a marker or paint pen
Parts & supplies
- Marine hose clamps made entirely of 316 stainless (band, screw and housing), embossed (non-perforated) band
- T-bolt clamps for large exhaust and sanitation hoses, if fitted
- A small kit of spare clamps in your boat's common sizes
Before you start
Why this matters. BoatUS insurance files show more than 40% of sinkings happen while the boat is tied to the dock, and many of those trace to a hose that came off a below-waterline fitting. In one claim, a cruiser sank at the dock because a clamp on a sterndrive shift bellows had rusted in half on the side opposite the screw, where nobody could see it. BoatUS also has claims for exhaust leaks and fuel spills from failed clamps.
What makes a good marine clamp:
- All 316 stainless. BoatUS and Practical Sailor both say 316 is the best common grade for boats because it contains molybdenum. Cheaper clamps use 304, which corrodes faster. Automotive and hardware-store clamps often have zinc-plated or plain steel parts.
- Stainless screw and housing too. A stainless band with a cheap steel screw is a rusty failure waiting to happen. BoatUS says to reject them.
- Embossed (solid) band, not perforated. The slots in perforated bands weaken the clamp, give corrosion a place to start, and can bite into the hose. The ABA and AWAB embossed-band clamps were Practical Sailor's top picks and showed no tarnish in its long-term test.
- Rolled or rounded edges that won't cut into the hose.
Worm clamp vs T-bolt clamp. Most hoses use worm-drive clamps tightened with a nut driver. T-bolt clamps use a threaded stud and nut and are stronger; they come in larger sizes and Practical Sailor says they suit big hoses such as the head discharge and exhaust systems.
The double-clamp rule, accurately. BoatUS explains that the Coast Guard doesn't require double clamps on recreational boats, and ABYC standards call for them only on exhaust systems and fuel fill hoses. Those are minimums. BoatUS recommends two clamps on below-waterline fittings, including stuffing boxes, whenever the fitting is long enough to take both without crushing or cutting the hose. If it isn't, use one high-quality clamp of the right size or have a longer fitting installed.
Steps
Go through the boat with a flashlight and note each hose: raw-water intake and engine cooling, exhaust, fuel fill, vent and supply, head and holding tank, sinks, cockpit scuppers, livewell and washdown, bilge pump discharge, sterndrive bellows and stuffing box. Put the below-waterline ones at the top of the list. BoatUS has a claim where a sportfishing boat sank because a corroded clamp on a cockpit scupper hose let go, so don't skip drains just above the waterline.
Hold a small magnet against the band, the screw and the housing of each clamp. Good 316 stainless barely reacts. If the screw or housing grabs the magnet hard, the clamp has non-stainless or low-grade parts and should be replaced. Practical Sailor found magnetic parts were usually the first to corrode. A magnet can't prove a clamp is 316, though: look for "316" stamped on the band and buy known marine brands.
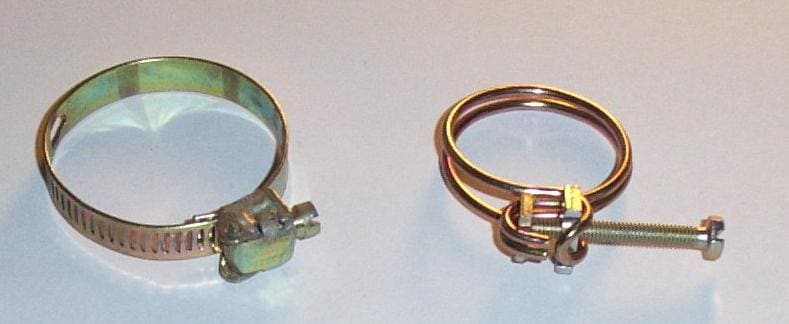
Hardware-store styles: a zinc-plated clamp with a slotted band (left) and a wire clamp (right). Neither belongs on a boat hose. Photo: Staubkörnchen / Wikimedia Commons · CC BY-SA 3.0 BoatUS says corrosion usually starts on the bottom of the clamp, where water collects and where you can't see from above. Use a mirror and a light. Even all-stainless clamps aren't immune: surveyor Steve D'Antonio, writing in Cruising World, describes crevice corrosion in stagnant, oxygen-starved bilge water eating the band on the hidden side, especially on stuffing box hoses, so a clamp can look perfect from above and simply fall off when tugged. He also advises keeping T-bolt clamps out of areas that stay continuously wet for the same reason. Replace any clamp with:
- Rust stains, pitting or flaking on the band or screw
- A band that's thin, cracked or broken
- A stripped screw that spins without tightening
- A long sharp tail sticking out, or a kinked or bent band
BoatUS suggests pulling on hoses to find clamps that are ready to fail. Do this on below-waterline hoses only with the boat hauled out, or with the seacock closed. A hose that moves on its fitting needs attention now.
Each clamp is marked with a range of diameters. Pick one where the hose diameter falls in the middle of the range. BoatUS warns a clamp that's too big leaves a long, sharp tail and can tighten into an oval that grips poorly; one that's too small may barely catch on the screw threads and slip under load.
- Slide the clamp onto the hose before you push the hose onto the fitting.
- Push the hose fully onto the barbed fitting (hose tail), then slide the clamp over the part of the hose that sits on the barbs.
- Leave about 1/4 inch of hose showing between the clamp and the hose end (BoatUS gives 1/4 to 3/8 inch).
- The band must sit completely on the barb, never hanging over the end of the fitting where it can cut the hose.
- Never clamp a hose over a threaded fitting (liquid or exhaust can leak along the threads) or a plain smooth pipe (the hose can creep off). Use a proper hose barb.
If the barb is long enough, add a second clamp. BoatUS's surveyor advice: keep at least 1/4 inch between them (1/2 inch if you can) and put the screws on opposite sides of the hose so they don't line up. If there isn't room for both without one hanging off the barb, don't force it.
Use a nut driver, not a ratchet. BoatUS reports an informal test where an average person tightening by hand with a nut driver came close to the maker's spec for common sizes, while a small ratchet easily overtightened the clamp. Tighten until the hose is snug and the clamp no longer turns on the hose; you should see the hose compress slightly, not bulge out of the band or split. T-bolt clamps are tightened with a socket; follow the clamp maker's spec.
Put a small paint-pen mark across the screw and band of each new clamp. If it ever loosens, you'll see the mark has shifted. Log the date and what you replaced in your BoatMend maintenance log.
Hoses settle after installation, especially new hose and hot hoses like exhaust and cooling lines. After the first engine run, let everything cool and check the clamps again; snug any that loosened. Look for drips with the engine running and the boat in the water.
Carry a few clamps in each size used on your boat, plus a nut driver. A clamp that breaks far from the dock is a two-minute fix if you have the spare. Store them dry.
Check clamps at the start of every season, at every haul-out, and any time you're working near them. Check below-waterline and fuel clamps more often on older boats. Any corrosion, kink or damage means replacement, not tightening.
Common mistakes
- Buying clamps at the auto parts store. BoatUS sums it up: cheap hose clamps are not good, and good hose clamps are not cheap.
- Trusting "stainless" on the package. The band may be stainless while the screw rusts.
- Overtightening with a ratchet or drill. It cuts the hose and can strip the clamp.
- Forcing two clamps onto a short fitting. The outer one hangs off the barb and slices the hose.
- Only looking at the top of the clamp. The rust is usually underneath.
- Thinking ABYC requires two clamps on every through-hull. It doesn't; it's good practice where the fitting allows.
When to call a pro
- A below-waterline hose, fitting or seacock is leaking, cracked or loose and the boat is in the water: close the seacock if you can and arrange a haul-out
- Any fuel line clamp is leaking or you smell fuel: stop, ventilate, no switches or flames, and call a marine technician
- Exhaust hose clamps on an inboard or sterndrive are rusted or leaking: exhaust leaks can bring carbon monoxide into the boat
- The hose itself is cracked, soft, swollen or old: replacing below-waterline hoses is a haul-out job
- The fitting barb is too short for proper clamping: a yard can fit a longer hose tail
Tips
- Turn the clamp screws so you can reach and see them from your usual access point.
- Put a short piece of split hose over long clamp tails to protect hands and wires.
- Buy one brand and size range for the whole boat so a single nut driver fits all.
- Photograph each clamp location; it makes the next inspection faster.
Official references
We read these to write this guide. Your engine's own manual always wins.
- BoatUS – All About Hose Clamps (2020)
- BoatUS – Marine Hose Clamps (2024)
- BoatUS – Loving The Lowly Hose Clamp (2014)
- BoatUS – Hose Clamps (Seaworthy, 2020)
- Practical Sailor – Stainless-steel Hose Clamps (test of 11 brands)
- Practical Sailor – AWAB, ABA Top Long-term Test
- Cruising World – Don't Be Tight When Buying Clamps
Safety: BoatMend is for information only and does not replace a certified marine technician. You are responsible for your safety and your boat. Read the full disclaimer.
Last updated 2026-10-25
Related guides
How to Inspect and Exercise Seacocks, Through-Hulls and Hose Clamps
Check every hole in your hull below the waterline, work each seacock open and closed, and inspect the hoses and clamps attached to them. A single failed fitting or hose is one of the most common reasons boats sink at the dock.
How to Inspect and Clean a Raw-Water (Sea) Strainer
The sea strainer is the cheap screen that keeps weeds, shells and plastic out of your engine, generator and A/C pumps. Learn how to clean it safely with the seacock closed, reseal the lid so it can't suck air, spot a cracked bowl before it floods the boat, and winterize it.
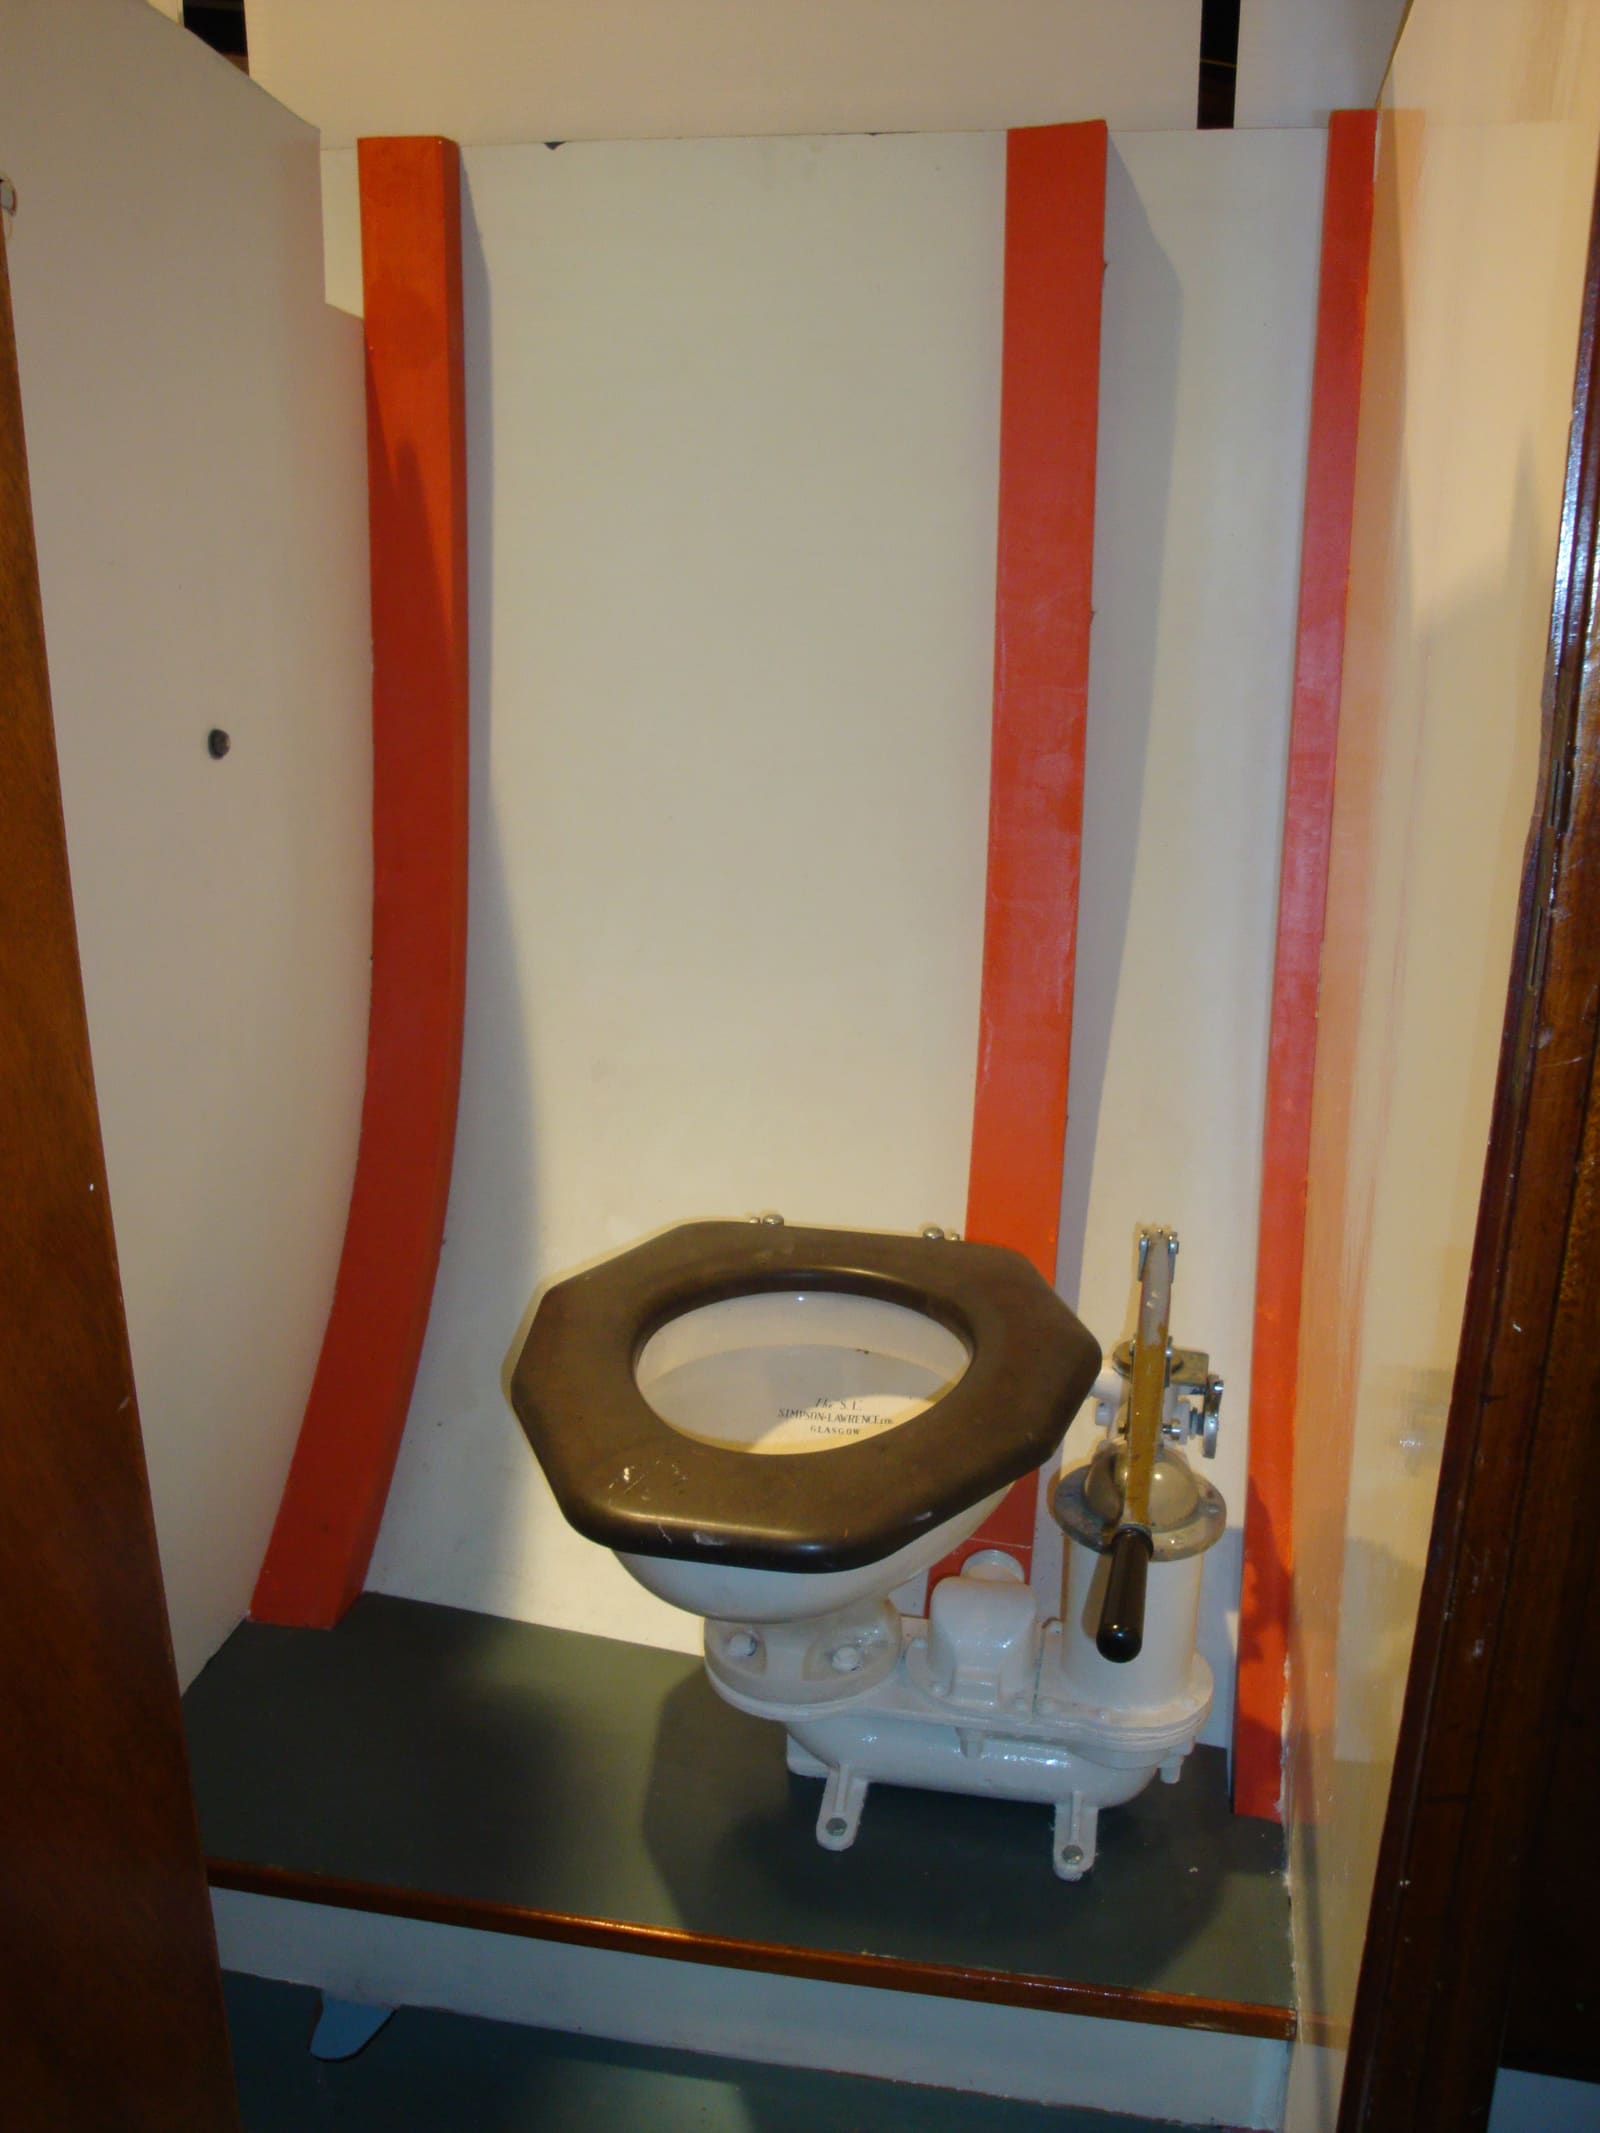
Smelly Head Hoses: How to Test, Choose and Replace Sanitation Hose
Find out if your toilet and holding-tank hoses are the source of that sewage smell with a simple hot-rag test, then pick the right sanitation hose, route and clamp it properly, and get rid of the old hose cleanly.
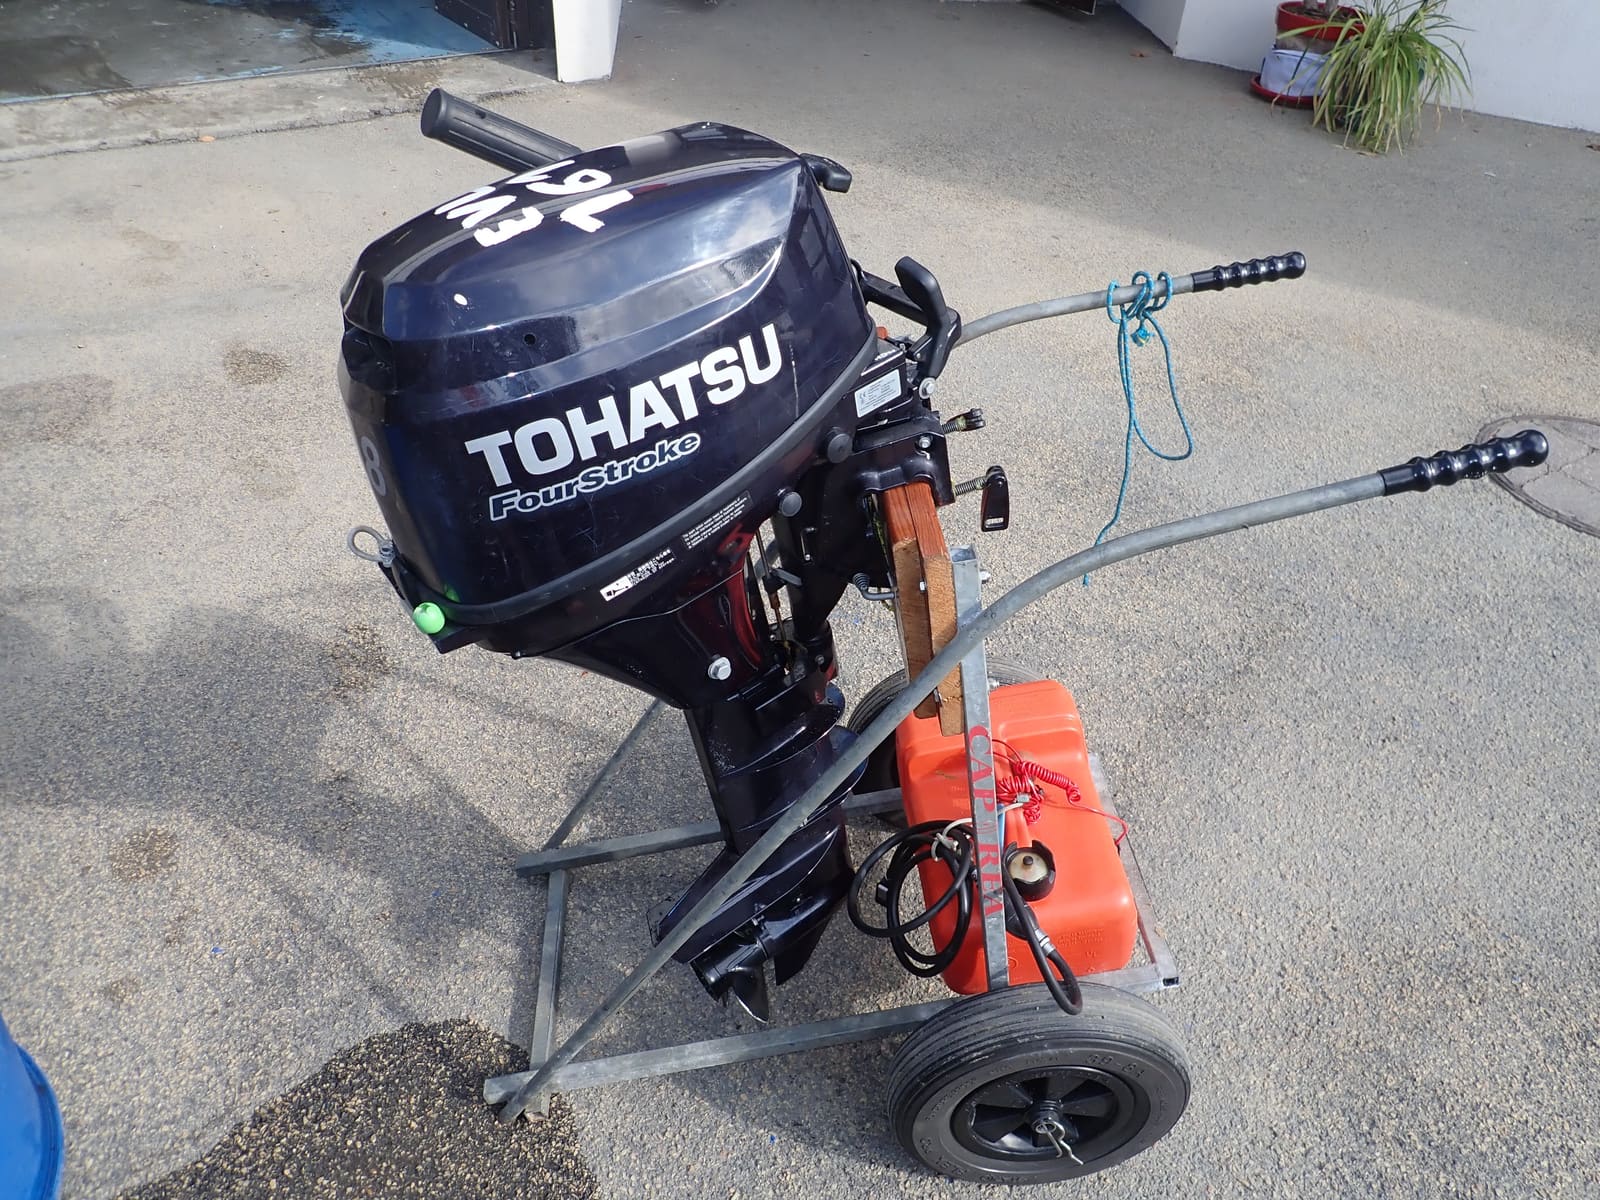
How to Replace an Outboard Fuel Line and Primer Bulb
A cracked hose or a stiff primer bulb can leak gasoline, starve your engine or shed rubber into the fuel. Learn how to choose Coast Guard-rated fuel hose, the right connectors for your engine brand and good stainless clamps, install the bulb pointing the right way, leak-test the job and get rid of the old parts safely.
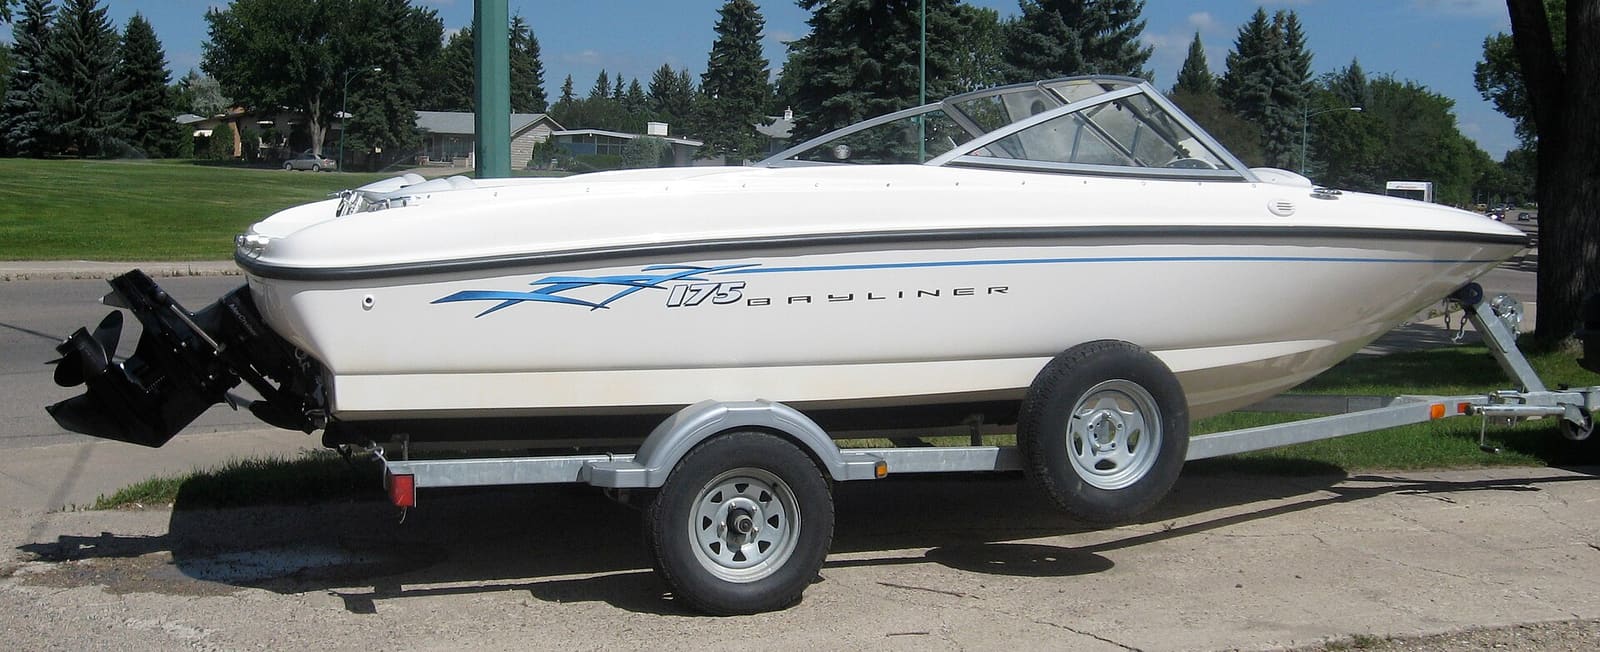
How to Inspect Sterndrive Bellows, Gimbal Bearing, U-Joints and Shift Cable
Learn to spot a cracked sterndrive bellows before it lets water into the boat, and to recognize the warning signs of a worn gimbal bearing, U-joints and shift cable. A failed bellows is one of the top reasons boats sink at the dock, and a 20-minute inspection can catch it.
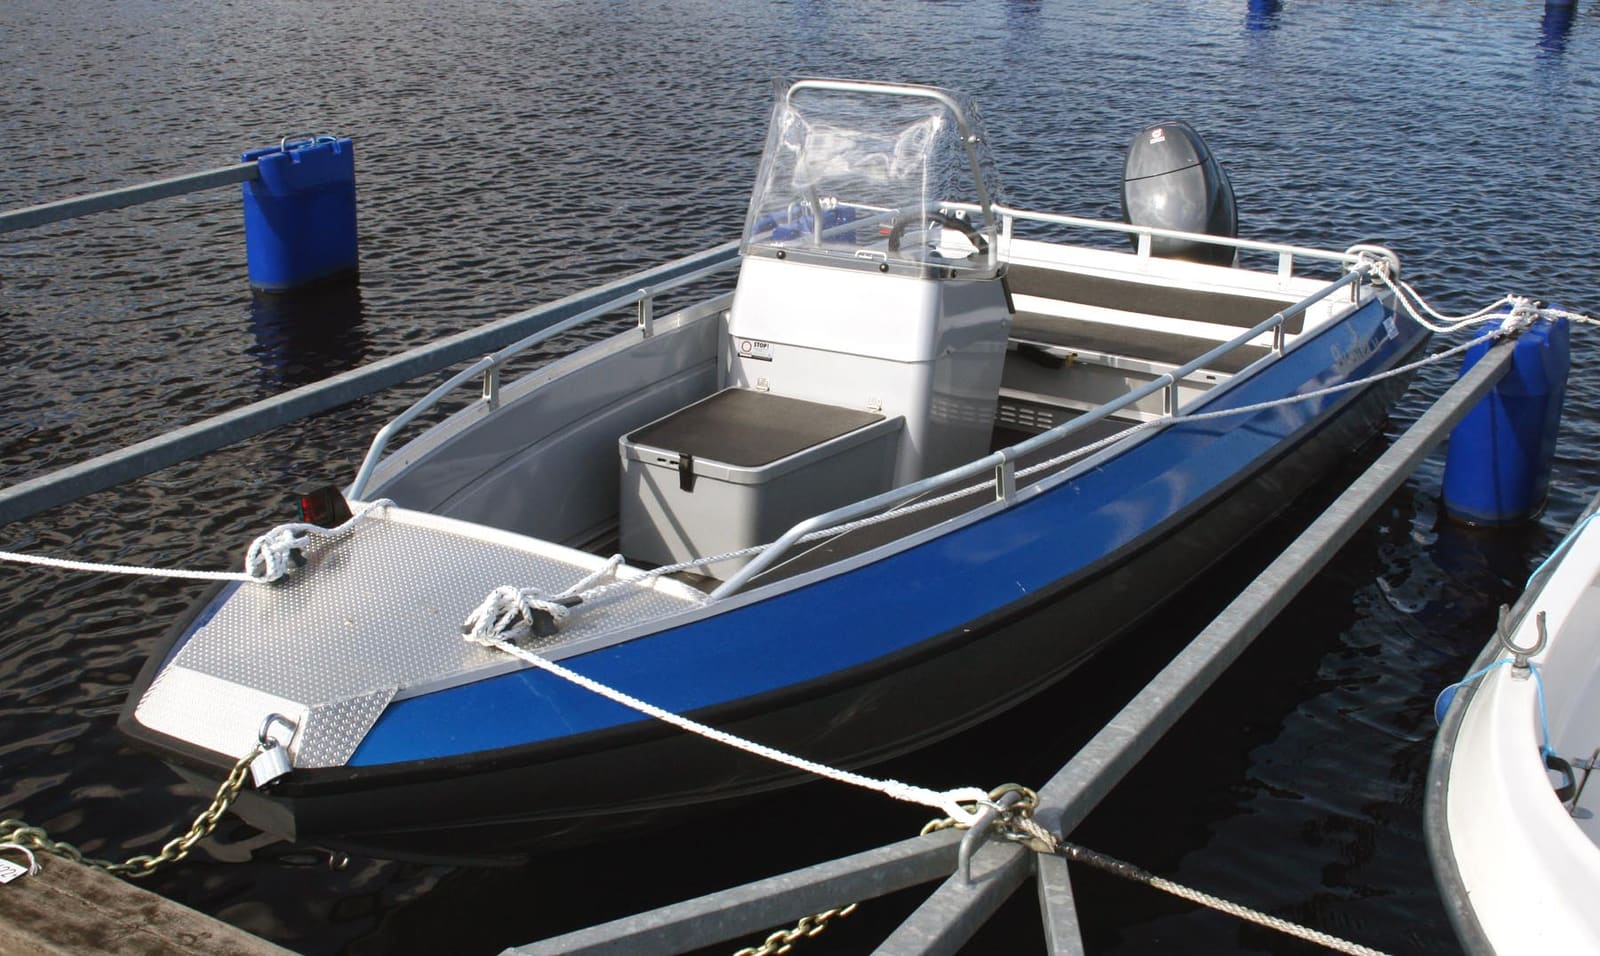
How to Inspect and Clear Cockpit Scuppers and Deck Drains
Most boats that sink at the dock fill up from the top, through clogged scuppers, cracked drain hoses and leaky hatches during a heavy rain. Learn how to trace every drain, clear clogs, check flappers, hoses and clamps, flood-test the cockpit and keep drains working in freezing weather.
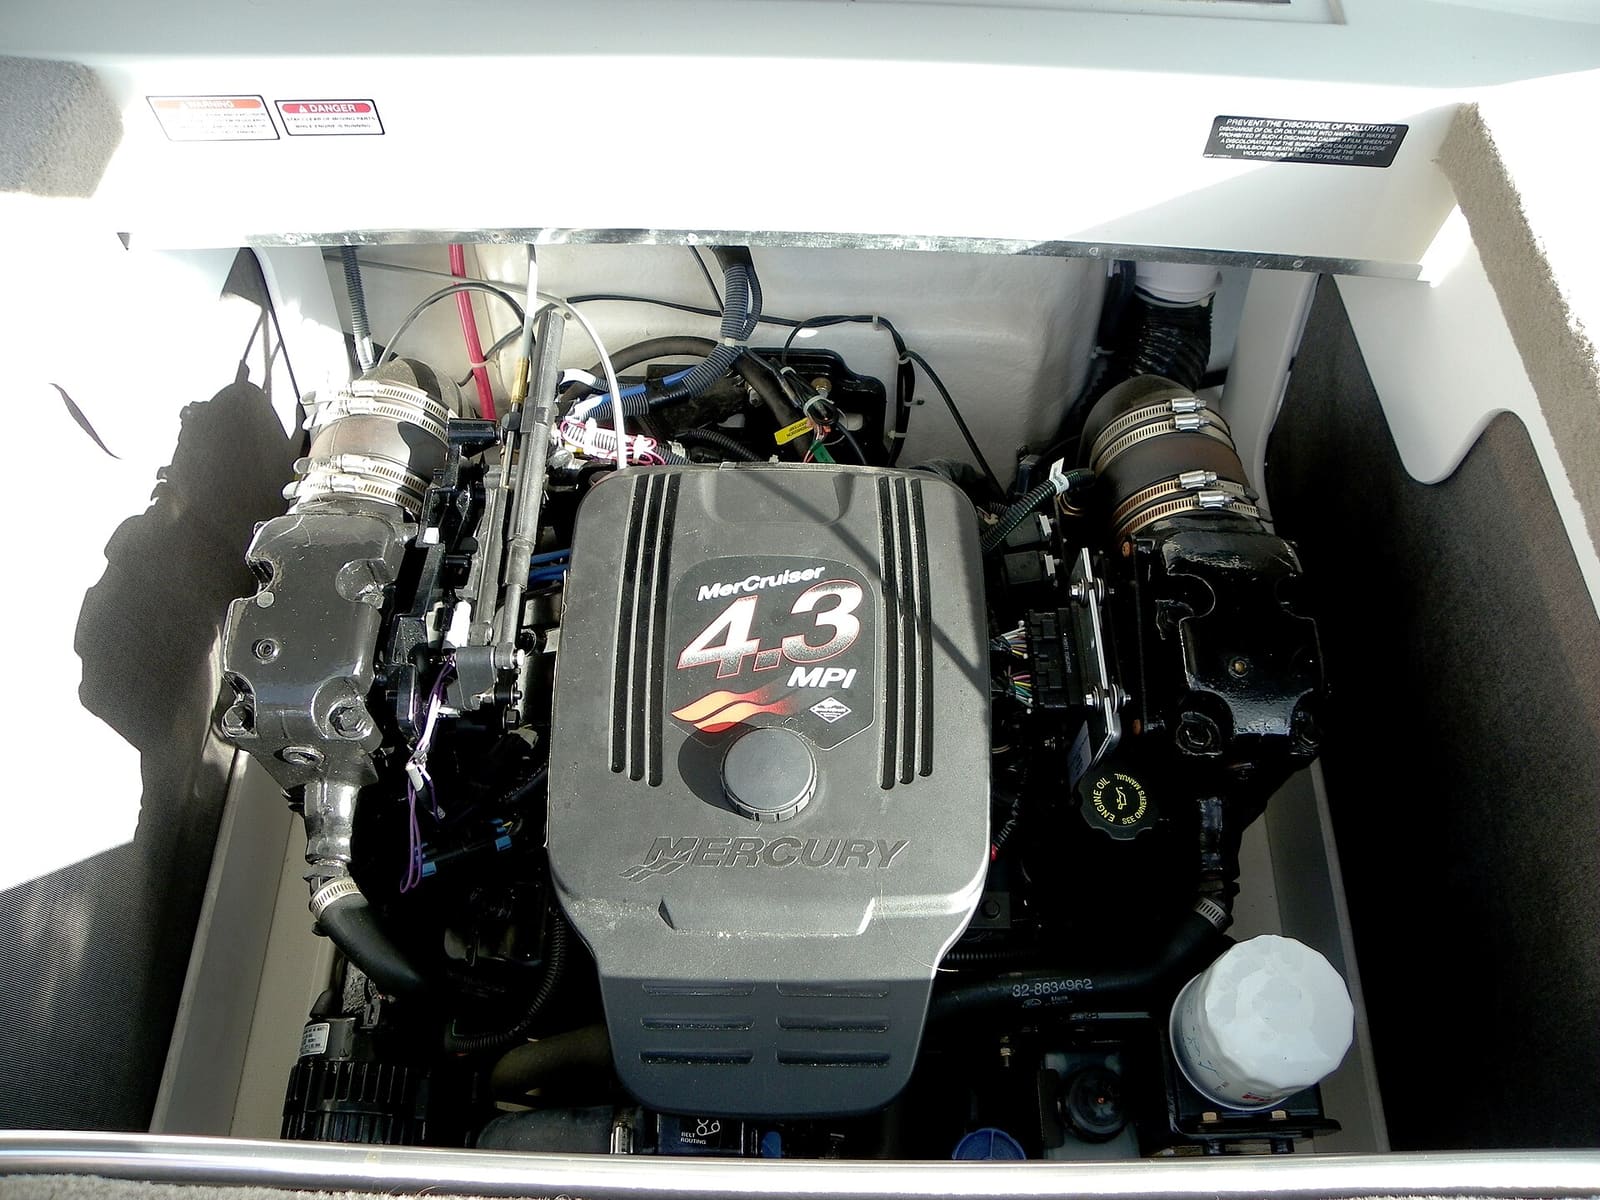
How to Inspect Exhaust Manifolds and Risers on a Sterndrive or Inboard
Cast-iron exhaust manifolds and risers rust from the inside, and when they fail they can let water into the cylinders and ruin the engine. Learn the warning signs, how often to inspect them in salt and fresh water, how to check a riser yourself, and when replacement is a job for a pro.
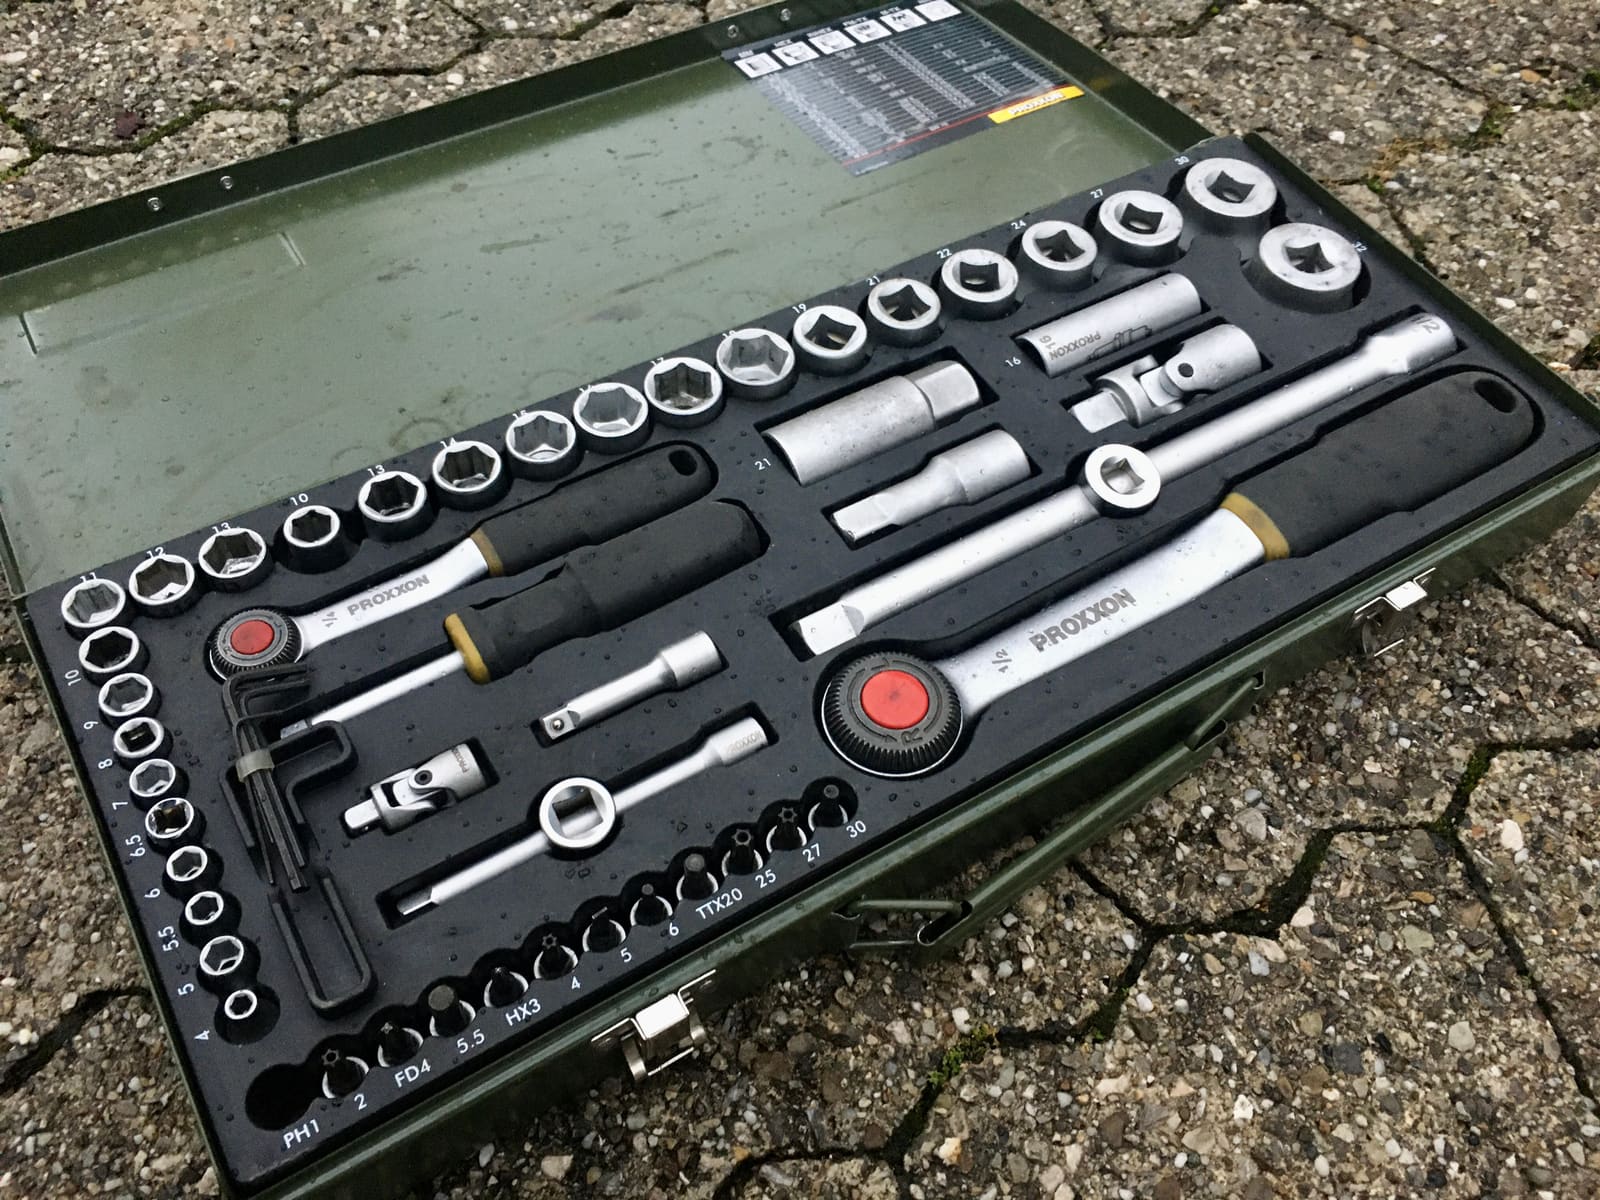
Onboard Tool Kit and Spare Parts: What to Carry on a Day Boat or a Cruiser
Build a tool kit and spares box that fits your boat and how far you go. A blown fuse, a clogged fuel filter or a dinged prop shouldn't end the day or turn into an expensive tow.
What to Do When Your Boat Is Taking On Water: Emergency Steps and Prevention
A step-by-step emergency plan for water coming into the boat - life jackets on, call for help early on VHF 16, find and slow the leak, pump, and head for shallow water if needed - plus the maintenance checklist that prevents most sinkings.