How to Inspect and Clean a Backfire Flame Arrestor
Every gasoline inboard and sterndrive engine must have a backfire flame arrestor to stop a backfire from setting the engine compartment on fire. Learn what the rules require, how to spot a clogged or damaged arrestor, how to clean it the way your engine maker allows, and why you must never run the engine without it.
Time
1 h
Shop would charge
$75-200
Applies to
Sterndrive (I/O), Gas inboard · Bowrider / runabout, Cabin cruiser, Fishing boat, Yacht, Jet boat
Danger: Never start or run a gasoline inboard or sterndrive engine with the flame arrestor removed, damaged or loosely fitted, not even "just for a second" to test something. A backfire can blow flame out of the carburetor or throttle body into an engine compartment that may hold gasoline vapor, causing a fire or explosion. Never clean the arrestor with gasoline. If you smell fuel, do not crank the engine or use tools that can spark; ventilate and find the leak, and call 911 or the Coast Guard on VHF channel 16 if there is a fire or a large leak.
Fuel smell, water coming in, CO alarm or smoke? Stop, get everyone in life jackets and call USCG on VHF 16 or 911. For a tow: Sea Tow or TowBoatUS.
Owners often ask
- Can I run my inboard for a minute with the flame arrestor off to adjust the carburetor?
- What should I clean my boat's flame arrestor with?
This guide walks you through it. Still stuck? Ask the AI Mechanic about your engine.
Tools
- Screwdriver, nut driver or wrench for the arrestor's fastener
- Bucket, mild detergent or the cleaner your engine maker recommends
- Soft nylon brush
- Clean rags and a place to let parts dry
- Clean shop rag or tape to cover the carburetor or throttle body opening
- Safety glasses and chemical-resistant gloves
Parts & supplies
- New flame arrestor marked as meeting SAE J1928 or UL 1111 (or USCG approved), made for your engine, if yours is damaged
- New gasket or seal for the arrestor base, if your engine uses one
Before you start
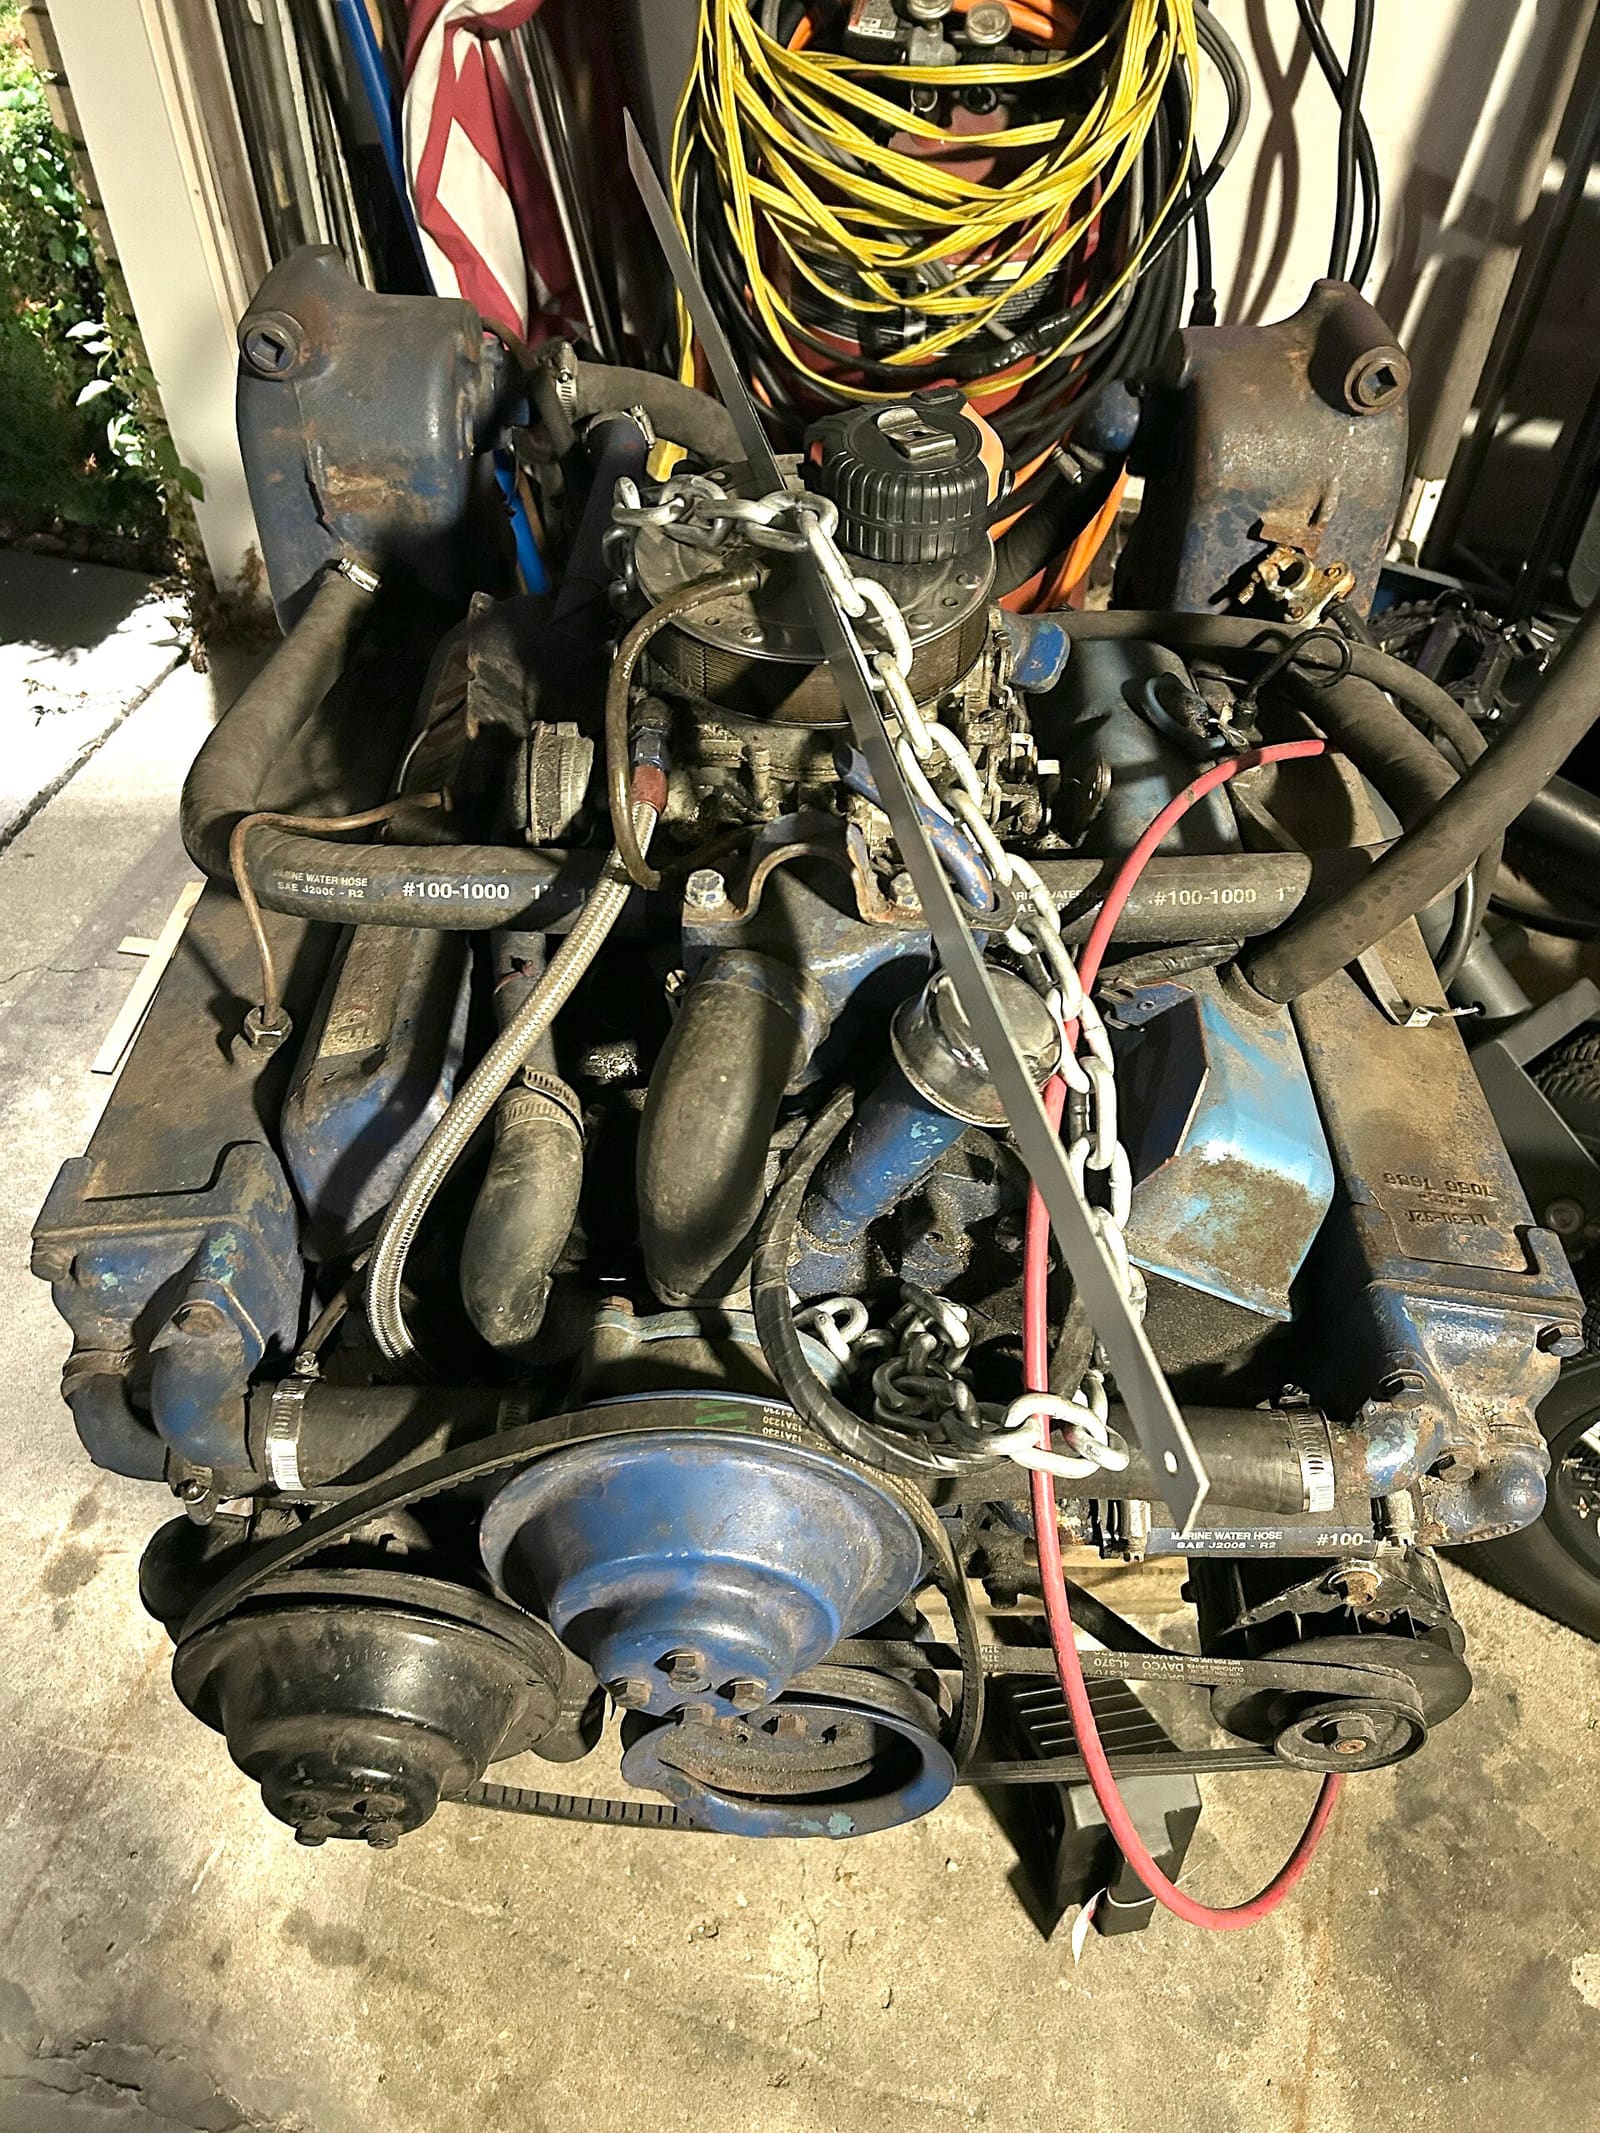
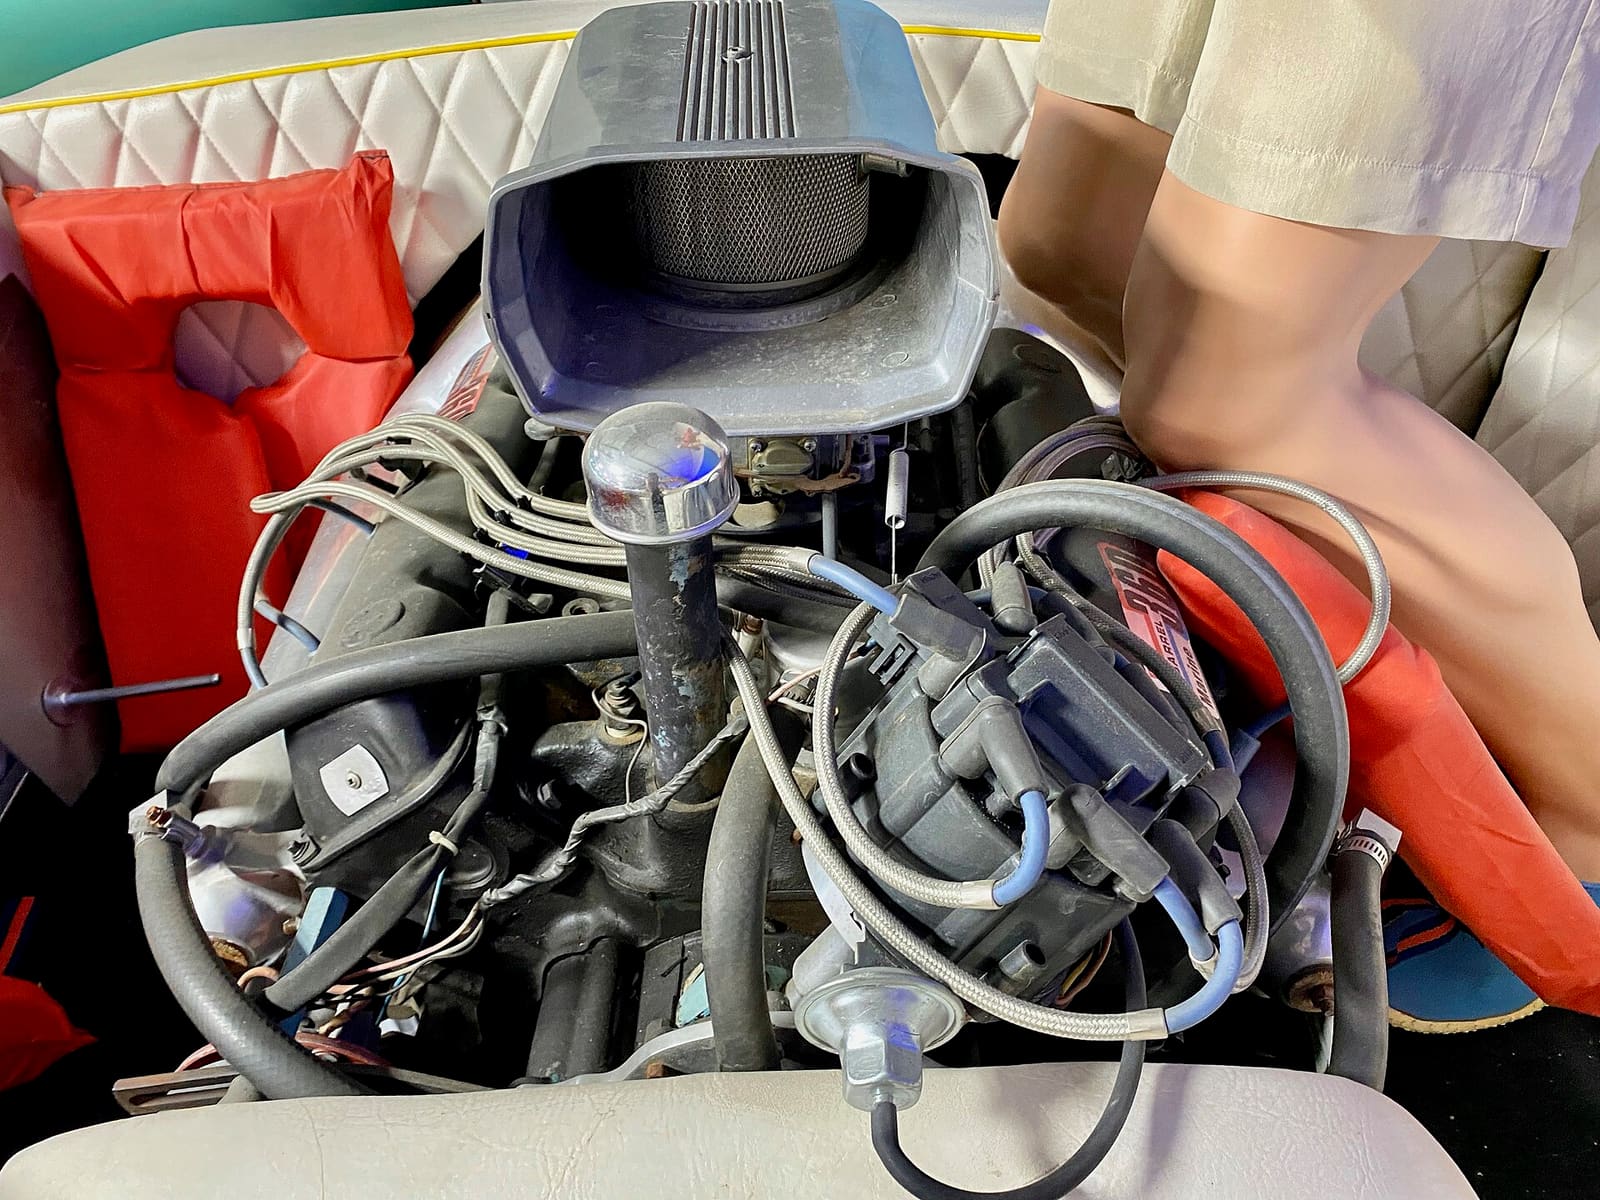
What it is. The backfire flame arrestor sits on top of the carburetor, or on the air intake of many fuel-injected engines, where a car would have an air filter. Inside is a metal grid, mesh or stack of thin plates. If the engine backfires through the intake, the metal absorbs the heat of the flame so it cannot reach fuel vapor in the bilge. On many engines a decorative cover hides it.
What the rules say. Federal regulations (46 CFR 25.35-1) require every gasoline engine installed in a motorboat after April 25, 1940, except outboard motors, to have an acceptable means of backfire flame control. Under 46 CFR 58.10-5, an acceptable arrestor must comply with SAE J1928 and be marked accordingly, and it must be secured to the air intake with a flame-tight connection. Boating Magazine notes that arrestors marked as approved to SAE J1928, UL 1111 or by the Coast Guard are accepted. Some engines meet the rule with an approved air induction system instead of a separate arrestor; your engine's manual or dealer can tell you which you have. An arrestor that is missing, damaged or not secured is also something a Vessel Safety Check or a boarding officer may note.
Why cleaning matters. A dirty arrestor chokes the engine's air supply. Boating Magazine points out that rubber dust from the accessory belts is a big source of the grime, along with oil mist from the crankcase vent hoses. Discover Boating lists a restricted air supply as a cause of black exhaust smoke. Boating Magazine recommends removing the arrestor once a year to clean or replace it (typical; follow your engine maker's schedule, which may be by hours).
Steps
Look up the flame arrestor in your owner's manual. Makers specify how often to clean it and what to clean it with, and some arrestors have a coating or a built-in filter element that certain solvents or pressure can damage. Follow those instructions where they differ from this guide.
With the engine off and cool, open the hatch and run the bilge blower for several minutes. Sniff for fuel. Remove the key and disconnect the battery if you will be working near the starter or other wiring.
Take photos of the arrestor, its cover, and any hoses connected to it. On many engines one or two crankcase vent hoses (from the valve covers) plug into the arrestor or its cover. Label them so they go back to the same place.
Remove the decorative cover if your engine has one, then the nut, bolt or clamp that holds the arrestor down. Disconnect the vent hoses and lift the arrestor straight off. Right away, cover the carburetor or throttle body opening with a clean rag or tape so nothing can fall into the engine. A dropped nut or washer in there can do serious damage.
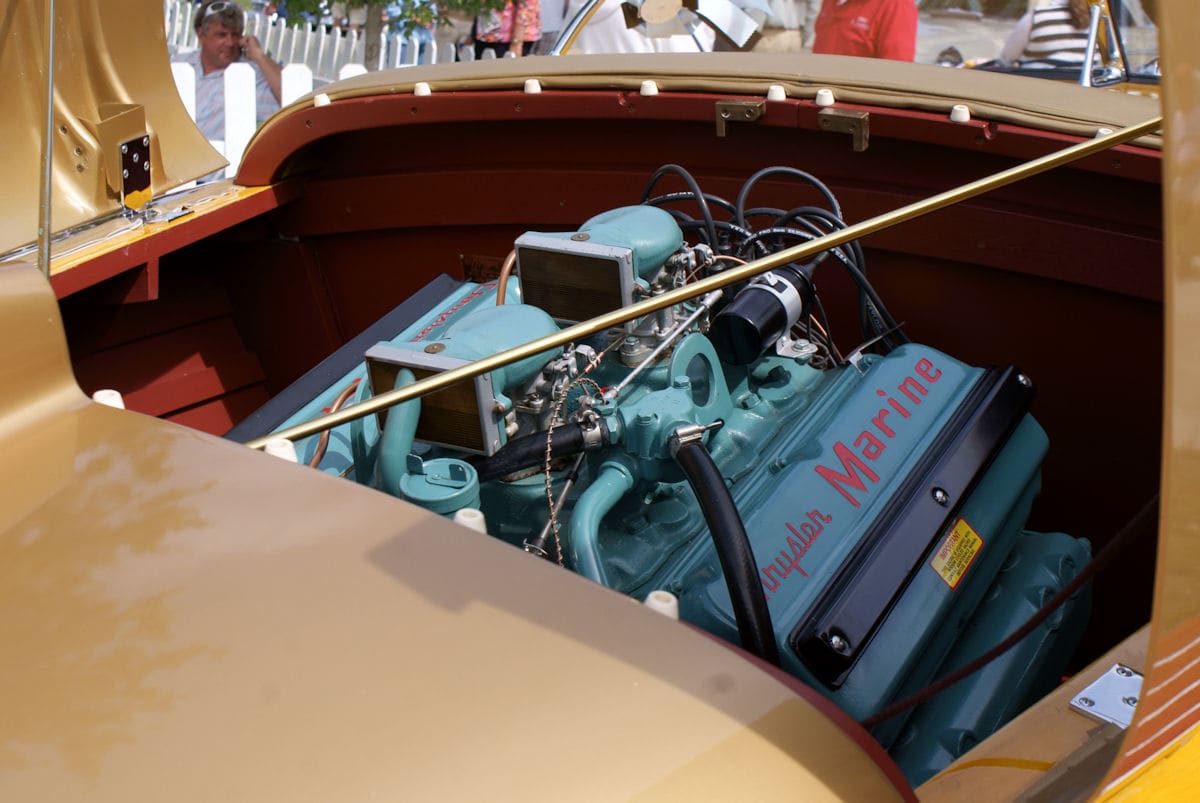
Under the cover: the fine metal mesh of a flame arrestor sitting on the carburetor. Photo: CZmarlin (Christopher Ziemnowicz), Rambler Ranch collection / Wikimedia Commons · CC BY-SA 4.0 Hold it up to a light and look at the grid all the way around. Replace it if you find:
- Holes, tears, crushed or separated sections in the grid or between the plates
- Corrosion that has eaten into the metal
- A cracked or warped base, or a base that no longer seals against the carburetor
- Missing markings showing it meets SAE J1928, UL 1111 or USCG approval
Light dirt and oily film are normal and can be cleaned. Heavy oil soaking means the crankcase ventilation system may need attention; mention it to your mechanic.
Use the cleaner your engine maker recommends. If the manual gives no specific product, Boating Magazine's general advice is a mild solvent or soap and water, with a commercial degreaser for heavy grime followed by a freshwater rinse. Swish the arrestor in the solution and work the grid with a soft nylon brush. Never use a wire brush or poke the grid with tools, and never use gasoline, which leaves a flammable residue and is dangerous to handle. If you use a stronger cleaner, work outdoors and wear gloves, eye protection and a respirator as the product label says.
Rinse from the inside (engine side) outward so the dirt washes out the way it came in, not deeper into the grid. A gentle stream of water is enough. Some technicians blow it dry with compressed air from the inside out; if you do, keep the pressure low and the nozzle back from the grid, because a strong blast can bend or separate the fine mesh or plates and ruin the arrestor.
Shake out the water and let the arrestor dry fully before you put it back, which can take a few hours in the sun or overnight indoors. Water or solvent left in the grid will be pulled straight into the engine.
While it dries, wipe the mounting surface on the carburetor or throttle body and check the gasket or seal, if your engine uses one. Replace a cracked or flattened seal; the arrestor must make a flame-tight seal. Remove your rag or tape only when you're ready to fit the arrestor, and check that nothing has fallen in.
Set the arrestor squarely in place, reconnect the crankcase vent hoses exactly as they were, and tighten the fastener firmly without crushing the arrestor or cracking the base. Refit the cover. Make sure no hoses, wires or rags are touching moving parts or the exhaust.
If the arrestor was damaged, will not come clean, or has no approval marking, buy a replacement made for your engine and marked to SAE J1928, UL 1111 or USCG approval. Boating Magazine notes that size and fit matter: measure the carburetor's air inlet flange and check the hatch clearance before ordering an aftermarket arrestor. Never substitute a car-style air filter.
Reconnect the battery, run the blower, then start the engine with cooling water supplied (on the water or on a flush setup your manual approves). Listen for the engine to idle and rev normally. Shut down and check that the arrestor is still tight and that nothing is touching it. If the engine runs better than before, the old one was probably clogged.
Common mistakes
- Running the engine with the arrestor off to "see how it idles" or while adjusting the carburetor.
- Cleaning it with gasoline.
- Blasting it with high-pressure air or a pressure washer and bending the grid.
- Reinstalling it wet.
- Forgetting to reconnect the crankcase vent hoses, or connecting them to the wrong spot.
- Dropping a nut or washer into an uncovered carburetor.
- Replacing it with a car air filter or an unmarked part.
- Ignoring a damaged arrestor because the engine still runs fine.
When to call a pro
- Any fuel smell, fuel leak or wet fuel around the carburetor: do not crank the engine
- A backfire that blew the arrestor loose, or scorch marks around the intake
- Repeated backfiring, popping or black smoke after cleaning; the engine may have a timing, ignition or carburetor problem
- Something fell into the carburetor or intake
- A fire in the engine compartment: get everyone off or away, use your extinguisher only if safe, and call 911 or VHF 16
Tips
- Clean the arrestor every fall during winterizing, and check it whenever the hatch is open.
- Replacing worn belts reduces the rubber dust that clogs the arrestor.
- Keep the old arrestor's part number or model in your BoatMend boat profile so ordering a replacement is easy.
- Look before you scrub the cover. Mercury's FAQ notes that on MerCruiser engines the serial number label can be on the side of the engine or on top of the flame arrestor cover. Photograph it, keep solvent and brushes off it, and record the number in your boat profile; you will need it for manuals and parts.
Official references
We read these to write this guide. Your engine's own manual always wins.
- eCFR – 46 CFR 25.35-1 Backfire flame control requirements
- eCFR – 46 CFR 58.10-5 Gasoline engine installations
- Boating Magazine – How to Choose a Marine Flame Arrester
- Boating Magazine – Midseason Inboard-Engine Maintenance Tips
- Discover Boating – The Life Expectancy of the Marine Engine
- Mercury Marine – Service & Support FAQs
Safety: BoatMend is for information only and does not replace a certified marine technician. You are responsible for your safety and your boat. Read the full disclaimer.
Last updated 2026-10-25
Related guides
How to Clean the Carburetor on a Small or Older Outboard
Old fuel turns to varnish and plugs the tiny jets in a carburetor, so the engine only runs on choke, surges or will not idle. Learn when the carburetor really is the problem, how to drain and clean it, and when a rebuild kit or a replacement makes more sense.
Ignition Tune-Up on an Older Sterndrive or Inboard V6/V8
Older carbureted sterndrive and inboard V6 and V8 engines need regular spark plugs, plug wires, distributor caps and rotors to start easily and run smoothly. Learn the signs a tune-up is due, how to replace these parts one at a time, why only marine ignition-protected parts belong in a gas engine bay, and why ignition timing is a job for a shop.
Bilge Blower and Engine Compartment Ventilation on Gas Inboards and Sterndrives
Learn why gas boats have a "run the blower 4 minutes" label, how to check that the blower and vent ducts actually move air out of the engine compartment, and how to replace a blower safely with an ignition-protected marine unit.
Fuel Smell on Board: What to Do and How to Find the Source
A gasoline smell on a boat is a fire and explosion warning. Learn what to do in the first minutes, the most common sources (fill and vent hoses, tank fittings, fuel lines, carburetors and injectors, overfilling), how to look safely, and when to stop and call a pro.
How to Check and Test a Gasoline Vapor (Fume) Detector
A gasoline vapor detector sniffs the bilge all the time and sounds an alarm long before fumes can explode. Learn how these detectors work, where the sensor belongs, how to test the system the way its maker says, what causes false alarms, what to do when it goes off, and why it never replaces the blower and your own sniff test.
Engine Room Automatic Fire Suppression: How It Works, Checks and What to Do After a Discharge
Understand the fixed clean-agent extinguisher in your engine room - how it fires, why the engines must shut down, how to check the helm status light, gauge and cylinder weight, when it needs service - and the safe sequence to follow if it ever goes off, starting with keeping the hatch closed.
How to Check, Mount and Replace Boat Fire Extinguishers
A monthly five-minute check of every fire extinguisher aboard, plus how the 2022 Coast Guard rule changes affect you, where to mount them, and when to recharge or replace. A boat fire spreads in seconds, and an extinguisher with a dead gauge, missing pin or expired date will not help you or pass a boarding.

USCG Required Safety Equipment Check by Boat Length
Walk through your boat and confirm you carry every piece of safety gear the US Coast Guard requires for your boat's length and type, and that none of it is expired or worn out. Missing or expired gear is one of the most common tickets on the water, and it is the gear you need when things go wrong.

How to Prepare for a Free Vessel Safety Check
Volunteers from the Coast Guard Auxiliary and America's Boating Club will inspect your boat's safety gear for free, with no ticket if something is missing. Learn how to request a Vessel Safety Check, what the examiner looks at, how to get your boat ready and what to do with the fix list.
Loss of Power, Hesitation or Misfire - Troubleshooting Guide
Figure out why your engine bogs down, stumbles, will not reach full rpm or runs rough. Work from simple checks like trim, prop and fuel filter to ignition and engine protection modes before paying for diagnostics.