How to Build a Damage-Control Kit: Plugs, Patches and a Plan for Leaks
Put together a labeled kit that can slow or stop water coming into your boat - softwood plugs tied at every through-hull, rescue tape, spare clamps, rubber and plywood patches, plastic sheeting, underwater sealant, a manual pump and the tools to reach a hidden leak - and practice with it so your crew knows where everything is.
Time
2 h
Applies to
All engines
Safety first: A damage-control kit buys time; it does not replace calling for help. If water is coming in faster than your pumps can clear it, put life jackets on everyone and call the Coast Guard on VHF channel 16 (or 911 near shore) and your tow service before you start patching. Never reach into a flooding engine space with the engine running or wires under water.
Fuel smell, water coming in, CO alarm or smoke? Stop, get everyone in life jackets and call USCG on VHF 16 or 911. For a tow: Sea Tow or TowBoatUS.
Owners often ask
- What should I actually carry to plug a leak or a hole in my boat's hull?
- Will underwater epoxy stop a leak if my boat starts taking on water?
This guide walks you through it. Still stuck? Ask the AI Mechanic about your engine.
Tools
- Flashlight or headlamp (waterproof), plus a spare
- Screwdrivers and nut drivers that fit your hose clamps
- Adjustable wrench and pliers
- Utility knife and a small hand saw or hatchet
- Pry bar (to lift floorboards or liner panels)
- Cordless drill/driver with a charged battery, or a hand driver
- Manual bilge pump or large bucket
Parts & supplies
- Tapered softwood plugs (pine or fir) in sizes that fit each through-hull, plus a few softwood wedges
- Lanyards or light line to tie one plug at each through-hull
- Rescue tape (self-fusing silicone tape), two or more rolls
- Spare all-stainless hose clamps in the sizes used aboard
- Rubber sheet or old inner tube, cut into squares
- Precut squares of thin plywood with foam or felt gaskets, and rust-resistant self-drilling screws
- Heavy plastic sheeting or a tarp (a collision mat for bigger boats)
- Duct tape, rags, a can of expanding foam and a tube of sealant that cures underwater
- Underwater epoxy putty stick
- A waterproof bag or bin labeled "DAMAGE CONTROL"
Before you start
Almost every boat has a few wooden plugs somewhere, but very few owners have a real plan to save the boat if a hose bursts or the hull is holed. A former Coast Guard damage-control instructor writing for BoatUS makes the point bluntly: the time to prepare is now, not when water is over the floorboards.
Why it matters: BoatUS found boats sink at the dock more than twice as often as underway, usually because a small part below the waterline gives out (a hose, clamp, through-hull, shaft seal or sterndrive bellows). Underway, the top cause is hitting something. Water comes in faster than most people imagine: BoatUS calculates that a 2-inch hole just 1 foot below the waterline can fill a 55-gallon drum in about 42 seconds, and the flow gets faster as the boat settles deeper.
Size the kit to the boat. A 17-foot runabout needs a small bag: plugs, rescue tape, clamps, a sponge and a bailer. An offshore cruiser needs a full bin with plywood, screws, tools to cut through liners and a collision mat. Read the taking-on-water guide first: this guide is about getting ready, that one is what to do in the moment.
Steps
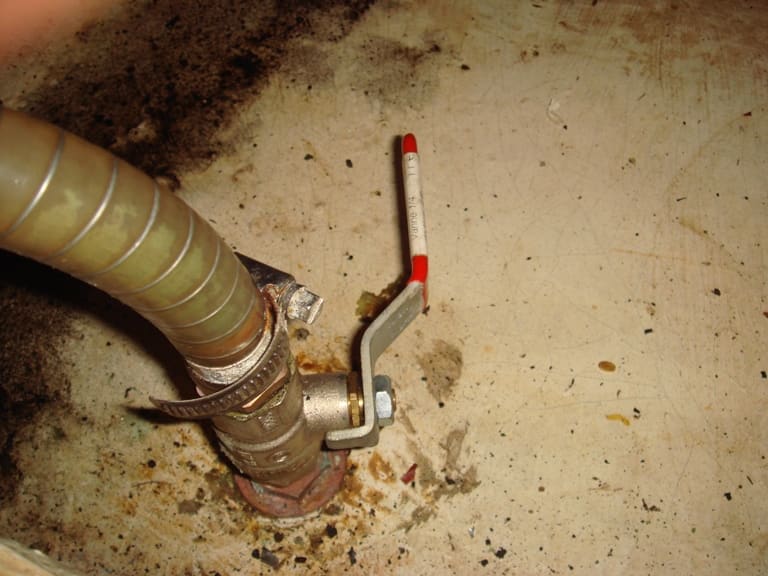
Walk the boat with a flashlight and list every opening: engine raw-water intake, generator and A/C intakes, head intake and discharge, sink and cockpit drains, livewell and washdown, transducers and speed sensors, the shaft log and rudder post, sterndrive bellows, and the drain plug. Note the size of each fitting and whether it has a seacock. Keep the list (a phone photo works) in the kit.
Don't skip the fittings just above the waterline. BoatUS points out that the plastic "mushroom" through-hulls used for scuppers, bilge pump outlets and livewell drains are notorious for cracking after years of sun, and a loaded boat or a wake can put them under water.
Buy tapered softwood plugs (pine or fir). Soft wood squeezes into an out-of-round hole and swells as it soaks, and it can be split or whittled to fit odd shapes. Match a plug to each fitting from your list, then tie it to the hose or seacock with a short lanyard so it is right there in the dark. Keep a few extra plugs and wedges in the kit for holes you didn't plan for.
Foam plugs are another option. BoatUS has reviewed cone-shaped plugs made of closed-cell foam that you squeeze and push in by hand, like a foam earplug, with no hammer needed. Because the foam springs back, it can conform to an irregular opening, such as a fitting that has cracked or a seacock that has broken off. Many owners carry both: wood plugs tied at the through-hulls and a foam plug or two in the kit. Practical Sailor tested one foam plug that could also be pushed lengthwise into a split, or cut with scissors to fit a broken hose or pipe, on irregular holes up to about 4 inches across. Their testers still keep a full set of wood plugs, because wood plugs come drilled for a lanyard and can hang ready at each seacock, while a foam plug is most useful kept whole in the kit for the leak you didn't plan for.
Self-fusing silicone "rescue tape" sticks only to itself, so it works on a wet, split hose when stretched tight and overlapped. It's a get-home fix, not a repair. Add a handful of all-stainless hose clamps in the sizes your boat uses, so a loose or broken clamp can be replaced or doubled on the spot.
Hull damage from a collision is usually a jagged split, not a neat round hole, so plan to improvise. The BoatUS article suggests:
- Rubber sheet or cut-up inner tube in several sizes
- Squares of thin plywood with slightly larger foam or felt gaskets, plus rust-resistant self-drilling screws and a driver to fasten them to the hull from inside
- Rags, towels or cushions you can stuff into a hole and brace with a floorboard or boathook
- A can of expanding foam to fill gaps around a wood patch
- A wax toilet bowl ring, which can seal around a shaft or gland
- Duct tape and a tube of marine sealant that cures and bonds underwater
Wrapping rubber or a caulk-soaked rag around a plug or wedge before you tap it in helps it seal and stay put.
Underwater epoxy putty is worth carrying, but don't count on it to stop active flooding. BoatUS points out that most epoxies won't stick to a wet surface with water pushing through it, can't bond parts that are moving, and cure very slowly in cold water. Use putty once a plug or patch has slowed the flow to a seep, to seal the edges.

Photo: Salil Kumar Mukherjee / Wikimedia Commons · CC BY-SA 4.0 A heavy tarp, plastic sheet or purpose-made collision mat pulled over the outside of a hole with lines lets water pressure press it against the hull. It won't seal perfectly, but it can cut a gush to a trickle that your pumps can manage. Pre-tie lines to the corners so it's ready to deploy.
Many fiberglass boats have one-piece liners that hide the hull. If the damage is behind a liner, water may be pouring out of wire and hose holes with no way to see the real breach. BoatUS suggests carrying a hatchet or small ax, a saw and a pry bar so you can cut away furniture or a liner panel to reach the hull. Add a waterproof flashlight, screwdrivers and nut drivers that fit your clamps, pliers, a knife, and a charged cordless driver.
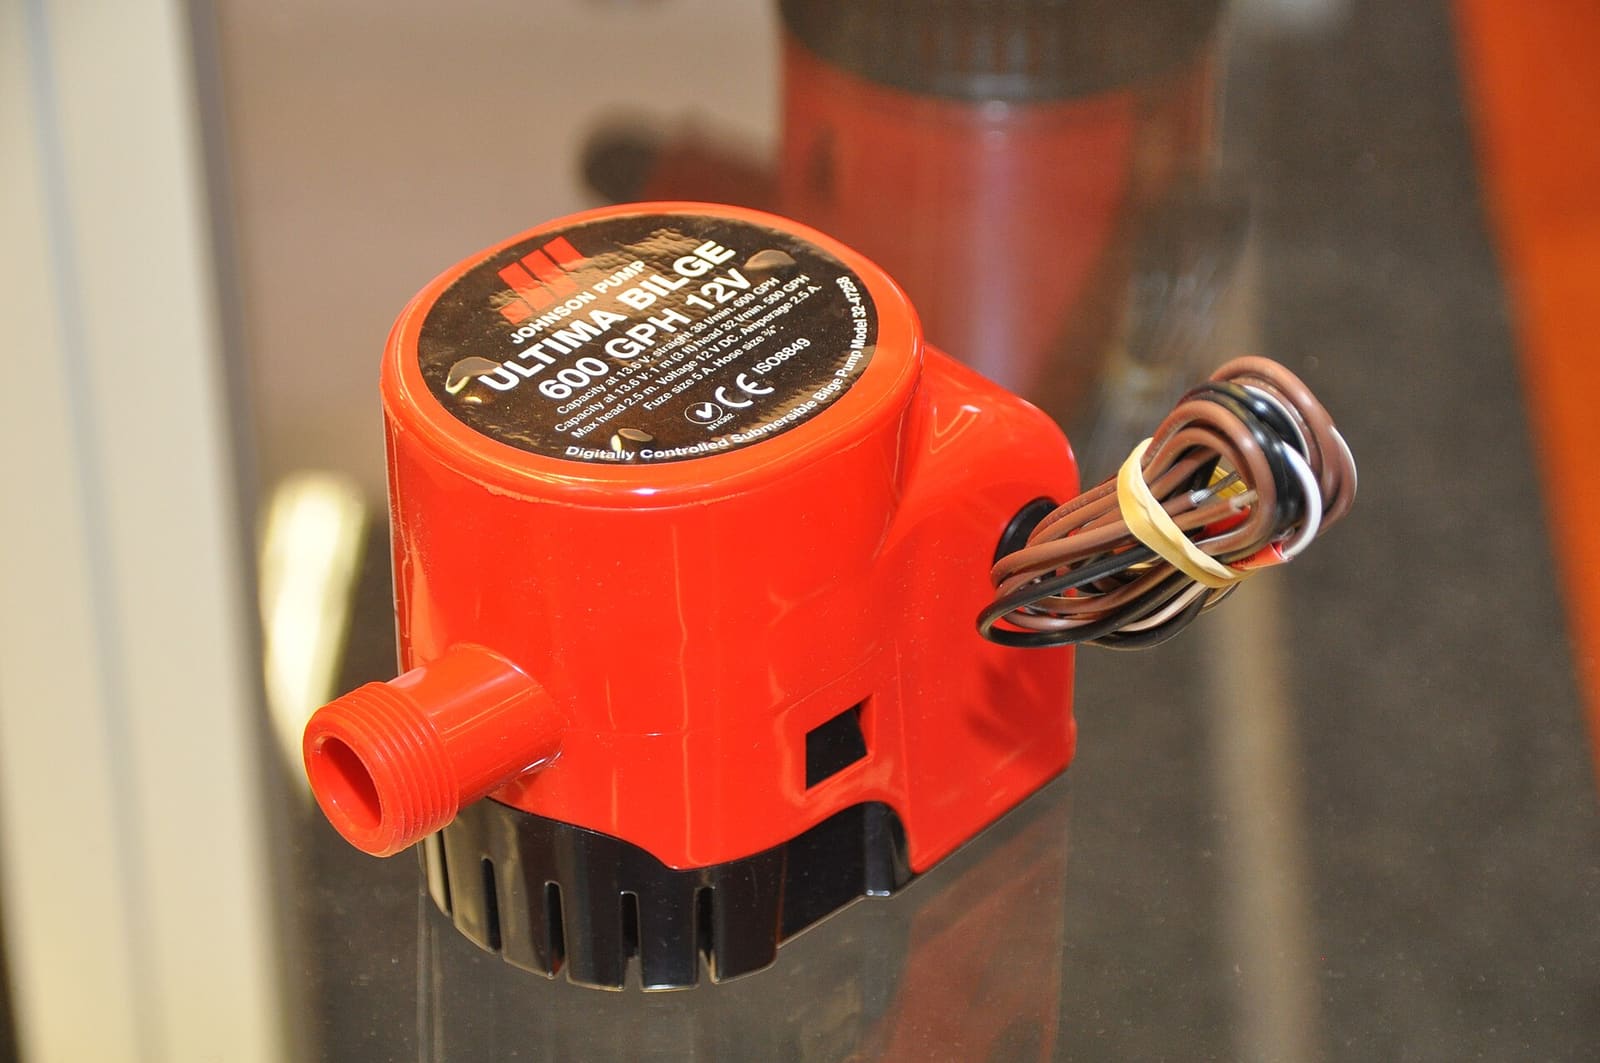
Keep a manual bilge pump or a big bucket near the kit. On a bigger boat, a portable lever-action pump mounted on a carrying board with its own length of hose (Edson, among others, sells these as kits) can be taken to whichever compartment is flooding and run without electricity. Check that your electric bilge pumps, float switches and high-water alarm all work (see the bilge pump guide). A pump buys time; the kit is what lets you get ahead of the water.
Put everything in one waterproof bag or bin clearly labeled "DAMAGE CONTROL." Stow it somewhere you can reach without lifting the engine hatch or crawling into a locker that might already be flooded: near the companionway or helm is ideal. Don't bury it under fenders and dock lines. Larger boats may want a second small kit near the engine room.
At the start of each season (and with new guests on longer trips), show people where the kit is, where each seacock is and how to close it, where the manual pump is, and how to make a MAYDAY call on VHF 16. A crew that knows the boat can start fixing while you handle the radio. Practical Sailor suggests deciding ahead of time who drives the boat, who handles the radio and navigation, and who works the leak, so nobody stands around waiting for orders; on a small boat with two aboard, that may simply be "you steer and call, I plug."
At the dock, run a short drill: time how long it takes to find the kit, open a hatch, reach each seacock and close it, and push a plug into a through-hull (with the seacock closed or the boat hauled). You'll find seized seacocks, plugs that don't fit and floorboards that are screwed down. Fix those now.
Once a year, open the kit. Replace plugs that have dried and cracked, rescue tape that has gone gummy, putty past its date, and any tool that has rusted. Check flashlight batteries. Update your through-hull list if you added a transducer or new fitting.
Common mistakes
- Plugs in a bag at the bottom of a locker instead of tied at each through-hull.
- Hardwood or plastic plugs that won't compress into an out-of-round hole.
- Relying on underwater epoxy to stop a gushing leak.
- No way to reach the hull behind a molded liner, and no tools to cut through it.
- Fighting the leak first and calling for help last. Call early; you can always cancel.
- Never testing the seacocks, so the one you need is frozen open.
When to call a pro
- Any time water is coming in faster than you can stop it: call USCG on VHF 16 (MAYDAY) or 911, and Sea Tow or TowBoatUS
- After any emergency patch: have the boat hauled and the damage properly repaired before using it again
- A seacock that won't close, or a through-hull, hose or bellows that is cracked or corroded (haul-out job)
- Any hull damage after a grounding or strike, even if it looks minor: have a surveyor or yard check below the waterline
Tips
- Write the size of each through-hull on its plug with a marker.
- Keep a small "grab kit" (plugs, rescue tape, a few clamps, a flashlight) at the helm of a small boat, where you can reach it without moving.
- A high-water alarm separate from the bilge pump float gives you the early warning that makes all of this work.
- If you know where the leak is and it's safe, shifting crew and gear to raise that spot above the waterline can slow it while you work.
Official references
We read these to write this guide. Your engine's own manual always wins.
- BoatUS – Facing A Flooding Emergency (2022)
- BoatUS – Keeping Your Boat Afloat (analysis of sinking claims)
- BoatUS – How To Stop A Boat From Sinking (2016)
- Edson Marine – Portable Pump Kits
- USCG Navigation Center – Radio Information for Boaters (MAYDAY procedure)
- Practical Sailor – TruPlug is a Handy Emergency-kit Tool
- Practical Sailor – Emergency Repairs at Sea: Jury-Rigging Rudders, Rigs and Keels
Safety: BoatMend is for information only and does not replace a certified marine technician. You are responsible for your safety and your boat. Read the full disclaimer.
Last updated 2026-10-25
Related guides
What to Do When Your Boat Is Taking On Water: Emergency Steps and Prevention
A step-by-step emergency plan for water coming into the boat - life jackets on, call for help early on VHF 16, find and slow the leak, pump, and head for shallow water if needed - plus the maintenance checklist that prevents most sinkings.
How to Inspect and Exercise Seacocks, Through-Hulls and Hose Clamps
Check every hole in your hull below the waterline, work each seacock open and closed, and inspect the hoses and clamps attached to them. A single failed fitting or hose is one of the most common reasons boats sink at the dock.
How to Test and Clean Your Bilge Pump and Float Switch
Make sure your bilge pump actually moves water overboard, both on the manual switch and automatically through the float switch. A working bilge pump is one of the most important safety systems on any boat that stays in the water.
How to Install a Backup Bilge Pump and High-Water Alarm
Add a second, larger automatic bilge pump mounted above the primary, with its own overboard discharge and a loud high-water alarm wired so it works even with the battery switch off, then test it every month so it buys you real time if the boat starts taking on water.
Emergency Drills for Your Crew: Engine Failure, Fire, Steering Loss and Man Overboard
Practice what everyone aboard does when the engine quits, a fire starts, the steering fails or someone falls in. A few short drills each season turn panic into a plan, and teach your crew to anchor, call for help on VHF 16 or DSC, and get a tow.
Onboard Tool Kit and Spare Parts: What to Carry on a Day Boat or a Cruiser
Build a tool kit and spares box that fits your boat and how far you go. A blown fuse, a clogged fuel filter or a dinged prop shouldn't end the day or turn into an expensive tow.
Where Is the Water in My Bilge Coming From? A Step-by-Step Leak Finder
Track down the source of water in your bilge, from the cheapest clues (when it appears, salt or fresh) to the usual suspects: rain and deck drains, the freshwater system, AC condensate, the shaft seal, raw-water hoses and through-hulls. Fix the leak instead of relying on the bilge pump.