How to Re-Caulk Teak Deck Seams (and When the Deck Is Beyond Saving)
Spot failing teak deck seams, reef out the old caulk, prep and bond-break the seams, lay in a teak-specific caulk and sand it flush. Done right, fresh seams stop deck leaks and add years to the deck; this guide also shows the signs that a deck is too worn to recaulk.

Time
8 h
Shop would charge
$800-8000
Applies to
All engines · Sailboat, Cabin cruiser, Yacht
Safety first: Acetone, primers and caulk cleaners are flammable and strong-smelling: work with good airflow, no smoking, and keep them out of the cabin. Teak dust irritates skin and lungs, so wear a dust mask or respirator when sanding. If water is coming through the deck into the cabin and the deck feels soft or spongy underneath, the core may be wet; get a surveyor or yard to look before you spend days recaulking.
Owners often ask
- My teak deck seams are cracking and pulling away. Can I just add caulk on top?
- How do I know if my teak deck is too worn to recaulk?
This guide walks you through it. Still stuck? Ask the AI Mechanic about your engine.
Tools
- Seam reefing hook (a hooked scraper made for pulling out deck caulk)
- Sharp utility knife with plenty of spare blades
- Narrow chisel or seam sander, or sandpaper wrapped around a thin stick
- Shop vacuum with a crevice tool
- Caulking gun (or a sausage gun if your caulk comes in foil packs)
- Flexible putty knife or plastic spreader
- Sanding block or a random-orbit sander with a dust bag
- Painter's tape (optional, for small repairs next to varnish or gelcoat)
- Kneeling pads
- Nitrile gloves, safety glasses and a dust mask or respirator
Parts & supplies
- Teak deck seam caulk (one system from one maker, see step 4)
- Primer, only if your caulk maker requires it on teak
- Bond breaker tape for deeper seams (the type your caulk maker recommends)
- Acetone or the cleaner your caulk maker names
- Clean, lint-free rags
Before you start
Why seams matter: On a traditional teak deck, the black (or gray) rubbery lines between the planks are the waterproofing. The planks swell and shrink with sun, rain, heat and cold, and the caulk has to stretch and squeeze with them for years. When it hardens, cracks or lets go of the wood, rain gets under the planks, around the fastenings and eventually into the cabin or the deck core. Practical Sailor jokes that there are two kinds of teak deck owners: the ones with leaks, and the ones who have them and don't know it yet.
Repair or recaulk the whole deck: A few bad seams can be fixed one at a time. If failures are everywhere, recaulking the whole deck is a big, slow, knee-wrecking project, often several weekends even on a modest boat. Be honest about the time before you start.
Sunken but still stuck: TDS says caulk that has only settled below the deck surface, but is still bonded to both plank edges, can often be topped up instead of reefed out. On older, fully cured caulk it cuts a shallow V groove into the old bead, wipes it with acetone and fills it. Seams that have pulled away from the wood, cracked, gone brittle or let water in still need the full job below.
Weather: You need a dry deck and dry seams. Plan a stretch of dry days, keep the work out of hard midday sun if the label warns about heat, and cover the deck at night if rain or dew is likely. Check the caulk label for its temperature range.
Steps
Walk the whole deck in good light, then again right after rain or a washdown, when bad seams stay dark longer. Signs of failed seams:
- Caulk pulled away from one or both plank edges, leaving a hairline gap
- Cracks, splits or chunks missing from the caulk
- Caulk that has gone hard, shrunk below the deck surface, or lifted above it
- Black mildew growing in gaps along the seams
- Drips, stains or a musty smell below, under that part of the deck
Mark every bad seam with a bit of tape so you can plan the work.
Two quick checks from Teakdecking Systems (TDS): press a fingernail into the caulk. Healthy caulk is firm but takes a slight mark; if it leaves no mark at all and feels brittle, it has hardened past the point where it can flex with the wood. And if the cabin gets wet after rain or a washdown and you can't blame a fitting or hatch, suspect the seams. TDS says there is no fixed replacement age: condition decides. It gives roughly 10 to 15 years for its own caulk in a temperate climate and less in strong sun or heavy use (a maker's figure, not a rule).

Weathered teak with black seams: look closely along each line for gaps where the caulk has let go of the wood. Photo: Stefan Götte / Wikimedia Commons · Public domain Recaulking only makes sense if there is enough wood left. Each sanding and every harsh cleaning takes a little off the top. Warning signs that the deck may be past saving:
- The wooden plugs (bungs) over the screws are paper-thin, missing, or screw heads show through
- The seams are so shallow there is barely room for a bead of caulk
- Planks are loose, cracked, or lift when you step on them
- The deck underneath is soft, or leaks are coming from many places at once
If you see these, get an opinion from a teak deck specialist or surveyor before buying caulk. Replacement, a partial refit or a synthetic deck may make more sense. If you look at synthetic (PVC) "teak," BoatUS notes the strips are usually built into panels from your templates, warranties run from about five to 20 years depending on brand and installer, and the better materials have the color and the caulk lines running all the way through so scuffs can be sanded out. They're glued down to stay; one maker told BoatUS it's easier to buy a new boat than to remove PVC decking.
Pick a short, out-of-the-way seam and do steps 5 through 12 on it before committing to the whole deck. You will learn how hard the old caulk is to remove, how your caulk handles, and how long it really takes to cure in your weather.
Use a caulk sold specifically for teak deck seams, and use the cleaner, primer and tape that its maker specifies. Practical Sailor's test of teak deck caulks covered polysulfide, polyether, silyl-modified polymer and silicone-based products, and found their prep steps differ:
- Polysulfide such as BoatLIFE Life-Calk: BoatLIFE sells it for teak decks and says it resists teak oils and fuel. Practical Sailor notes it needs a primer on oily woods like teak and takes days to become tack-free. BoatLIFE also makes a teak deck sealant that, per Practical Sailor, skips the primer.
- One-part teak seam caulks such as Teakdecking Systems SIS 440: TDS says it needs no primer on properly prepared seam walls.
- Other systems use a dedicated cleaner and primer with a waiting window before caulking.
Practical Sailor also warns that silicone-based caulks can cause "fisheye" in varnish or paint nearby if surfaces are not cleaned well. Do not mix brands or types in the same seam, and do not put new caulk over old.
Run a sharp utility knife down both sides of the seam, right against the wood, to cut the caulk free from the plank edges. Then pull the strip out with a reefing hook. Work slowly and keep the blade and hook vertical so you do not chip or round over the plank edges or make the seam wider. Some pros use a router with a guide on big jobs, but one slip cuts into the planks; leave power tools to people who have used them on a deck before. Watch for screws and plugs as you go.
New caulk sticks to clean wood, not to leftover caulk. Scrape and sand both side walls of the seam until there is no old caulk or gray, dead wood left; TDS uses a seam sander and then a solvent wipe. A strip of sandpaper wrapped around a thin stick works for a few seams. Vacuum out all the dust and debris, including from the bottom of the seam. Look at the depth: you need room for a proper bead of caulk.
Bond breaker tape goes on the bottom of the seam so the caulk sticks only to the two side walls. TDS explains why: if caulk bonds to the bottom too, it is pulled three ways every time the planks shrink, and it tears or rips away from the wood. Press the tape flat to the bottom. TDS warns not to use it in shallow seams, where the caulk nozzle tends to lift the tape and push it against the walls, which ruins the bond. Use the tape your caulk maker recommends.
Teak is oily, and that oil keeps caulk from sticking. Right before you caulk each section, wipe the seam walls with acetone or the cleaner your caulk maker names, using clean rags and changing them often (TDS recommends acetone on a fresh cloth). If your caulk requires primer on teak, brush it on the seam walls only and caulk within the time window on the label. If you miss the window, check the label for what to do next.
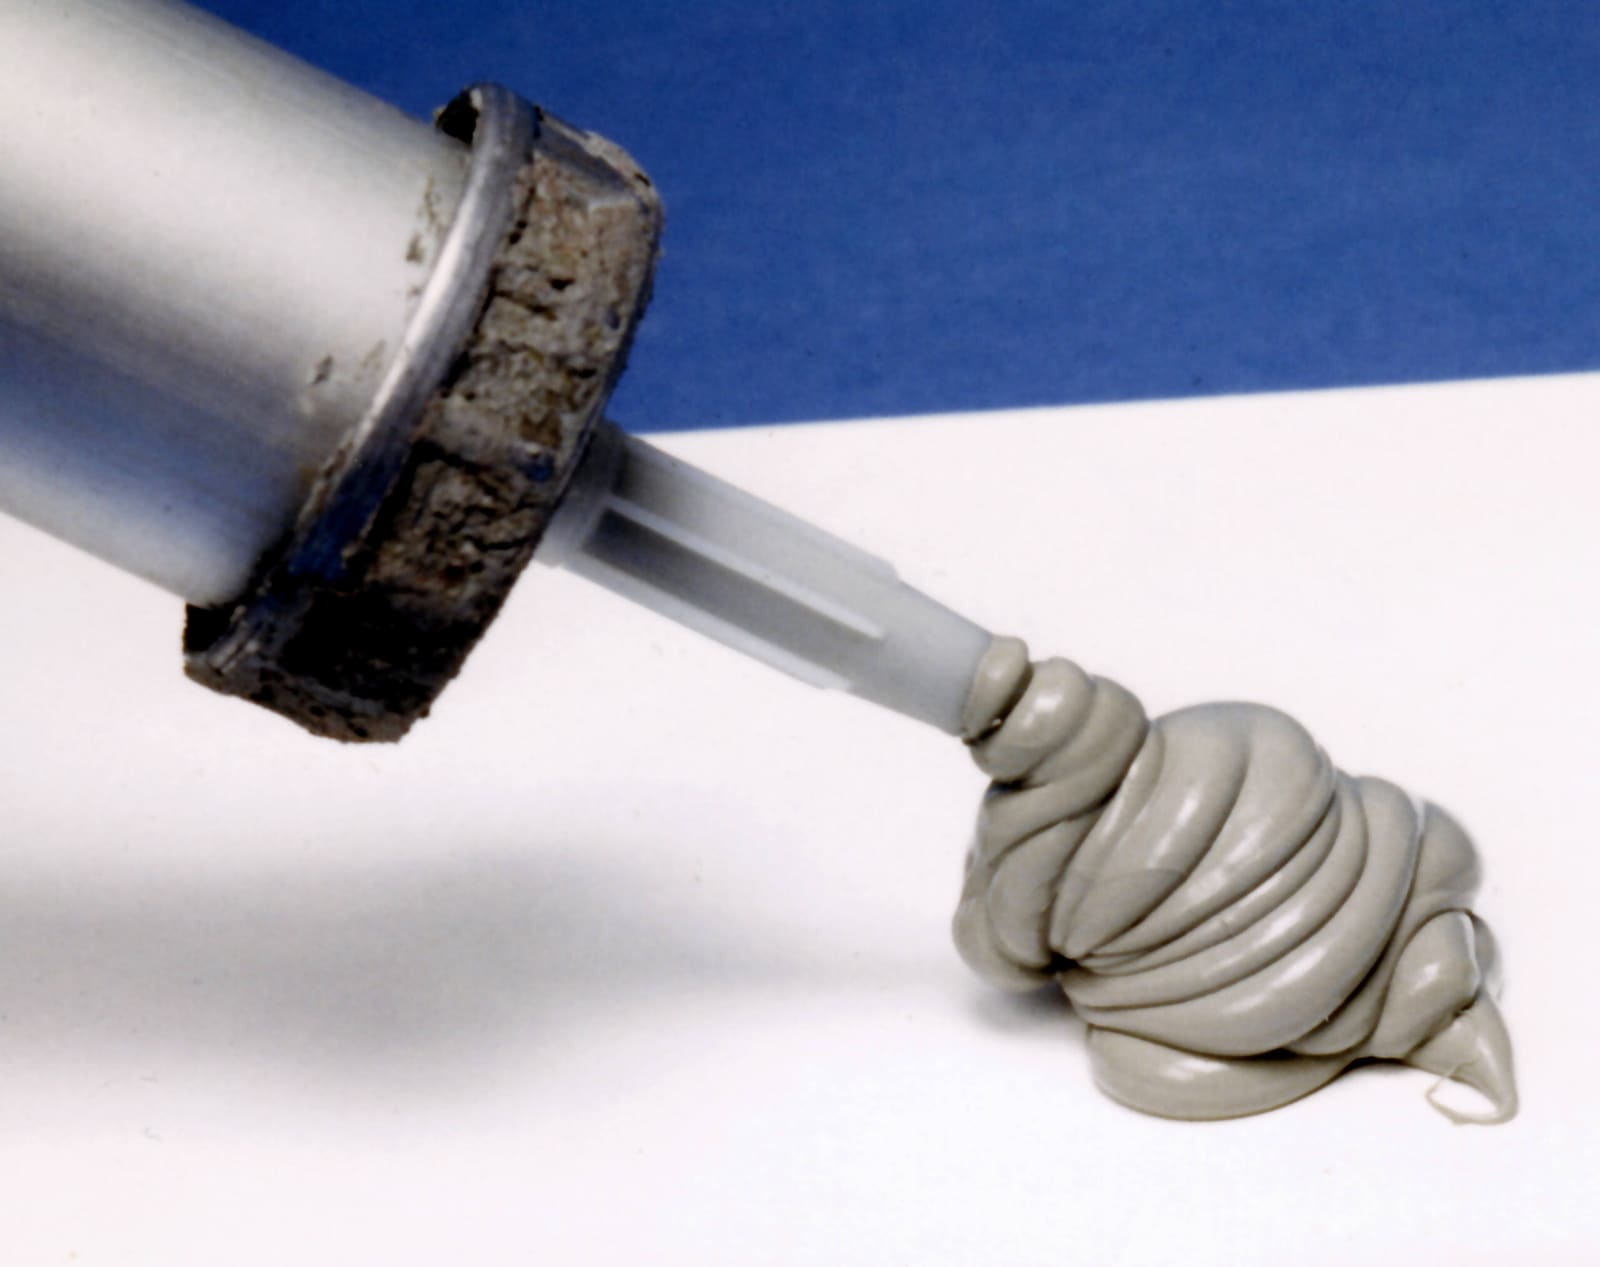
Cut the nozzle to match the seam width. Push the tip down into the seam and lay the caulk from the bottom up, pulling the gun along in one steady motion so the bead rises slightly above the deck. Stopping and starting or changing direction traps air bubbles. Overfill a little: TDS suggests buying 20 to 25 percent more caulk than the seam volume because you leave a small crown and lose some when tooling.
Right after filling a section, drag a flexible putty knife along the seam at a low angle, pressing the caulk down into the seam to push out air and make it bond to both walls. Leave it slightly proud of the wood; it will be sanded flush later. Scrape most of the smears off the planks now, while the caulk is soft. On a small repair next to varnish or gelcoat, painter's tape along both edges keeps the mess off; pull it before the caulk skins over.
Cure times vary a lot: Practical Sailor's test found products that were tack-free in minutes and others that took days, with full cure taking a week or more. Keep foot traffic and washdowns off the new seams for the time on your label, and protect them from rain if the label says to. Sanding too early tears soft caulk out of the seam.
When the label says the caulk can be sanded, take the crown down level with the planks using a sanding block or a sander with a dust bag, working along the grain. Sand only until the caulk is flush. Every pass also removes teak, and the planks never grow back. Vacuum and rinse with fresh water.
TDS lists the habits that shorten deck and seam life: acid-based two-part cleaners, bleach, harsh scrub pads and high-pressure washing. They say pressure washing opens the grain and weakens the bond between caulk and teak. Rinse with fresh water often and use a gentle teak cleaner (see the teak care guide).
TDS recommends looking over the seams once or twice a year. Look for the same signs as in step 1 and fix small failures right away, before water gets under the planks. Record which caulk you used, the date and which seams you redid in BoatMend, so the next repair uses a compatible product.
Common mistakes
- Caulking over old caulk. The new bead bonds to the old one, not the wood, and fails along the same line.
- Skipping the degrease. Teak oil on the seam walls is the classic reason new seams pull away within a season.
- Bond breaker tape in shallow seams. It gets pushed up the sides and stops the caulk from sticking where it must.
- Widening the seams while reefing. Chipped or rounded plank edges leave wide, ugly seams and less wood.
- Mixing products. A primer or cleaner from one brand with another brand's caulk may not bond.
- Sanding before full cure, or sanding too much. Soft caulk tears out, and every extra pass thins the deck.
- Pressure washing and acid cleaners. They eat the soft grain and loosen the seams you just redid.
- Recaulking a deck that is worn out. If the plugs are gone and the planks are thin, new caulk will not stop the leaks for long.
When to call a pro
- The deck feels soft or spongy, or leaks show up in many places in the cabin
- Plugs are missing and screw heads show, or planks are loose, split or lifting
- More than a few seams have failed and you do not have the time for the whole deck
- You find rot, wet core or delamination under the planks
- The boat is a yacht with a glued-down (screwless) teak deck that is coming loose; a teak deck specialist should assess it
Tips
- Work in short sections you can finish from reefing to filling in one session, so clean seams do not get dirty or wet overnight.
- Keep the caulk at room temperature before use; cold caulk is stiff and hard to push into the seam.
- The caulk maker's cleaner on a rag lifts fresh smears from the planks; test it on a hidden spot first.
- If the deck is close to the end of its life, ask about selective plank replacement before giving up on it.
- Black mildew on the caulk lines of a fiberglass boat (around consoles, hatches and gunwale seams) usually needs cleaning, not new caulk. BoatUS had good results dabbing a mild bleach-based cleanser onto the line with a cotton swab, letting it sit for hours, then rinsing very well. Anything with bleach can dull gelcoat and stain foam decking if left on, so mask nearby surfaces and rinse thoroughly.
Official references
We read these to write this guide. Your engine's own manual always wins.
- Practical Sailor – The Great Goo Chase Begins (teak caulk test, part 1)
- Practical Sailor – Teak Caulk (durability update)
- Teakdecking Systems – Do You Really Need to Use Bond Breaker Tape?
- Teakdecking Systems – Teak Deck Maintenance
- Teakdecking Systems – SIS 440 Caulk (product page and FAQ)
- Teakdecking Systems – When to Replace Teak Deck Caulking
- Teakdecking Systems – Touching Up Sunken Teak Deck Caulk
- BoatUS – Cleaning Caulk
- BoatLIFE – Life-Calk (product page)
- BoatUS – Boat Deck Alternatives (PVC teak and EVA foam)
Safety: BoatMend is for information only and does not replace a certified marine technician. You are responsible for your safety and your boat. Read the full disclaimer.
Last updated 2026-10-25
Related guides

Teak Deck and Trim Care: Clean, Oil, Seal or Leave It Natural
Keep teak decks, rails and trim looking good without wearing them away. Choose between a natural gray look, oil, sealer or varnish, and learn how to clean teak gently so you don't destroy it with harsh cleaners or a pressure washer.

How to Find and Fix Leaking Deck Hardware (Rebedding Cleats, Stanchions and Tracks)
Track down the cleat, stanchion base or track that is dripping into the cabin, then remove it, seal the deck core and bed it again with the right sealant so the leak stops for years instead of weeks. Catching it early protects the deck core from rot.
Marine Sealants Explained: 5200, 4200, 4000UV, Polysulfide, Silicone and Butyl Tape
Pick the right sealant before you bed a cleat, a through-hull, a window or a transducer. The wrong goo either leaks in a year or glues a part on so hard you damage the boat getting it off.

How to Fix Leaking Hatches and Portlights
Find out whether a leaking deck hatch or portlight is failing at the gasket, the lens or the frame, then fix it with the right seal or sealant. Learn when crazed or cracked acrylic needs a new lens and what never to put on plastic windows.

How to Prevent and Remove Mold and Mildew on Your Boat
Stop the musty smell and black spots before they start. Find and fix the water source, keep air moving, control humidity safely, and clean mold off gelcoat, vinyl and cabin surfaces with products that won't damage them.

How to Clean, Protect and Restore Non-Skid Decks
Get dirt, fish blood, rust and mildew out of textured non-skid without wearing it away, learn why ordinary wax makes it dangerously slick, and decide when worn non-skid needs a deck paint with grip additive or traction pads instead.

How to Inspect a Used Boat Before You Buy
A step-by-step checklist for looking over a used boat, from paperwork and the hull ID number to the transom, engine, compression test, sea trial and trailer. Know what to check yourself, what the red flags mean, and when to pay a marine surveyor.

How to Prepare Your Boat for an Insurance or Condition Survey
Get ready for a marine survey your insurer or lender asked for: what a SAMS or NAMS surveyor looks at, the common findings you can fix beforehand (hose clamps, seacocks, bilge, fire extinguishers, wiring), the paperwork to have ready, and how to handle the recommendations afterward.