How to Care for Your Anchor Locker and Keep the Chain Running Free
Empty, clean and drain the anchor locker, untwist and restow the rode so it runs out without jamming, tie the bitter end so it can be cut free in an emergency, and decide whether you really need a swivel. A tidy locker keeps the anchor ready when you need it fast.
Time
1 h 30 min
Shop would charge
$100-300
Applies to
All engines · Sailboat, Cabin cruiser, Yacht, Center console, Fishing boat, Bowrider / runabout, Pontoon
Safety first: Turn off the windlass breaker or isolator before you reach into the locker or handle the chain near the gypsy; a bumped foot switch can pull a hand into the chain. Wear gloves and keep fingers out of chain links that are under load. Secure the anchor on deck before you pull the rode out of the locker, so it can't run overboard. If you ever need to let the anchor go in an emergency (dragging onto rocks, fire, a fouled anchor in a building sea), slip or cut the bitter end only once everyone is clear of the rode, then call your tow service or the Coast Guard on VHF 16.
Owners often ask
- Why does my anchor chain keep jamming in the windlass or chain pipe when I drop the anchor?
- How should the end of my anchor rode be tied off inside the anchor locker?
- How do I know when my anchor chain needs replacing, and should I swap it end for end?
This guide walks you through it. Still stuck? Ask the AI Mechanic about your engine.
Tools
- Work gloves and safety glasses
- Flashlight or headlamp
- Garden hose with a spray nozzle and a stiff brush
- Bucket, sponge and rags
- Wire coat hanger, zip-tie or flexible drain snake for clearing the drain
- Sharp knife (to keep near the locker)
- Pliers and seizing wire
- Tape measure
Parts & supplies
- Nylon or polyester line for the bitter-end lashing
- Rode markers (plastic link inserts, colored zip-ties or paint) if your marks are worn
- Seizing wire for shackle pins
- Corrosion inhibitor spray for under-deck windlass terminals (if fitted)
Before you start
What you are looking after: the anchor locker (or anchor well) under the foredeck, the chain pipe or deck hole the rode drops through, the drain that lets water out of the locker, the rode itself, and the bitter end, the inboard end of the rode that keeps you from losing it all.
Why it matters: rode stows by gravity. Practical Sailor points out that many production boats have shallow lockers, so chain piles up in a cone right under the windlass, stays twisted, and jams on the way out. A wet locker with a blocked drain also rusts chain, rots rope and corrodes windlass wiring.
When: once a season at least, and after any trip where the chain came up muddy or tangled. Practical Sailor recommends pulling the whole rode out and restowing it at least once a season. Typical; adjust for how much you anchor.
Plan for space: you need a dock, a clean patch of lawn, or a long stretch of deck to lay the rode out straight. A calm day at the slip is ideal.
Steps
Switch off the windlass breaker. Make the anchor fast on deck with a chain hook, a short line to a cleat or the chain stopper so nothing can run out while you work. Remove the anchor from the bow roller if you will be pulling the whole rode.
Pull the rode out of the locker by hand and lay it in long, straight runs or big loops on the dock. Don't drop it in a heap, and don't drag chain across a concrete dock: Practical Sailor warns that dragging it over rough surfaces wears off the galvanizing and leads to rust. As it comes out, watch for kinks and twists in the chain (hockles) and for rust spots, worn links or stiff, chafed rope. Note anything to replace.
At the bottom of the locker, find how the rode is attached to the boat:
- It should be tied to a strong eye or U-bolt with a lashing of line, not shackled or wired straight to the eye.
- Practical Sailor shows a cable-tied chain as how it should never be done, because you can't release it in an emergency. Their suggested setup is a shackle on the last chain link and a length of rope tied with bowlines, so the crew can slip the knots or cut the line from on deck instead of digging in the locker.
- Make the lashing long enough that, with all the rode out, the knot or line reaches up where you can get to it with a knife. Keep a knife near the locker.
Replace a lashing that is stiff, faded or chafed.
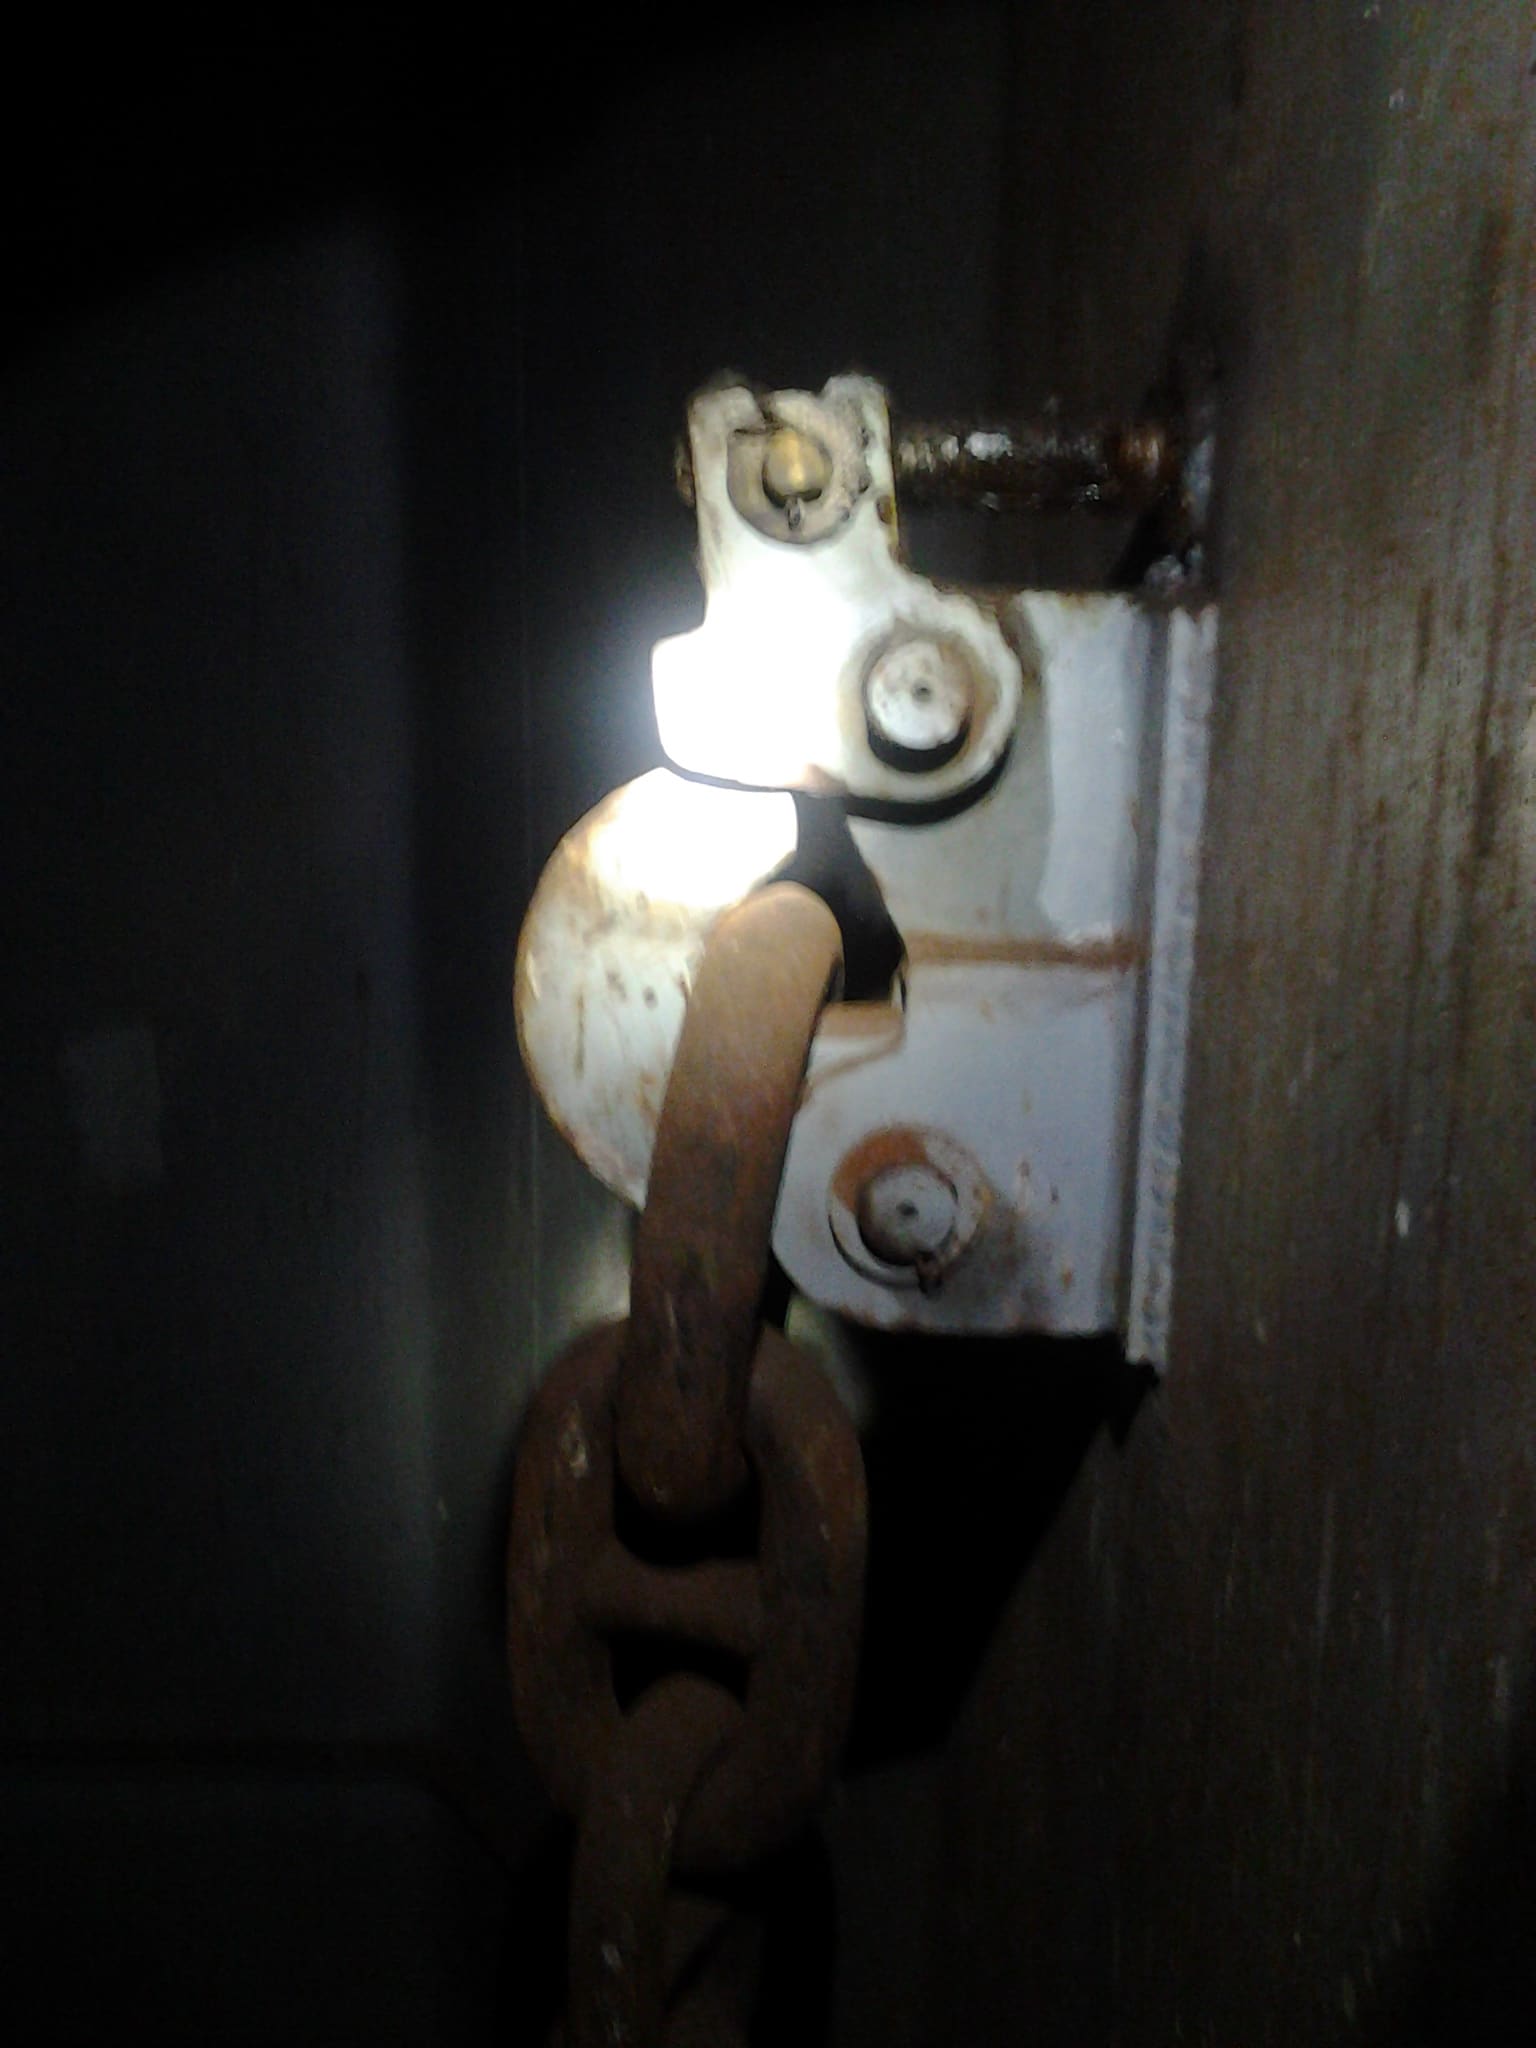
Photo: Ciacho5 / Wikimedia Commons · CC BY-SA 3.0 On big ships the chain end is held by a release fitting like this one. On a recreational boat the same idea is done more simply: a line you can untie or cut.
With the locker empty, shine a light in. Scoop out mud, shells and weed. Rinse with fresh water and scrub the floor and walls. Practical Sailor found that salt water left standing in an anchor well evaporates and leaves salt behind, which mixes with bottom mud and turns into a puddle of rust, even on new boats.
Most anchor lockers drain overboard through a small hole or hose near the bottom. Pour in a bucket of water and watch it go. If it pools, clear the drain with a coat hanger or small snake, from inside and from the outside opening. The locker should empty completely when the boat floats at rest. If the drain hose leads into the bilge rather than overboard, or you can't find a drain at all, ask a yard about it.
If you have a vertical windlass, its motor and wiring often hang inside the locker. Look for green corrosion on terminals, a wet motor case or loose wires. Practical Sailor warns that lockers flood in heavy weather and suggests keeping the windlass breaker outside the locker and switched off when not in use. Clean and protect terminals (see /guides/anchor-windlass-care).
Close the locker lid and check it latches firmly and the gasket seals. A loose lid lets in lots of water when the bow buries in waves. Look down the chain pipe for chipped edges or rust. On many boats the chain pipe is open on one side so you can clear a jam; know where yours is before you need it.
With the chain laid out straight, let it untwist. Practical Sailor's cruising trick at sea: let the anchor hang off the bow in calm deep water and let the chain spin free before you bring it up. At the dock, twist sections back by hand until the links lie flat. Rough galvanizing and weld spatter make chain hockle more, so badly worn or lumpy chain may need regalvanizing or replacing.
Consider swapping the chain end for end. Chain doesn't wear evenly: the end that goes out every time usually loses its zinc coating first, while the inboard end rarely leaves the locker. Practical Sailor's ground-tackle advice is to swap all-chain rode end for end once a year so the galvanizing wears evenly, and to regalvanize or replace chain once rust starts to show. They add that chain should only be regalvanized about twice before it's time for new chain. If you swap ends, move the anchor shackle and bitter-end lashing to their new ends and recheck your depth marks in the next step, since they now count from the other end.
Check your depth marks while the rode is laid out. BoatUS suggests marks at a set interval (they like 30 feet; 25 or 50 also work), using colored plastic link inserts, zip-ties, paint or ribbon on rope. If you have a windlass, make sure the markers you choose pass over the gypsy without jamming. Painted marks wear off and make regalvanizing messier, so check them every season. See /guides/anchor-rode-scope for how much to let out.
Look at the shackle between chain and anchor. The pin should be tight and seized with wire. Replace any shackle with worn threads or a bent pin.
On swivels, Practical Sailor is firmly against them, especially stainless ones: they have seen many fail, often with no warning, and a swivel attached straight to the anchor can be bent when the pull comes from the side. Some windlass makers recommend a swivel, so opinions differ. If you use one:
- Pick one whose maker publishes its strength when loaded from the side, not just a straight pull.
- Consider a short length of chain or a shackle between swivel and anchor so it can't be levered sideways.
- Inspect it every time the anchor is on deck, and replace any that is bent. Stainless can't be safely bent back.
Before buying a swivel to cure twisted chain, try the other steps here first.
Feed the rode back into the locker slowly, rope end first if it is a mixed rode, letting it pile loosely in layers. If the locker is shallow, push the pile flat with a gloved hand as it builds so it doesn't cone up under the windlass. BoatUS notes windlass makers want at least about a foot of clear space between the top of the stowed rode and the top of the locker; more is better. If yours has less, keep less rode aboard, or ask a yard about shortening the chain pipe.
Reinstall the anchor, turn the breaker back on, and run out and recover a few feet of chain to check it feeds smoothly. Note the date, the condition of chain and rope, and any parts you replaced in your BoatMend log.
Common mistakes
- A shackled, wired or zip-tied bitter end that can't be released when you need to slip the anchor in a hurry.
- No bitter end at all. The whole rode follows the anchor to the bottom.
- A blocked locker drain leaving chain sitting in salt water and mud.
- Letting chain cone up under a shallow chain pipe, which leads to jams on the next drop.
- Using a stainless swivel straight on the anchor and never inspecting it.
- Forgetting the windlass wiring that lives in the wet locker.
When to call a pro
- The locker drains into the bilge, has no drain, or water collects even after you clear it
- The eye or U-bolt that holds the bitter end is loose, rusted or pulling out of the bulkhead
- The deck, windlass base or chain pipe area is cracked, soft or leaking into the cabin (see /guides/deck-core-moisture)
- The chain is badly rusted, pitted or the links are worn thin: ask a rigger or chandlery about regalvanizing or replacement
- The windlass motor or wiring in the locker shows heavy corrosion or gets hot
Tips
- Tie a small loop of line through the last few links so you can find the bitter end by feel in the dark.
- Hose the chain with fresh water as it comes aboard to keep mud out of the locker.
- After a rough passage, open the locker and knock down any pile before you anchor.
- Take a photo of how the rode is stowed when it runs well, so anyone aboard can copy it.
Official references
We read these to write this guide. Your engine's own manual always wins.
- Practical Sailor – Chain Jams and Other Anchor Windlass Woes
- Practical Sailor – Broken Anchor Swivels and the Tales They Tell
- Practical Sailor – Anchor Lockers Part I
- Practical Sailor – Anchor Lockers II
- BoatUS – Anchor Windlasses (locker depth and restowing the rode)
- BoatUS – Marking Anchor Chain
- Practical Sailor – Ground Tackle Inspection Tips (end-for-ending and regalvanizing chain)
Safety: BoatMend is for information only and does not replace a certified marine technician. You are responsible for your safety and your boat. Read the full disclaimer.
Last updated 2026-10-26
Related guides
How to Maintain an Anchor Windlass and Inspect and Mark Your Anchor Rode
Keep your electric windlass working with a seasonal clean-and-grease, sort out a dead or slow windlass from the breaker and solenoid to the motor, and inspect, mark and splice your chain and rope rode. Your anchor is a safety system; this guide keeps every link of it ready.
Anchor Basics: Choosing the Anchor, Rode and Scope, Setting It and Checking Your Gear
Match your anchor to the bottom you usually anchor in, put together a chain-and-nylon rode, let out enough scope for the depth and weather, set and check the anchor, use an anchor alarm, and inspect the rode, splices and shackles every season so the weakest link isn't hiding in your ground tackle.
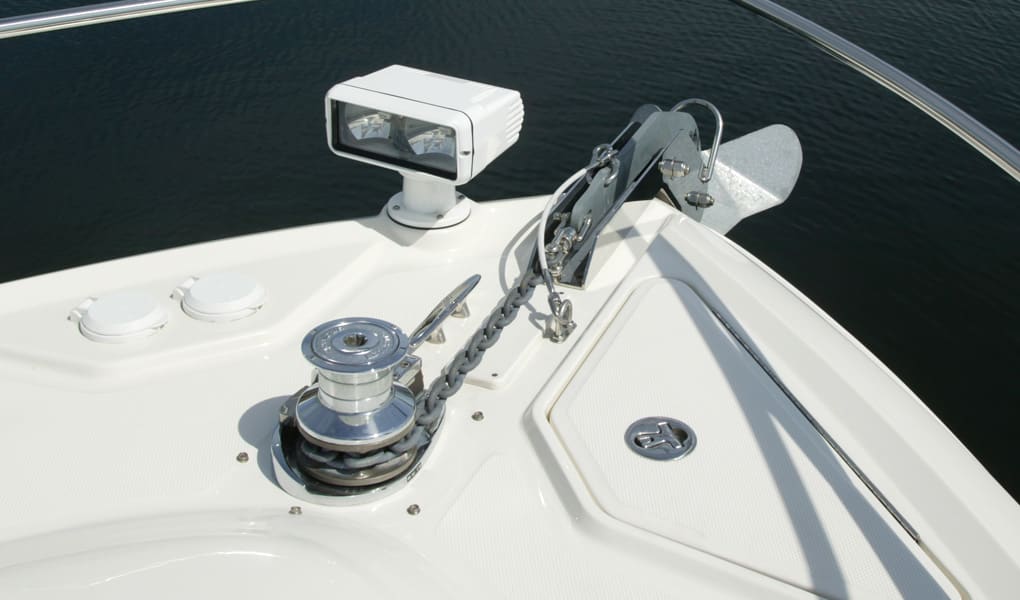
Powered Winch and Windlass Safety: Keep Fingers Clear and Power Within Reach
Electric and hydraulic winches and anchor windlasses can crush hands and pull a person into the drum in seconds. Learn where switches and the emergency power cutoff belong, how to keep hands and lines safe, why the windlass should never hold the boat, and how to brief your crew.
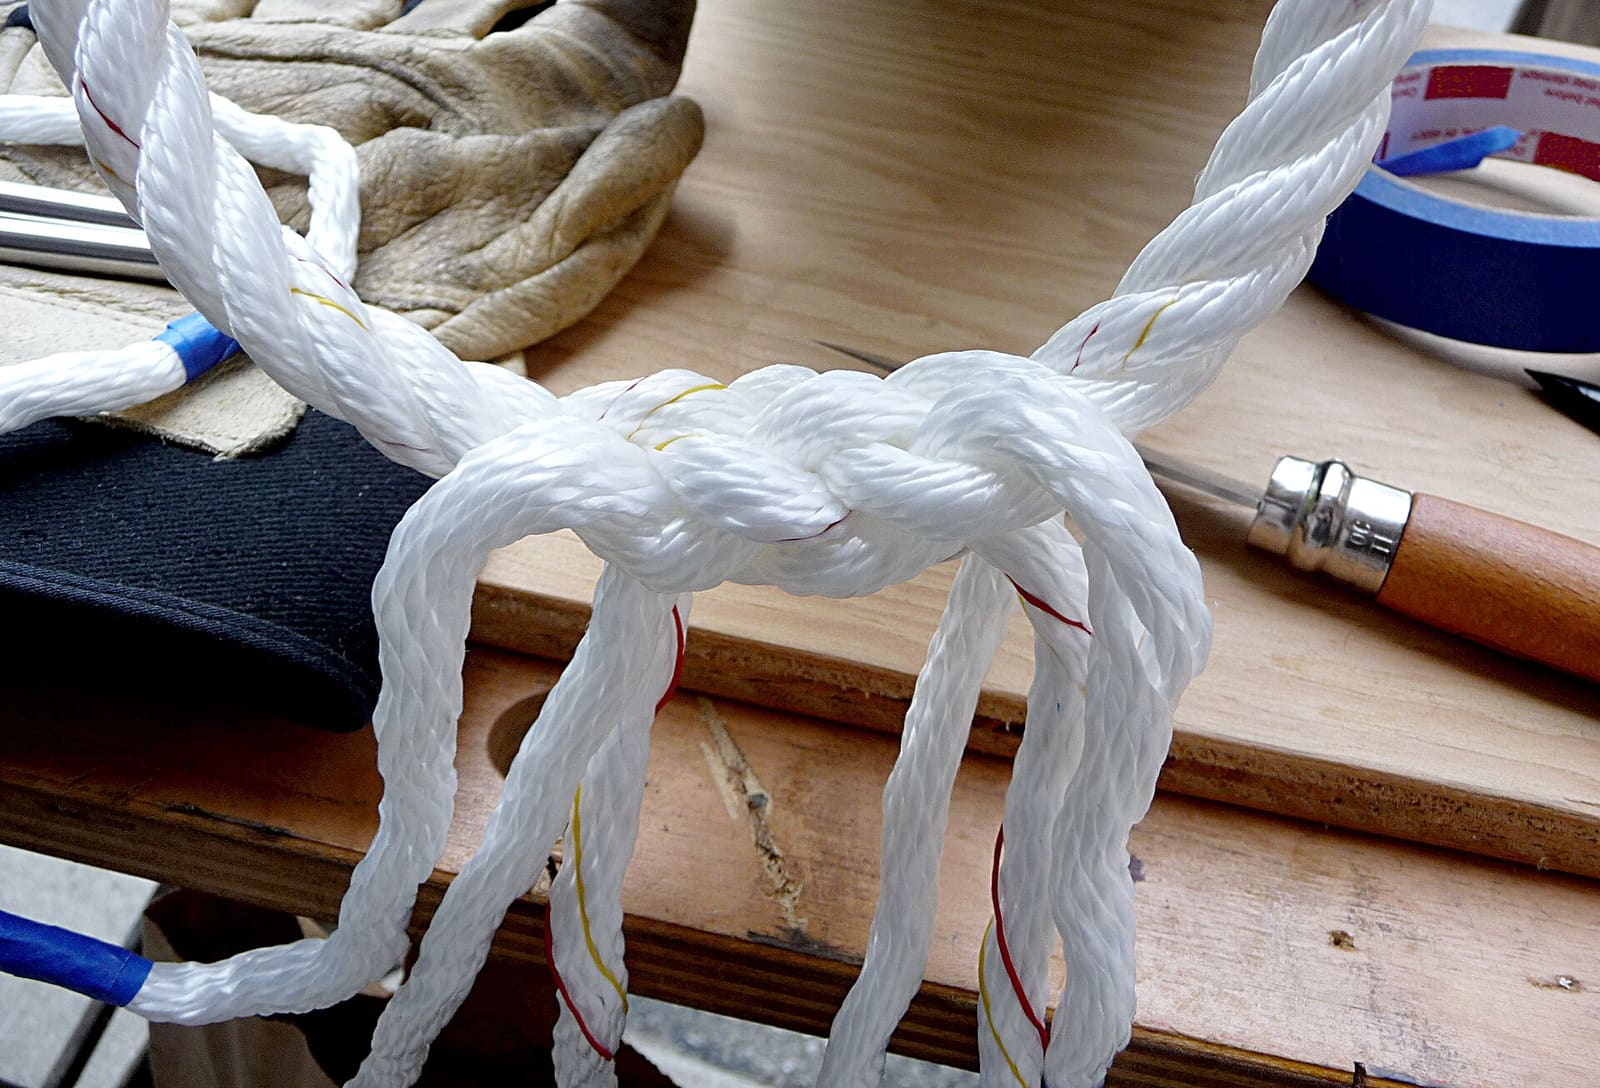
Basic Rope Work for Boat Owners - Eye Splices, Whipping and Sealing Line Ends
Learn the rope skills every owner uses: put an eye splice in three-strand dock or anchor line, stop line ends from unraveling with a whipping or by melting them, know when double-braid splicing is worth it or when to buy pre-spliced line, and inspect splices so you retire a line before it fails.
How to Prevent and Remove Mold and Mildew on Your Boat
Stop the musty smell and black spots before they start. Find and fix the water source, keep air moving, control humidity safely, and clean mold off gelcoat, vinyl and cabin surfaces with products that won't damage them.
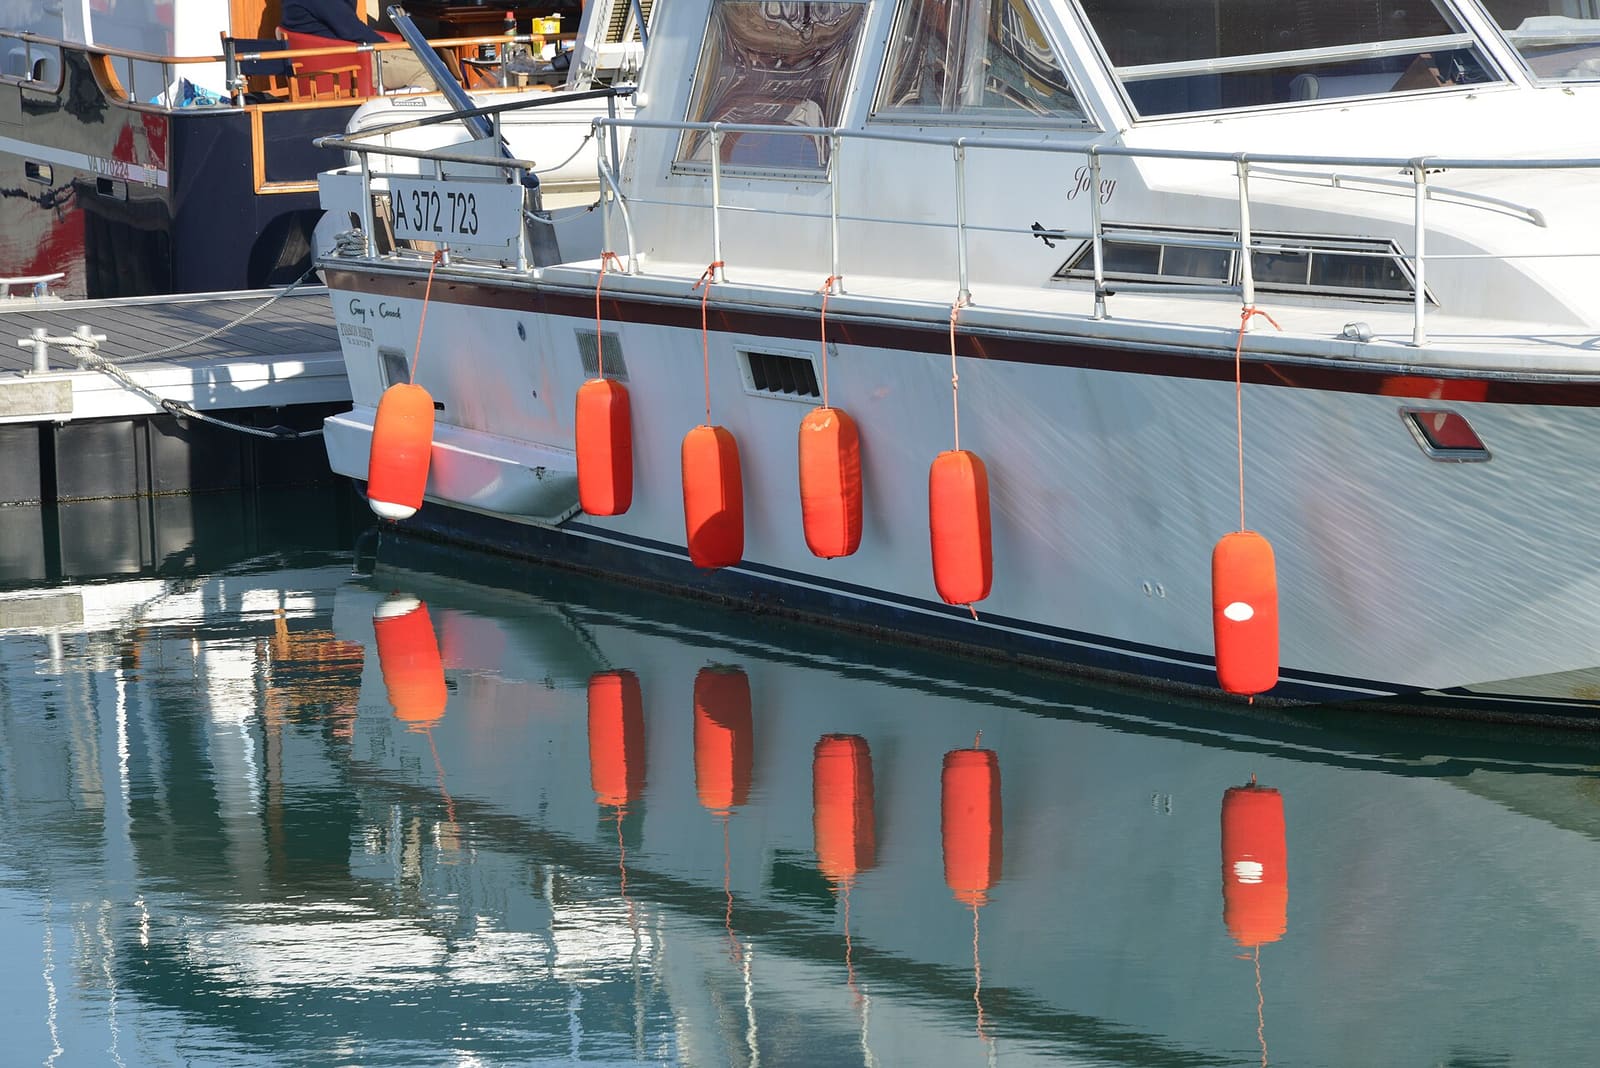
How to Size, Rig and Inspect Dock Lines and Fenders
Pick the right dock line diameter and fender size for your boat, set up bow, stern and spring lines in a slip, add chafe gear, inspect for wear and UV damage, and double everything up before a storm.