How to Maintain an Anchor Windlass and Inspect and Mark Your Anchor Rode
Keep your electric windlass working with a seasonal clean-and-grease, sort out a dead or slow windlass from the breaker and solenoid to the motor, and inspect, mark and splice your chain and rope rode. Your anchor is a safety system; this guide keeps every link of it ready.
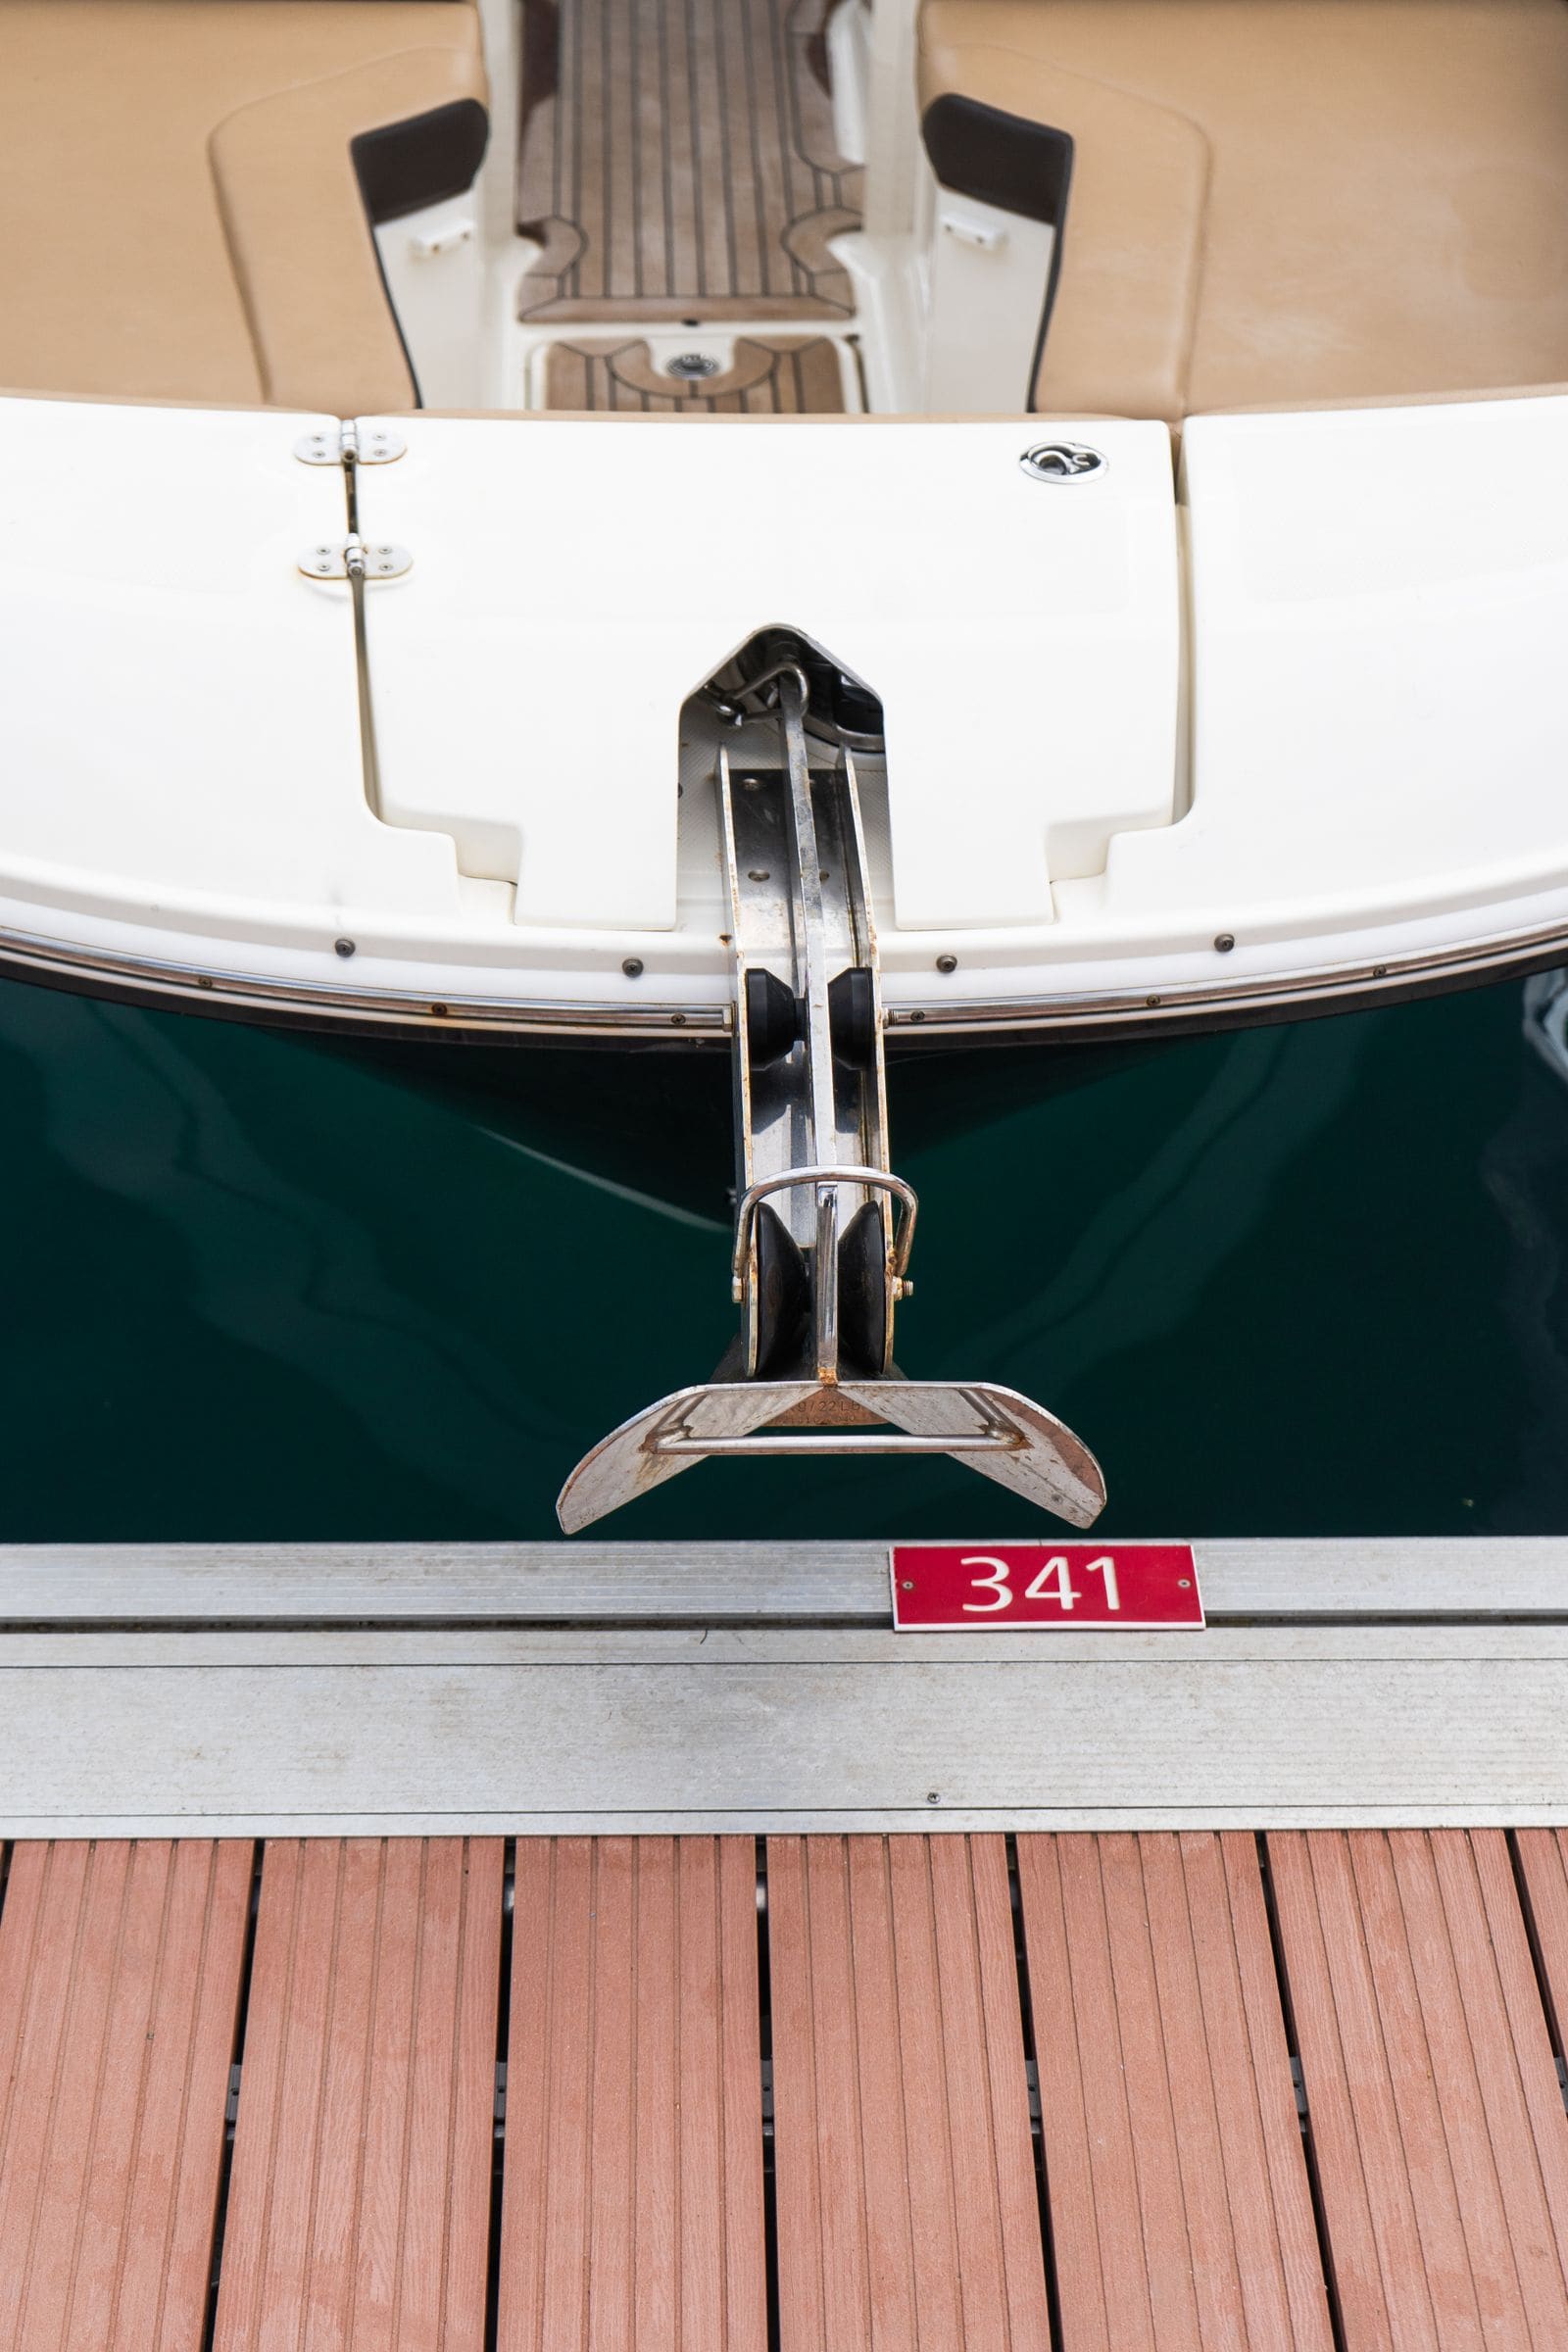
Time
3 h
Shop would charge
$200-600
Applies to
All engines · Cabin cruiser, Yacht, Sailboat, Center console, Fishing boat
Safety first: A windlass motor draws more current than almost anything else aboard, and a running chain can crush fingers. Before any hands-on work, turn off the windlass breaker or isolator (or the main battery switch) and secure the anchor so the chain can't run out. Keep hands, feet and loose clothing away from the gypsy whenever the windlass has power. If wiring or terminals get hot, smell burnt or spark, stop and have a marine electrician check it.
Owners often ask
- My anchor windlass just clicks and won't pull the chain. What should I check?
- What's a simple way to mark my anchor chain so I know how much rode is out?
This guide walks you through it. Still stuck? Ask the AI Mechanic about your engine.
Tools
- Your windlass owner's manual with its exploded drawing
- Socket set, Allen keys and screwdrivers to fit your windlass
- Chain hook or short line to secure the anchor
- Degreaser, rags, toothbrush, abrasive pad and a stainless wire brush
- Multimeter (digital voltmeter)
- Clean towel to lay parts on in order
- Spray paint or rode markers, tape measure
- Eye protection and work gloves
Parts & supplies
- Waterproof marine grease recommended by the windlass maker
- Anti-seize compound for stainless fasteners in aluminum (such as Tef-Gel)
- Dielectric or terminal grease and a corrosion-inhibiting spray
- Gear oil specified in your windlass manual, if it has a gearbox you can service
- Stainless seizing wire for shackle pins
Before you start
Know your windlass: a vertical windlass has the chain wheel (gypsy) on deck and the motor and gearbox below deck. A horizontal windlass sits entirely on deck. Many also have a rope drum (capstan), a clutch to let the anchor free-fall and a manual override.
How often: Maxwell recommends removing and greasing the above-deck parts before the season and repeating the checks every six months and at the end of the season. Practical Sailor says lay the whole rode out and inspect it at least once a year. Typical; confirm in your windlass manual.
Use it right, and it lasts: Maxwell's own rules are clear. A windlass is built to lift a free anchor, not to hold the boat:
- Run the engine while raising or lowering the anchor (it protects the batteries)
- Motor up to the anchor; don't use the windlass to drag the boat to it
- If the anchor is stuck, take the load on a chain stopper and break it out with the engine
- Once anchored, put the load on a chain stopper, snubber or cleat, never on the windlass
- Wait for the windlass to stop before switching direction
- Turn the windlass isolator off when you leave the boat
Steps
Turn off the windlass breaker or isolator, or the main battery switch. Secure the anchor to a cleat with a chain hook or a short line so it can't move, and block the chain pipe so chain can't slide back down into the locker (BoatUS suggests a large screwdriver through a link).
Rinse off salt, mud and sand. Look for corrosion, especially the white powder on aluminum castings, cracks around the base and a base that isn't sitting flat on the deck. Clear mud from the crevices around the base so the deck drains.
Following your manual, remove the clutch handle nut, outer clutch cone and chain wheel (gypsy). Lay parts on a towel in the order they came off. Clean old grease, salt and grit off every part. Check the clutch cone mating surfaces and the gypsy for heavy scoring or wear. A worn gypsy lets chain jump.
Lightly grease the clutch cones, shaft and any plastic spacers with the maker's waterproof marine grease. Maxwell calls periodic greasing of the clutch cones essential. On models with a brake band, clean it and the surface under it and leave them dry: BoatUS warns never to grease brake surfaces.
Where stainless screws thread into an aluminum body, take them out one at a time, clean them and put them back with anti-seize such as Tef-Gel. That stops them from corroding solid. Do one at a time so you don't open the gearbox by accident.
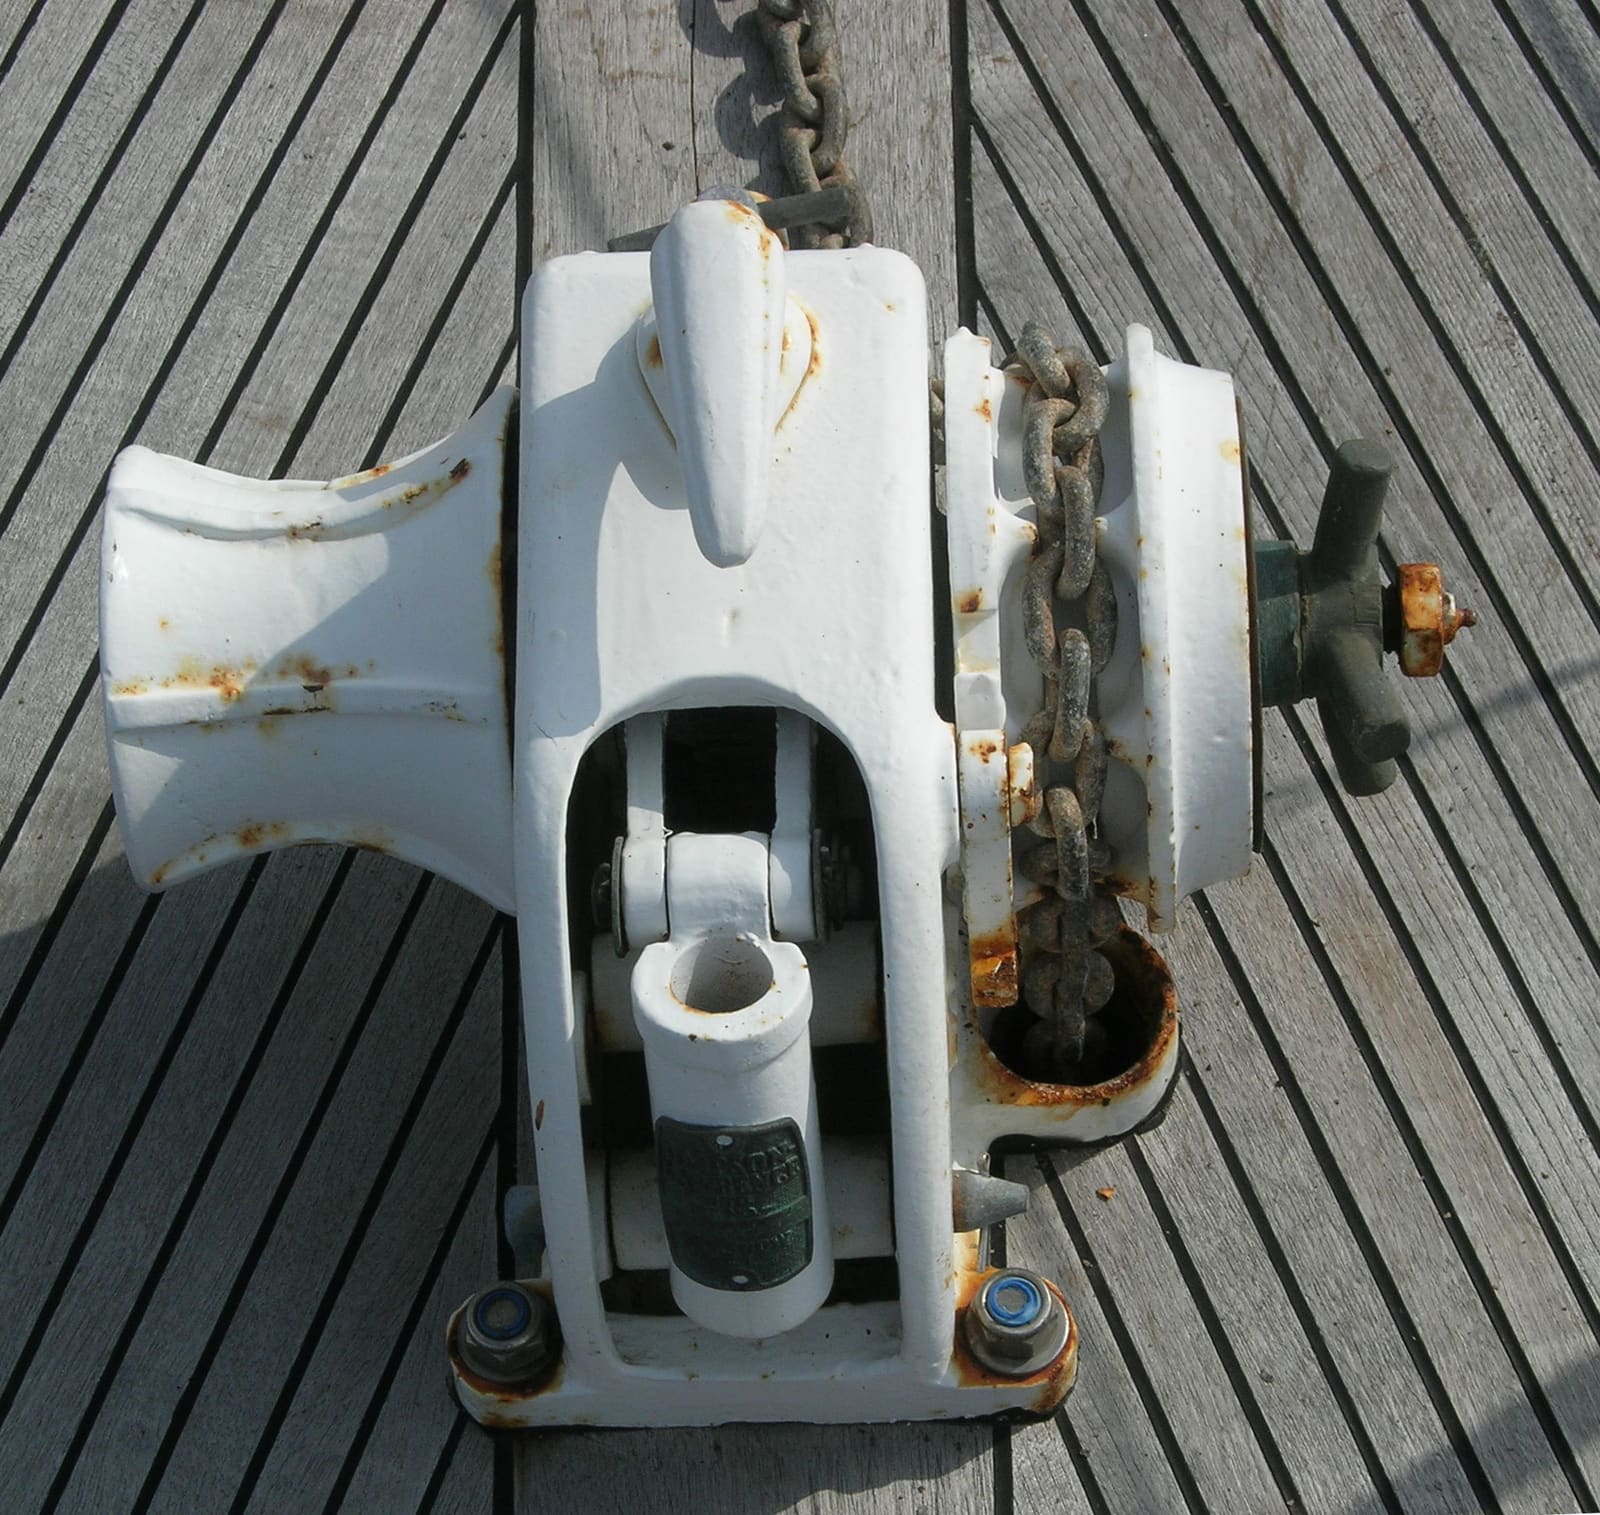
A horizontal windlass: chain wheel (gypsy) on one side, warping drum on the other, chain feeding down the chain pipe. Photo: Remi Jouan / Wikimedia Commons · CC BY-SA 3.0 - Motor on deck (horizontal): check the cover gasket or O-ring that keeps water out; BoatUS treats it as critical.
- Motor below deck (vertical): look for rust, water running down the shaft and flaking paint. Maxwell says neglect of the electric motor is one of the most common causes of windlass failure.
- Gearbox: if yours has a sight glass or fill plug, check the oil level. BoatUS says oil that looks milky or gooey has water in it and should be changed; gritty oil means internal wear for a pro to look at. Some gearboxes are sealed and only serviced at long intervals. Use the oil type and level in your manual.
Under deck, check the terminals on the motor, the reversing solenoid (contactor), the foot or helm switches, the breaker or isolator and the battery. They should be tight, clean and not discolored by heat. Look for chafed or strained wires. Coat terminals with terminal grease and spray under-deck parts with a corrosion inhibitor, as Maxwell recommends. Check that foot-switch covers aren't cracked; water under them rusts the contacts.
With the anchor secured and the area clear:
- Nothing at all, no click: check that the breaker or isolator hasn't tripped (windlass breakers trip on overload, often after a stuck anchor). Then the battery switch, any small fuse in the switch circuit, and the switch itself.
- Solenoid clicks, motor doesn't turn: usually low voltage or a bad connection in the heavy cables. With the engine running, have a helper press the switch while you read voltage at the motor terminals. Good voltage at the motor and still no turn points to the motor or gearbox.
- Slow or stalls under load: weak batteries, long or undersized cables, or corroded joints. Run the engine while you use it.
- Chain jumps off the gypsy: Maxwell stresses the chain must match the gypsy. Practical Sailor adds that new jumping can mean damaged links.
- Jams partway up, or chain won't feed down the pipe: often the chain has piled into a cone right under the chain pipe and has nowhere to fall. Maxwell lists the "depth of fall" into the locker as part of choosing a windlass for this reason. Stop, knock the pile down in the locker, and feed slowly; a chain that doesn't match the gypsy can also jam in the pipe.
- Runs by itself, won't stop, or the foot switches work even with the helm windlass switch off: turn the windlass isolator or main battery switch off right away. A stuck contactor (solenoid) or a relay that is held on can keep power on the motor or the switches, so a kicked foot switch can drop the anchor. Leave the isolator off and have a marine electrician find it before using the windlass again.
High-current DC wiring can burn you and start fires. If you are not comfortable taking voltage readings, leave diagnosis past the breaker and fuse to a marine electrician.
At least once a year, run all the rode out at the dock or on a clean surface (Southern Boating suggests letting it run straight down in your slip). Practical Sailor's checklist:
- Anchor: bent shank or flukes, rust where the galvanizing is gone
- Chain: rust, worn or bent links. Practical Sailor says flip the chain end for end each year to spread the wear, and re-galvanize or replace it once rust appears.
- Rope: chafe, cut strands, hard or glazed spots, discoloration
- Shackles: properly sized and the pins moused (secured) with stainless wire, not plastic ties
- Locker: clear the rusty chain pile, hose it out and make sure its drain is open
On a rope-and-chain rode, the splice to the chain stays wet longest and rusts the link it grips. Practical Sailor says it should be tight with no corrosion on the link. If it is chafed, loose or the link is rusty, cut off the splice and a few feet of rope and re-splice. The splice has to be the type that passes through your windlass; follow your windlass maker's or a rigger's instructions.
Marks tell you how much rode is out. Southern Boating's simple scheme: paint a two-foot band red at 25 feet, white at 50, blue at 75 and yellow at 100, then repeat with two yellow bands at 200. Snap-in rode markers work too. Maxwell suggests letting out at least three times the water depth with all-chain and at least five times with rope-and-chain in sheltered conditions, plus more for tide and wind.
The inboard end of the rode must be tied to the boat so you can't lose it all. Southern Boating prefers a length of rope that reaches up into the locker and can be cut with a knife in an emergency, rather than a shackle that can rust shut. Retrieve the rode while rinsing it with fresh water and let it pile loosely so it runs out cleanly next time.
Restore power, unsecure the anchor and run the windlass both ways. Listen for grinding, check the clutch releases and grips, and watch that the chain feeds smoothly. When stowed, secure the anchor with a pin, line or snubber; Maxwell says not to rely on the windlass to hold it in the roller. Log the date in BoatMend.
Common mistakes
- Using the windlass to break out a stuck anchor or to hold the boat at anchor. That bends shafts and wrecks gearboxes.
- Running it with the engine off until the batteries sag and the motor overheats.
- Greasing the brake band, or skipping the clutch cones so they corrode solid.
- Ignoring the under-deck terminals in the damp anchor locker.
- Chain that doesn't match the gypsy, so it jumps and wears both.
- Buying replacement chain by nominal size alone. Metric and inch chains of "the same" size are different, and so are grades. Maxwell says to use high-test or calibrated short-link chain with a windlass, never long-link (regular) chain. Take the gypsy's model or markings to the store, or ask the windlass maker which chain fits.
- A shackled bitter end that rusts shut and can't be released in an emergency.
- Never looking at the bottom half of the rode, which sits wet in the locker all season.
When to call a pro
- The breaker keeps tripping, wiring or terminals get hot, or you see burned insulation
- The motor is wet inside, smells burnt or only runs one direction after you've checked the switches
- Gearbox oil is milky or gritty, or seals leak oil
- The windlass base is loose, the deck is soft or cracked around it, or water leaks below
- Chain is heavily rusted, links are bent, or you need a chain-to-rope splice and have never made one
- You need to resize chain or a gypsy to match
Tips
- Keep a spare foot-switch cover, a spare fuse and the windlass manual aboard.
- Photograph the under-deck wiring before you touch it, and save it to your BoatMend boat profile.
- A wireless remote is handy, but turn the windlass isolator off when you leave the boat.
- Rinse chain and windlass with fresh water after salt-water anchoring whenever you can.
Official references
We read these to write this guide. Your engine's own manual always wins.
Safety: BoatMend is for information only and does not replace a certified marine technician. You are responsible for your safety and your boat. Read the full disclaimer.
Last updated 2026-10-24
Related guides

Marine Battery Care: Test, Charge and Store for Winter
Check your boat battery's health, charge it the right way for its type (flooded, AGM or lithium), and store it so it is ready in spring. Most "boat won't start" calls start with a neglected battery.

How to Find and Fix Corroded Electrical Connections on a Boat
Track down the green crust and loose terminals behind flickering lights, dead gauges and slow cranking with a simple voltage-drop test, then remake the connection the marine way: tinned wire, a proper crimp, adhesive-lined heat shrink and a protective coating.
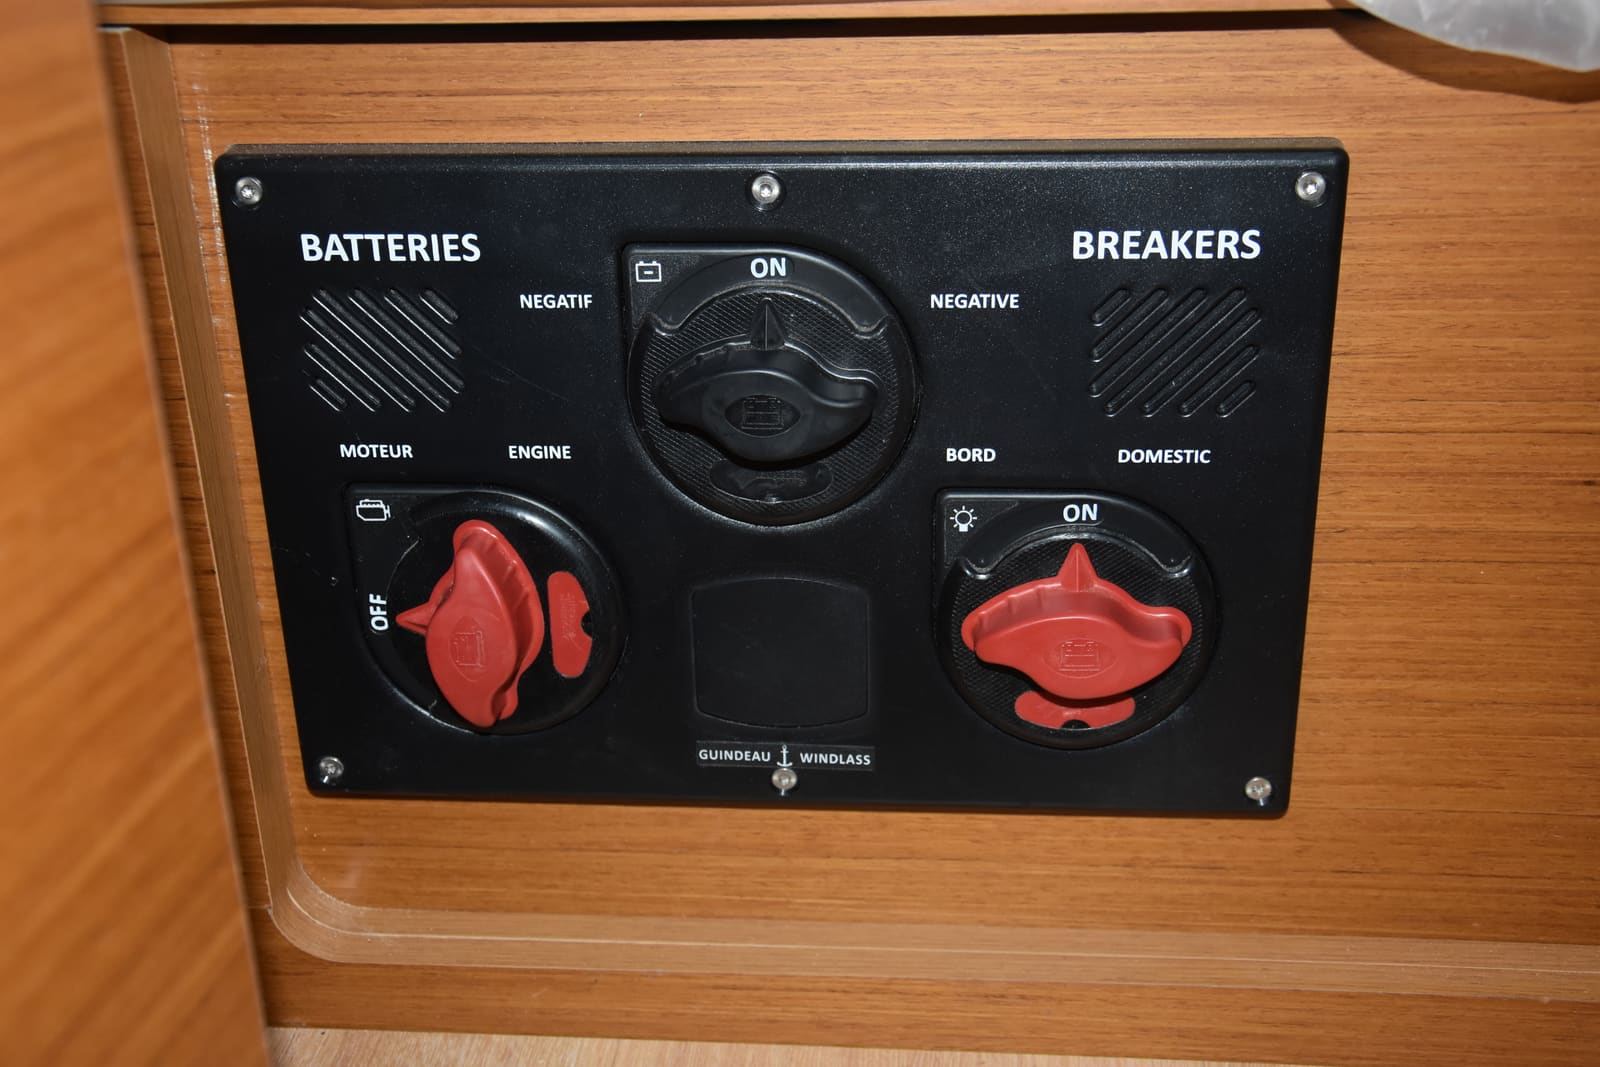
How to Use a 1-2-Both Battery Switch and Run Two Batteries
Learn what the 1, 2, Both and Off positions really do, a simple routine that keeps one battery ready to start the engine, how to check that both batteries are charging, and when an automatic charging relay makes life easier. Rewiring high-current cables is a job for a marine electrician.

USCG Required Safety Equipment Check by Boat Length
Walk through your boat and confirm you carry every piece of safety gear the US Coast Guard requires for your boat's length and type, and that none of it is expired or worn out. Missing or expired gear is one of the most common tickets on the water, and it is the gear you need when things go wrong.