Anchor Chain Inspection: Measuring Wear, Regalvanizing or Replacing, and Matching the Gypsy
Lay your anchor chain out, find the worn, rusty or damaged links, decide whether to swap it end for end, regalvanize it or buy new, and make sure any new chain actually fits your windlass gypsy before you pay for it.
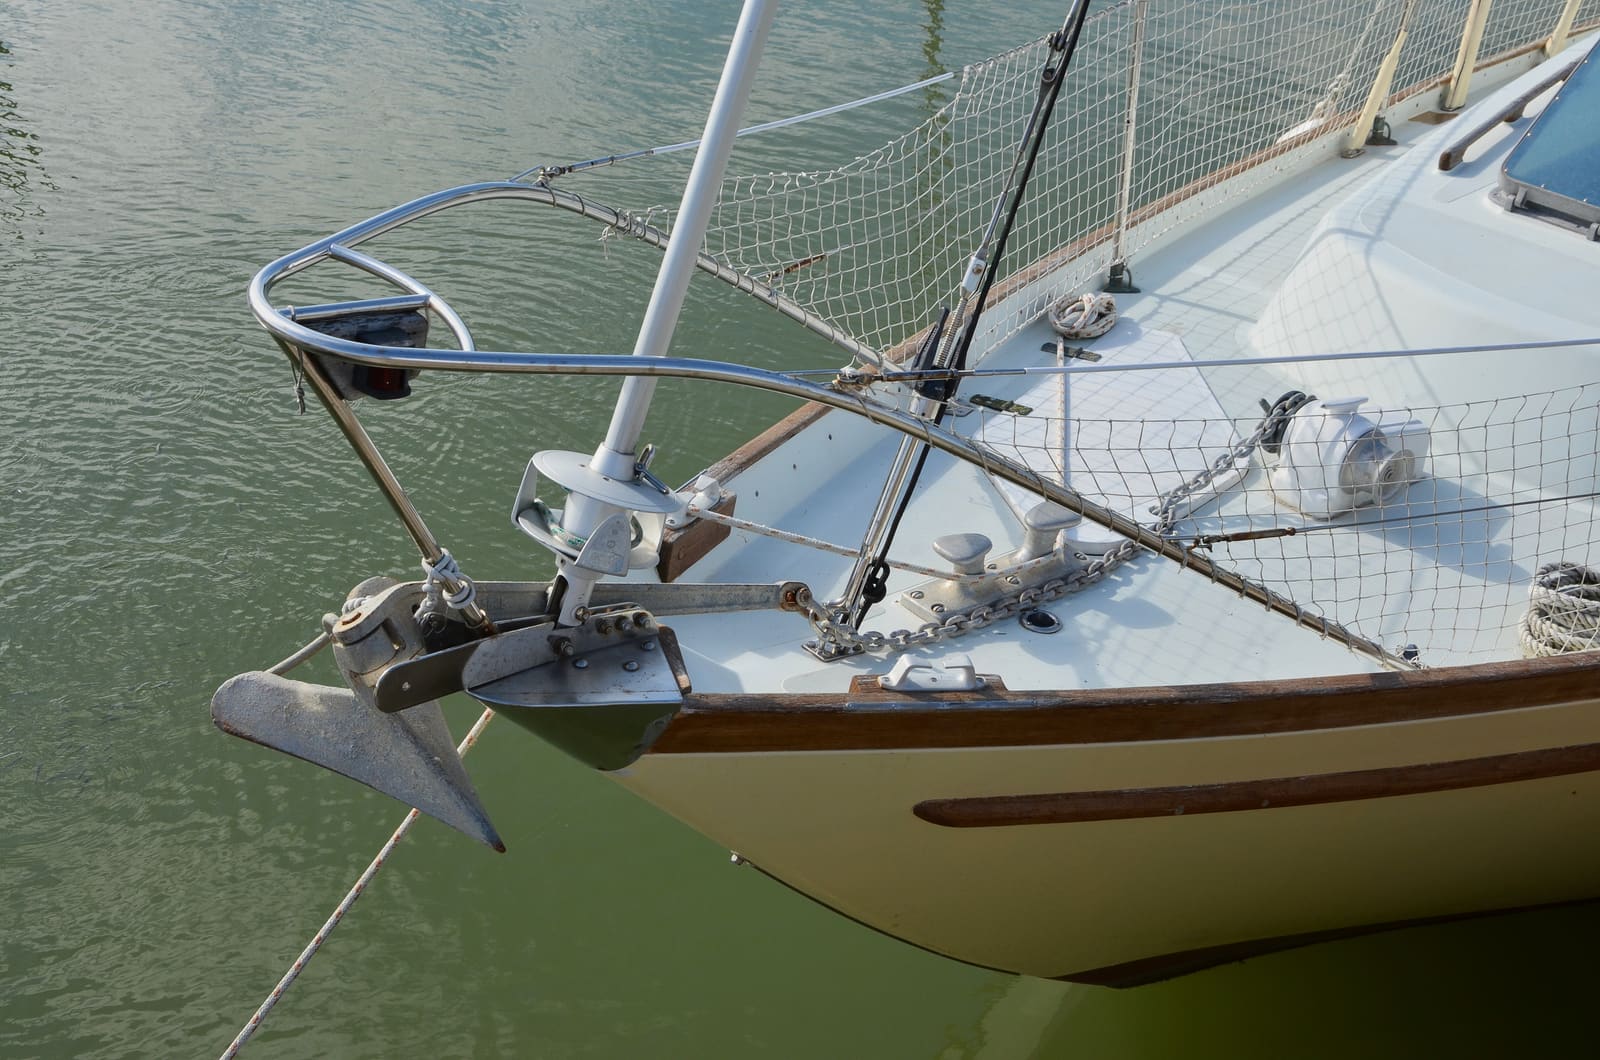
Time
3 h
Shop would charge
$200-1500
Applies to
All engines · Sailboat, Cabin cruiser, Yacht, Center console, Fishing boat
Safety first: Switch off the windlass breaker or isolator before you handle chain near the gypsy or reach into the locker; a bumped foot switch can pull a hand into the chain. Secure the anchor on deck so the rode can't run out. Chain is heavy and sharp-edged when rusty: wear gloves and eye protection, lift with your legs, and never stand inside a loop of chain that someone is pulling. Your ground tackle is a safety system; if you are in doubt about its strength, don't rely on it in bad weather.
Owners often ask
- My anchor chain is rusty. Should I get it regalvanized or just buy new chain?
- How do I know which chain fits my windlass gypsy before I order new chain?
- How many times can anchor chain be regalvanized before it has to be replaced?
This guide walks you through it. Still stuck? Ask the AI Mechanic about your engine.
Tools
- Heavy work gloves and safety glasses
- Dial or digital caliper
- Tape measure or folding rule
- Stiff brush, bucket and hose
- Wire brush (for inspection spots only)
- Marker, zip ties or tape to flag bad links
- Phone camera
Parts & supplies
- Stainless seizing (mousing) wire for shackle pins
- New anchor shackle rated for your chain (if worn)
- Rope for the bitter-end lashing (if worn)
- Rode depth markers
- New calibrated chain that matches your gypsy (only if replacing)
Before you start
What you're deciding: whether your chain is still sound, whether it just needs turning end for end, whether regalvanizing is worth it, or whether it's time for new chain.
When: at least once a year with the rode laid out, plus any time the chain came up after a hard blow, a snag on rocks, or started jumping or slipping on the windlass. Practical Sailor points out that normal anchoring loads are fairly low; the damage usually happens when the chain wraps around a rock or wreck and then comes under strain. Practical Sailor recommends laying the rode out for a full inspection at least annually. Typical; adjust for how much you anchor.
Know your chain. Anchor chain comes in different grades and in inch and metric sizes that look almost identical. Look closely at a few links: many chains have a grade or maker's mark stamped into links at intervals. Check your boat records, receipts or the windlass manual for the chain that was fitted. Write down what you find; you'll need it for steps 9 and 10.
Chain that fits your windlass must match the gypsy. Maxwell, a windlass maker, says the right size and grade of chain must be used so the links fit the chain wheel, and that high-test or calibrated short-link chain should be used with windlasses, never long-link (regular) chain. This guide gives no chain sizes on purpose: the only correct size for you is the one your gypsy is made for.
Plan for space: a dock, a clean lawn or a long stretch of deck where the chain can lie straight. Don't drag it over concrete (see step 1).
Steps
Switch off the windlass power and secure the anchor. Pull the rode out by hand and lay it in long straight runs or big loops. Practical Sailor warns that dragging chain over a concrete dock scrapes off the galvanizing and starts rust, so lift and lay it, or put down old carpet first. See the chain locker guide for cleaning the locker while it's empty.
Hose and brush off mud and salt so you can see the metal. Walk the whole length slowly, turning sections over. Flag anything suspicious with tape or a zip tie and photograph it. You are looking for:
- rust, and how deep it goes (step 3)
- links that are worn thin where they rub on each other (step 4)
- bent, twisted, stretched or flattened links
- cracks, especially near the weld on each link
- lumps of zinc, weld spatter or rough spots that catch on the gypsy
Not all rust is equal:
- Light brown staining where the zinc is wearing thin, mostly on the end that goes out first: the coating is going, but the steel is still fine. Time to plan end-for-ending or regalvanizing.
- Rust that flakes off with a wire brush, leaving a rough, pitted surface: the steel itself is being eaten. Check the wear closely (step 4).
- Deep pits, scaly layers, or links that look smaller than their neighbors: real metal loss. That section, and often the whole chain, is due for replacement. Practical Sailor's rule of thumb: once rust starts to appear, the chain should be regalvanized or replaced.
Chain wears most where each link rubs the next one, inside the curved ends. With a caliper, measure the bar thickness of a link at that contact point, then measure an unworn part of a link from the bitter end, which rarely leaves the locker. Measure on the bar away from the weld, which can be slightly thicker. Do this at several places along the first stretch that goes out every time; that's where wear is worst.
The difference tells you how much steel is gone. There is no single wear limit for every recreational chain. Ask your chain maker or a rigger for the discard limit for your grade and size, and treat any clearly thinned, pitted or grooved link as a weak link. A chain is only as strong as its weakest link.
Jimmy Green Marine, a chain supplier, measures chain over 10 links, outside edge to outside edge, because one link is too small to measure accurately. Measure 10 links in a worn section and 10 links in an unworn section. If the worn section is noticeably longer, the links may have stretched or worn into each other. Any bent or opened link, a crack at a weld, or a link that won't sit flat means the chain has been overloaded; don't use it as your primary rode.
- Anchor end: the shackle or swivel between chain and anchor. Practical Sailor says shackle pins must be moused with stainless wire, not plastic ties. Replace a shackle with worn threads, a thinned bow or a bent pin.
- Joining links: Practical Sailor warns that hardware-store C-links (quick links) never belong in an anchor rode. Proper joining options are rated connecting links and shackles at least as strong as the chain, and some won't pass through the gypsy.
- Bitter end: the inboard end should be lashed to a strong point with rope you can cut from on deck, not shackled or wired. See the chain locker guide.
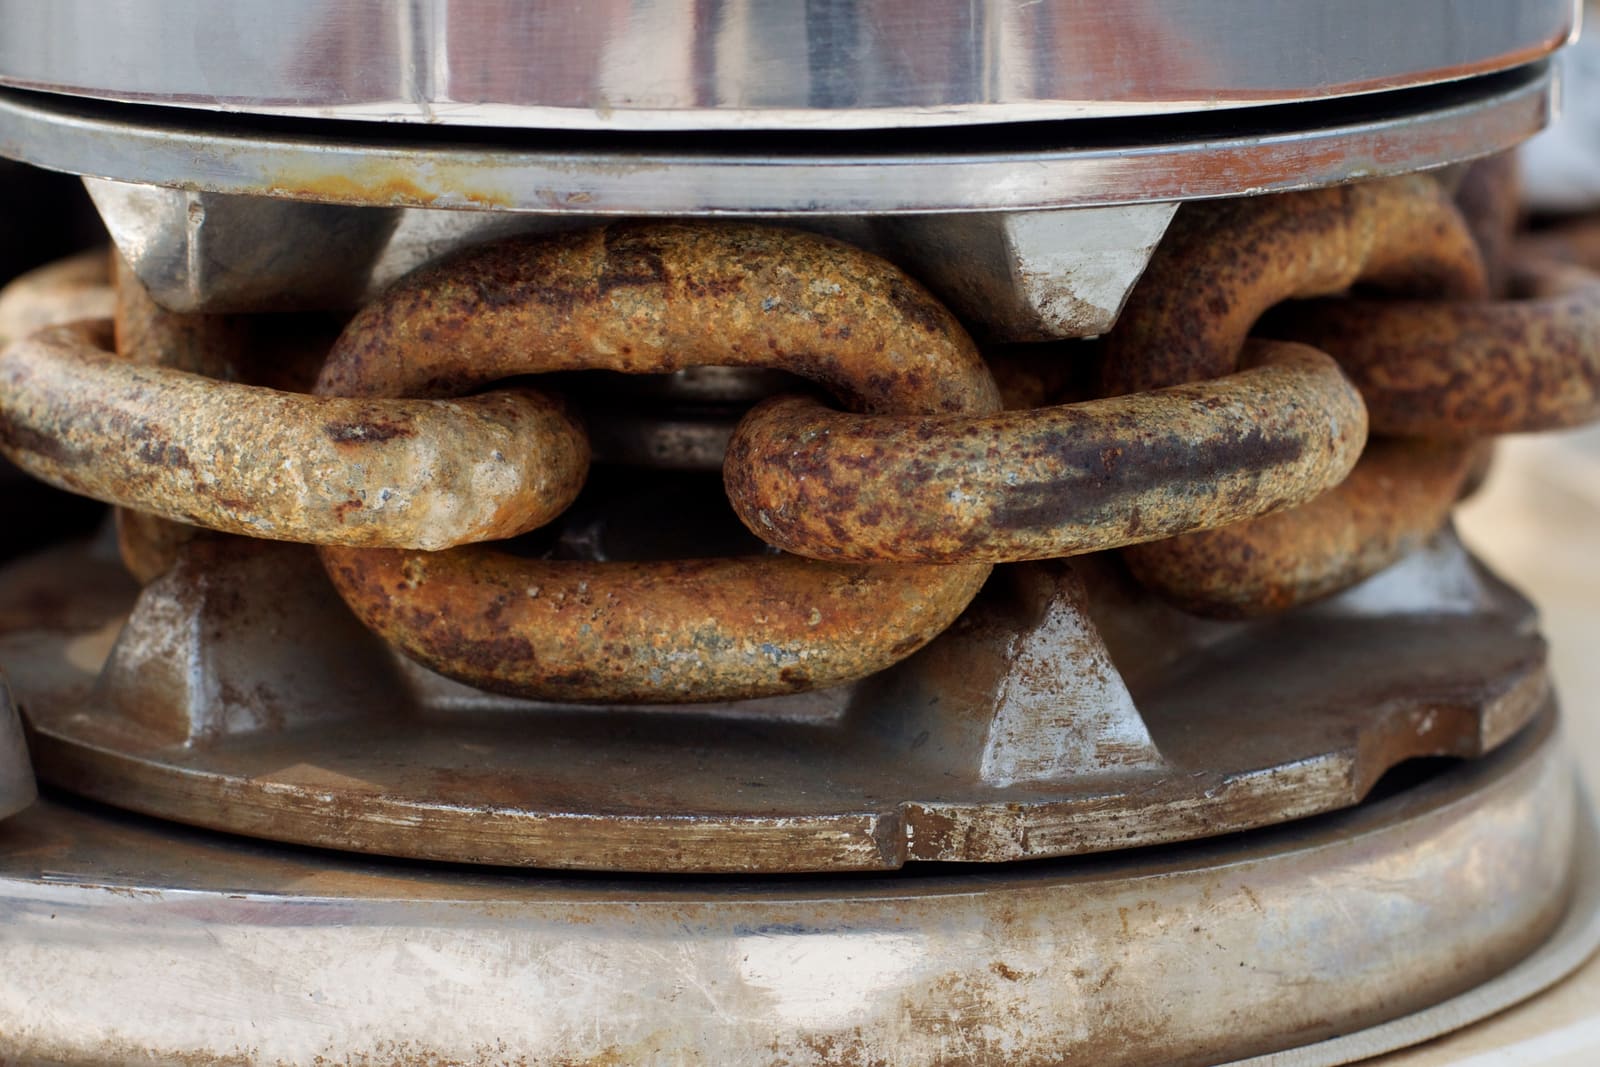
Rust that has moved past staining into the steel, on a chain sitting in a windlass chain wheel. Photo: cogdogblog / Wikimedia Commons · CC BY 2.0 If the worn end is just losing its galvanizing and the rest is good, turn the chain end for end. Practical Sailor recommends doing this every year so the coating wears evenly. Move the anchor shackle and the bitter-end lashing to their new ends, and remember your depth marks now count from the other end (step 12).
Regalvanizing means the chain is cleaned and dipped in molten zinc again. It can make sense for a long all-chain rode that is rusty but still has its full strength. Things to weigh:
- Condition first. Regalvanizing restores the coating, not lost steel. Pitted, thinned or damaged chain should be replaced.
- How many times. Practical Sailor says chain should be regalvanized no more than twice before it's replaced.
- Grade. Boating New Zealand explains that the heat of hot-dip galvanizing can make heat-treated high-strength chain more brittle and weaker, possibly unevenly along its length; it reports a chain supplier saying lower-grade chain can be regalvanized once or twice, but higher grades probably shouldn't be if you need their full rated strength. Ask the galvanizer and the chain maker before regalvanizing any high-grade chain.
- The process. Chain has to be spun or shaken while it's dipped so the links don't fuse together. Ask the galvanizer whether they do anchor chain specifically, and expect lumps to need grinding off so it runs through the gypsy.
- Cost. Galvanizers usually charge by weight with a minimum charge, so for a short length of chain on a rope-and-chain rode, new chain is often about the same price or cheaper. Get a quote and compare it to new chain of the same grade.
Before buying new chain, find out exactly which chain your gypsy was made for. Look for markings cast or stamped on the gypsy itself, find the windlass model and serial number, and check the windlass manual or ask the windlass maker. Maxwell notes it offers chain wheels to fit almost every chain size on the market, so the same windlass can be fitted with different gypsies; don't assume yours is the original.
Buy chain that the windlass maker or the chain supplier confirms fits your gypsy: same size, same grade or calibration, and the same inch or metric standard. Inch and metric chains of "similar" size are different and won't run properly. Jimmy Green's method if your old chain fit well: measure 10 links of an unworn section, outside to outside, and give that number with the gypsy details to the supplier. Even better, take a short sample of old chain or the gypsy to the store and test the fit. Chain that doesn't match jumps off the gypsy, jams in the chain pipe and wears both. If you're also changing grade or size for more strength, plan on a new gypsy too.
Lay the new chain out, attach the anchor shackle (moused with stainless wire) and lash the bitter end. If you have a rope-and-chain rode, the rope-to-chain splice must be one your windlass can handle; follow the windlass maker's instructions (see the rope splicing guide). With the boat at the dock, feed the chain over the gypsy slowly, then run out and recover several yards under power. It should seat in every pocket without riding up, jumping or binding in the chain pipe.
Put depth markers on at your usual intervals (see the anchor rode and scope guide), checking they pass over the gypsy. Record in BoatMend the date, chain grade and size, length, supplier and whether it was new, regalvanized or turned end for end. Old chain is steel: a scrap metal recycler will usually take it.
Common mistakes
- Buying chain by nominal size alone. Inch and metric chains of similar size, and different grades of the same size, are not interchangeable on a gypsy.
- Using long-link (regular) chain with a windlass. Maxwell says it should not be used.
- Joining chain with a hardware-store quick link. It isn't designed for anchoring loads.
- Regalvanizing chain that's already thinned or pitted. The new zinc hides the damage; it doesn't restore the strength.
- Inspecting only the end you can see. The first stretch out of the locker takes the wear; the inboard end can look new.
- Dragging chain over concrete to inspect it. You strip the zinc you were trying to check.
- Ignoring a chain that suddenly starts jumping the gypsy. Practical Sailor says it can mean damaged links.
When to call a pro
- Links are bent, cracked, stretched or clearly thinned: replace the chain, and have a rigger check the anchor, shackle and bow roller if it was overloaded
- You can't identify your gypsy or your chain grade: ask the windlass maker, a rigger or a chain supplier before buying
- You're considering regalvanizing high-grade chain: talk to the galvanizer and the chain maker first
- The windlass slips, jumps or binds even with chain that should fit: the gypsy may be worn (see the windlass guide)
- You need a new gypsy, a bigger chain or a new rope-to-chain splice for an automatic rope/chain windlass
Tips
- Keep a short, clean sample of your current chain (or a note of its 10-link measurement and markings) in your boat records for buying day.
- Write the chain grade and size inside the locker lid with a paint marker.
- If you rarely anchor in hard weather, a well-kept rode of the right grade can last many years; if you cruise and anchor often, plan for chain as a recurring cost.
- Wash the chain with fresh water after saltwater use when you can, and keep the locker draining so it doesn't sit in a puddle.
Official references
We read these to write this guide. Your engine's own manual always wins.
Safety: BoatMend is for information only and does not replace a certified marine technician. You are responsible for your safety and your boat. Read the full disclaimer.
Last updated 2026-11-06
Related guides
How to Care for Your Anchor Locker and Keep the Chain Running Free
Empty, clean and drain the anchor locker, untwist and restow the rode so it runs out without jamming, tie the bitter end so it can be cut free in an emergency, and decide whether you really need a swivel. A tidy locker keeps the anchor ready when you need it fast.
How to Maintain an Anchor Windlass and Inspect and Mark Your Anchor Rode
Keep your electric windlass working with a seasonal clean-and-grease, sort out a dead or slow windlass from the breaker and solenoid to the motor, and inspect, mark and splice your chain and rope rode. Your anchor is a safety system; this guide keeps every link of it ready.
Anchor Basics: Choosing the Anchor, Rode and Scope, Setting It and Checking Your Gear
Match your anchor to the bottom you usually anchor in, put together a chain-and-nylon rode, let out enough scope for the depth and weather, set and check the anchor, use an anchor alarm, and inspect the rode, splices and shackles every season so the weakest link isn't hiding in your ground tackle.
Powered Winch and Windlass Safety: Keep Fingers Clear and Power Within Reach
Electric and hydraulic winches and anchor windlasses can crush hands and pull a person into the drum in seconds. Learn where switches and the emergency power cutoff belong, how to keep hands and lines safe, why the windlass should never hold the boat, and how to brief your crew.
Basic Rope Work for Boat Owners - Eye Splices, Whipping and Sealing Line Ends
Learn the rope skills every owner uses: put an eye splice in three-strand dock or anchor line, stop line ends from unraveling with a whipping or by melting them, know when double-braid splicing is worth it or when to buy pre-spliced line, and inspect splices so you retire a line before it fails.