Wake Boat Ballast Systems - Care, Troubleshooting, Weight Limits and Winterizing
Keep your wake boat's ballast tanks, bags and pumps working: fill and drain them the right way, stay under the boat's weight capacity, fix tanks that won't fill or empty, change the pump impellers, stop invasive species from riding along, and protect the system from freezing.
Time
1 h 30 min
Shop would charge
$150-450
Applies to
Gas inboard · Bowrider / runabout
Safety first: Ballast water is heavy, and too much weight can swamp or sink a boat. Never go over your boat's maximum capacity, and remember that capacity includes the water in your tanks and bags. Never tow the boat on a trailer with water in the ballast. If a ballast hose, bag or fitting lets water into the hull and your bilge pump can't keep up, empty the ballast, head for shore and call TowBoatUS or Sea Tow; in an emergency use VHF channel 16 or dial 911.
Owners often ask
- My wake boat's ballast pump hums but the tank won't fill. What should I check?
- Does the water in my ballast tanks count toward the boat's weight capacity?
This guide walks you through it. Still stuck? Ask the AI Mechanic about your engine.
Tools
- Flashlight or headlamp
- Screwdrivers that fit your ballast pump cover screws
- Needle-nose pliers (for impeller removal)
- Multimeter (for checking power at a pump)
- Bucket and a funnel with a flexible spout
- Garden hose; access to hot water (about 120°F) for decontamination if available
- Clean towels or a shop vac for leftover water
Parts & supplies
- Ballast pump impeller kits for your exact pump model (with the lube packet that comes in the kit)
- Non-toxic RV antifreeze, propylene glycol type, rated as your boat maker specifies (for winter storage)
- Replacement hose clamps or fittings only if yours are cracked or corroded
Before you start
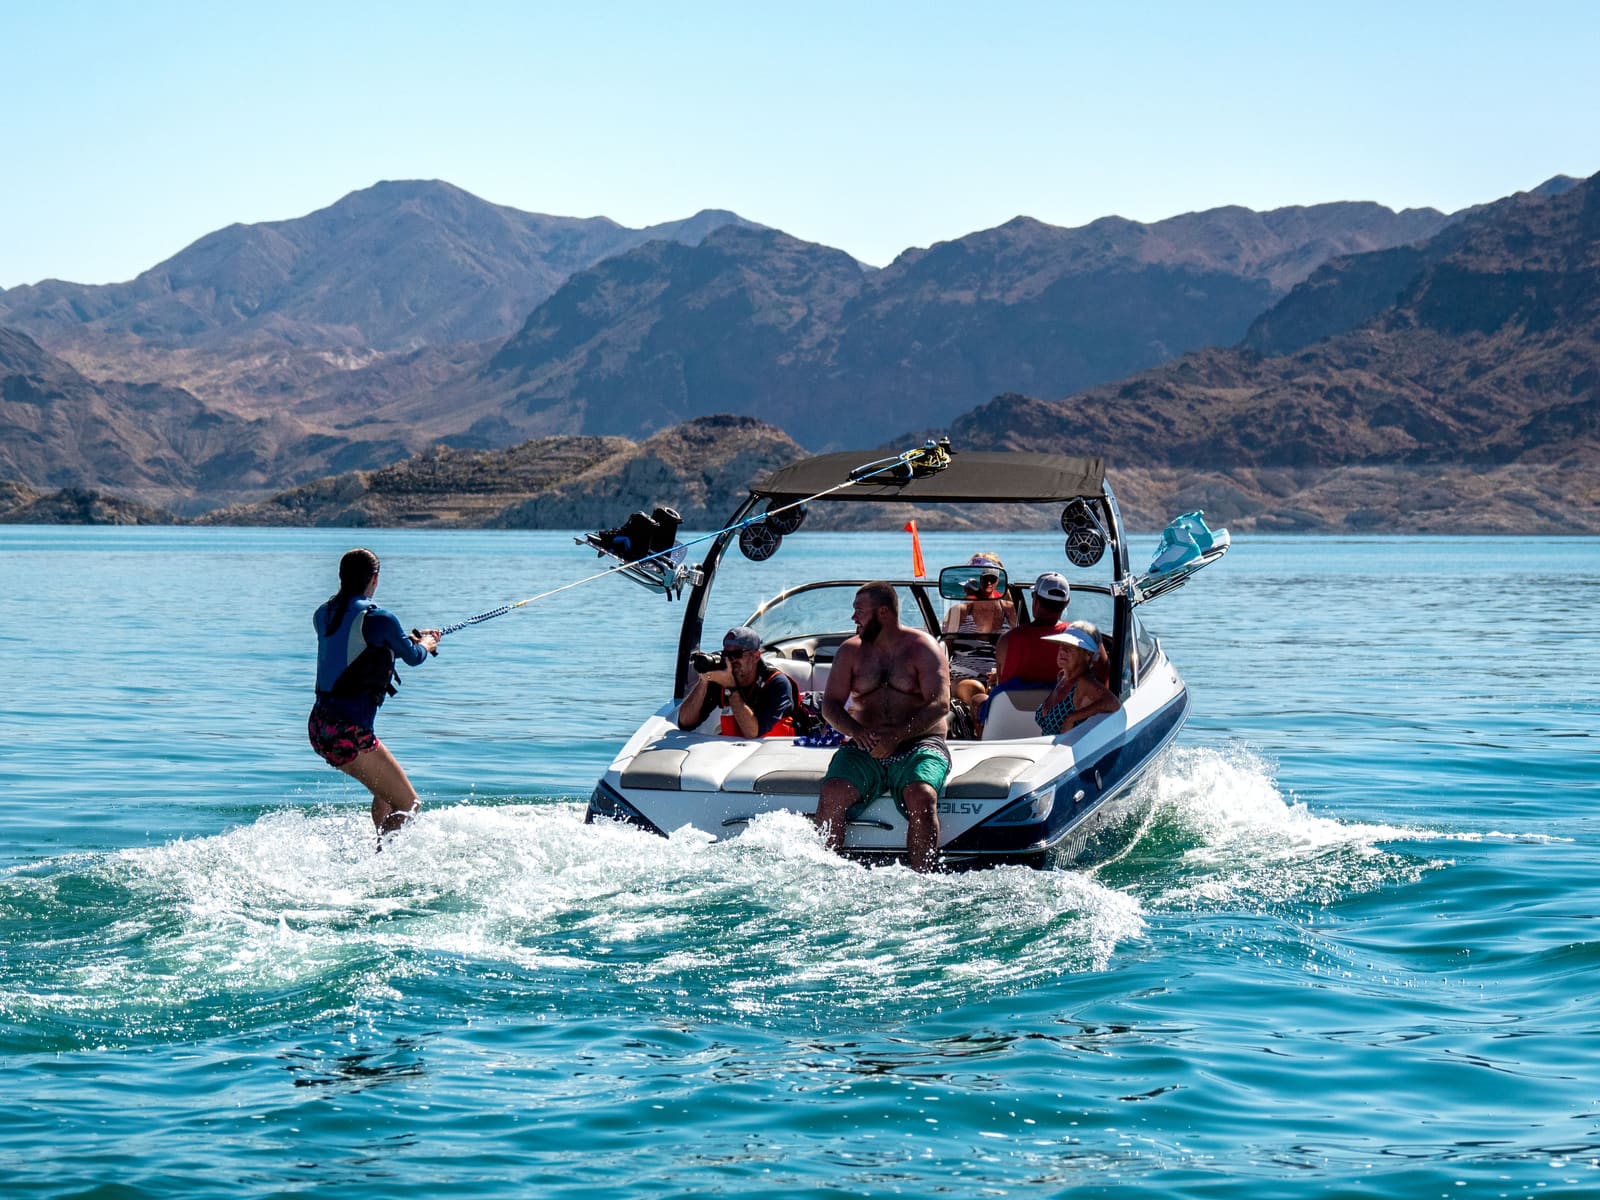
A wake boat makes a bigger wake by adding weight, usually lake water pumped into hard tanks built under the floor, factory plug-in bags, or aftermarket bags you add yourself. Small electric ballast pumps move the water in through a fitting in the hull bottom and back out again. When a tank is full, water spits out of an overflow or vent fitting on the side of the hull.
Systems differ a lot between brands and years. Some fill and empty on timers or sensors and shut off by themselves; others are fully manual and keep running until you turn them off. Some pumps use a rubber impeller; some older systems use aerator-style pumps without one. Read the ballast section of your owner's manual before you work on anything, and find every pump, valve and hose (your dealer can help you locate them; some are hard to reach).
What this guide covers:
- Steps 1–4: using and checking the system safely (weight, filling, draining, fittings)
- Steps 5–7: troubleshooting tanks that won't fill or empty
- Step 8: changing pump impellers
- Steps 9–12: trailering, invasive species, winter storage and spring start-up
Steps
Look for the capacity label near the helm and the maximum load in your owner's manual. MasterCraft points out that the maximum includes the ballast water, any extra bags, your gear, options and all the people aboard, and that the number of people is limited to the number of designated seats.
Water weighs about 8.3 pounds per gallon, so ballast adds up fast: every 100 gallons is roughly 830 pounds, which can use up a big share of the capacity before anyone steps aboard. Add up your ballast capacity (in your manual or on the bags), your crew and your gear before you add an aftermarket bag.
A note on the plate: the U.S. Coast Guard capacity plate rule covers monohulls under 20 feet, so many larger wake boats carry a builder's capacity label instead. Either way, treat the posted number as the real limit.
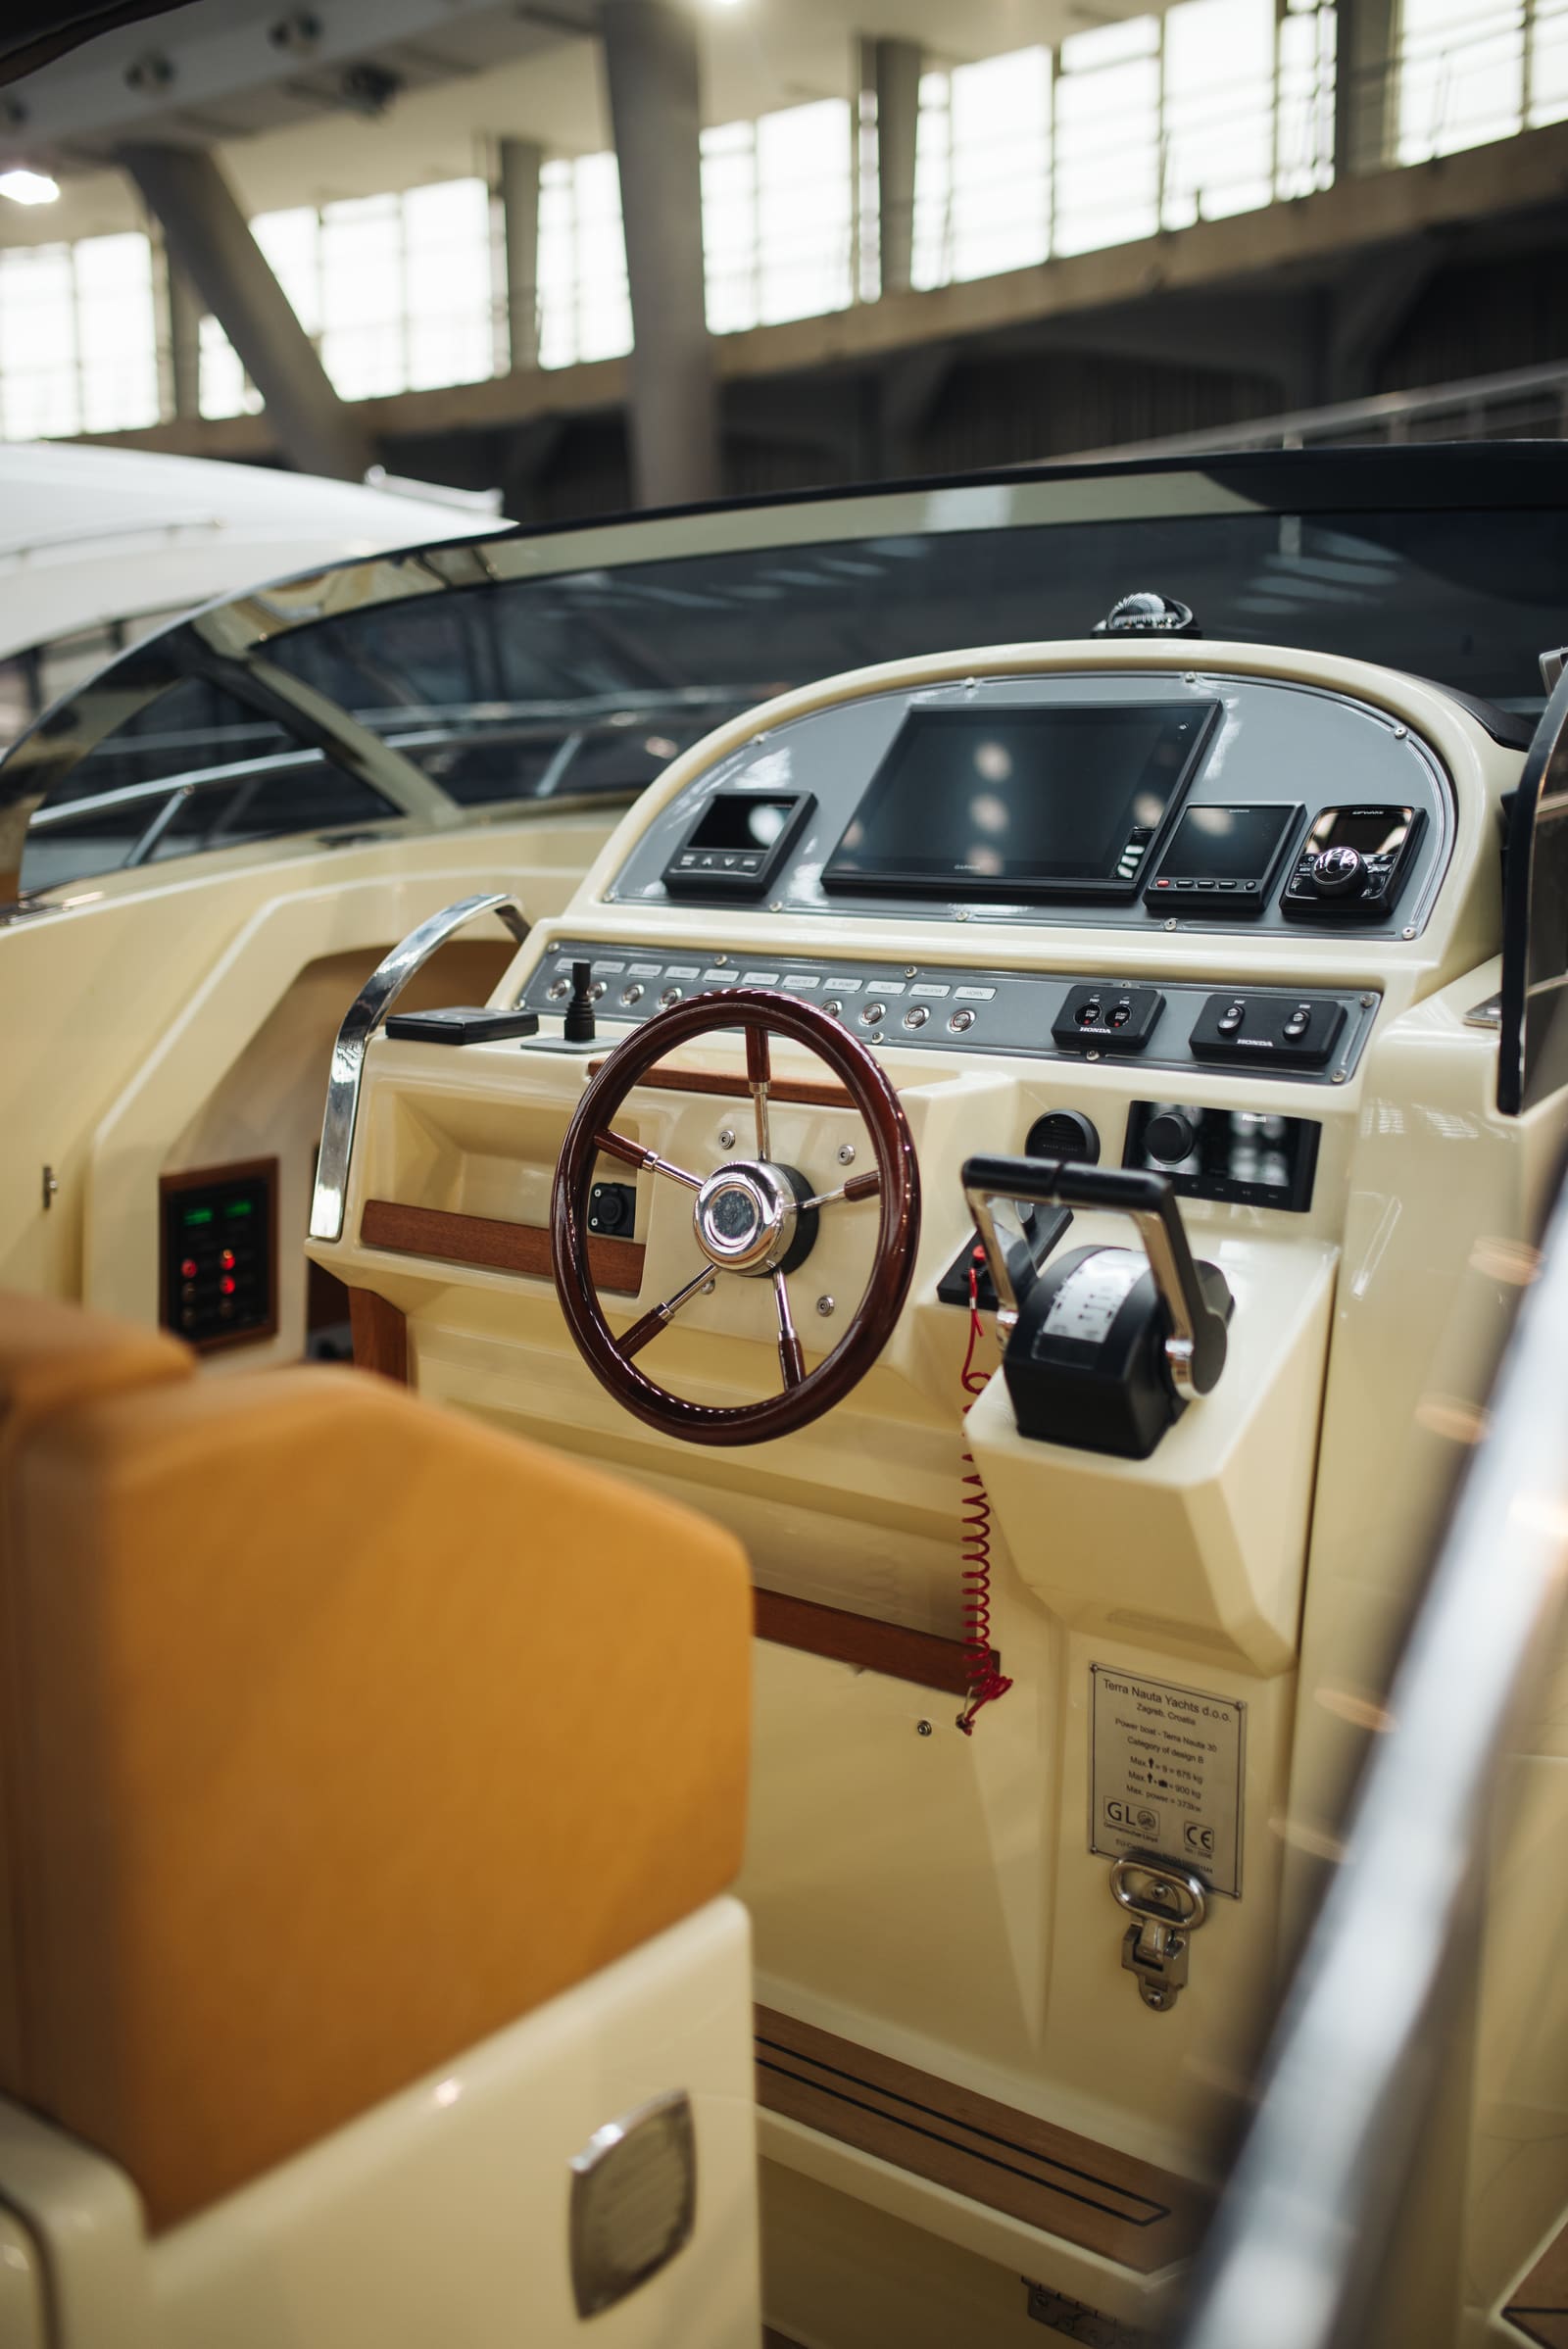
A builder's plate near the helm lists the maximum number of people, maximum load and maximum engine power (European boat shown; U.S. boats carry a similar capacity label). Photo: Shixart1985 / Wikimedia Commons · CC BY 2.0 How the weight is spread matters as much as the total. Uneven weight, or people and gear piled in one spot, can make the boat hard to control, and loads can shift underway. A heavily ballasted boat also takes longer to stop and turns differently. Ease into throttle and turns, keep extra people seated, and empty some ballast if the bow sits low in rough water or the boat feels sluggish.
More habits for surf sessions:
- Surf only behind a boat built for it. Owners regularly ask whether adding ballast bags and a prop guard makes it OK to surf behind an outboard or sterndrive. It doesn't: on those boats the propeller sits at the transom, a few feet from a rider who falls toward the boat, and a cage around the prop doesn't change that. Wakesurfing is for inboard boats with the propeller under the hull (or forward-facing drives designed for it). Behind other boats, stick to towed sports on a full-length rope.
- Keep everyone off the swim platform while the engine runs. A ballasted boat moving slowly with the stern squatting low is a classic setup for carbon monoxide to collect behind the transom. MasterCraft says never to sit, teak surf or hang on the back deck or swim platform with the engine running, and to treat "seasickness" symptoms as possible CO poisoning. Riders should only come to the platform once the engine is off. See the CO safety guide.
- Give the wave room. The Wake Responsibly guidelines from the WSIA, shared by Malibu, ask surf boats to stay at least 200 feet from shorelines and docks, keep music reasonable and avoid making repeated passes in the same spot. Malibu also recommends riding in deeper water. Many lakes and states now set their own distance or depth rules, so check local regulations.
- Turn the pumps on with the switch or screen, and watch the overflow fittings. Water spitting out the side means that tank is full.
- On manual systems, switch each pump off as soon as the tank is full or empty. MasterCraft warns that leaving a manual ballast switch on after the tank is empty can destroy the pump, and that damage is not covered by warranty.
- Some systems need the engine at a set rpm while filling and emptying. MasterCraft, for example, calls for about 1,500 rpm on its models because the pumps can be damaged at too low an engine speed. Check what your boat requires.
- Fill and empty with the boat in the water, never on the trailer.
Before launch, look at the ballast fill/drain fittings on the hull bottom and the overflow fittings on the hull sides. Weeds, mud, insect nests or a wasp's mud plug can block them. MasterCraft says these openings should never be obstructed. If your system has an intake strainer or screen inside the boat, check it for weeds, especially on lakes with heavy plant growth.
Work from simplest to hardest:
- Nothing happens at all: check the ballast circuit breaker or fuse. If it trips again after a reset, there's a short or a seized pump; stop and have a dealer look.
- Pump runs but moves no water: the pump may have lost its prime (air trapped in it), the intake may be blocked by weeds, or a hose may be kinked or loose on the suction side, which lets the pump suck air instead of water.
- Pump is silent but the breaker is fine: check the connector at the pump. With a multimeter you can confirm 12 volts reaches it when the switch is on. No power points to wiring or the switch; power with no sound points to the pump.
- One tank is slow, the others are fine: a worn impeller is the usual cause. See step 8.
Swapping two pumps' hoses (if your layout allows) is a simple way to tell a bad pump from a plumbing problem.
- The vent is blocked. A tank needs air to come in as water goes out. A plugged vent line or overflow fitting can stall draining.
- Worn or damaged impeller. It may fill but lack the grip to pull water back out. Running pumps dry is a common way to ruin impellers.
- Check valves or kinked hoses. Some systems have check valves in certain lines. A stuck valve or a hose crushed by gear in a storage compartment will slow or stop flow.
- A little water always stays behind. Most systems can't get every drop out of tanks and bags. This matters for trailering and invasive species (steps 9 and 10).
Open the storage compartments and engine hatch and look for water where it shouldn't be. Check bags for chafe against sharp edges, hose clamps for rust, and hoses for cracks. Keep bags away from hot engine parts and anything sharp.
Bridge connector warning: on boats with plug-in bags, a short connector hose (MasterCraft calls it a bridge connector) closes the line when the bags are removed. MasterCraft warns that if you remove the bags and don't reinstall it, the pumps can dump ballast water straight into the storage compartment, which can flood and sink the boat. Always reinstall it the moment the bags come out.
Impellers wear out with use. MasterCraft says ballast pump impellers must be replaced regularly, at least once a year, and lists every 100 hours for its FastFill pumps (typical; confirm the schedule for your pump in your manual). MasterCraft recommends having the dealer do it, but the basic job on an accessible pump looks like this:
- Turn the ballast system and battery switch off.
- Remove all but one of the pump cover screws, loosen the last one, and swing the cover aside. Keep the screws.
- Pull the old impeller straight out with needle-nose pliers. If vanes are missing, find the pieces in the pump and hoses.
- Lubricate the new impeller with the lube from the kit. It's intentionally a little bigger than the housing; squeeze it in with the vanes all bent the same way and the hub lined up with the pump shaft.
- Refit the cover. Many covers have a built-in gasket, so no silicone is needed. Tighten the screws evenly.
- Run water through the pump and check for leaks.
Impeller kits are specific to the pump brand and model. Match the part number on your pump.
MasterCraft is blunt about this: water must be pumped out of the ballast before towing on any trailer, because even a small amount can upset the boat's balance on the trailer and the tongue weight on your vehicle, which can cause loss of control on the road. Empty every tank and bag at the ramp before you pull out, and check the bags in storage compartments by hand.
Ballast tanks hold lake water, and the bit that never drains can carry zebra mussel larvae, plants and other invasive species to the next lake. Many states now have rules about this, and Vermont, for example, requires ballasted boats to drain ballast as fully as possible and to be decontaminated before moving to a different lake. Typical steps:
- Clean plants, mud and animals off the hull, trailer and gear before leaving the ramp.
- Drain every ballast tank and bag, the bilge and the engine as fully as you can. Raising the bow on the trailer helps water reach the drain.
- Flush with hot water when it's available. Vermont's procedure uses about 120°F water through the ballast system for 3 to 5 minutes. Ask your boat or pump maker first, because some ballast parts have a temperature limit.
- Dry everything. Stop Aquatic Hitchhikers recommends at least five days of drying before launching somewhere new if you couldn't use hot water.
Don't pour bleach or other chemicals into the tanks. Prevention programs advise against it: chemicals can damage equipment, harm the lake when they're pumped out, and may not kill everything anyway. Check your state's current rules before you travel.
Water left in pumps, hoses and fittings can freeze and crack them. MasterCraft recommends a dealer do this because mistakes can do serious damage, and it uses non-toxic, propylene glycol RV antifreeze rated to −50°F (or −100°F in colder climates). Boating Magazine's general method for rigid tanks, out of the water and with the boat level:
- Empty each tank completely.
- Pour antifreeze into the tank through the hull-side vent fitting, with a bucket under the bottom fitting.
- Run that tank's pump in drain mode for a few seconds until antifreeze comes out, so it fills the pump and lines.
Bladder bags often have no vent line, so antifreeze goes in through the bag's fill fitting instead. Remove and store aftermarket bags dry, indoors. Yamaha's storage tips for boats with ballast tanks also say to loosen the caps on the pumps to drain water from the pump body, then retighten them. Follow your owner's manual: some systems keep the antifreeze in the tanks over winter, while others pump it through and out. Don't skip it on the assumption your warranty will cover a cracked pump: MasterCraft's storage section lists ballast tanks and pumps among the parts that freezing water can damage, and says that damage isn't covered under warranty.
Before the first launch, drain any antifreeze left in the system into a bucket instead of pumping it into the lake, as Boating Magazine suggests, and dispose of it properly. When you recharge the batteries after storage, use a three-stage (or better) marine charger on its normal setting: MasterCraft warns never to switch a charger straight to its engine-start (boost) mode, because the voltage jolt can damage the boat's electronics, particularly the ballast control modules. Then in the water, fill and empty each tank one at a time, watch every pump and hose for leaks, and confirm each overflow spits water when full. If your system kept antifreeze in the tanks over winter (some do), your manual will explain how to pump it out on the first run.
Common mistakes
- Forgetting that ballast water counts toward the capacity limit, then loading a full crew and an extra aftermarket bag on top of the factory ballast.
- Leaving a manual ballast switch on after the tank is empty and burning up the pump or impeller.
- Filling or emptying at idle on systems that need a higher engine speed.
- Pulling the plug-in bags for a day of cruising and forgetting to reinstall the bridge connector.
- Towing home with "just a little" water in the tanks or a bag that didn't fully drain.
- Replacing an impeller and pinching or tearing the cover gasket or O-ring, which lets the pump suck air so it still won't fill.
- Blaming the pump when the real problem is a weed-clogged intake or a hose crushed by gear in a storage locker.
- Dumping spring antifreeze into the lake at the ramp.
When to call a pro
- A breaker that keeps tripping, a pump that hums but won't turn, or wiring you can't trace
- Pumps that are buried behind panels or under the floor
- Any leak that lets water into the bilge or storage compartments you can't stop, or a bilge pump running more than usual
- Winterizing a built-in system if you're not sure of the steps for your model
- Cracked hard tanks, broken through-hull fittings or damaged plumbing
- Water coming in faster than your bilge pump can remove it: empty the ballast, head for shore and call TowBoatUS or Sea Tow, and in an emergency use VHF 16 or 911
Tips
- Write your total ballast weight on a card at the helm next to the capacity limit, so guests and new drivers see both.
- Change all the ballast impellers at the same time each year, before the season, and keep a spare impeller kit aboard.
- Watch the overflow fittings while filling; a tank that never spits water may have a blocked vent or a pump problem.
- If you boat on more than one lake, plan a hot-water flush or the drying time into your trip.
- Keep a towel or small sponge in the boat to dry out the last bit of water in removable bags before you store them.
Official references
We read these to write this guide. Your engine's own manual always wins.
- MasterCraft Knowledge Center – Ballast Systems
- MasterCraft Knowledge Center – Ballast System Winterization
- MasterCraft Knowledge Center – Check the Ballast Pump Impeller
- MasterCraft Knowledge Center – FastFill Ballast Pumps
- MasterCraft Knowledge Center – Weight Limits and Distribution
- Boating Magazine – How to Winterize Ballast Tanks
- Yamaha Boats – Maintenance Matters (extended storage, ballast pumps)
- Vermont DEC – Wakeboating and Wakesports in Vermont (ballast decontamination)
- Stop Aquatic Hitchhikers – Clean, Drain, Dry
- Discover Boating – All About Capacity Plates
- MasterCraft Knowledge Center – Protection from Carbon Monoxide (CO)
- Malibu Boats – Wake Responsibly (WSIA guidelines)
- MasterCraft Knowledge Center – General Storage Info (freeze damage)
- MasterCraft Knowledge Center – Reactivating the Boat After Storage
Safety: BoatMend is for information only and does not replace a certified marine technician. You are responsible for your safety and your boat. Read the full disclaimer.
Last updated 2026-10-24
Related guides
How to Test and Clean Your Bilge Pump and Float Switch
Make sure your bilge pump actually moves water overboard, both on the manual switch and automatically through the float switch. A working bilge pump is one of the most important safety systems on any boat that stays in the water.
How to Replace the Water Pump Impeller
Replace the rubber impeller that pumps cooling water through your engine, the part most often behind overheating. On many outboards it is a two-hour driveway job that saves a shop bill of several hundred dollars and prevents far costlier heat damage.

Launch Day and Haul-Out Checklist for Trailer Boats
A step-by-step checklist for getting your boat off the trailer and back on again safely and quickly, from the drain plug and tie-downs to the blower and ramp etiquette. Following it in order prevents the classic mistakes that sink boats and back up the ramp.
How to Winterize (and Recommission) Your Boat's Freshwater System
Protect the tank, pump, water heater, faucets and showers from freeze damage with non-toxic antifreeze, then flush and sanitize everything in the spring so the water is clean again. A cracked pump or split fitting is a common, avoidable winter repair bill.
USCG Required Safety Equipment Check by Boat Length
Walk through your boat and confirm you carry every piece of safety gear the US Coast Guard requires for your boat's length and type, and that none of it is expired or worn out. Missing or expired gear is one of the most common tickets on the water, and it is the gear you need when things go wrong.
How to Inspect, Inflate and Replace Boat Trailer Tires
Check your trailer tires the way the pros do: the right type (ST), the right load range, the right cold pressure, and an honest look at their age. Tires are the number one reason boat trailers end up on the side of the highway.
Carbon Monoxide on Boats: Where It Comes From, CO Alarms and Warning Signs
Carbon monoxide can build up in cabins, under canvas and around the swim platform, and its first symptoms look like seasickness. Learn the danger zones, where to mount marine CO alarms, how to test and replace them, and exactly what to do if an alarm sounds or someone feels sick.