How to Paint Your Boat's Topsides (Roll and Tip)
When the gelcoat above the waterline is too chalky or crazed to polish back, a one-part or two-part polyurethane paint can bring back the shine. This guide covers choosing the paint, prep, weather windows, roll-and-tip technique and the safety gear two-part paints demand.
Time
16 h
Shop would charge
$2500-15000
Applies to
All engines · Bowrider / runabout, Center console, Fishing boat, Cabin cruiser, Sailboat
Safety first: Two-part polyurethane topside paints cure with an isocyanate activator. OSHA lists occupational asthma and other lung problems as the main effects of hazardous isocyanate exposure, along with irritation of the eyes, nose, throat and skin. Before you open a can, read the paint's safety data sheet (SDS) and wear exactly the respirator, gloves and skin protection it calls for; work with plenty of fresh air and keep other people, kids and pets away. Never spray two-part paint yourself. Interlux says its two-part topside paint is dangerous when sprayed and needs specialized breathing equipment, so it recommends a professional applicator for spraying. Solvents are also highly flammable: no smoking, sparks, heaters or running engines nearby. Sanding old paint makes hazardous dust; use dust extraction and the protection the SDS lists.
Fuel smell, water coming in, CO alarm or smoke? Stop, get everyone in life jackets and call USCG on VHF 16 or 911. For a tow: Sea Tow or TowBoatUS.
Owners often ask
- My gelcoat is chalky and crazed. Can I roll and tip the topsides myself, and is two-part paint safe to use at home?
- My gelcoat is chalky and faded. Should I wet-sand and buff it, or paint the topsides?
This guide walks you through it. Still stuck? Ask the AI Mechanic about your engine.
Tools
- Respirator, gloves, eye protection and coveralls as listed on each product's safety data sheet (SDS)
- Random-orbit sander with dust extraction, sanding blocks and a shop vacuum
- Sandpaper from 180/220 up to 320-400 grit
- Fine-line and wide masking tape, plastic sheeting
- High-density foam rollers (short nap) and roller frames
- Good natural-bristle or foam tipping brushes
- Mixing cups with ratio marks, stir sticks, a scale or graduated cups
- Tack cloths and lint-free wipes
- Surface thermometer and a hygrometer
- Stable staging or scaffolding (not a stepladder on uneven ground)
Parts & supplies
- Topside paint (one-part or two-part) from a single maker's system
- The maker's matching primer/undercoat, surface prep solvent and brushing reducer
- Epoxy fairing compound or filler for dings and scratches
Before you start
Is it time to paint? Boating Magazine puts it simply: eventually a boat's gelcoat can't be saved by buffing, because crazing spreads too far and the base layer shows through. Try a good compound and polish first (see /guides/hull-cleaning-waxing and /guides/gelcoat-repair). Paint is a big job that commits you to paint from then on.
Topsides only. This guide is for the hull sides above the waterline and the transom. Bottom paint below the waterline is a different product and job: see /guides/bottom-paint-antifouling and /guides/bottom-paint-stripping. Boating Magazine notes the two DIY topside paints it tested are meant for above the waterline, tolerating only short immersion.
Choose the paint type (Practical Sailor tested all three):
- Alkyd enamels: easiest to brush, softest, least long-lasting gloss. Good for wooden boats and low-wear areas.
- One-part urethane-modified enamels: a middle ground. Harder and glossier than enamel, far more forgiving to apply, multi-year shine, no isocyanate activator. The usual first-timer choice.
- Two-part linear polyurethanes (LPU): the toughest, glossiest and longest-lasting, but they cure with an isocyanate activator, need careful mixing, have a limited pot life and demand the most prep. Practical Sailor found them noticeably harder to handle than one-part paints.
Stay within one maker's system: their primer, their paint, their reducer and their prep solvent. Read the can and the maker's online instructions before you buy; Boating Magazine called the online directions mandatory.
Ask your yard first. Many marinas and boatyards limit or ban DIY sanding and painting, require tarps or dust control, or only allow it in certain areas.
Color: Practical Sailor's advice is to paint a white hull white or a light color; dark colors show every flaw and can let old colors show through. Dark hulls also get much hotter in the sun.
Steps
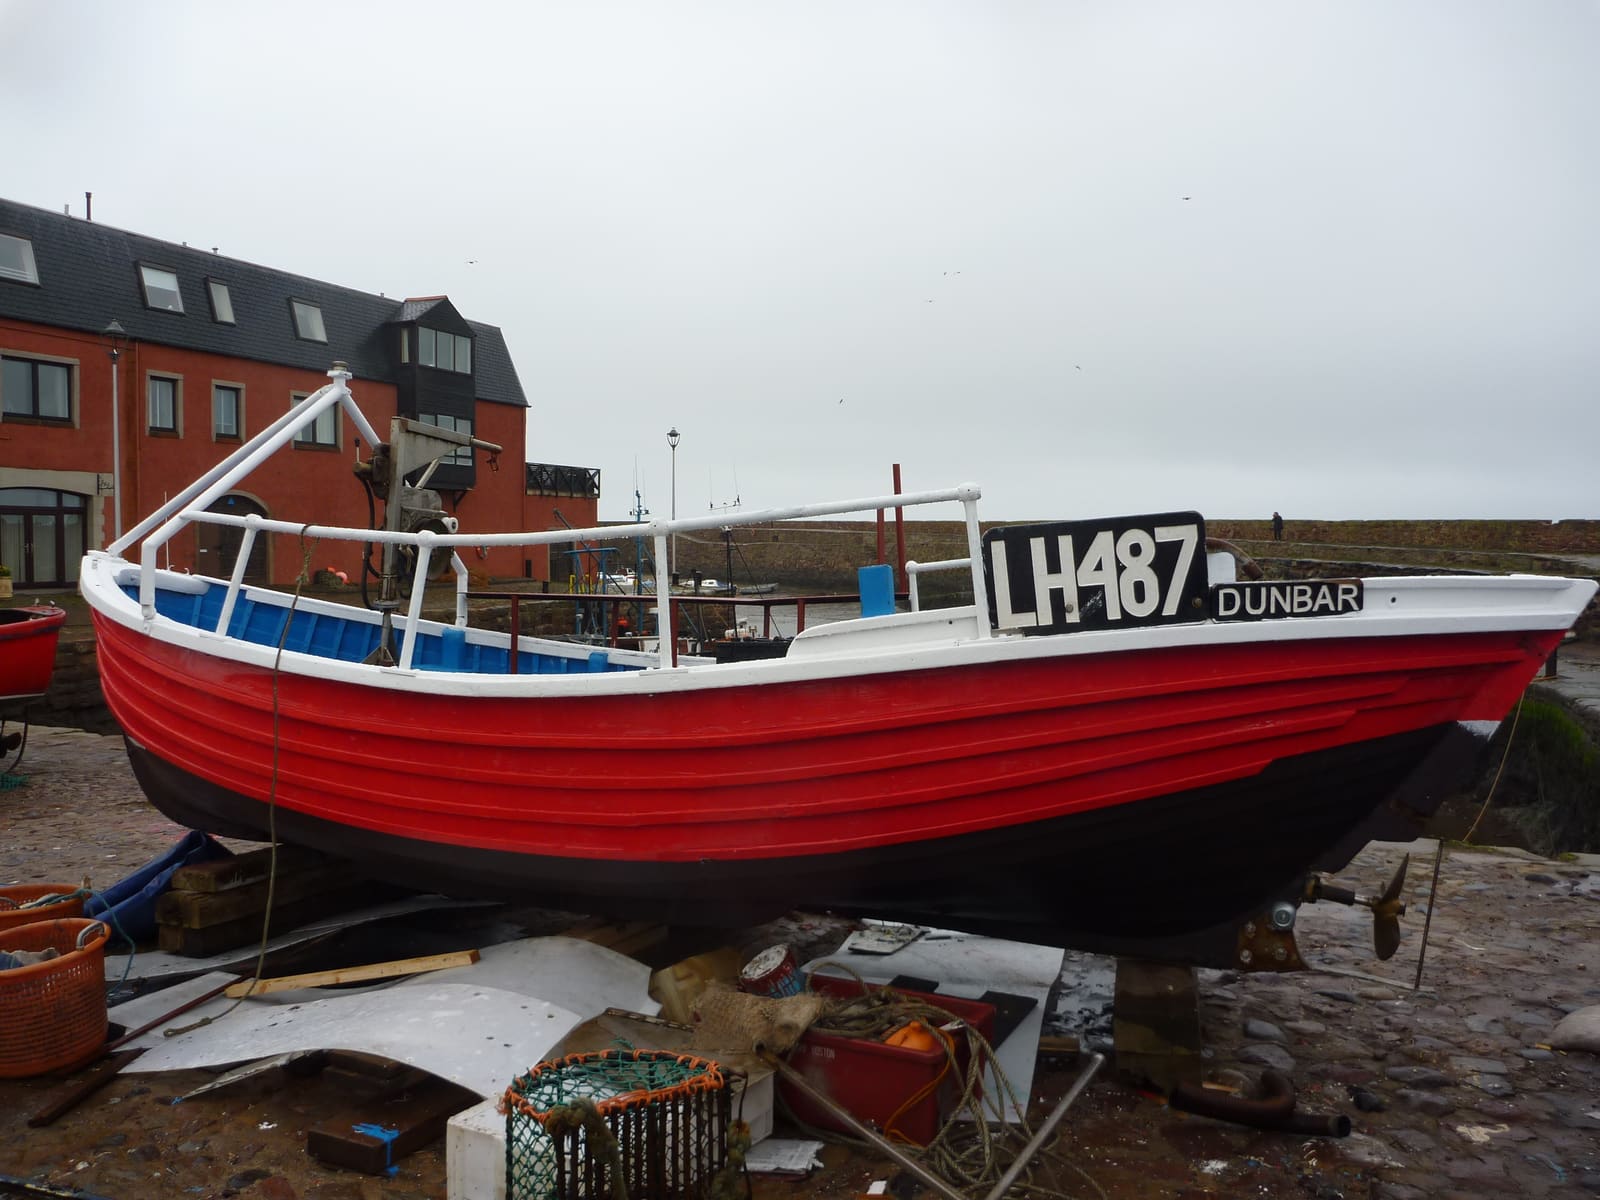
The boat should be on proper stands or a trailer, level and secure (see /guides/boat-stands-blocking). Set up staging or a scaffold plank at a comfortable height along the whole side so you can roll a full stretch without climbing up and down. Lay plastic under the boat. Interlux suggests dampening the ground before painting so dust doesn't rise.
Take off what you can: rub rail insert, cleats, vents, name boards, trim. Photograph everything first. Mask what stays with fine-line tape, and mask the waterline or boot stripe carefully; a crisp tape line is half the look of a good paint job.
Wash with warm water and detergent and rinse well (Interlux). Then remove wax and mold release with the paint maker's surface prep solvent. Boating Magazine stresses de-waxing no matter how old the boat is; sanding over wax just pushes it into the scratches and the paint won't stick.
Fill gouges, chips and stress cracks with the maker's epoxy filler or fairing compound (see /guides/gelcoat-repair and /guides/stress-cracks-fiberglass). Paint makes the surface glossier, which makes every dent and wave easier to see, so take time here. Let fillers cure fully before sanding.
Sand the whole area evenly with a random-orbit sander and dust extraction, typically 180 to 220 grit on old gelcoat, until the gloss is gone everywhere (follow your paint maker's grit list). Boating Magazine's test products called for sanding from 220 to 320. Sand by hand in tight curves. If an existing paint job is cracking, peeling or lifting, Interlux says all previous coatings should come off and the surface be primed.
Most makers require primer on wood and metal and recommend it on gelcoat. Interlux notes that aging gelcoat gets porous and brittle and suggests an epoxy primer to seal it and get a finer finish. Practical Sailor needed two coats of primer on its test boat. Sand the primer smooth (Interlux says 320 to 400 grit), and use primer coats to practice your roll-and-tip technique, as Practical Sailor suggests. BoatUS adds that the undercoat must be compatible with your topcoat, and many painters use an undercoat the same color as the topcoat. That matters most when you're switching between a dark and a light hull, because it keeps the old color from ghosting through.
Paint is fussy about weather. Interlux's guidance:
- No direct sun and no hot hull. Heat ruins flow and gloss. Check the surface temperature, not just the air.
- Humidity: never paint above about 85% relative humidity; with two-part finishes, avoid late afternoon or humidity above 80%, because condensation spoils the cure and the gloss.
- Dew point: the hull must stay warmer than the dew point all through application and drying. Use a hygrometer and a dew point table.
- No wind, which blows dust into the wet paint.
- Best time: warm, dry mornings, with the hull in the shade. Practical Sailor's tip from Florida: in hot, humid weather you'll need more reducer, so buy plenty.
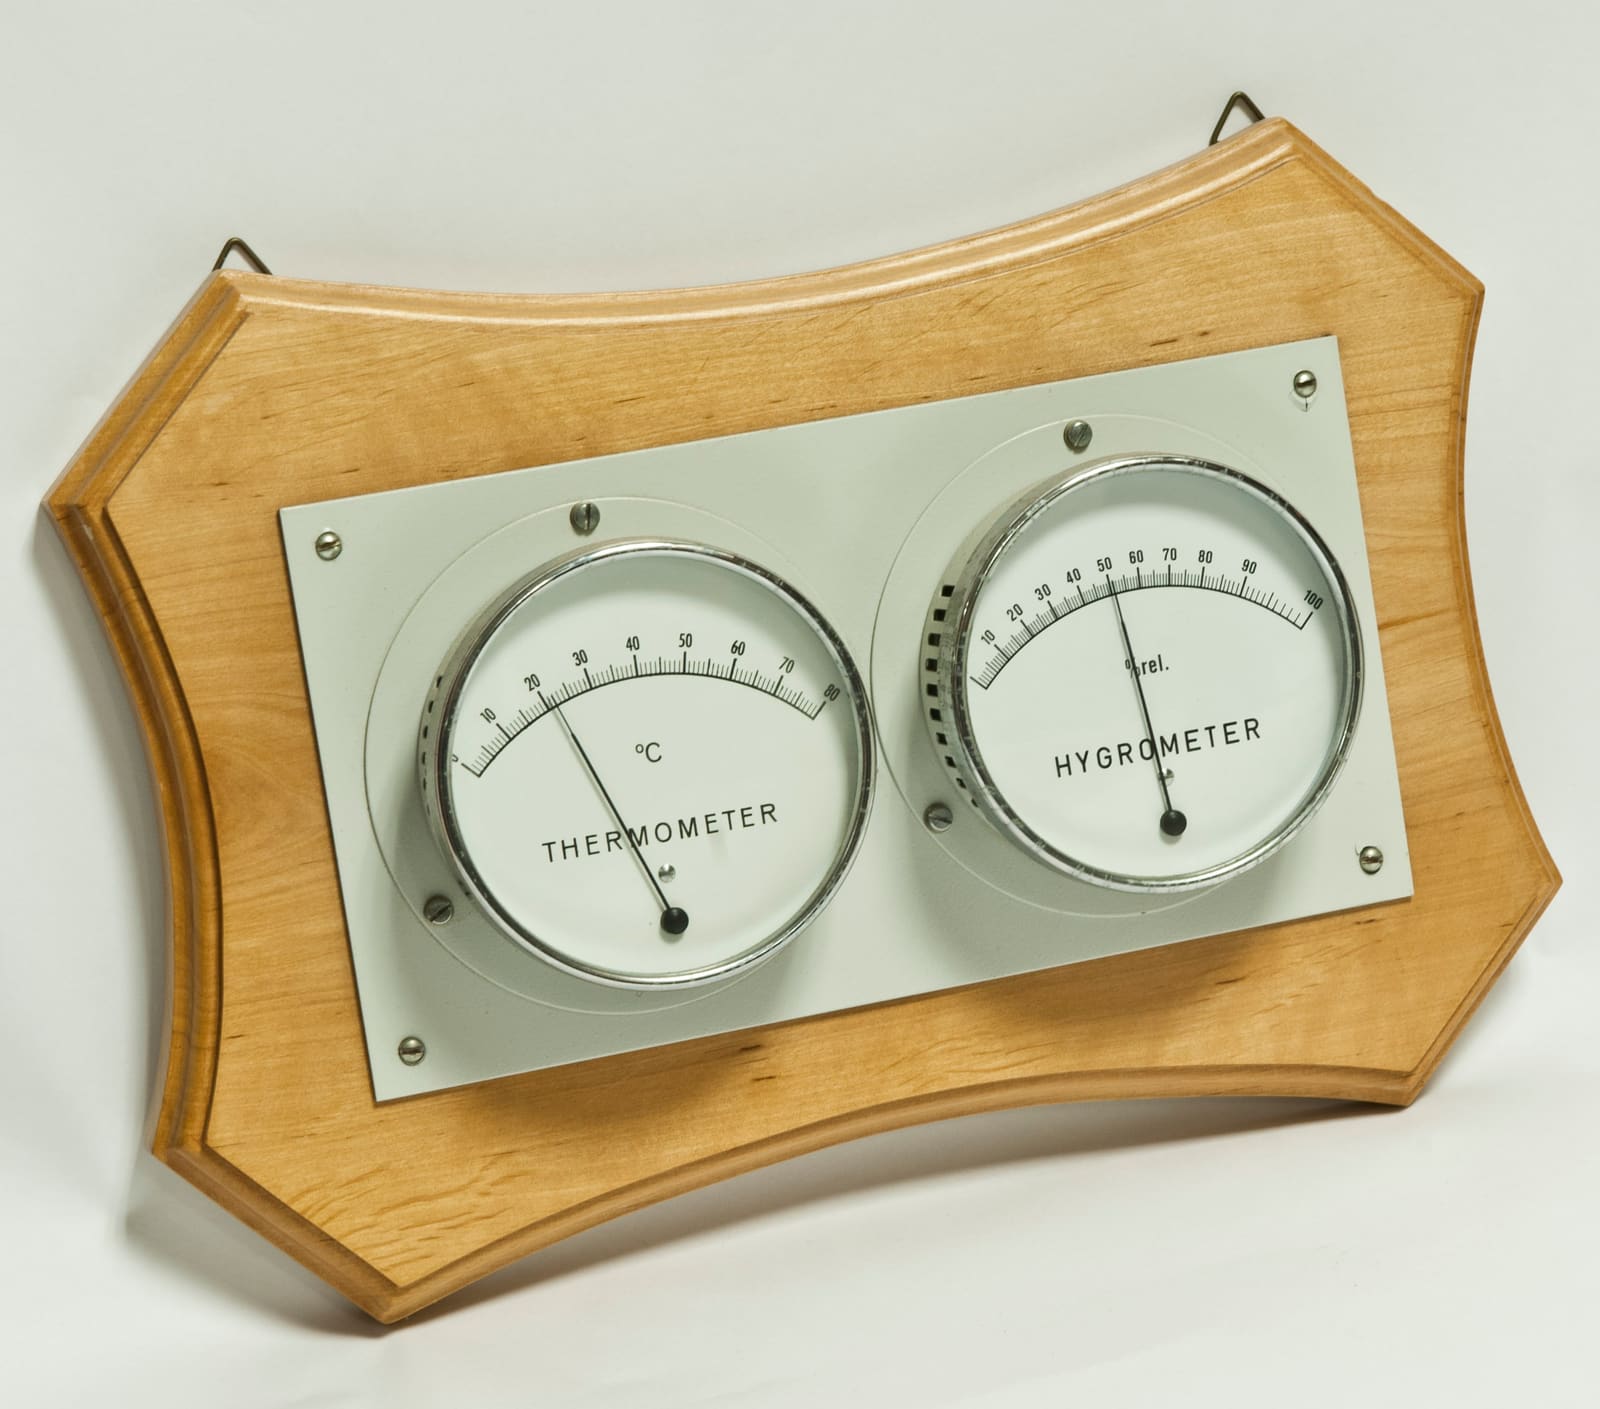
Photo: Hannes Grobe / Wikimedia Commons · CC BY 3.0 Vacuum, then wipe the surface with the maker's solvent and a tack cloth just before painting (Boating Magazine). Put on the respirator, gloves, eye protection and coveralls your paint's SDS calls for. Prep your brushes and rollers by patting them with masking tape to pull off loose lint and bristles (Practical Sailor).
Stir the paint well. For two-part paint, measure the base and activator exactly at the maker's ratio; guessing ruins the cure. Pour what you'll use into a separate container instead of working from the can (Interlux). Add brushing reducer only as the label allows and only a little at a time; Boating Magazine suggests testing the mix on a scrap of melamine board to see how it flows in that day's conditions. Watch the clock: two-part paint has a limited pot life that shrinks as the temperature rises.
Interlux says the best finish on big areas comes from two people: one rolls on a thin coat, the other follows right behind with a brush to "tip off" the roller stipple while the paint is still wet. Boating Magazine's testers used a short-nap foam roller in a W pattern on flat areas. Work from a wet edge and keep moving along the hull in sections you can finish before the edge starts to set. On tipping direction: Interlux recommends rolling and tipping vertically for its two-part paint, while Practical Sailor's testers got better results tipping horizontally. Try both on your primer coat and use what works for you.
BoatUS describes the rhythm: load the roller lightly so it doesn't run, roll on a patch no bigger than about a square yard, tip it smooth with a dry, fine brush, then move on, always working from the wet edge into the dry area. With two-part paint, which starts to set almost right away, BoatUS calls a whole side "a sprint": plan your route along the staging, have everything within reach, and don't stop halfway down a side.
Thin coats level out; thick coats sag and run. Two thin coats that cover beat one heavy one. Watch horizontal edges and transom corners, where paint collects and drips. Clean or swap brushes regularly; Interlux suggests about every 20 minutes. Keep a spare clean brush and some extra mixed paint within reach.
Let each coat dry as the label says for that temperature. Interlux warns that sanding before the paint is dry through makes it wrinkle or gouge, and recoating too early causes wrinkling, blistering and lost gloss. Sand lightly between coats, typically with 320 grit, just enough to dull the surface. Wipe and tack again, then apply the next coat. Most hulls need two to three coats.
Paint can feel dry in hours but takes much longer to reach full hardness; Boating Magazine notes its two-part test paints needed about a week. Remove masking tape while the last coat is still fresh enough to give a clean edge, as the paint maker directs. Keep fenders, covers, straps and trailer bunks off the new paint until it's fully cured.
Follow the disposal section of the SDS for leftover mixed paint; many owners let small amounts cure in an open container outdoors, away from anything flammable. Take solvents, rags and unused paint to your local hazardous waste collection, and follow any boatyard rules for sanding dust.
Common mistakes
- Sanding before de-waxing, which grinds wax into the surface and causes fisheyes and peeling.
- Painting in sun, wind, late afternoon or high humidity and getting dull, blotchy or wrinkled paint.
- Thick coats that sag and run on the hull sides.
- Guessing the mix ratio or adding too much reducer.
- Spraying two-part paint at home or rolling it without the respirator the SDS requires.
- Mixing brands of primer, paint and reducer.
- Rushing back into service and marking soft paint with fenders and straps.
When to call a pro
- You want a sprayed finish, or a two-part paint and you can't meet the SDS respirator and ventilation requirements
- The hull has blisters, delamination, soft spots or major damage under the old finish
- Large boats where safe staging and a dust-free, weather-protected space aren't practical
- Dark colors or a show-quality finish on a large hull
- Your marina doesn't allow DIY painting
Tips
- Do a test panel first; Practical Sailor even suggests practicing on a dinghy or a pair of oars before tackling the boat.
- Paint one side per session so you can always keep a wet edge.
- Write the paint maker, color, batch and coats in your BoatMend log; touch-ups are much easier when you know exactly what's on the hull.
- Wash the new paint gently and follow the paint maker's care advice; harsh abrasive compounds wear through paint faster than gelcoat.
Official references
We read these to write this guide. Your engine's own manual always wins.
- Interlux – How do I apply finishes?
- Interlux – Always check the weather
- Interlux – Which product to spray-apply on topsides (isocyanates)
- OSHA – Isocyanates overview
- Boating Magazine – BoatingLAB Tests, Topsides Paints
- Practical Sailor – DIY Topside Paint Test, Two-part Linear Polyurethanes Face Off
- Practical Sailor – Topside Paint Test Kicks Off (application and gloss)
- BoatUS – How To Paint A Boat (undercoat, masking, roll-and-tip method)
Safety: BoatMend is for information only and does not replace a certified marine technician. You are responsible for your safety and your boat. Read the full disclaimer.
Last updated 2026-10-26
Related guides
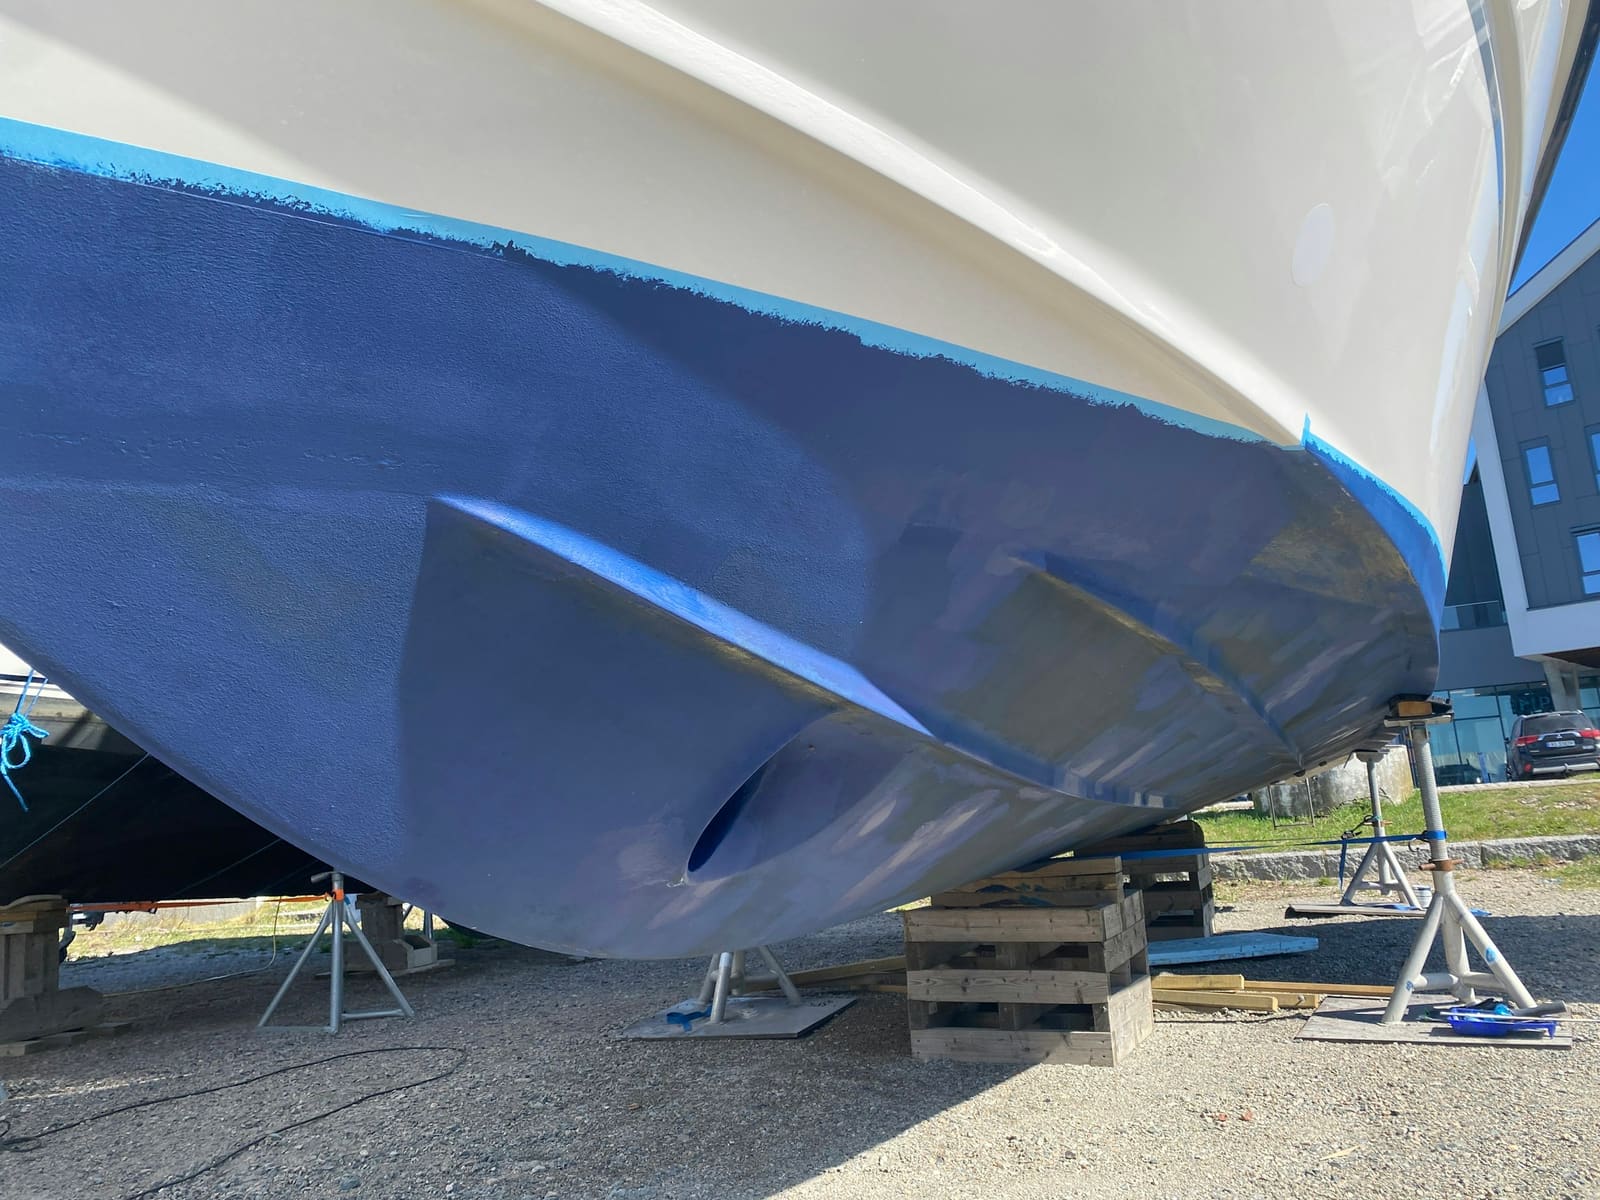
How to Repair Small Gelcoat Chips and Scratches
Fill and blend small chips, dings and scratches in your boat's gelcoat with a repair kit so they stop letting water into the fiberglass and look close to new. Also learn to spot damage that is structural and needs a pro.

How to Clean, Remove Oxidation and Wax Your Boat's Gelcoat (Plus Pontoon Tubes)
Wash your hull the right way, bring back chalky, faded gelcoat with compound, and seal it with wax so it stays glossy and protected from the sun. Includes how to clean and protect the aluminum tubes on a pontoon boat.
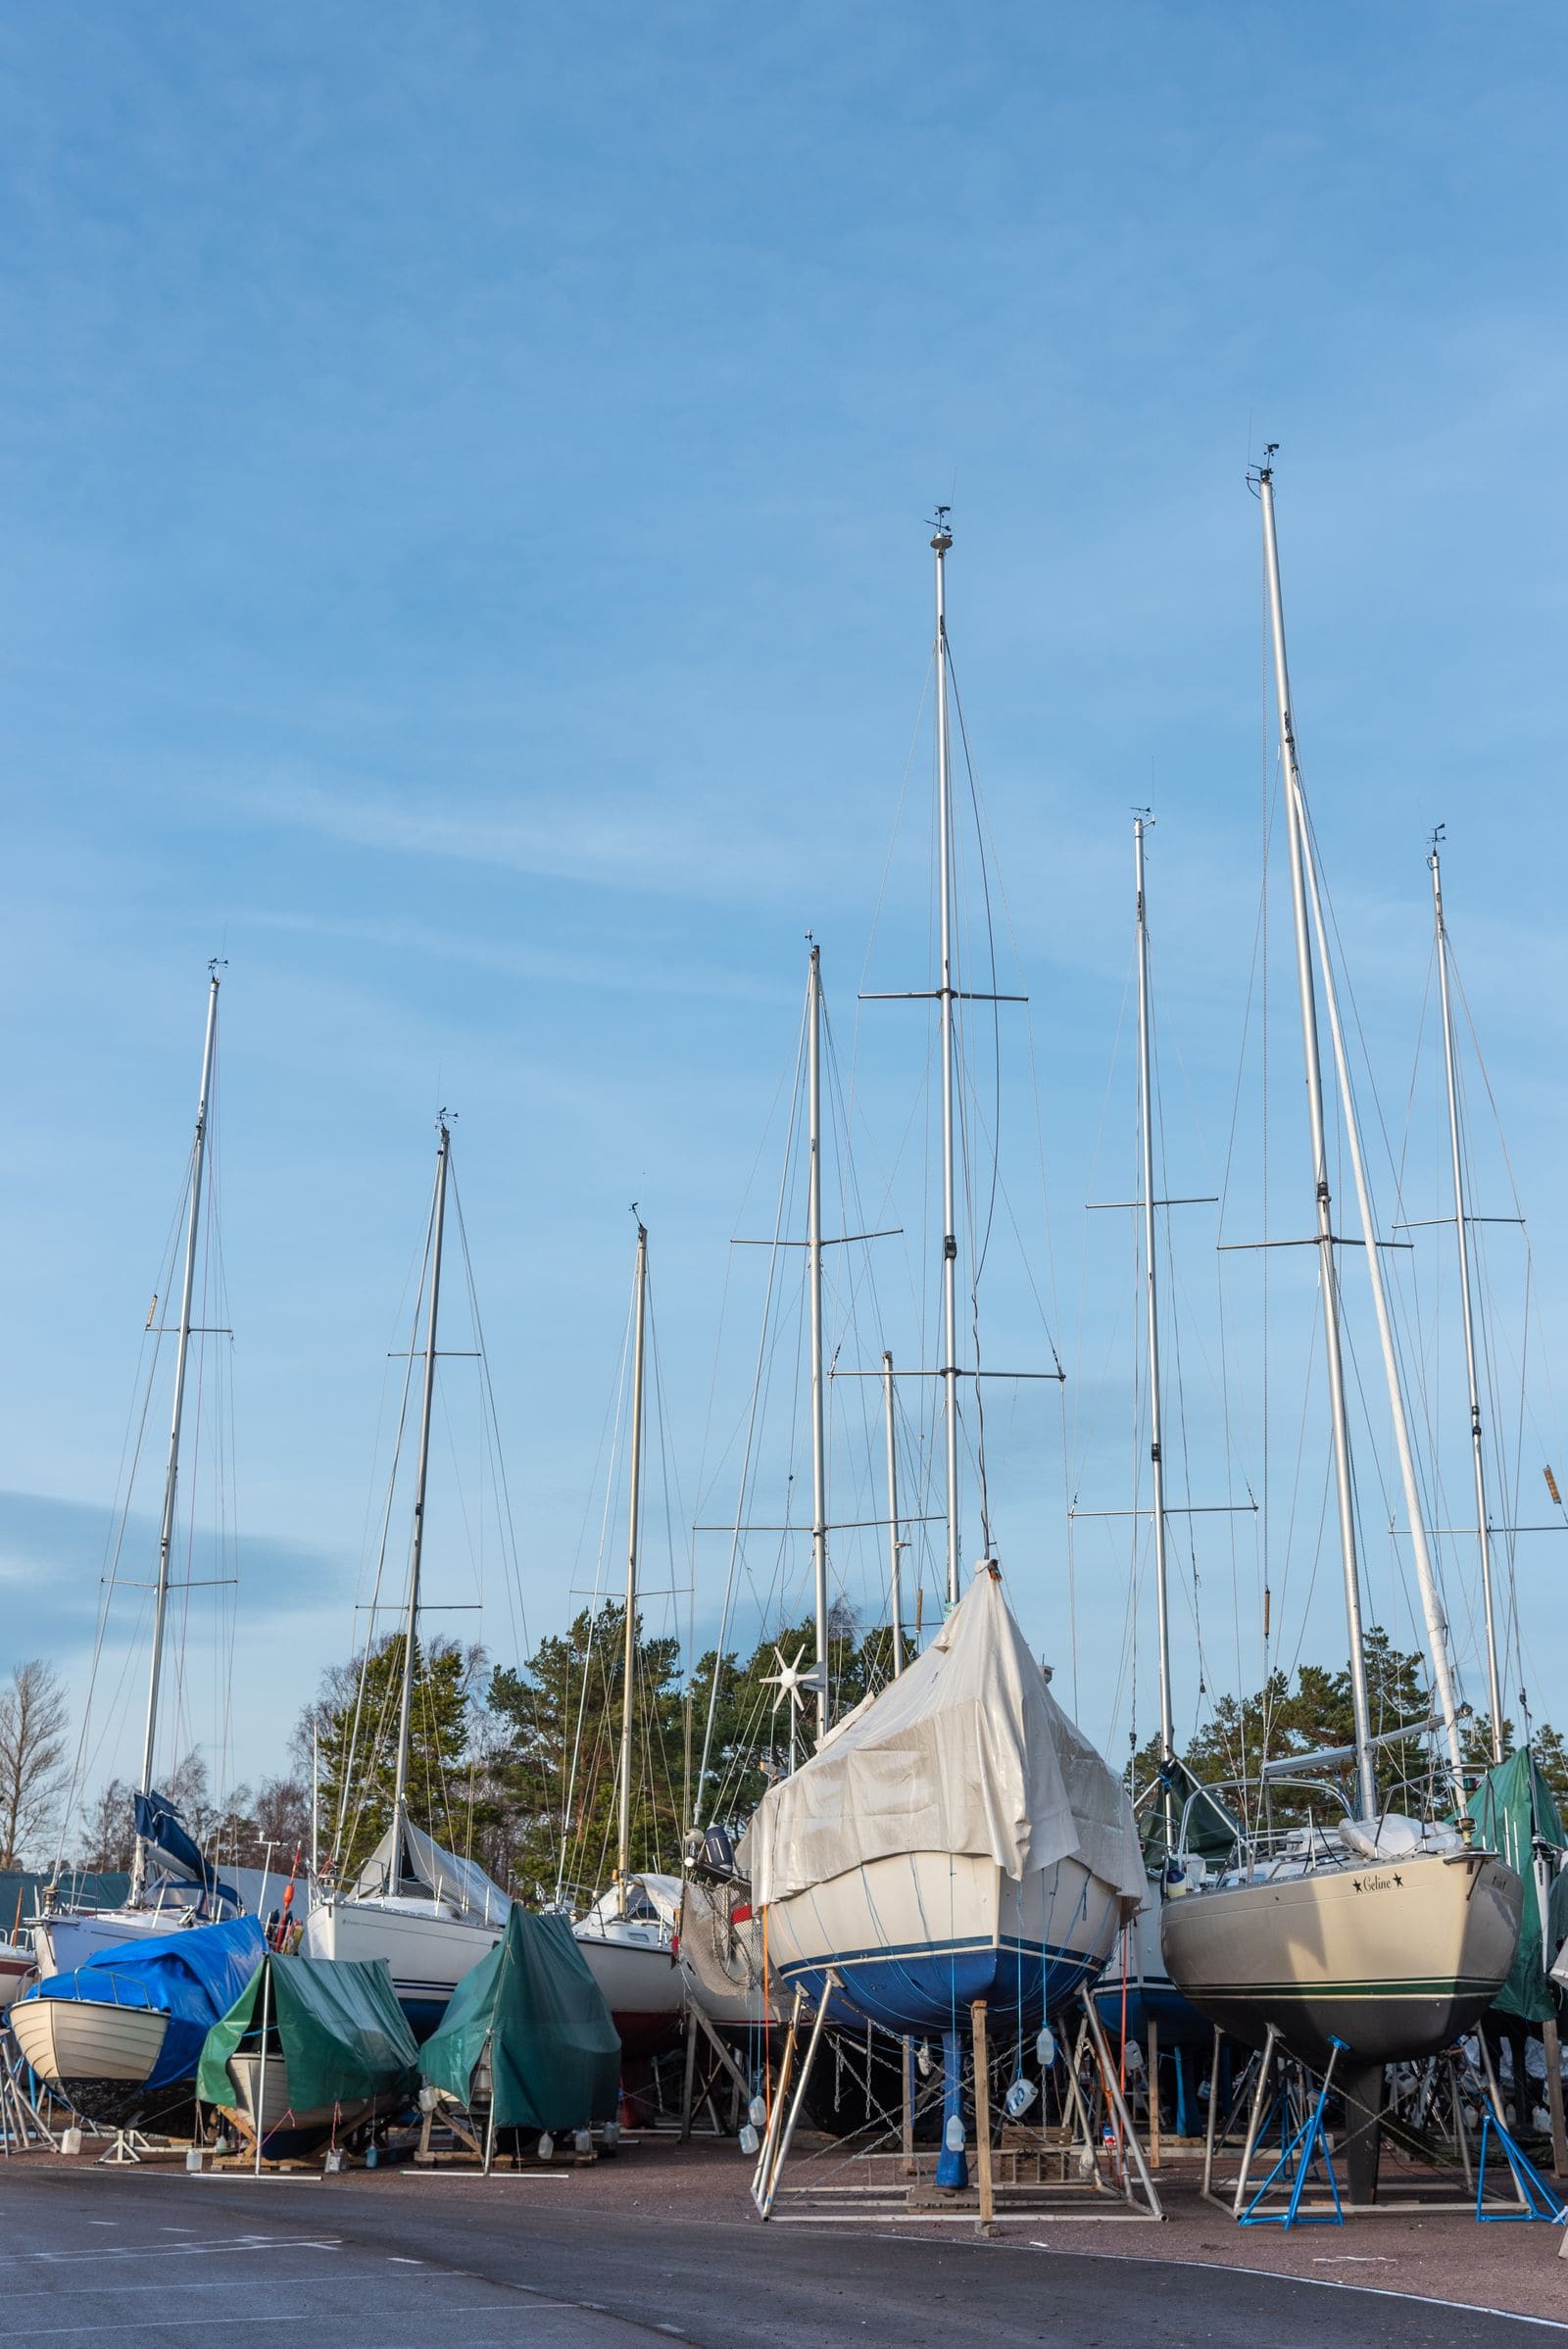
Bottom Paint (Antifouling): Do You Need It, Which Type, and How to Repaint
Learn whether your boat needs antifouling bottom paint, how ablative and hard paints differ, and how to prep and roll on a fresh coat safely, without poisoning yourself or the water and without ruining an aluminum hull.
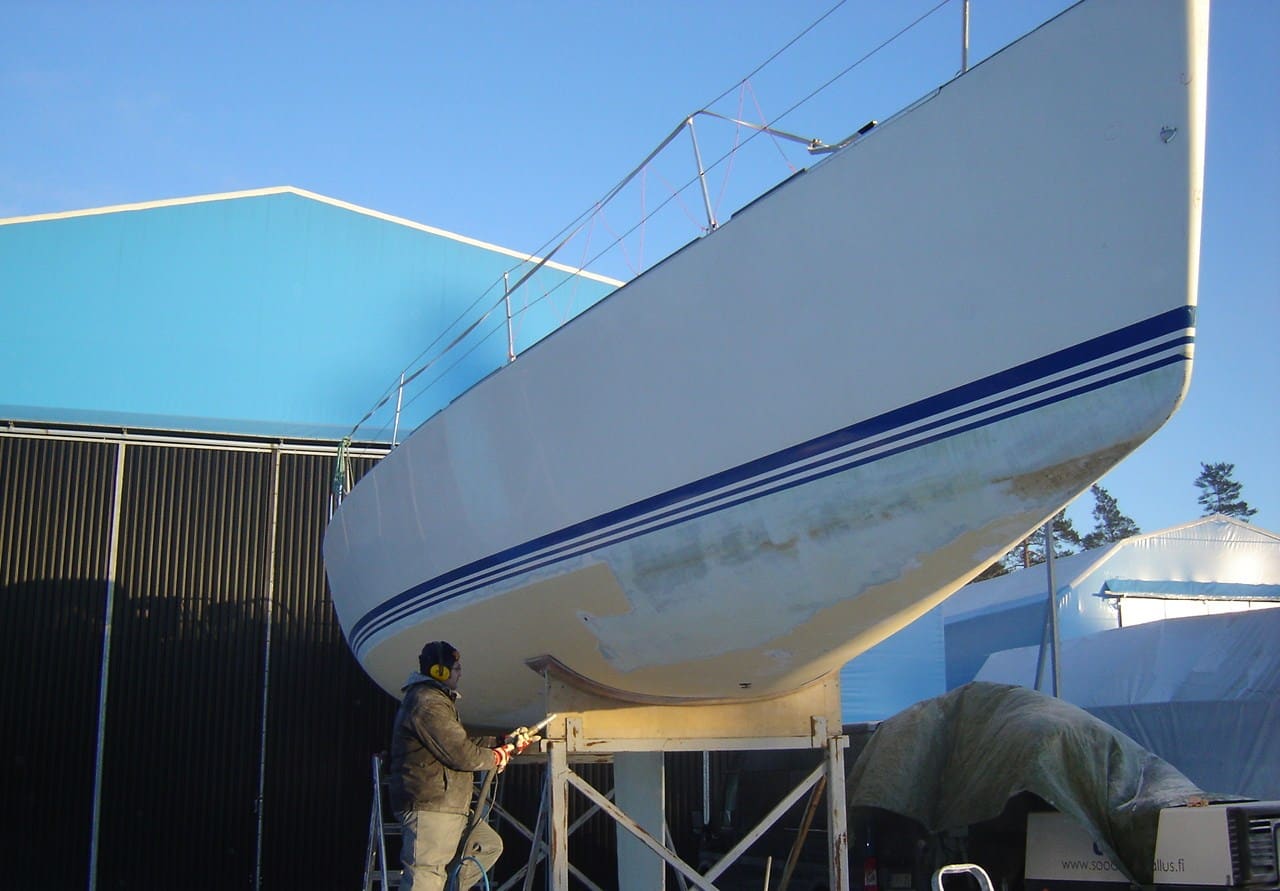
Stripping Old Bottom Paint: Chemical Strippers, Blasting and Sanding
Learn when old bottom paint has to come off, how chemical strippers, soda or media blasting and sanding compare, how to protect yourself and the water from toxic dust, and why a bare hull needs primer or a barrier coat before new antifouling.
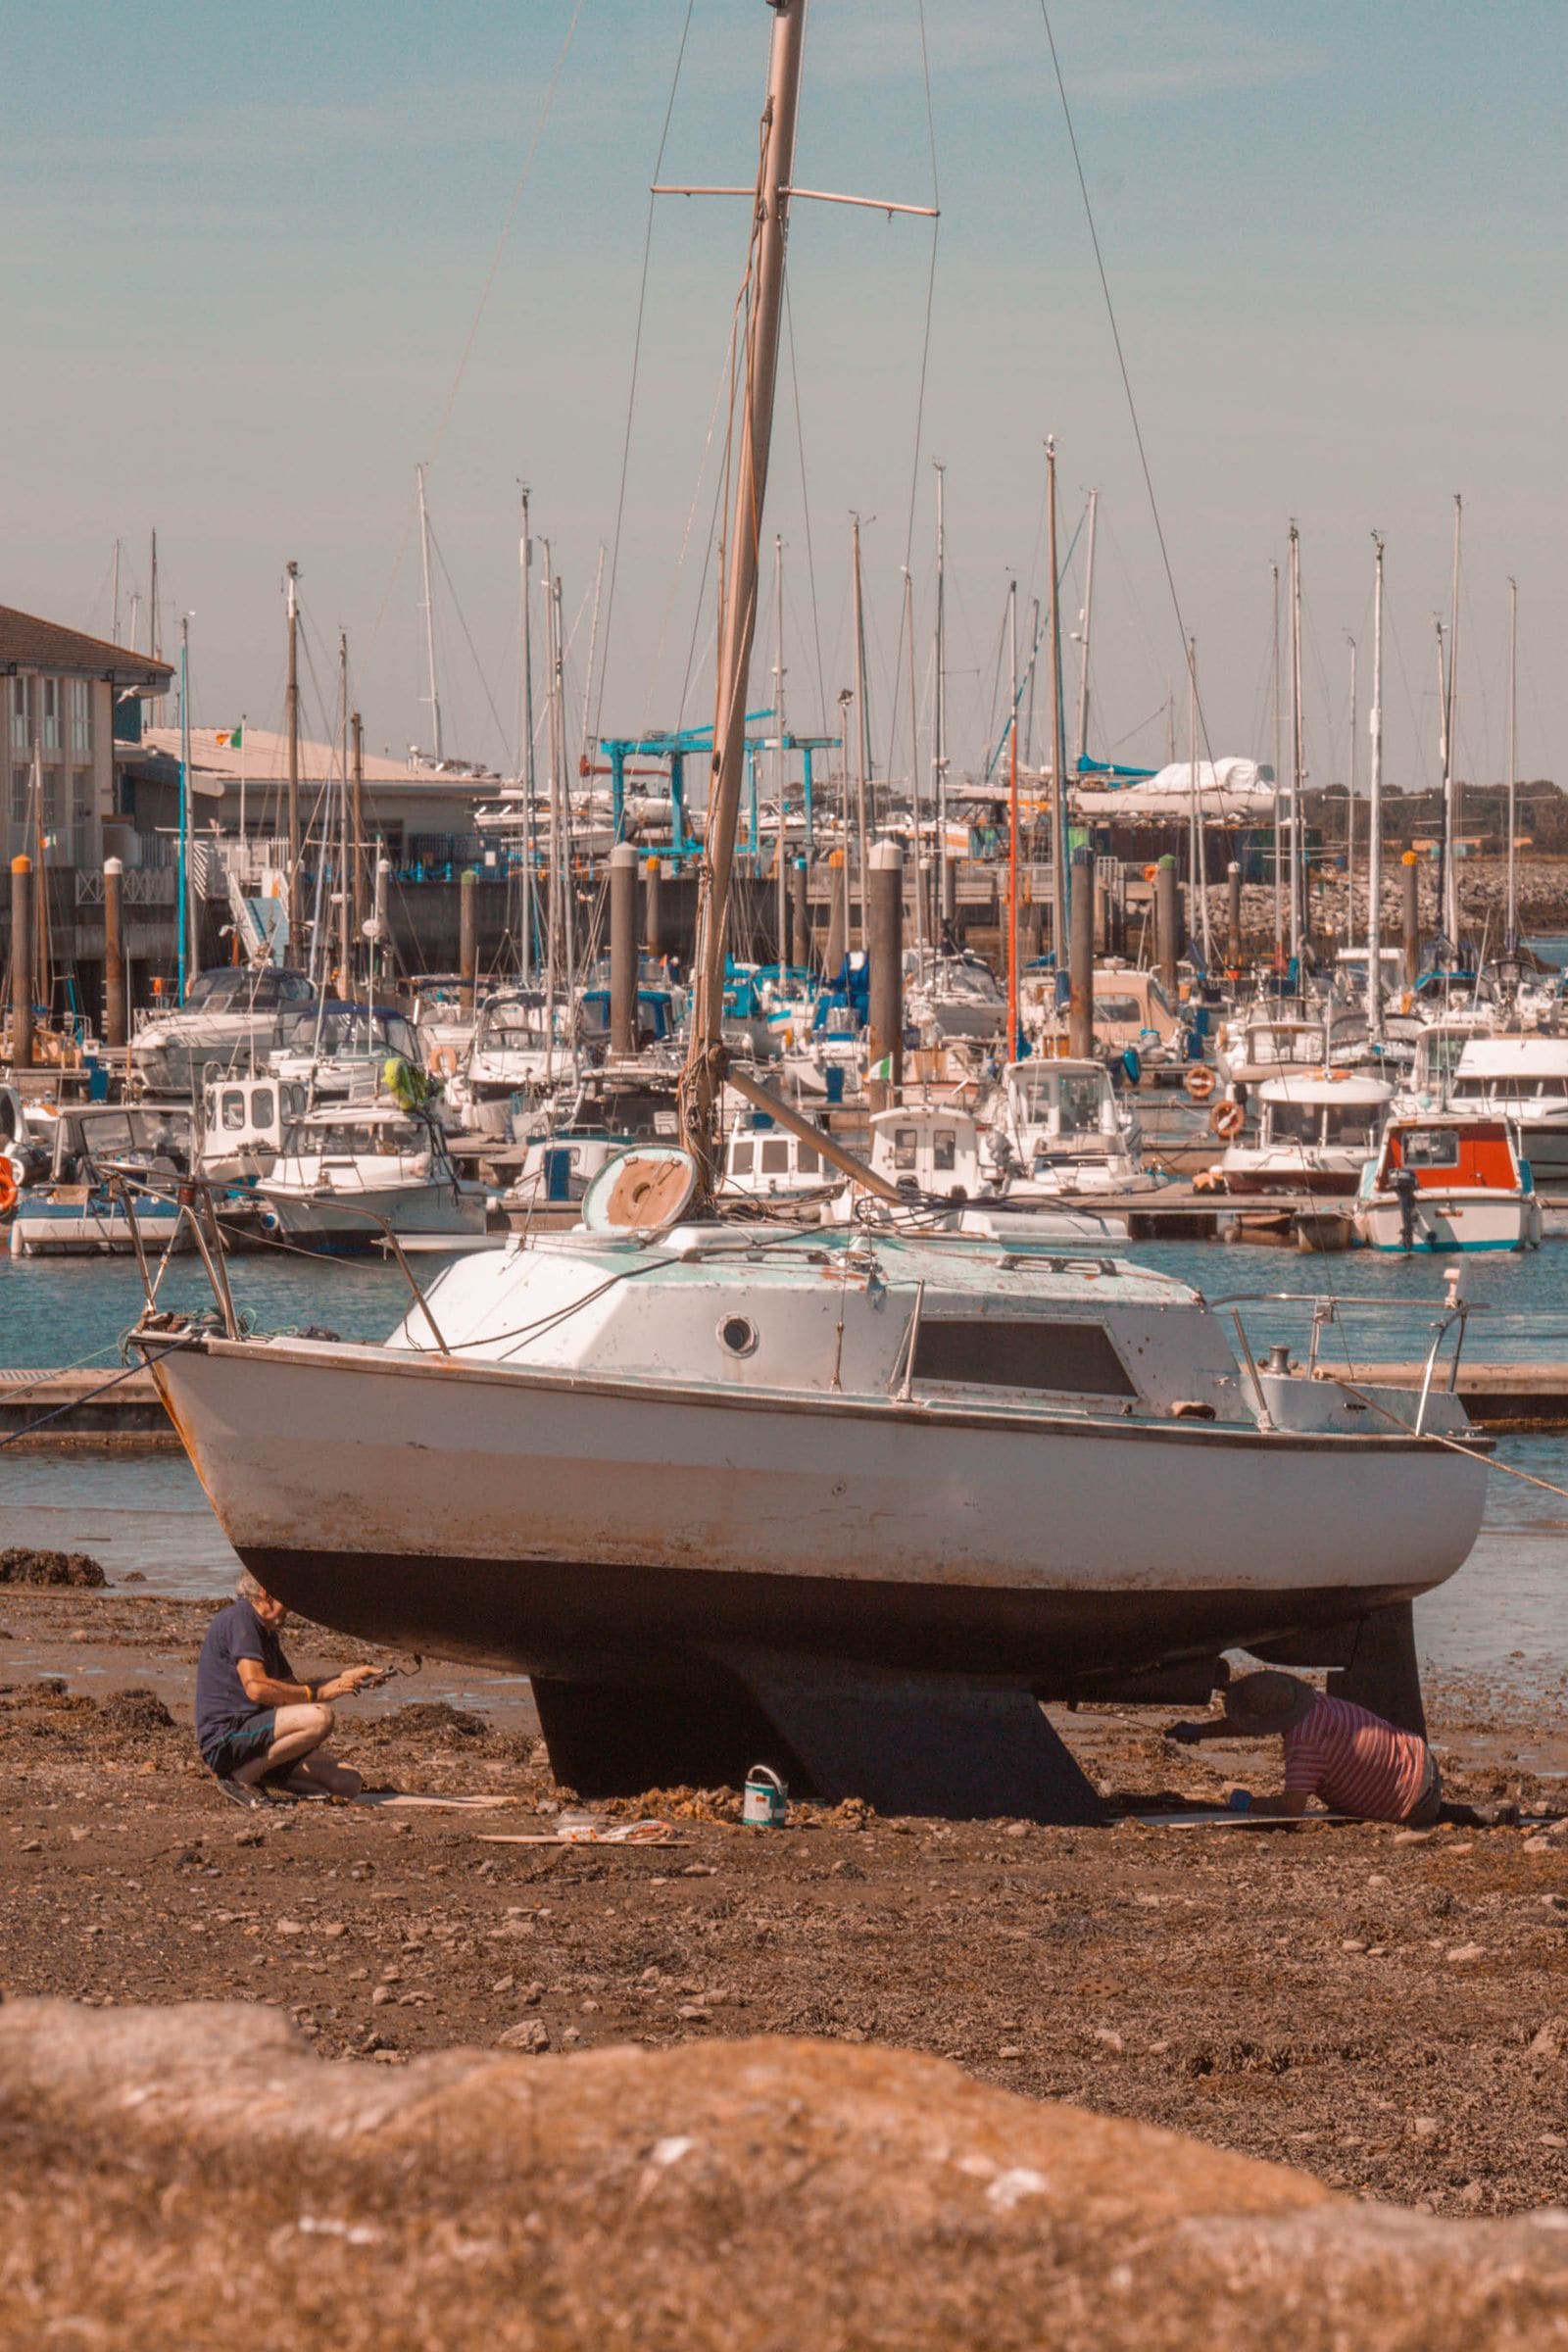
Stress and Spider Cracks in Fiberglass, Cosmetic or Structural?
Learn what causes spider, stress and hairline cracks in your boat's gelcoat, how to tell cosmetic crazing from a structural problem with a simple tap and flex check, and when a gelcoat repair is enough or a pro is needed.
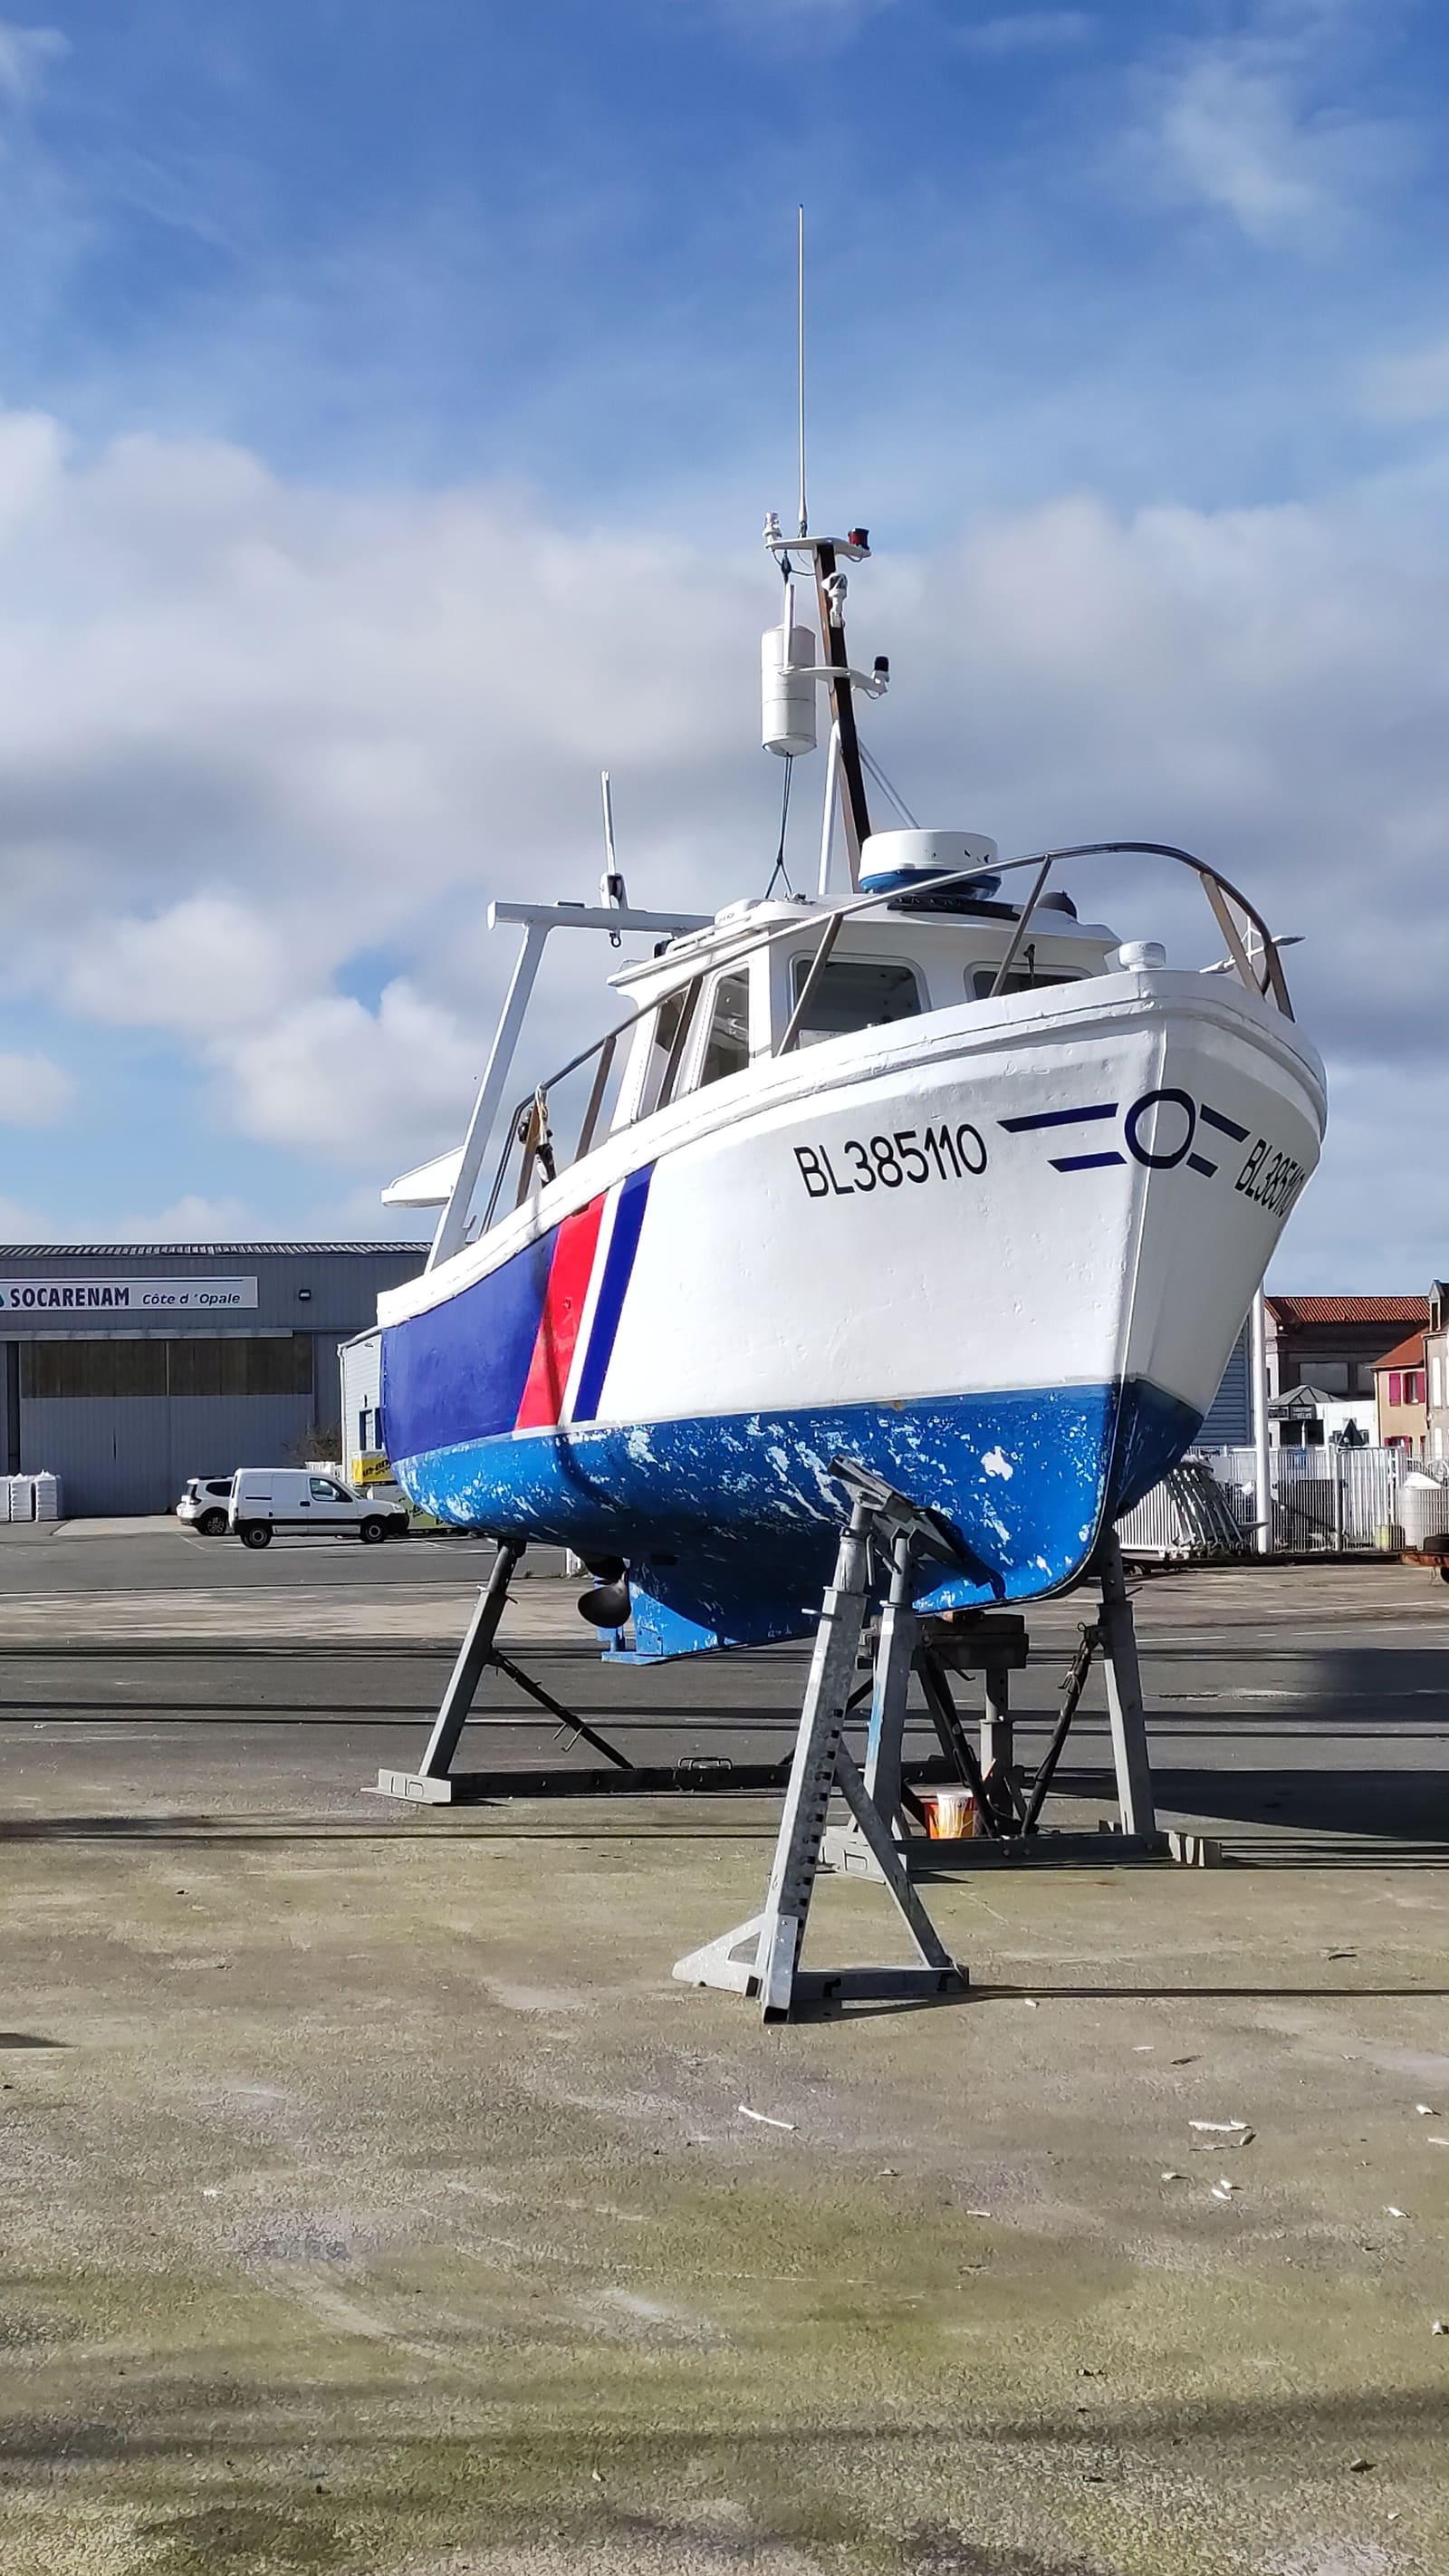
Storing a Boat on Stands and Blocks: Keel Blocking, Stand Placement and Safety Chains
Learn how a boat should sit on keel blocks and boat stands for winter or a haul-out, so you can check the yard's work, spot dangerous setups, and keep your boat from settling, distorting or falling over in wind, rain or a storm.