Stripping Old Bottom Paint: Chemical Strippers, Blasting and Sanding
Learn when old bottom paint has to come off, how chemical strippers, soda or media blasting and sanding compare, how to protect yourself and the water from toxic dust, and why a bare hull needs primer or a barrier coat before new antifouling.
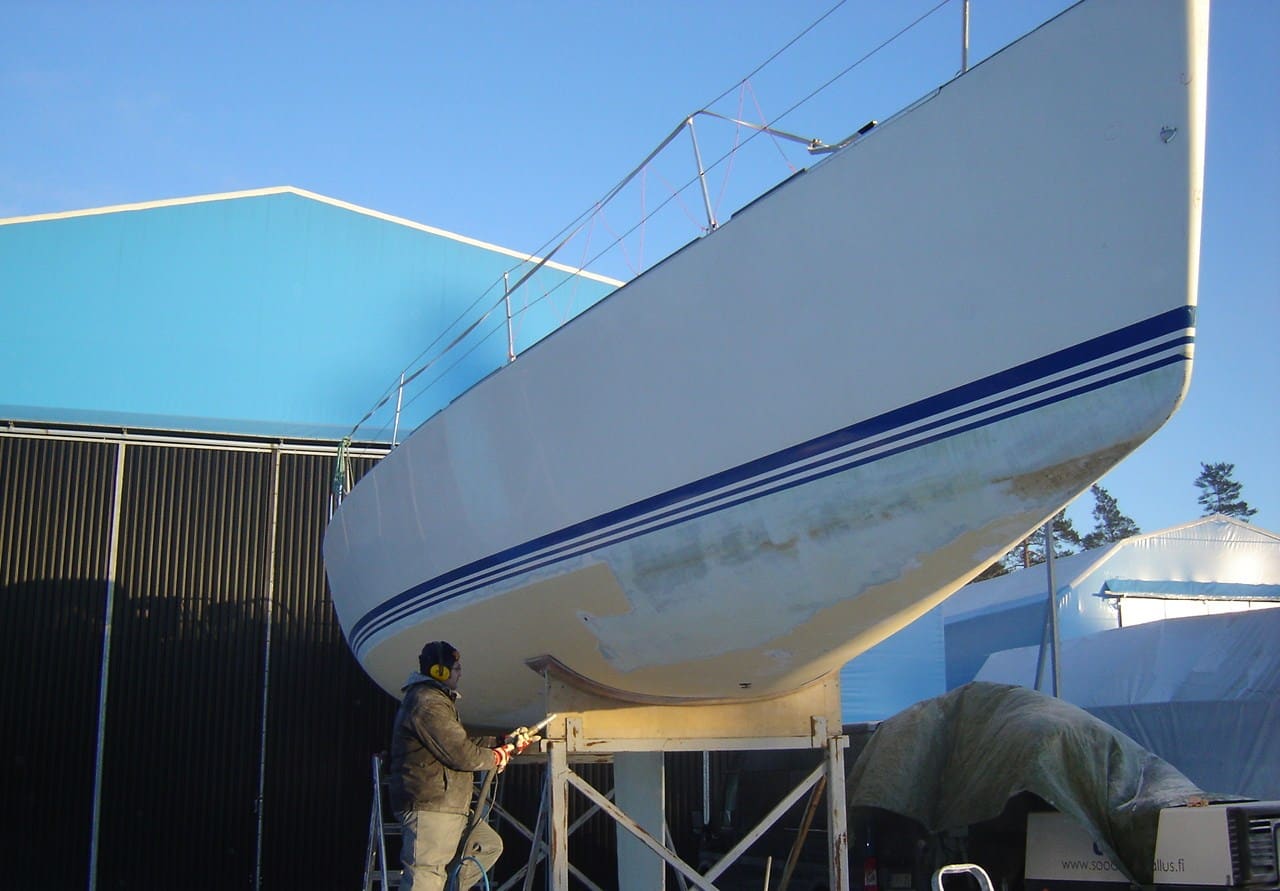
Time
24 h
Shop would charge
$1500-6000
Applies to
All engines
Safety first: Old bottom paint is a pesticide, and its dust, chips and stripper sludge are toxic. Very old layers on some boats may even contain tin (TBT) or lead. Wear a properly fitted respirator rated for what you are removing (never a paper dust mask), chemical gloves, eye protection and disposable coveralls, and keep kids and pets away. Never use a grinder or a belt sander on a hull bottom. Never move yard stands or jacks yourself; the yard does that.
Owners often ask
- What is the best way to remove years of old bottom paint without damaging the gelcoat?
- Do I need a barrier coat after stripping the bottom paint off my boat?
This guide walks you through it. Still stuck? Ask the AI Mechanic about your engine.
Tools
- PPE: tight-fitting respirator with the cartridges the product labels and safety data sheets call for, chemical-resistant gloves, goggles or face shield, disposable coveralls with hood, ear protection
- Plastic sheeting or heavy tarps and weights (or the yard's containment system)
- Plastic and metal scrapers with the corners rounded off
- Random orbit sander connected to a dust-collecting vacuum (many yards require this)
- Sanding discs in coarse to medium grits
- Disposable brushes or trowels for paste stripper
- Heavy-duty bags and lidded containers for waste
- Moisture meter (or a surveyor's) for a bare hull
Parts & supplies
- A paint stripper labeled safe for fiberglass gelcoat and for antifouling paint (or the one approved for your hull material)
- Cleaner or neutralizer named on the stripper label
- Primer or epoxy barrier coat system from your paint maker
- New antifouling paint that suits the primer system
Before you start
Do you really need to strip? Stripping is one of the dirtiest jobs in boating. It is worth it when:
- The paint is flaking off in sheets or has many bare patches where it lost grip.
- There is a thick, cracked, lumpy buildup from years of coats. Practical Sailor says hard paints typically need stripping after about eight to ten years of buildup.
- You want to switch to an incompatible paint, such as going to a vinyl paint. Interlux also offers an alternative: its universal primer can go over unknown old antifouling instead of stripping, as long as the old paint is sound.
- You have blisters to fix or want an epoxy barrier coat, which needs a bare hull.
The three main methods:
- Chemical stripper: a paste you spread on, wait, and scrape off. The usual DIY choice for taking paint down to the gelcoat. Messy and slow, but gentle on the hull if you use a gelcoat-safe product.
- Blasting (soda, walnut shell, plastic media, slurry or "eco" blasting): done by a contractor. Fast and thorough, but an unskilled operator can cut into the gelcoat or laminate. Some blasting can be banned at your yard or by local rules, so ask first.
- Sanding: necessary for the last thin layer and for prep, but sanding a whole bottom down to gelcoat is slow, exhausting and the dustiest option.
Boat size matters. Practical Sailor notes that both sanding and chemical stripping get very time-consuming on bigger hulls, and suggests looking into soda blasting for boats around 40 feet and up. If the old coats are sound and well stuck but you don't know what they are, a tie-coat primer from Interlux, Pettit or Sea Hawk can be a way to repaint without a full strip; ask the paint maker which one fits your situation.
Rules where you work: many states and boatyards require vacuum sanders, tarps or full containment and capture of every chip, and some forbid owner blasting or require their own contractor. New York Sea Grant's marina guidance, for example, calls for dust-collecting vacuum sanders, tarps under the work, sweeping (not hosing) chips, and treating paint waste as potentially hazardous. Ask the yard office before you start, not after.
Steps
Have the yard pressure wash the bottom right after haul-out on their wash pad, where runoff is captured. Loose paint often comes off in that wash. Let the hull dry fully before chemical stripping or sanding.
Fiberglass, aluminum and wood each need different products. On aluminum, use only a stripper labeled for aluminum and never sand or blast through the factory coating without a plan to re-prime with the paint maker's aluminum system (see our aluminum hull corrosion guide). Ask the previous owner or look in the records for what paint is on the bottom and whether the boat ever had a barrier coat.
Practical Sailor's stripper tests found big differences between products, paint types and dwell times, and found that the longest wait was not always the best. Try one or two strippers on a patch about a foot square. Note how many layers come off and at what time. Some strippers need warm weather to work, so check the temperature range on the label. Practical Sailor found results vary from boat to boat, so if the first product disappoints, try another before giving up on chemical stripping.
Lay plastic sheeting under and around the work area and weigh it down. A blue tarp that you have walked on is no longer waterproof, so use material you can bundle up and throw away. Keep rinse water from cockpit drains and through-hulls off the work area (short pieces of hose in the through-hulls help). Put on all your PPE before you open the first can. Read the stripper's safety data sheet.
Work in sections you can scrape within the product's dwell time, often starting low and working along the hull. Lay it on thick, as the label says. Some products come with a cover paper or film that keeps them from drying out; use it. Never let a fast stripper sit longer than the label allows on gelcoat.
Use plastic scrapers or metal scrapers with all corners rounded off, held at a low angle, so you lift the softened paint without gouging the gelcoat. Scrape the sludge straight into a container or onto the sheeting, not onto the ground. Expect to repeat the stripper on stubborn areas and on the keel and waterline.
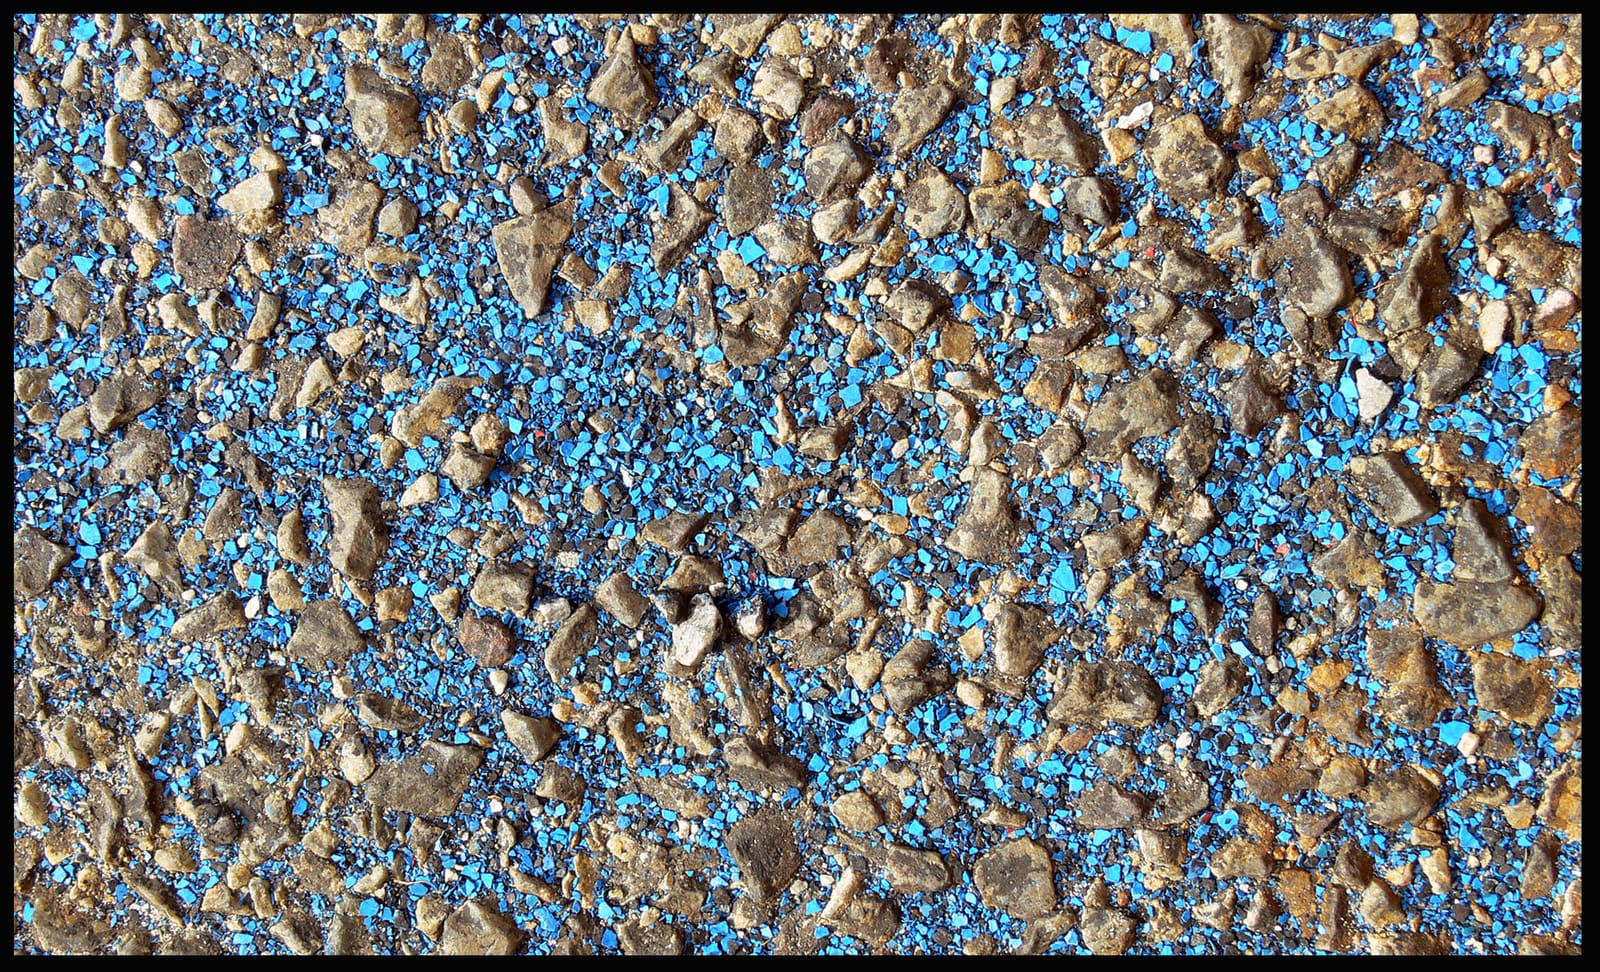
Every flake like these is toxic waste. Catch it on sheeting and bag it. Photo: F. Lamiot / Wikimedia Commons · CC BY-SA 2.5 Wash off stripper residue with the cleaner or rinse method on the label. Some strippers need a specific wash before primer will stick. Let the hull dry.
Ask the contractor how many fiberglass boats they have done, what media they use, how deep they plan to go and how they contain and dispose of the waste. Practical Sailor recommends asking for references. A careful operator stops at the last thin layer of paint and leaves it for machine sanding rather than blasting into the gelcoat. Make sure the yard allows it and that your neighbors' boats are covered.
Use a random orbit sander hooked to a vacuum, with coarse discs for leftover paint and finer ones for final prep. Stop as soon as you reach gelcoat (or bare laminate, if you are fixing blisters). Never use an angle grinder or belt sander: they gouge the hull in seconds. Sweep or vacuum dust and chips; do not hose them away.
This is your best look at the hull in years. Check for blisters, cracks, voids, damage around the keel joint, through-hulls and transducers, and soft spots (see our hull blisters guide). On a sailboat, look at the keel-to-hull seam. Fix problems now.
A fiberglass hull that has been in the water for years can hold moisture. Epoxy barrier coats need a dry laminate. Many owners have a surveyor take moisture readings or follow the paint maker's moisture guidance before coating.
Don't leave a bare hull sitting unprotected for long; get at least the first coat of primer on as soon as the surface is ready and dry. On fiberglass, the paint maker's epoxy barrier coat system is the usual choice after a full strip. Follow its overcoat window exactly: antifouling must go on within the time the primer label gives, or you have to sand and re-prime.
Choose a paint that is compatible with the primer, your water and your hull material, and apply it as described in our bottom paint guide. Record the products and dates in BoatMend.
Bag sludge, chips, dust, sheeting, scrapers, rags and used PPE and take them to the yard's hazardous waste collection or your local household hazardous waste site. Paint cans with residue are hazardous waste unless emptied as the label says. Never let anything wash into storm drains or the water.
Common mistakes
- Using a general-purpose paint stripper that is not labeled safe for gelcoat, or leaving a fast stripper on too long.
- Sharp scraper corners that leave gouges you then have to fill.
- Grinders and belt sanders that cut through gelcoat into the laminate.
- Paper masks, no vacuum, no tarps, spreading toxic dust across the yard and into your car and home.
- Hosing chips away instead of sweeping and bagging them.
- Hiring a blaster with no fiberglass experience, who digs into the gelcoat.
- Leaving the hull bare for weeks or putting a barrier coat on a wet laminate.
- Skipping the yard's rules, then being told to stop halfway through.
When to call a pro
- You want a full strip down to bare laminate and an epoxy barrier coat
- The hull shows many blisters, delamination, soft spots or cracks at the keel joint
- The boat is large, high on stands, or needs scaffolding to reach the bottom safely
- The hull is aluminum or wood and you are unsure which stripper and primer system are safe
- Your yard requires licensed contractors or forbids owner sanding or blasting
- You suspect very old paint with tin or lead and need guidance on handling and disposal
Tips
- Book the work in warm weather; most strippers and barrier coats work better and cure faster when it is mild and dry.
- Buy all primer and paint before you strip, so the bare hull never waits for a delivery.
- A test patch also tells you whether new primer sticks well after that stripper.
- Ask the yard what it charges for full-strip containment; it can change the math between DIY and a pro.
- Avoid having to do this again: Practical Sailor suggests that with an ablative paint, one or two coats per season (no more than about three for long-term cruising) keeps buildup down, because the paint wears away as you use the boat.
Official references
We read these to write this guide. Your engine's own manual always wins.
- Practical Sailor – Bottom Paint Strippers
- Practical Sailor – Bottom Paint Makeover
- Interlux – What do I do if I want to change the type of antifouling paint I am using?
- 48° North – How To, Stripping Your Boat's Bottom
- New York Sea Grant – Marina BMPs, Preparing and Painting Boat Bottoms
- Practical Sailor – Options Abound for Removing Bottom Paint
Safety: BoatMend is for information only and does not replace a certified marine technician. You are responsible for your safety and your boat. Read the full disclaimer.
Last updated 2026-10-25
Related guides
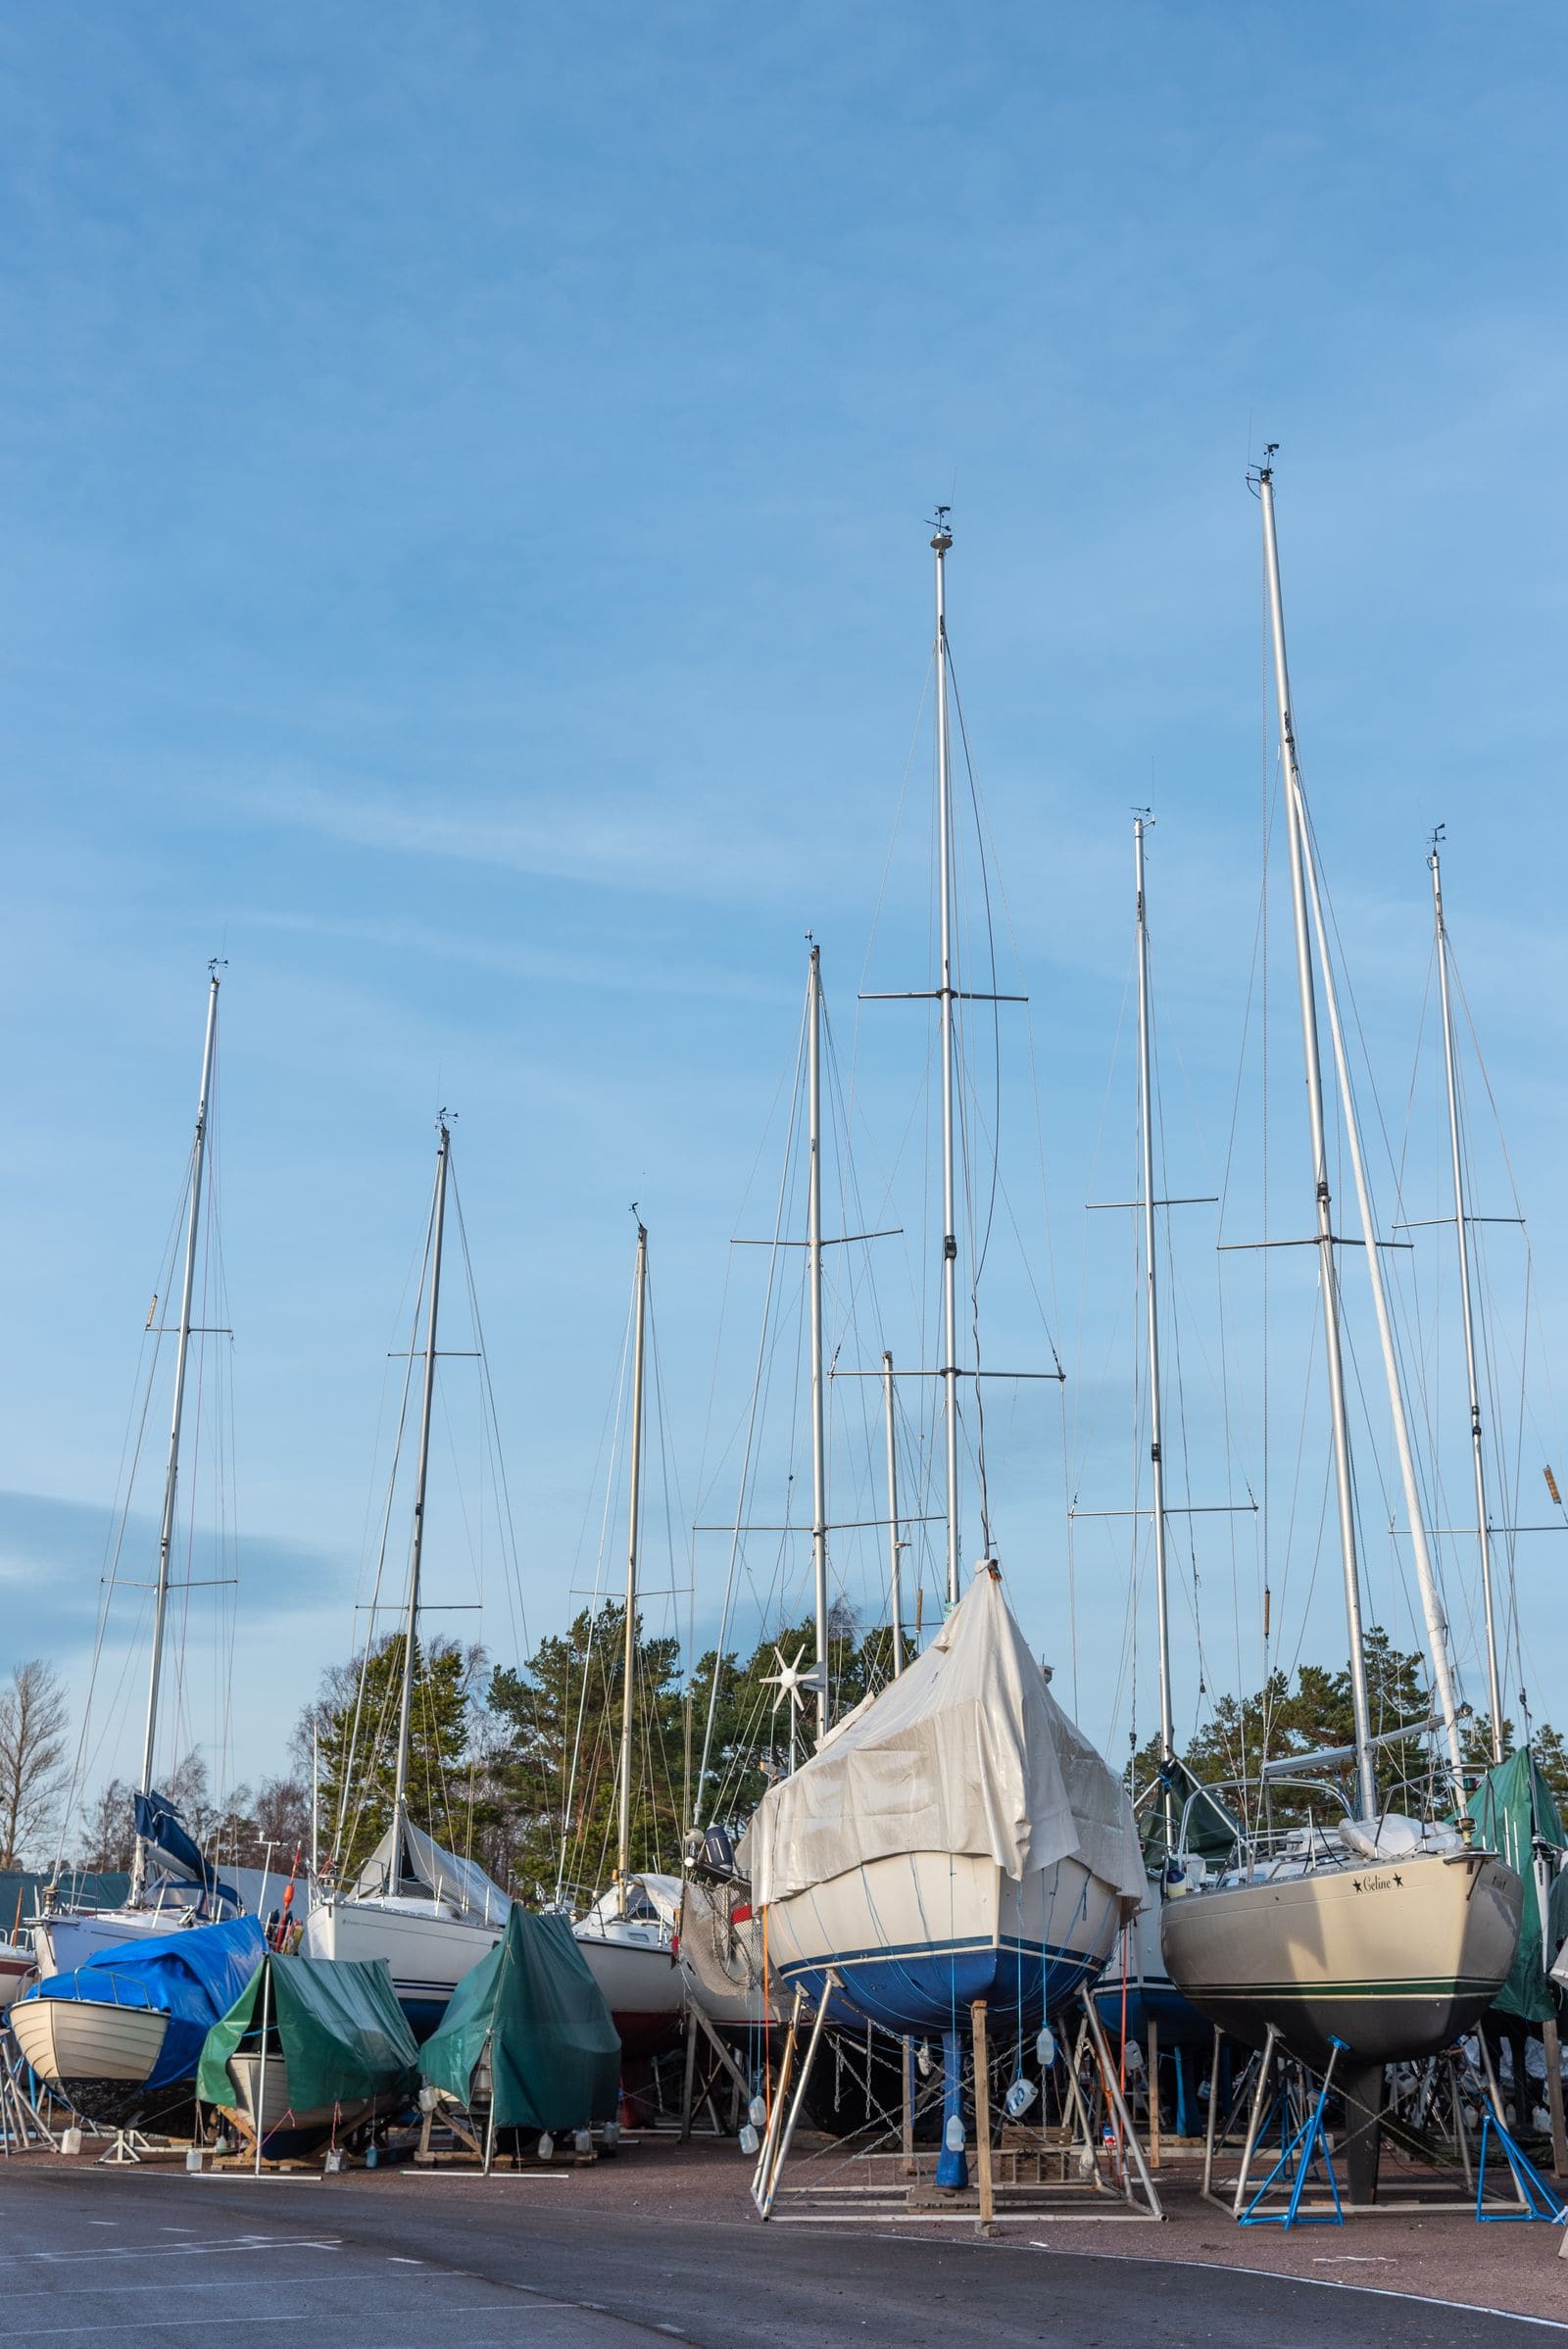
Bottom Paint (Antifouling): Do You Need It, Which Type, and How to Repaint
Learn whether your boat needs antifouling bottom paint, how ablative and hard paints differ, and how to prep and roll on a fresh coat safely, without poisoning yourself or the water and without ruining an aluminum hull.
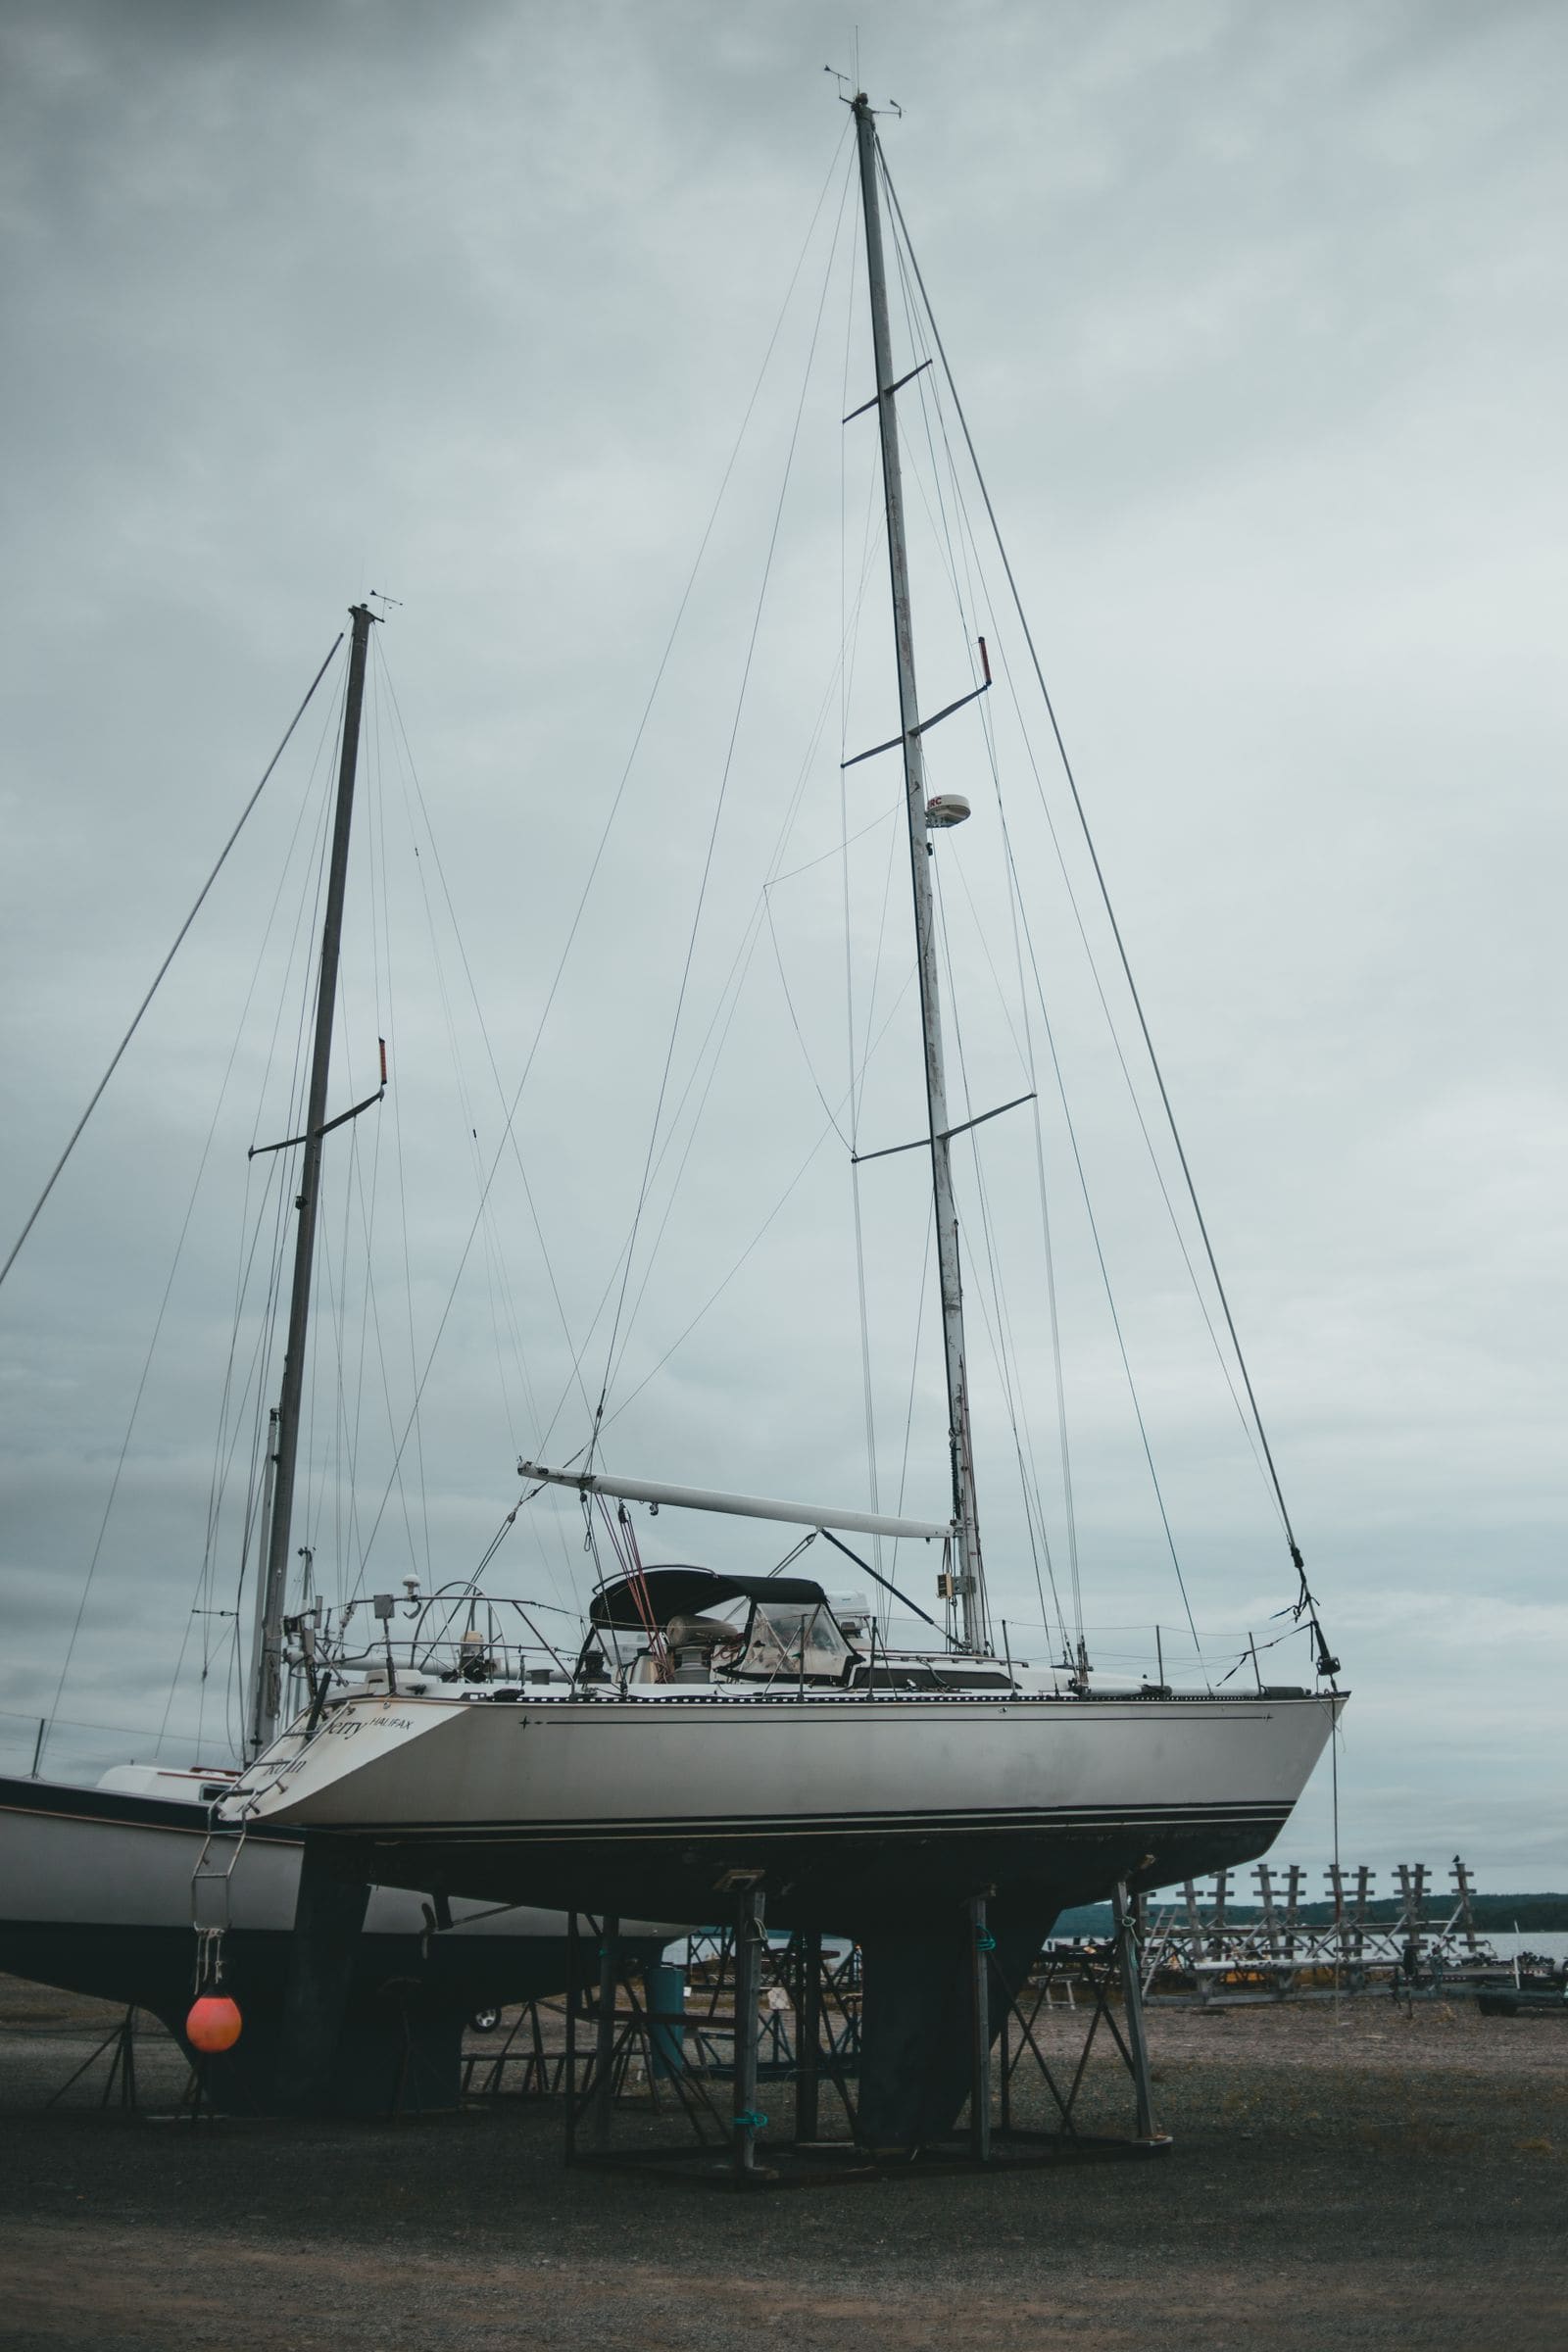
Hull Blisters (Osmosis): How to Tell Cosmetic Pimples From Serious Pox
Learn what osmotic blisters are, how to inspect a fiberglass bottom at haul-out, which blisters you can fix yourself with epoxy, what moisture meter readings can and can't tell you, and when to hire an independent surveyor.
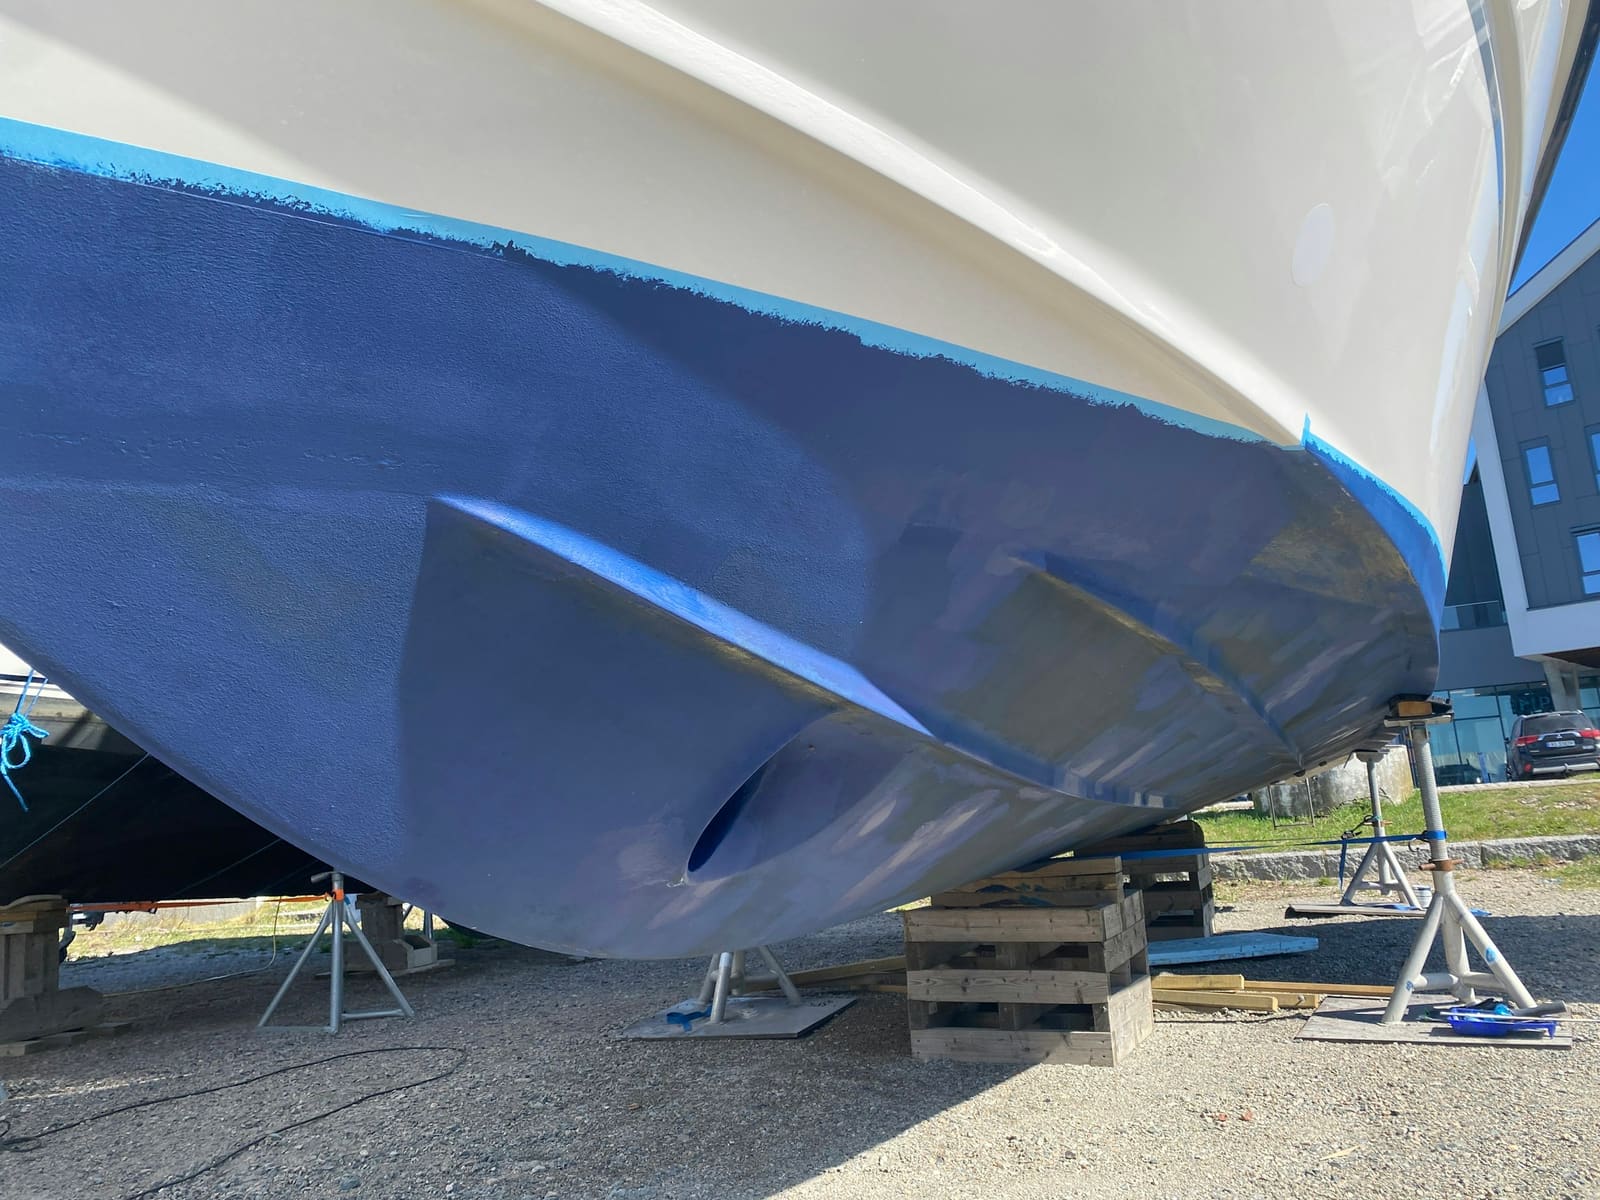
How to Repair Small Gelcoat Chips and Scratches
Fill and blend small chips, dings and scratches in your boat's gelcoat with a repair kit so they stop letting water into the fiberglass and look close to new. Also learn to spot damage that is structural and needs a pro.
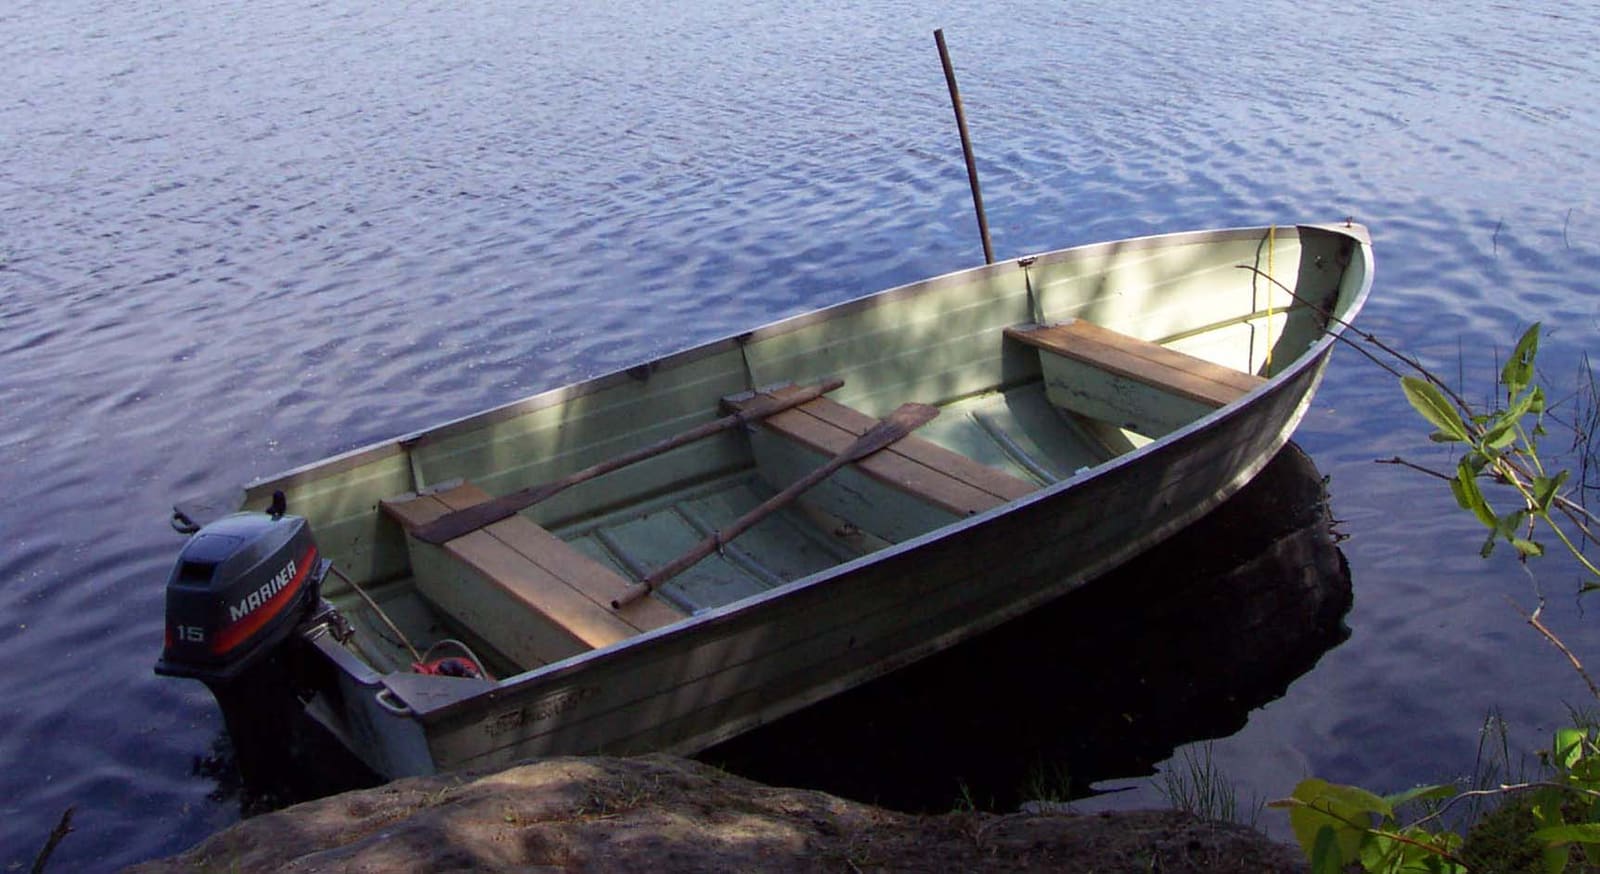
How to Spot and Prevent Corrosion on an Aluminum Boat
Aluminum hulls and pontoon tubes are tough, but they lose almost every fight with other metals. Learn the warning signs of galvanic and stray current corrosion, keep copper and loose metal away from the hull, choose the right anodes, touch up paint with the proper primer and know when a repair needs a welder.
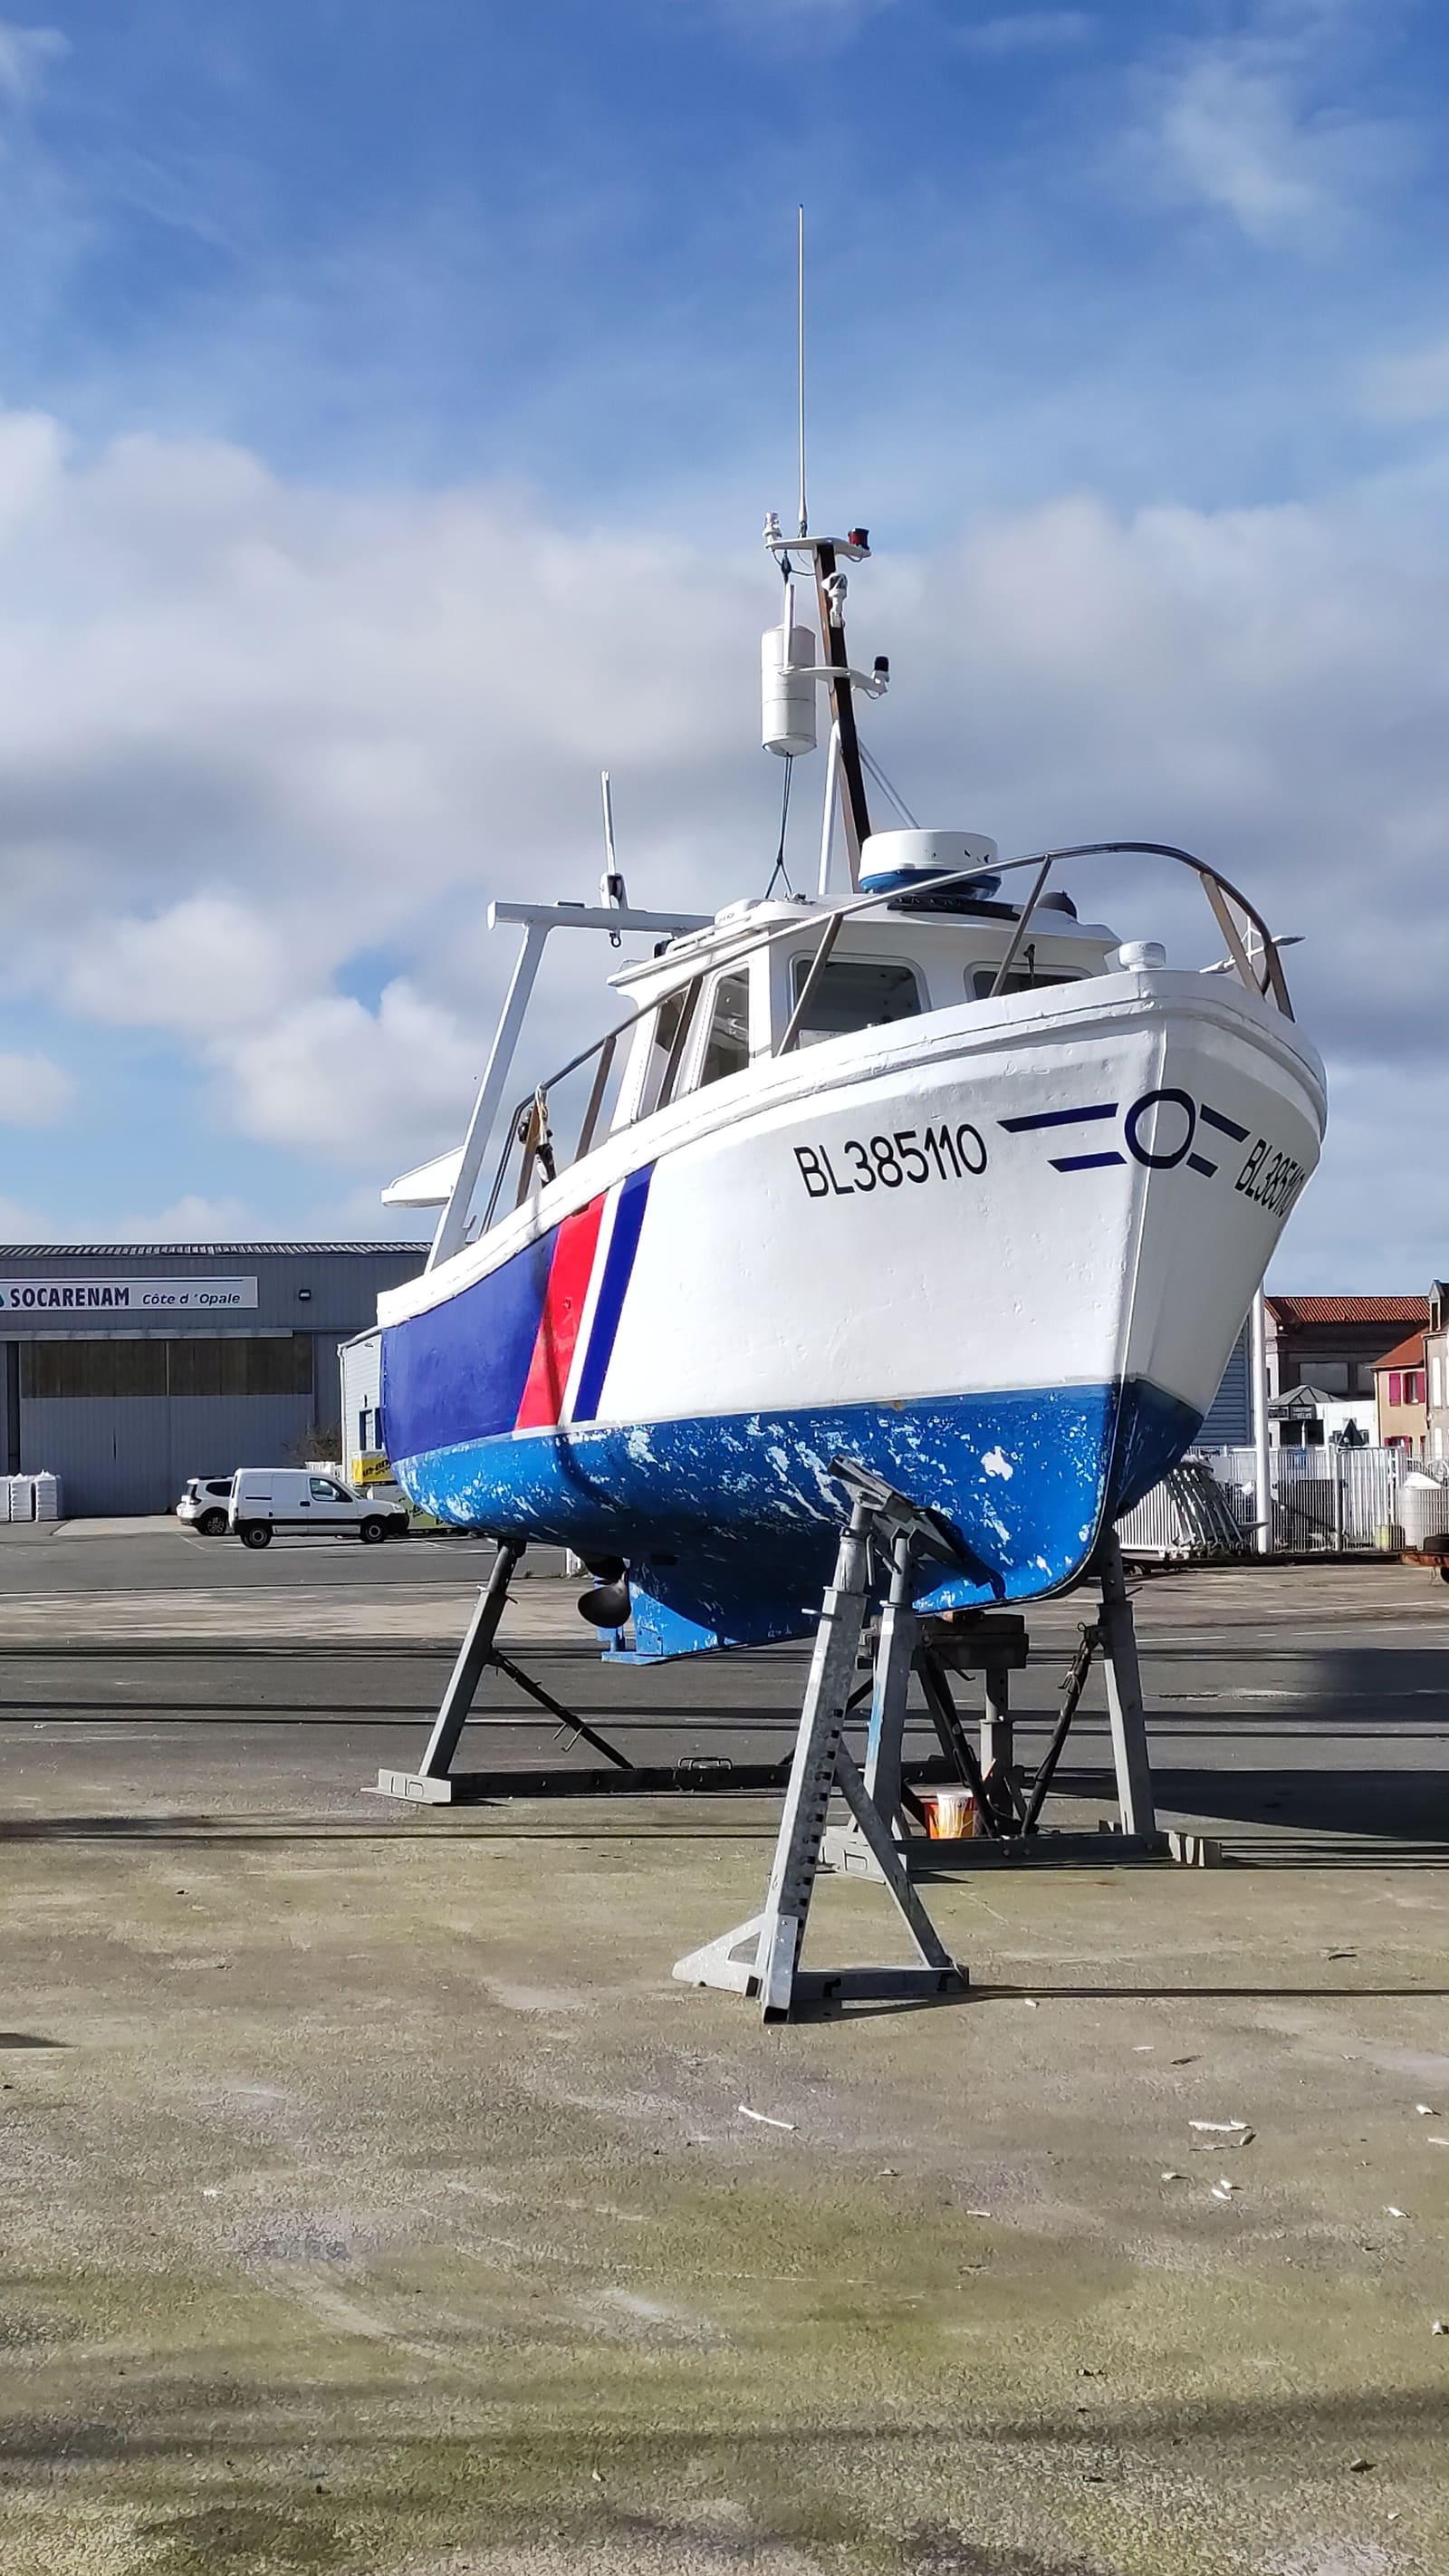
Storing a Boat on Stands and Blocks: Keel Blocking, Stand Placement and Safety Chains
Learn how a boat should sit on keel blocks and boat stands for winter or a haul-out, so you can check the yard's work, spot dangerous setups, and keep your boat from settling, distorting or falling over in wind, rain or a storm.

Launch Day and Haul-Out Checklist for Trailer Boats
A step-by-step checklist for getting your boat off the trailer and back on again safely and quickly, from the drain plug and tie-downs to the blower and ramp etiquette. Following it in order prevents the classic mistakes that sink boats and back up the ramp.