Outboard Fell Overboard or Engine Got Submerged: What to Do in the First Hours
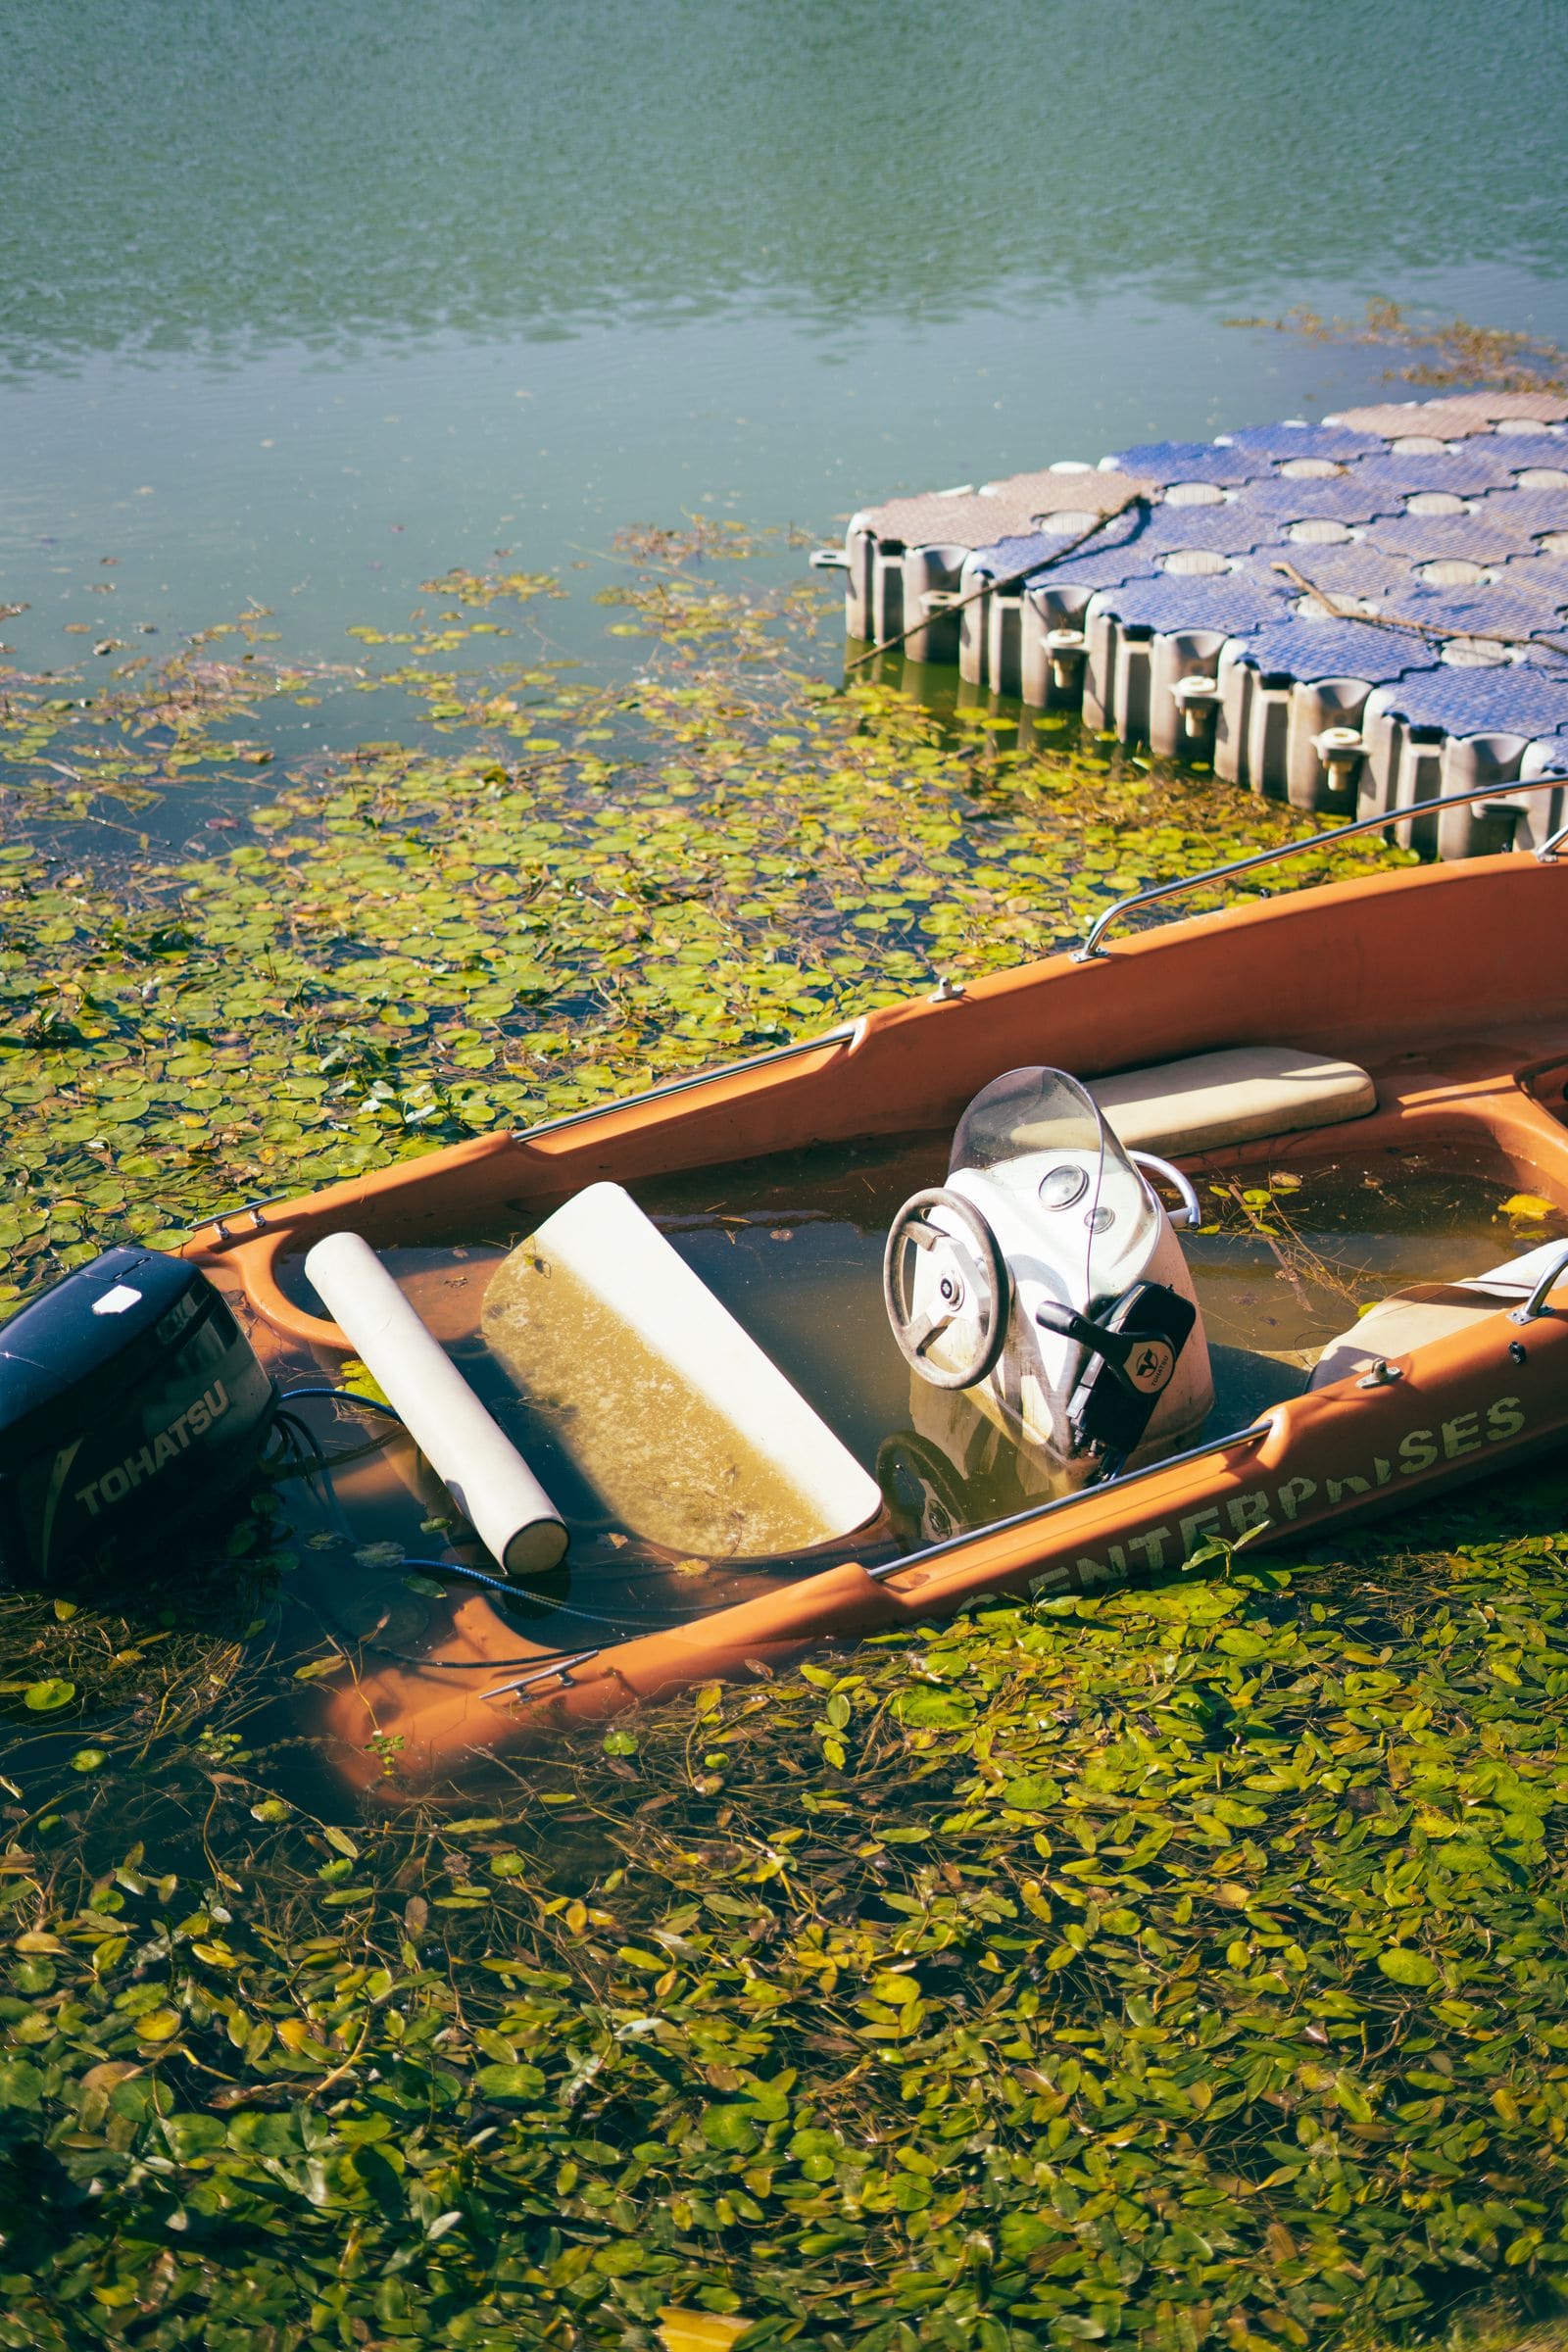
A dunked engine can often be saved, but only if you act fast and in the right order. Learn what to do (and what never to do) in the first hours after an outboard goes overboard or a boat swamps, how to buy time until a shop can take it, and when it is a loss.
Time
3 h
Shop would charge
$250-1500
Applies to
Outboard, Sterndrive (I/O), Gas inboard
Safety first: People come before the engine. If a boat sank or swamped at a dock, do not get in the water until the marina has shut off shore power: a live cord in the water can cause electric shock drowning. Disconnect the batteries as soon as you can reach them safely. If you see a fuel sheen or smell gasoline, keep sparks and flames away. For a boat that is sinking or in danger, call TowBoatUS or Sea Tow, and in an emergency use VHF channel 16 or dial 911.
Owners often ask
- My outboard fell overboard and I got it back. Should I try to start it right away?
- My boat sank at the dock and the engine was underwater. Is it a total loss?
This guide walks you through it. Still stuck? Ask the AI Mechanic about your engine.
Tools
- Garden hose with fresh water
- Spark plug socket and ratchet
- New spark plugs of the type in your owner's manual
- Fogging oil or a water-displacing corrosion spray
- Drain pan, rags and an oil-change pump
- Fresh engine oil and filter (four-strokes)
- Large trash bags or a tub big enough to keep the engine wet
- Flush muffs or a test tank (only if you will try a start)
Parts & supplies
- Spark plugs
- Engine oil and oil filter (four-strokes)
- Fresh fuel
- Gear lube and new drain/vent screw gaskets (if the lower unit took on water)
Before you start
The single most important rule: do not try to start or crank the engine. If water is sitting in a cylinder, the piston cannot compress it. Cranking with the starter (or yanking hard on the pull rope) can bend a connecting rod and turn a fixable engine into scrap.
The second rule: air is the enemy. A wet engine starts to corrode quickly once it is out of the water and drying, and salt water makes it far worse. Southern Boating quotes a Yamaha service expert: if you cannot work on it right away, put it back in fresh water until you can. BoatUS gives the same advice for sunken boats: leave the machinery submerged until you or a mechanic can spend three or four hours on it, then work fast.
Three facts decide how this goes. Write them down for the shop:
- Was the engine running when it went under? SAIL Magazine points out that an engine that was off stays mostly sealed, while a running engine sucks water into the cylinders and needs more work.
- Salt, brackish or fresh water? Salt corrodes much faster.
- Was there sand, mud or silt? Grit inside an engine is a reason not to run it at all until a shop opens it up.
Small portable outboards (roughly 25 hp and under) are the ones that most often go overboard, usually from loose clamp screws or a slip while carrying them. Big bolted-on engines usually go under only when the whole boat sinks. The first-aid steps are similar for all sizes; on a sunken sterndrive or inboard, the job is bigger, so the shop matters even more.

Steps
Get the engine (or boat) out without putting anyone at risk. Do not dive in current, cold water or poor visibility; a lost outboard is cheaper than a person. In shallow water, mark the spot with a GPS waypoint or a buoy and retrieve it with a line and grapple, or hire a diver. Write down when it went in and when it came out.
Disconnect the battery cables (negative first) and unplug the fuel line from the engine. On a sunken boat, BoatUS says to disconnect all batteries and shore power as soon as possible, both for safety and to stop electrolysis eating the metal. Pull the kill switch clip so nothing can fire by accident.
The best outcome is a marine technician working on it within hours. Call your dealer or shop right away and ask if they can take a submerged engine today; many will move it up the line.
If the shop cannot take it and you cannot do the next steps within a few hours:
- Fresh water: keep the engine wet, ideally submerged in a tub or barrel of fresh water, until you can work on it.
- Salt water: rinse it thoroughly with fresh water, then keep it submerged in fresh water.
- Far from help: Southern Boating describes rinsing with as much fresh water as possible, then filling the engine with oil so no bare metal is exposed, wrapping it in trash bags and keeping it that way until it can be worked on. Any oil is better than bare, drying steel.
When you are ready to work, take the cowling off and hose the whole engine with fresh water, especially after salt water or mud. Use gentle garden-hose flow, not a pressure washer. BoatUS says to rinse within minutes of lifting a sunken engine and before anything dries: dried mud and salt make things worse.
Label the plug wires, then remove all spark plugs. Turn the engine so the plug holes point down if you can (small outboards can be laid on the side your manual allows, or tilted). Now turn the engine over by hand: slowly pull the rope on a small engine, or turn the flywheel. With the plugs out it turns easily. Water should spray out of the plug holes. Keep turning until no more water comes out.
If the engine will not turn by hand, or it locks partway around, stop. Something inside is bent, jammed or full of grit. That is a shop job.
Water in the fuel will stop the engine and can damage injection parts. Drain the carburetor float bowl on a carbureted engine, or the vapor separator on a fuel-injected one (Southern Boating's advice), if your manual shows how. Replace the inline fuel filter or water-separating filter. Empty a portable tank that went under and refill with fresh fuel. On a sunken inboard, BoatUS says to drain the fuel line and a pint or two from the tank until no water remains; a few drops of water can stop a gasoline engine and do severe damage to a diesel.
If you are not comfortable opening fuel parts, leave this for the shop. Any fuel leak afterward means stop.
Drain the crankcase oil and change the filter. Expect it to look milky or gray. Refill with the oil in your manual. This oil is only a flush: Southern Boating's experts change it two or three times during the recovery, and BoatUS calls for several more oil changes afterward. On a two-stroke there is no crankcase oil to change; see step 11 for the fuel mix.
Spray fogging oil or a water-displacing corrosion spray into each plug hole and into the air intake, then turn the engine by hand several more times to coat the cylinder walls. SAIL Magazine also suggests spraying water displacer through the carburetor and fuel parts as you go. On a sunken inboard, BoatUS goes further: fill the crankcase and cylinders with oil (or diesel fuel) to push out the water, then turn the engine over by hand to spread it.
At this point the engine is "pickled" and can wait for a mechanic. Many owners stop here and hand it to the shop.
Electrical parts corrode fastest. Suzuki's expert in the Southern Boating article says the starter motor needs to come apart and be cleaned, and every connection cleaned and greased; the main wiring harness may eventually need replacing. BoatUS recommends removing the starter and alternator from a sunken inboard, flushing them with fresh water and drying them gently. Spray connectors with a water-displacing spray and let them dry. Modern engines with a computer (EFI, DFI) need a dealer to check the engine control module and sensors.
Crack the gearcase drain screw and let a little lube out. Milky or creamy lube means water got in; Yamaha says to have the seals inspected with a pressure test. Drain it, refill with fresh gear lube and new screw gaskets, and plan a seal check. See the gearcase seal guide.
If the engine turns freely, the fuel is fresh and the cylinders are oiled, you may try a start, or let the shop do it. Install new spark plugs, reconnect the battery and fuel, and put the outboard in the water, a test tank or on external flush muffs (the built-in flush port is for engine-off flushing on most models, so do not run on it unless your manual allows it). On a sterndrive or inboard, run the blower first and check for fuel smell.
Expect smoke from the fogging oil. On a two-stroke, the experts quoted by Southern Boating run a richer, break-in style fuel and oil mix at first for extra lubrication; check your manual for the right ratio. If it fires, let it run long enough to reach full operating temperature so heat drives out moisture: BoatUS suggests about half an hour, and Southern Boating's experts run small outboards much longer. Watch the gauges and shut it down at any knock, overheat warning or strange noise. Then change the oil again.
If it will not start after a couple of short tries, stop. Do not keep cranking.
Even if it runs, SAIL Magazine and BoatUS both say a qualified mechanic should take it from here, especially on a newer four-stroke. Hidden water in bearings, wiring, the starter and the gearcase can cause failures weeks later. Tell the shop the three facts from "Before you start" and what you have already done.
A dunked engine may not be worth saving when:
- It was running when it went under and now will not turn by hand (likely bent parts).
- Sand, mud or silt got inside.
- It sat in the air for days after salt water before anyone worked on it.
- The engine is a modern electronic model and the computer, sensors or harness are corroded.
- The repair estimate is close to the engine's value.
Call your insurer early. BoatUS reminds owners not to sign a salvage or wreck removal contract before checking with their insurance claims staff, and many policies cover reasonable salvage costs.
Common mistakes
- Pulling the engine out and immediately trying to start it "to see if it runs." Water in a cylinder can bend a rod.
- Letting it dry in the sun overnight before doing anything. Drying starts the corrosion; keep it wet until you can work on it.
- Rinsing a saltwater-dunked engine lightly and calling it done. Salt hides under the cowling, in the wiring and inside the engine.
- Skipping the oil changes. One oil change does not remove all the water.
- Forgetting the lower unit and the fuel tank. Both can hold water that causes trouble later.
- Putting a battery that sat underwater straight back into service, especially after salt water. Have it load-tested or replace it, and check the cables and terminals; owners who sank a boat often report the batteries and much of the wiring had to be replaced along with the engine work.
- Trusting thumb-tight clamp screws on a portable outboard. Vibration slowly loosens them.
When to call a pro
- Any time you cannot start the first-aid steps within a few hours: call a shop, and keep the engine submerged in fresh water until then
- The engine will not turn over by hand, or it locks partway around
- Sand, mud or silt got inside, or it was running when it went under
- Fuel-injected or computer-controlled engines (EFI, DFI), and any sunken sterndrive or inboard
- Fuel leaks or fuel smell after reassembly, or water in the gear lube
- A boat that sank or is taking on water: TowBoatUS or Sea Tow, and in an emergency VHF channel 16 or 911
Tips
- Secure portable outboards against loss. Southern Boating suggests running a small cable and lock between the ears of the two clamp screws so they cannot unscrew, or bolting the bracket through the transom. A safety line from the engine to the boat also helps.
- Keep a can of fogging oil and a spare set of plugs on board if you run a small outboard on a dinghy.
- Carry the outboard to and from the dinghy with a line attached, and never step onto a moving tender with the engine in your hands.
- Take a photo of your engine's serial number plate. Shops and insurers will ask for it.
Official references
We read these to write this guide. Your engine's own manual always wins.
Safety: BoatMend is for information only and does not replace a certified marine technician. You are responsible for your safety and your boat. Read the full disclaimer.
Last updated 2026-10-24
Related guides
Milky Engine Oil or Water in the Oil - What It Means and What to Do
Milky, creamy or rising engine oil usually means water is getting into the engine. Learn why you should stop running it right away, how to tell harmless condensation from a real leak, and which parts are the usual suspects: head gaskets, exhaust risers and manifolds, intake manifold gaskets, oil coolers and freeze cracks.
Small Portable Outboard Care (2.5 to 20 hp Kickers and Dinghy Motors)
Keep your dinghy motor or kicker starting on the first few pulls. Use fresh fuel, flush it, run the carburetor dry before you put it away, carry and lay it down on the correct side so oil doesn't flood the cylinders, and check the shear pin or prop, gear oil and engine oil on schedule.
How to Fog an Engine for Storage
Coat the inside of your engine's cylinders with fogging oil before a long layup so rust does not form over the winter. Learn when fogging applies, how it differs for carbureted, fuel-injected and direct-injection engines, and why your maker's instructions come first.
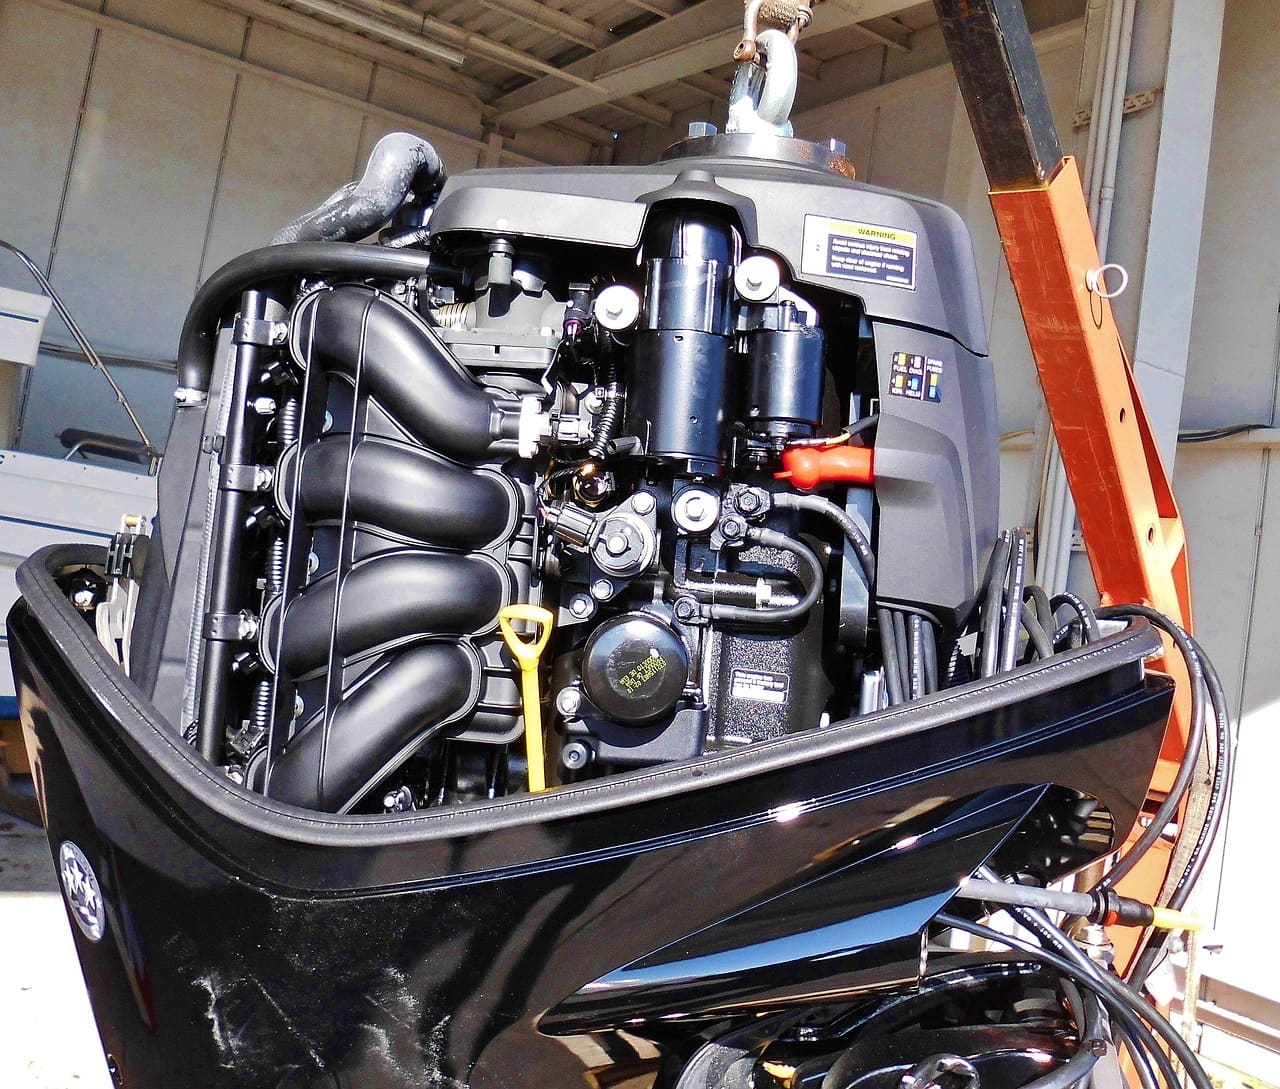
How to Change the Oil and Filter on a 4-Stroke Outboard
Drain the old oil, swap the filter and refill with the right marine oil on your 4-stroke outboard. It is the most common service job, takes about an hour, and costs a fraction of the dealer price.
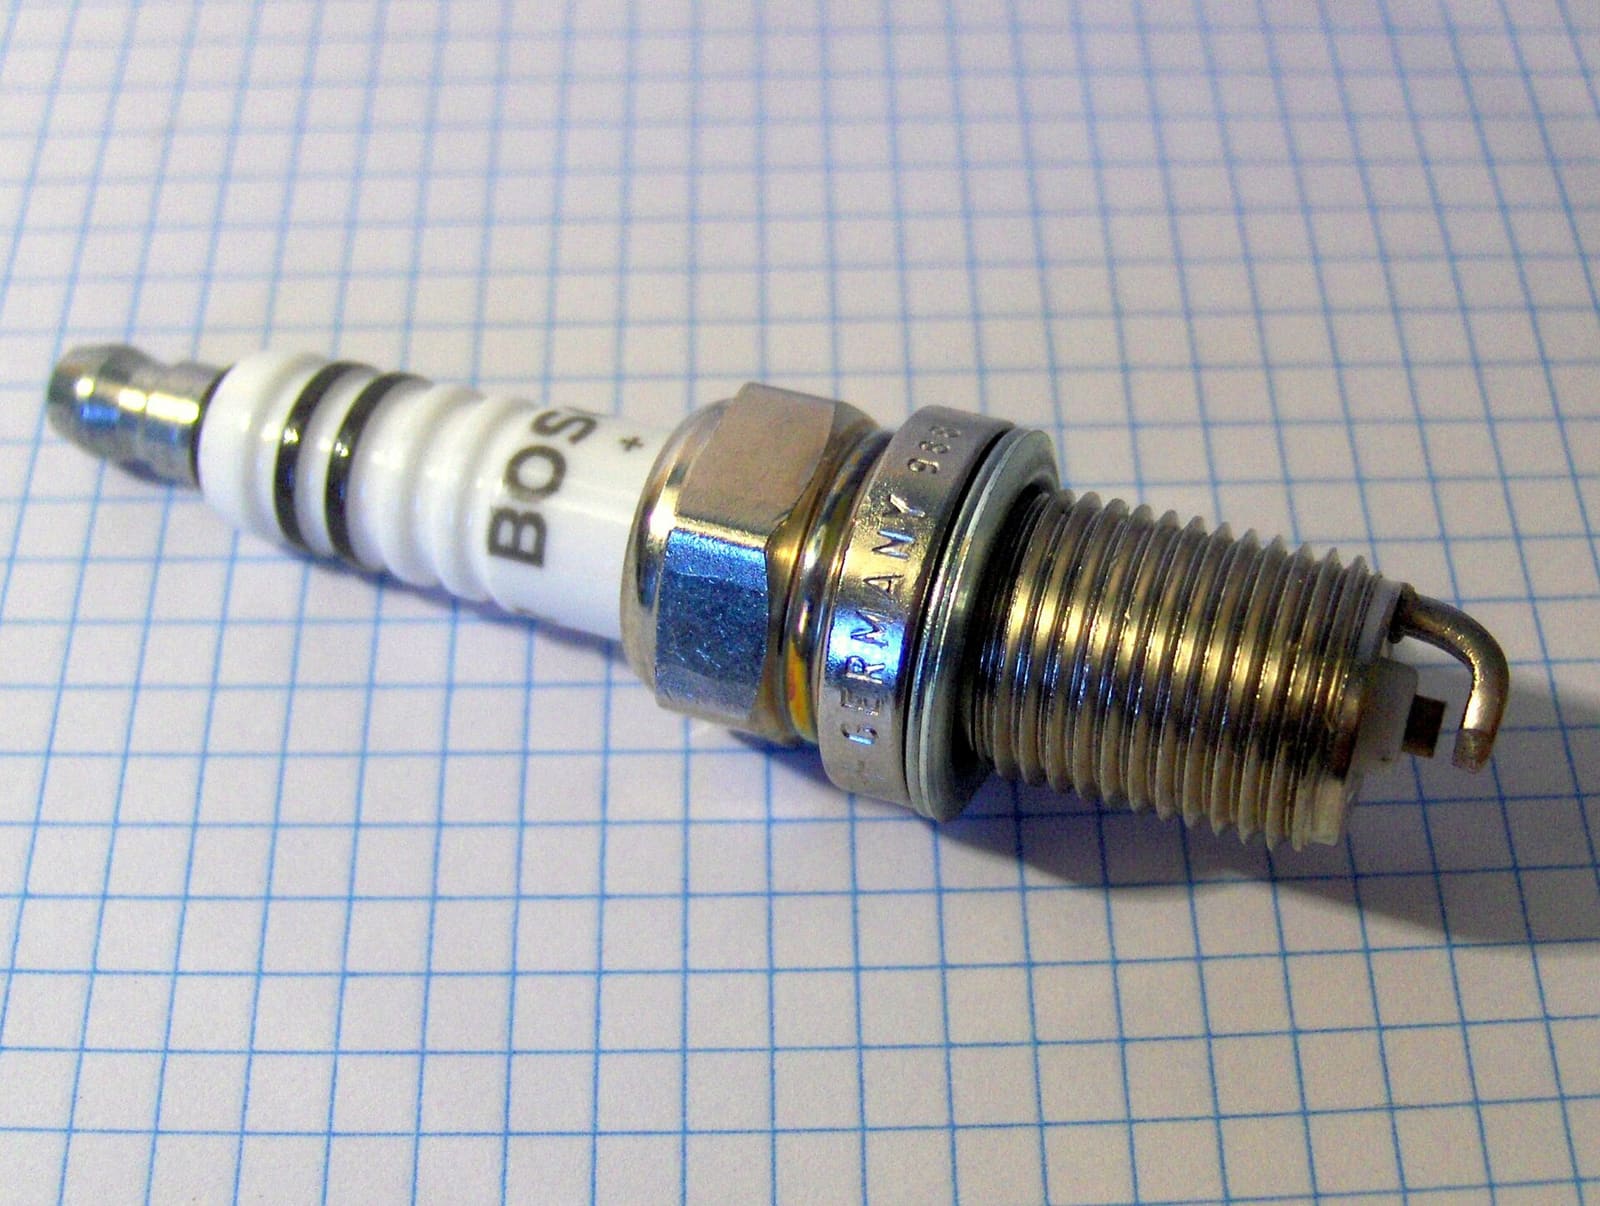
How to Inspect and Replace Spark Plugs
Pull, read and replace the spark plugs on a gas outboard, sterndrive, inboard or PWC. Fresh, correctly gapped plugs help the engine start easily and run smoothly, and the old plugs tell you a lot about the engine's health.
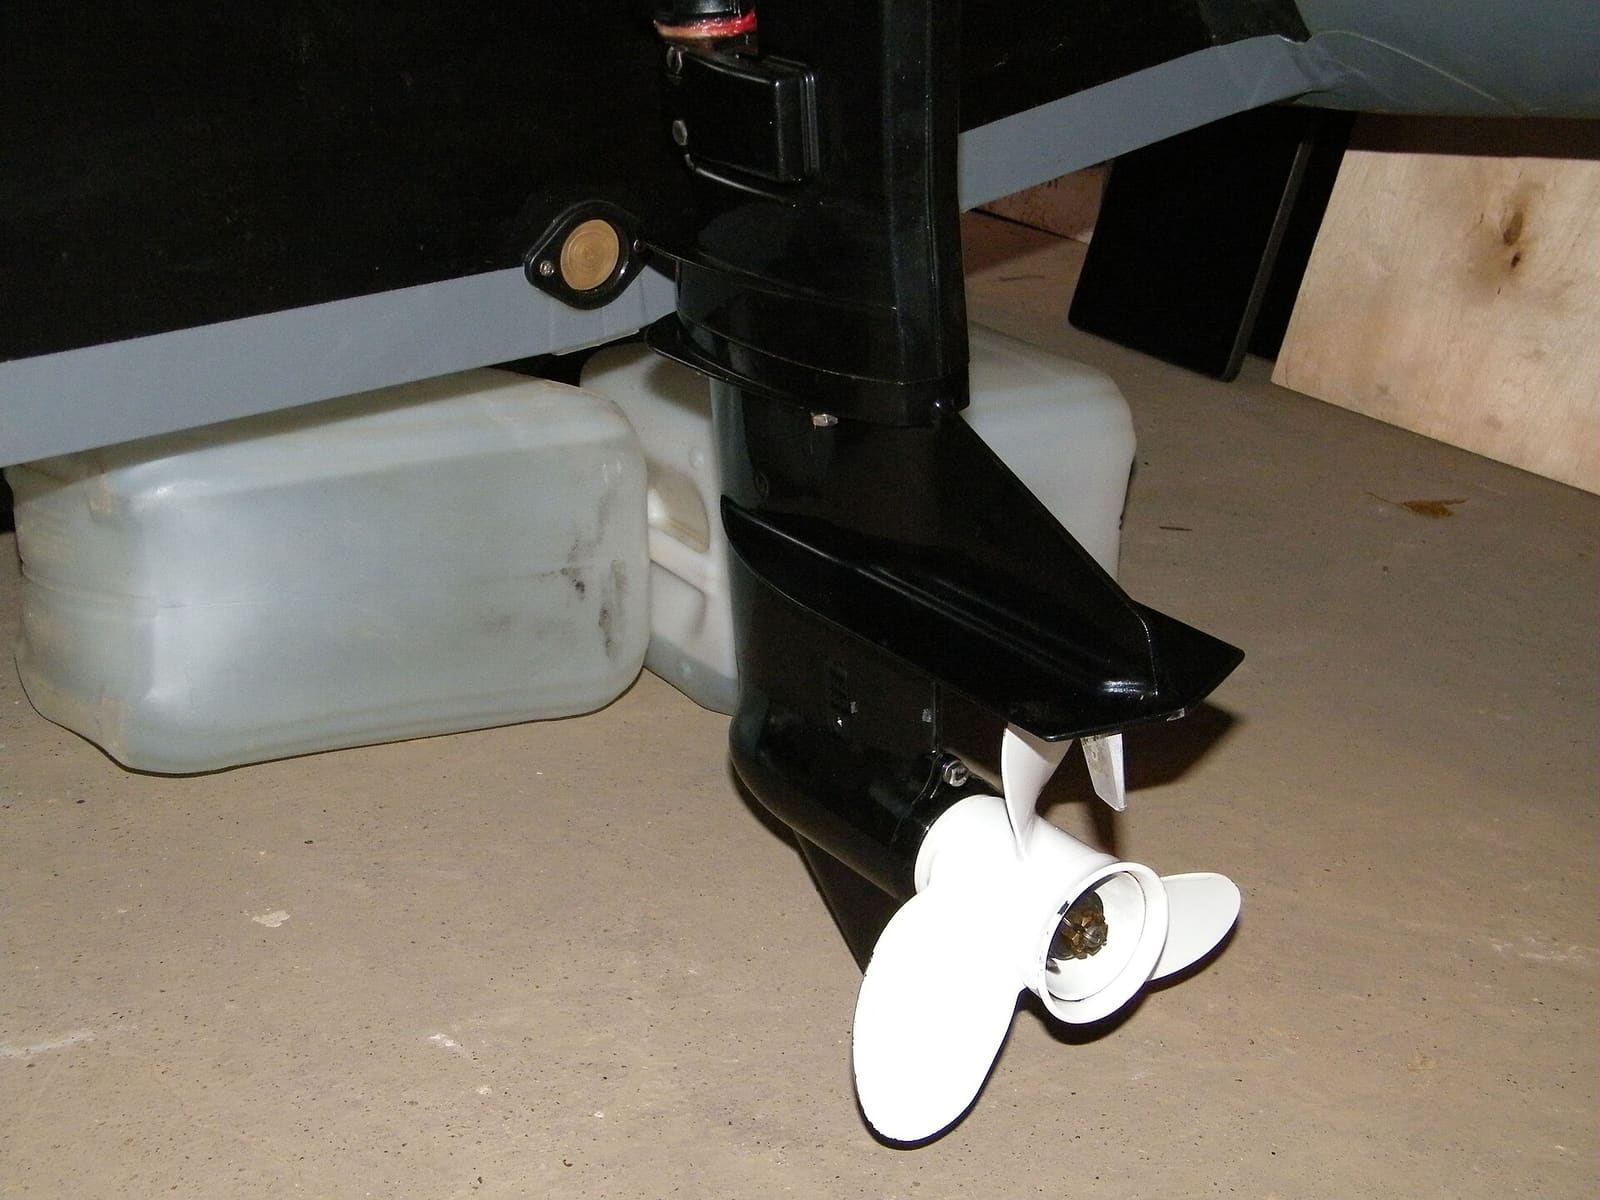
How to Change Lower Unit (Gearcase) and Sterndrive Oil
Drain and refill the gear oil in your outboard lower unit or sterndrive, and learn to spot water intrusion before it destroys the gears. It is a 30-minute job that protects a gearcase costing thousands to replace.
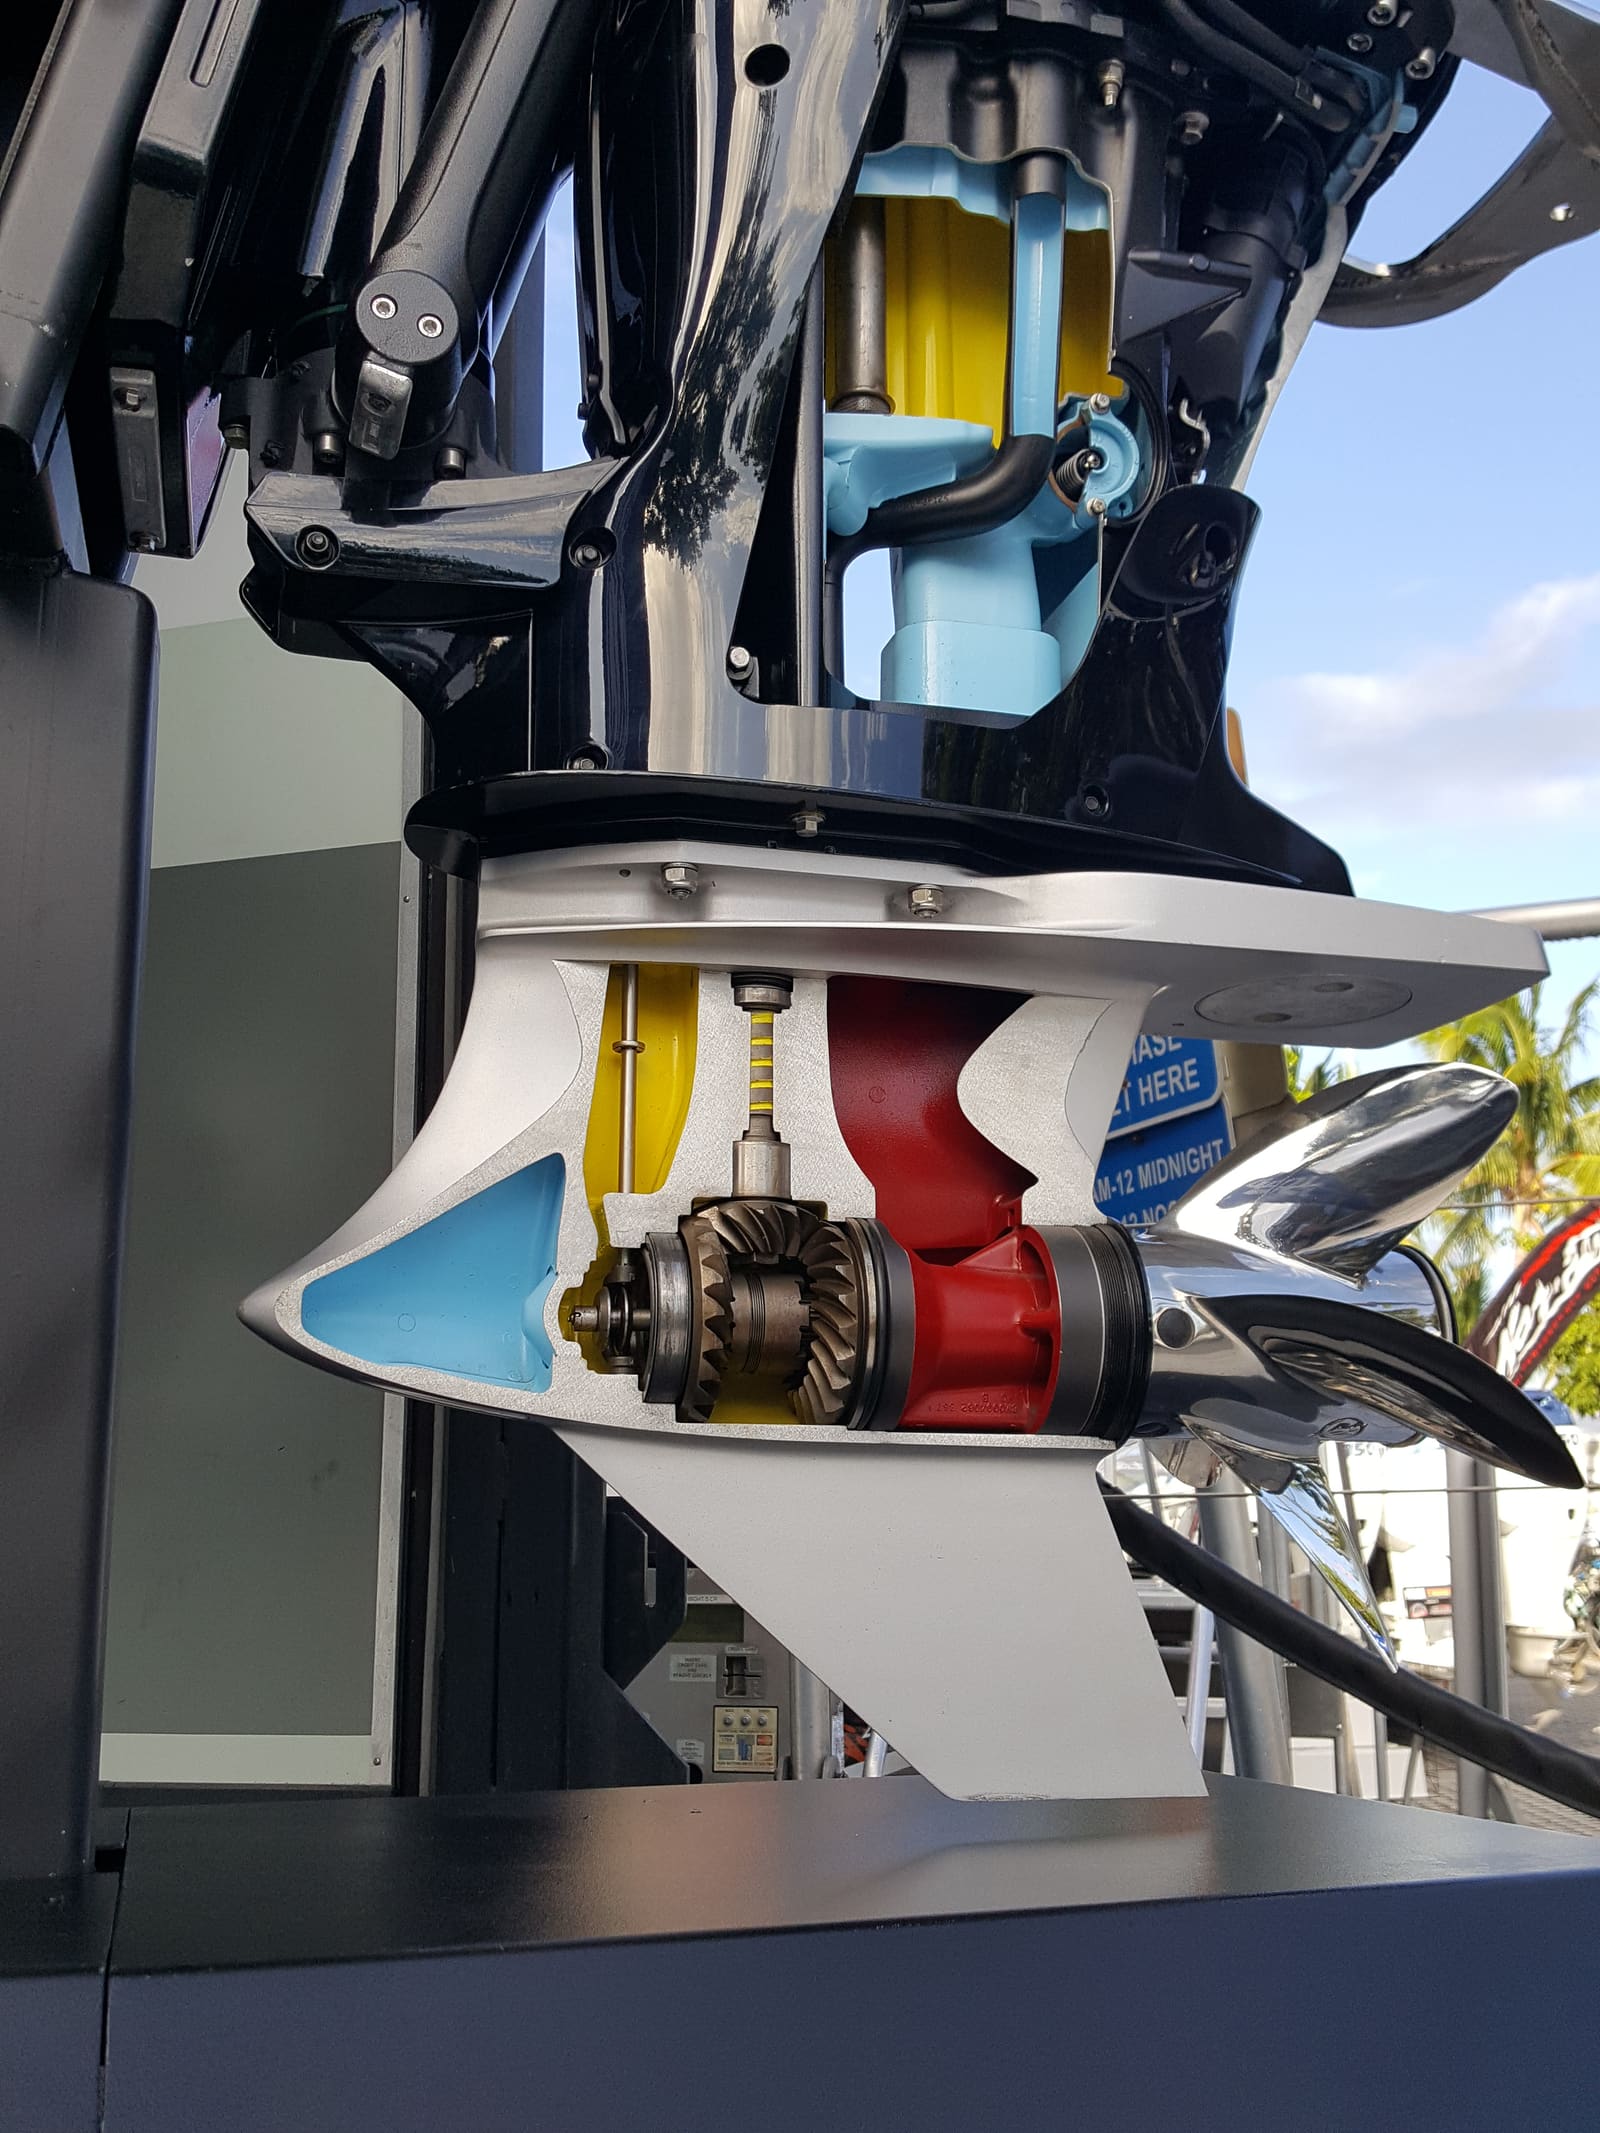
Water in the Lower Unit Keeps Coming Back - Seals and the Pressure Test Explained
Milky gear lube means water is getting past a seal, and changing the oil alone will not stop it. Learn where water gets in (prop shaft seals, driveshaft and shift shaft seals, drain and vent screw gaskets), how a pressure and vacuum test finds the leak, and when to do it yourself or hand it to a shop.
How to Mount or Re-Tighten an Outboard on the Transom
A loose outboard can steer badly, crack the transom or fall off the boat. Learn how to center the motor, check engine height, tighten clamp screws, seal and bolt through the transom with backing plates, add a safety cable on small motors and spot transom flex before it becomes a costly repair.
What to Do When Your Boat Is Taking On Water: Emergency Steps and Prevention
A step-by-step emergency plan for water coming into the boat - life jackets on, call for help early on VHF 16, find and slow the leak, pump, and head for shallow water if needed - plus the maintenance checklist that prevents most sinkings.