Satellite Internet on Your Boat: Starlink Plans, Mounting, Power and Wiring
An owner's guide to putting Starlink aboard: which plans allow coastal, offshore and in-motion use (as of October 2026), how much battery it eats, 12-volt versus inverter power, where to mount the dish, and how to route and seal the cable without leaks.
Time
4 h
Shop would charge
$300-1500
Applies to
All engines
Safety first: Satellite internet is a convenience, not safety gear. Keep your VHF radio, EPIRB or PLB and other required equipment working no matter what. Mount the dish where nobody has to climb or lean outboard to reach it, and never work on an arch, hardtop or mast while underway. Every new DC circuit needs a fuse or breaker sized for its wire, near the power source. An inverter adds AC voltage aboard, which can kill; install it as the inverter safety guide describes. Watch for overheating: BoatUS reports a dish left on a dashboard in the sun got hot enough to crack gauges. If you drill through the deck or hull and find wet core or a leak you can't stop, stop and call a pro.
Owners often ask
- Which Starlink plan do I need for my boat, and can I use it while underway?
- Can I run Starlink straight off my 12-volt house batteries without an inverter?
- I left Starlink Ocean Mode on after coming back to the coast. Am I still being charged?
This guide walks you through it. Still stuck? Ask the AI Mechanic about your engine.
Tools
- Starlink app on your phone (for setup, obstruction check and settings)
- Digital multimeter and a DC clamp meter (to measure real current draw)
- Drill, hole saw and step bit sized for the cable entry fitting
- Screwdrivers, hex keys and a socket set
- Wire stripper and a ratcheting crimper for heat-shrink terminals
- Heat gun
- Fish tape or a pull line (for running cable)
- Masking tape, marker and a level
Parts & supplies
- Starlink kit (dish, power supply or DC cable, router as your kit includes)
- Marine mount for your dish model (rail, pole, arch or flat mount)
- Sealed cable entry fitting or gland sized for the Starlink cable and its connector
- Marine sealant for the entry fitting (as the fitting maker specifies)
- DC power adapter approved for your dish, or an inverter sized for it
- Marine-grade tinned copper wire, fuse or breaker and holder sized for the circuit
- Cable clamps, UV-resistant cable ties and chafe sleeve
Before you start
Dates matter here. Starlink changes its plans, prices, hardware and rules often, sometimes with little notice. The plan and hardware details below were checked in October 2026 against Starlink's own Help Center articles (Ocean Mode, Roam plans, in-motion use), the Mobile Internet Resource Center guide (updated September 15, 2026), SeaBits (updated August 2026) and BoatUS (June 2025). Always confirm the current terms in the Starlink app or on starlink.com before you buy or change plans.
How it works: a flat dish talks to satellites in low orbit that move across the sky, so the dish needs as open a view of the sky as you can give it. Masts, arches, hardtops, other boats and nearby buildings or cliffs can cause dropouts. Heavy rain can slow it down. Many owners combine it with cellular through a router that switches between them.
Plans for boaters (as of October 2026, US accounts):
- Roam (50 GB in some markets, 100 GB, 300 GB, Unlimited): land, inland waterways, marinas, and territorial waters up to 12 nautical miles offshore. Starlink's Ocean Mode page describes the coastal limit as 5 consecutive days and 60 days a year in territorial waters unless Ocean Mode is on. In-motion use is allowed with supported hardware where permitted. On Roam 100 GB and 300 GB, going over the allowance drops you to slow "unlimited" data that handles email and messages but not video. Roam data is lower priority than other plans, so speed can drop in busy harbors. Only Roam Unlimited allows use abroad (up to 30 days at a time) and the paid Ocean Mode.
- Personal Maritime: a boat-only plan (no land use) for territorial waters without Roam's coastal time limits. It needs vessel approval and is set up through Starlink support. MIRC reports the vessel size limit was raised from 40 to 60 feet in September 2026.
- Ocean Mode: an add-on for Roam Unlimited and Personal Maritime that allows open-ocean use beyond territorial waters, billed per gigabyte on top of the plan. Starlink's Help Center (update of August 27, 2026) lists $6 per GB on Personal Maritime, and on Roam Unlimited $2 per GB rising to $6 per GB from September 27, 2026; check the exact rate in your account. It also lifts Roam's 5-day/60-day coastal limit and gives higher priority. It starts billing the moment you enable it, even on land, and stays on until you turn it off.
- Global Priority: pay-by-data-block plans that cover ocean use without a travel time limit; the usual choice for offshore passages or big yachts.
- Not for boats: Residential (one fixed land address, no in-motion or coastal use), Local Priority (inland lakes and rivers only; MIRC and BoatUS say it excludes coastal and territorial waters) and Standby Mode (no in-motion or maritime use).
Hardware (as of October 2026):
- Mini: small, built-in Wi-Fi router, runs on DC (published average 20 to 40 watts). The easiest to power and rail-mount; slowest of the three and weak Wi-Fi range inside a big boat.
- Standard (renamed Standard 4 in 2026): larger, comes with an AC power supply and a separate router. Published average 75 to 100 watts; BoatUS measured about 20 watts idle and 50 to 75 watts in use. SeaBits notes it is not marine grade, and that the Standard was disappearing from new orders in mid-2026, so check what's actually sold.
- Performance (Gen 3): rugged, the most marine-ready; runs on AC or 12 to 56 volts DC and has a wide field of view; uses the most power and costs the most.
Alternatives: Amazon's Leo constellation had not started public service as of MIRC's September 2026 update. Big yachts may use traditional maritime satellite systems (domes) through a dealer. Inshore, a marine cellular router or booster may be cheaper.
Steps
Write down where you actually go: a lake, the ICW, coastal runs, the Bahamas, offshore passages. Then pick the plan whose coverage fits (see above). Check how many days you spend more than a few miles off the coast and whether you'll be in another country. Read Starlink's current in-motion and maritime terms in the app; a plan that "works" somewhere isn't necessarily allowed there.
At anchor, the dish runs off your batteries. Do the math in amp-hours. Divide watts by your battery voltage (about 12.5 for a 12-volt bank) to get amps, then multiply by hours:
- Mini at about 30 watts: roughly 2.5 amps, or about 60 amp-hours over 24 hours.
- Standard at about 60 watts: roughly 5 amps, or about 120 amp-hours over 24 hours, plus inverter losses if it runs on AC.
Measure your own with a clamp meter once it's installed; real draw varies with heating, signal and model. MIRC notes the high-performance dish can use about twice the power of the Standard. Compare with what your batteries and charging can replace each day (the battery bank sizing guide walks through a full daily budget). Many owners turn it off at night or when no one is using it.
Running from DC avoids converting battery power to AC and back again, and it lets you leave the inverter (and its own standby draw) switched off. Options:
- Mini: native DC input through its barrel jack. BoatUS warns that a weak or long 12-volt feed may not start it; SeaBits notes a DC-DC (buck/boost) converter may be needed on long runs to keep the voltage up. If you use USB-C, Starlink specifies a 100-watt (20 volt, 5 amp) supply; BoatUS reports it won't run on much less.
- Standard: comes with an AC supply. MIRC lists compatible DC options. Starlink lists the Standard 4 among its in-motion hardware. Older "actuated" dishes with motors inside (Standard Actuated, first-generation high-performance) are not recommended for use underway. Third-party DC kits are not Starlink products, so check what they do to your warranty, and never open or modify the Starlink hardware itself.
- Performance: accepts DC directly.
- Inverter: simplest if you already have a properly installed inverter. Size it for the startup surge and follow the inverter safety guide.
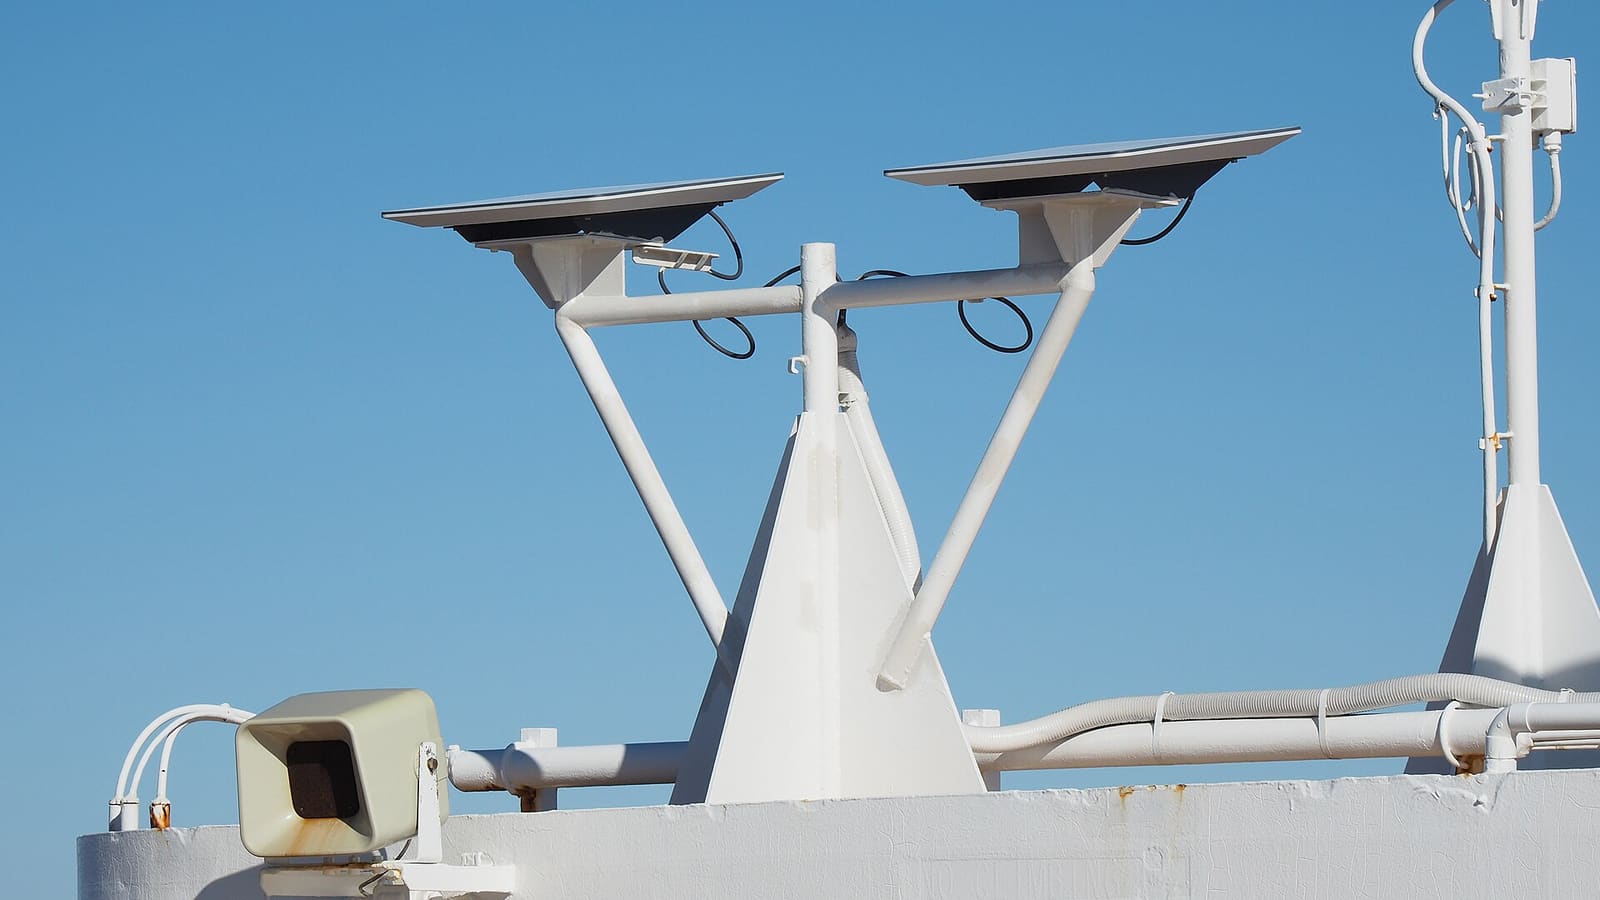
Look for the most open view of the sky, solid structure, and a short, protected cable run. Common choices: a pole on the arch or radar arch, a rail mount aft, the top of a hardtop, or a pole on a sailboat's stern. Avoid:
- The radar beam. SeaBits reports that most modern broadband or digital radars knock the Standard dish offline until it is power-cycled. Mount it above or below the radar's beam (see the radar mount guide).
- Masts, booms and sails that sweep across its view.
- Places people step, sit or grab for balance.
- Inside a windshield on the dash. Glass and heat both cause trouble (see the safety note above).
Use the Starlink app's obstruction check from the planned spot before you drill anything.
BoatUS's tester found mounting the hardest part and recommends a purpose-made marine mount over a homemade one, especially for rail-mounting a Mini. Choose a mount made for your exact dish model. Through-bolt it with stainless hardware and a backing plate where it goes into fiberglass (the through-bolting guide shows how), and seal every hole. Check that a big dish on a tall pole won't flex or vibrate badly at speed. BoatUS found the dish didn't need re-aiming while the boat changed heading underway, but follow the app's alignment instructions at setup.
Starlink cables are long and their connectors are large. SeaBits points out the Performance dish's cable has big ends that can't be cut and re-terminated in the field, which means a large hole. Before drilling:
- Find a route that is dry, protected from chafe and away from fuel lines, exhaust and moving steering or control cables.
- Use existing wire chases or conduits where you can (see the wire chase guide).
- Don't cut and splice the Starlink cable unless the maker says you can; it can stop working and void the warranty.
- Coil extra cable neatly inside, not in a wet locker or bilge.
Where the cable passes through the deck, hardtop or cabin side, use a sealed cable entry fitting or gland that fits the cable and lets the connector pass. Mount it on a vertical surface or under an overhang if you can, so water doesn't sit on it. Seal it as the fitting maker directs, and if the deck is cored, seal the exposed core edge so water can't wick in. Put a drip loop in the cable outside, below the entry, so water runs off before it reaches the fitting.
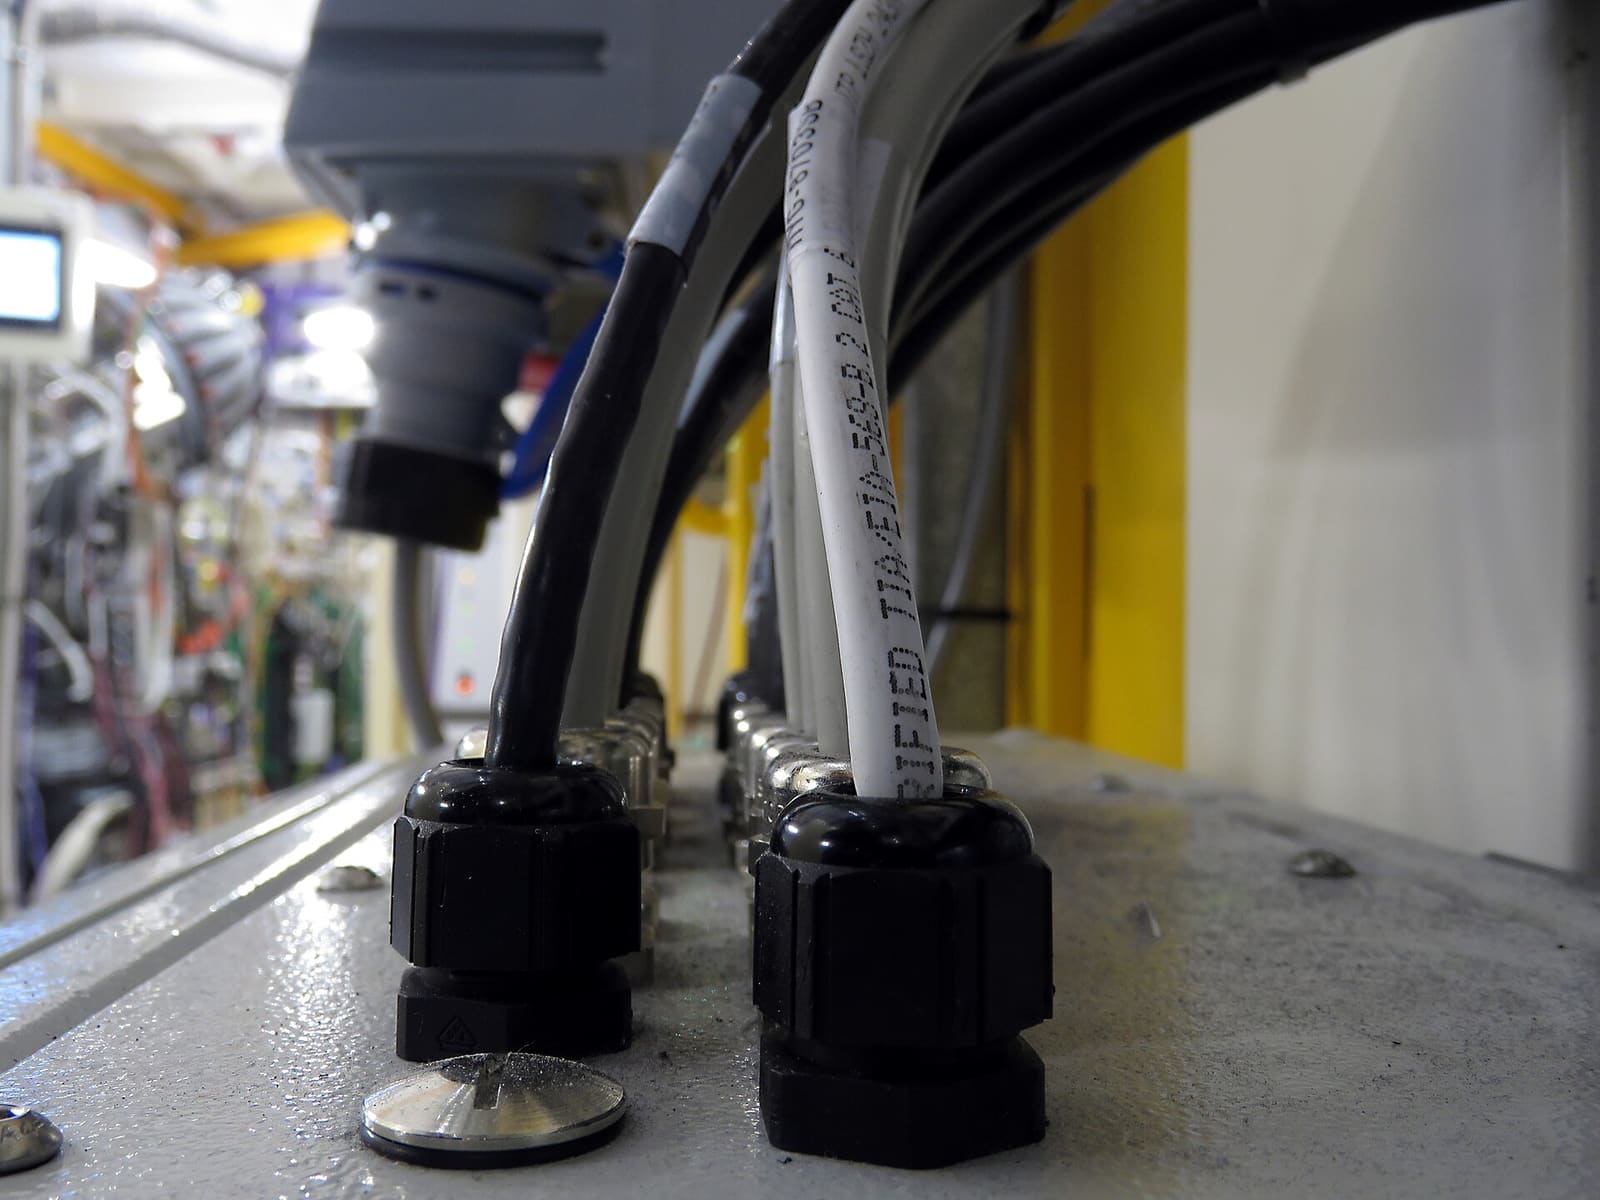
The same idea outdoors: each cable passes through its own sealed gland. On a boat, add a drip loop below the entry. Photo: Prosthetic Head / Wikimedia Commons · CC BY-SA 4.0 If you power it from DC:
- Run a dedicated circuit from the house bank (not the engine start battery) through your DC panel or a fuse block.
- Size the wire for the current and the round-trip length so the voltage doesn't sag (the 12-volt wiring basics guide has the method); undersized wire is the usual cause of a dish that won't boot.
- Fuse it to protect the wire. Blue Sea Systems explains that the fuse is chosen to protect the wire and goes close to the power source; if the adapter maker gives a fuse rating, use it.
- Use tinned marine wire and heat-shrink terminals, and put the adapter somewhere dry and ventilated.
- Label the breaker "Starlink" so anyone can shut it off.
Set up the account and plan in the app. Then:
- Run the obstruction check and move the dish if it shows a lot of blocked sky.
- BoatUS recommends turning off the snow-melt feature unless you need it; it's on by default on the Standard, wastes power and heats the dish.
- Put the router where its Wi-Fi reaches the cabin, or add your own router or access point (the Mini's built-in Wi-Fi has limited range).
- Note your plan's coastal-day count and Ocean Mode status so you don't get surprise limits or charges.
After a few outings, look at the mount bolts, the cable at every bend and clamp, and the entry fitting from inside after rain or a washdown. Measure the real current draw at anchor. Look for chafe where the cable crosses edges. Fix anything now, before water finds the hole.
Rinse the dish and mount with fresh water after salty runs; don't pressure-wash cable connectors. Keep the connectors clean and dry. Turn it off or put the plan on standby or pause when the boat sits unused (if your plan and hardware allow). Before winter storage, consider removing a portable dish and storing it dry, and cap the cable entry.
Record the dish model, serial number, plan, install date and where the fuse is in your BoatMend log. Re-check Starlink's terms before each long cruise or international trip, since coverage rules, prices and time limits have changed several times in 2025 and 2026.
Common mistakes
- Picking Residential or Local Priority for a boat and finding it doesn't work on the water.
- Leaving Ocean Mode on after you're back in coastal waters. It keeps billing per gigabyte, even at the dock or on land, until you switch it off.
- Using an old actuated dish underway. Starlink says the motorized models aren't meant for in-motion use.
- Mounting in the radar beam or behind the mast.
- Running the Mini off a long, thin 12-volt wire and wondering why it won't start.
- Snow melt left on in the summer, wasting power and heating the dish.
- Drilling a big hole for the connector with no proper fitting or drip loop.
- Cutting the Starlink cable to make it fit.
- Forgetting the batteries: running a dish all night at anchor without checking the battery budget.
When to call a pro
- You need to drill through a cored deck, hardtop or arch and aren't sure what's inside, or you find wet core
- You're adding an inverter or tying into AC wiring or shore power
- The boat has a complex electronics network (NMEA 2000, radar, multiple routers) that needs integration
- The mount would go high on a tower, mast or tall arch
- Wiring gets hot, a breaker trips repeatedly, or you smell burning insulation
Tips
- Test your planned mounting spot with the dish on a temporary stand for a weekend before drilling anything.
- A router that combines cellular and Starlink keeps you online in crowded harbors, where Roam can slow down.
- Put a small label on the dish with your boat name; portable dishes do walk off docks.
- Write the date you last checked Starlink's terms next to your plan in your log.
Official references
We read these to write this guide. Your engine's own manual always wins.
- BoatUS – The Starlink Juggernaut For Boaters (June 2025)
- Mobile Internet Resource Center – Starlink Satellite Internet for Mobile RV and Boat Use (updated September 15, 2026)
- Mobile Internet Resource Center – Powering Starlink with 12v DC For Mobile RV & Boat Use
- SeaBits (Steve Mitchell) – Starlink (updated August 2026)
- Starlink Help Center – What is Ocean Mode? (update of August 27, 2026)
- Starlink Help Center – What Starlink Service Plans and Hardware Support In-Motion Use?
- Starlink Help Center – What are the Roam service plans?
- Blue Sea Systems – Select a Fuse and Fuse Holder for Your DC Product Installation
Safety: BoatMend is for information only and does not replace a certified marine technician. You are responsible for your safety and your boat. Read the full disclaimer.
Last updated 2026-10-26
Related guides
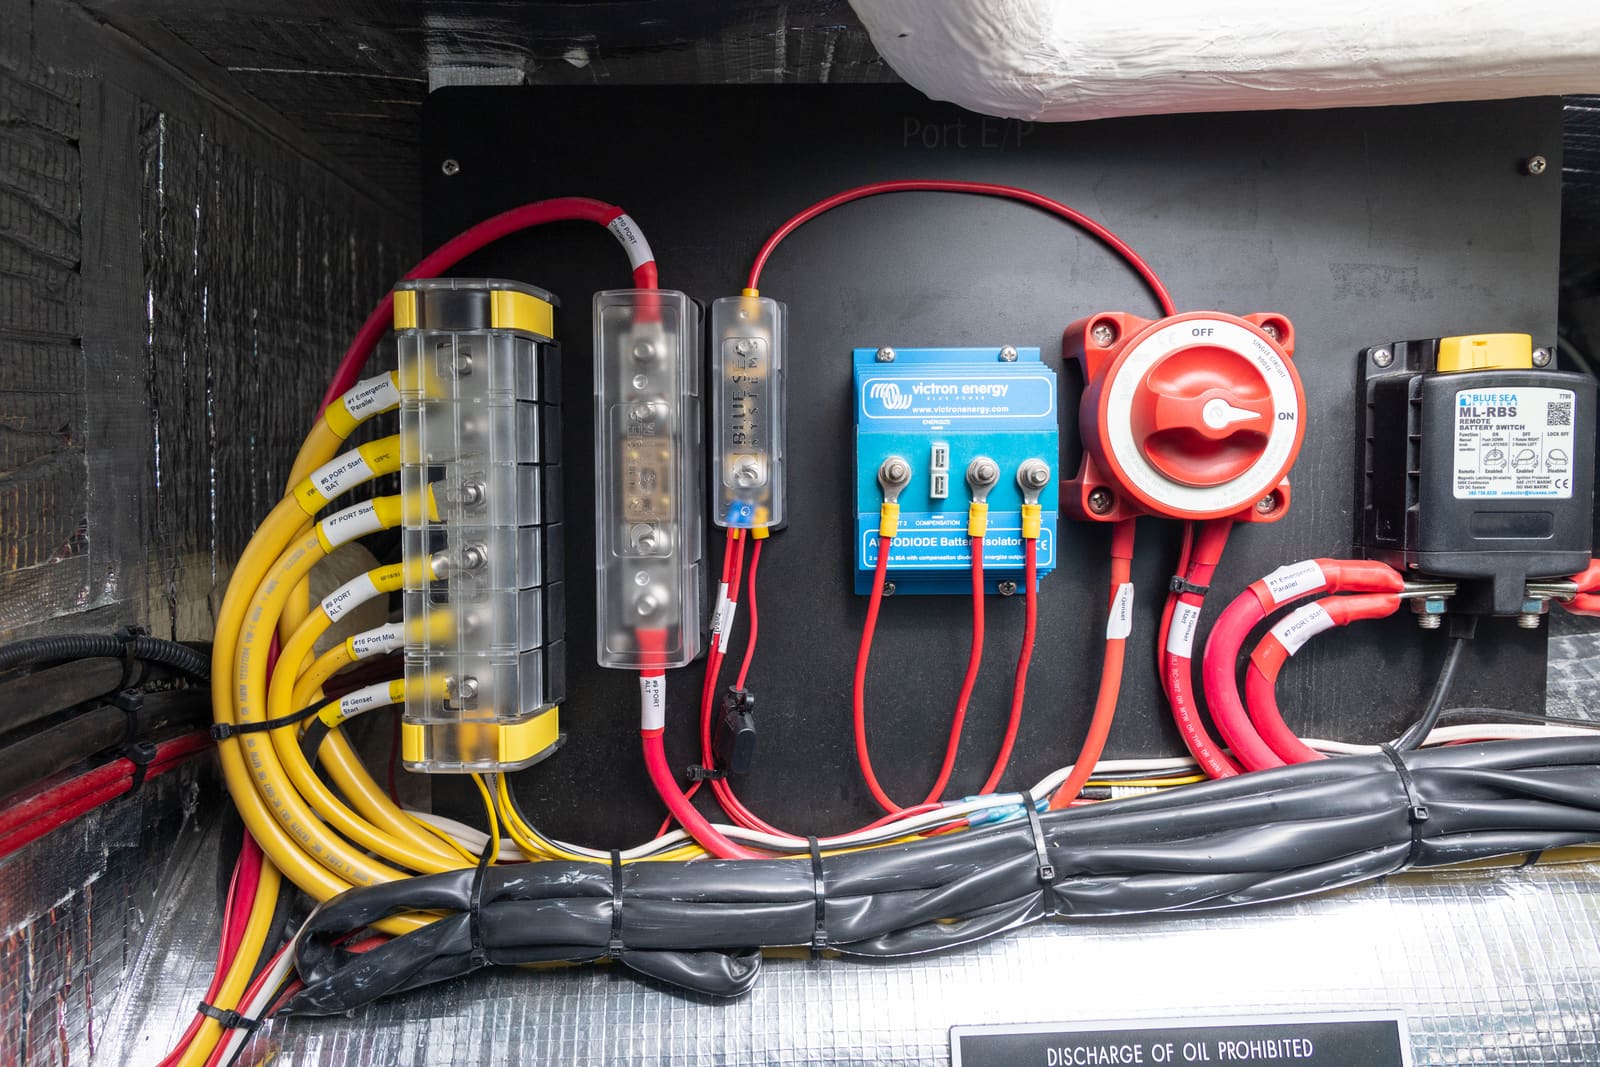
Boat Inverters and Inverter/Chargers: Sizing, Safe Use and What a Pro Must Install
An inverter turns battery power into 120-volt household current, which makes it as dangerous as shore power and a serious fire risk if it is fused or wired wrong. Learn how to size one realistically, what a safe installation looks like, the owner checks to do, and the mistakes (like backfeeding) that hurt people.
How to Size a House Battery Bank: Load List, Usable Capacity and Charging
Work out how many amp-hours your boat really uses in a day, how much of a battery's rated capacity you can actually use with lead-acid, AGM or lithium, how much reserve to add, and how your charging sources change the answer, so you buy the right house bank the first time.
How to Run New Wires Through a Boat (Chase Tubes, Pull Lines and Deck Penetrations)
Get a new transducer cable, light or power wire from the stern to the helm or up through the deck without a fight: use the chase tube and a fish tape or pull string, protect the wire from chafe and heat, support it every 18 inches, seal every penetration and label both ends.
12-Volt Boat Wiring Basics: Circuits, Color Codes, Fuses and Wire Size
Learn how your boat's 12-volt system is laid out, what the ABYC wire colors mean, how fuses and breakers protect the wiring, why voltage drop and tinned wire matter, and how to read a wiring diagram, so you can troubleshoot smarter and know which jobs belong to a marine electrician.

Fuse Keeps Blowing? How to Troubleshoot a Boat Fuse Block or Breaker Panel
Work through a blown fuse or tripping breaker the safe way: confirm it, tell a short from an overload, isolate the device or wire at fault, replace a worn breaker or panel switch with the same rating, and label every circuit, without ever fitting a bigger fuse.
How to Install a Boat Radar Antenna (Radome or Open Array)
Plan and install a radar the right way: choose a mounting spot high enough and clear of obstructions, keep the beam above people's heads, give an open array room to spin, bolt it down with backing plates, route the cable without damaging it and seal every deck pass-through. Know when the job belongs to a certified installer.
How to Mount Rod Holders, Fish Finders, Cleats and Antennas Without Causing Leaks
Add accessories to your boat the right way, with through-bolts, backing plates, sealed core and proper wire pass-throughs, so every new hole stays dry and strong. Also learn where you should never drill.
How to Fix Leaking Hatches and Portlights
Find out whether a leaking deck hatch or portlight is failing at the gasket, the lens or the frame, then fix it with the right seal or sealant. Learn when crazed or cracked acrylic needs a new lens and what never to put on plastic windows.
Satellite Messenger vs PLB vs EPIRB: Which Emergency Device Should You Carry?
A PLB or EPIRB calls government search and rescue through the 406 MHz Cospas-Sarsat satellites with no subscription; a satellite messenger like an inReach or SPOT sends an SOS through a private network and adds texting and tracking for a monthly or yearly fee. Learn how each one alerts rescuers, what registration, subscriptions and batteries they need, what to carry for lakes, coastal and offshore boating, and how to test without causing a false alarm.
Remote Boat Monitoring: Bilge, Battery, Shore Power and GPS Alerts on Your Phone
Choose, install and set up a system that texts you when your unattended boat is taking on water, losing battery or shore power, or moving without you. Covers cellular versus satellite, what each sensor really tells you, wiring it so it stays on, sensible alert settings and what happens to your location data.