Boat Inverters and Inverter/Chargers: Sizing, Safe Use and What a Pro Must Install
An inverter turns battery power into 120-volt household current, which makes it as dangerous as shore power and a serious fire risk if it is fused or wired wrong. Learn how to size one realistically, what a safe installation looks like, the owner checks to do, and the mistakes (like backfeeding) that hurt people.
Time
45 min
Shop would charge
$800-4000
Applies to
All engines
Danger: An inverter makes 120-volt AC that can kill you just like shore power, even when the dock cord is unplugged. On the DC side it pulls hundreds of amps from the batteries, enough to melt cables and start a fire in seconds if a fuse or connection is wrong. Installing, rewiring or repairing an inverter or inverter/charger is a job for an ABYC-certified marine electrician. Before anyone works on the boat's AC wiring, the inverter must be switched off and disconnected from both its batteries and the AC system. If you smell hot insulation, see smoke, or an inverter cable feels hot, switch off the inverter and its battery switch if you can do it safely, get people out of the cabin, and call 911 or VHF 16 if there is fire.
Fuel smell, water coming in, CO alarm or smoke? Stop, get everyone in life jackets and call USCG on VHF 16 or 911. For a tow: Sea Tow or TowBoatUS.
Owners often ask
- What size inverter do I need, and can it run my boat air conditioner?
- Can I plug a portable inverter into a boat outlet to power the whole boat?
This guide walks you through it. Still stuck? Ask the AI Mechanic about your engine.
Tools
- Flashlight or headlamp
- Notepad or phone (for a load list)
- GFCI outlet tester (plug-in type)
- Battery monitor or multimeter (for watching battery voltage)
Parts & supplies
- Warning placard for the AC panel (if missing)
- Spare fuses of the exact type and rating in the inverter manual (for the installer to fit)
Before you start
What it does. An inverter changes your 12- or 24-volt battery power into 120-volt AC so you can run a coffee maker, microwave, TV or power tools without shore power or the generator. BoatUS describes small portable units (about 300 watts or less) that plug into a 12-volt socket, and larger fixed units, typically over 400 watts, wired straight to the batteries.
Inverter/charger. Many fixed units double as a battery charger and include a transfer switch: on shore power or generator they pass AC through to the boat and charge the batteries; when that power goes away they switch to inverting. This is convenient, but it ties the inverter into the boat's AC system, which raises the stakes.
What owners can do: plan loads, choose the right size and type, use it safely, and inspect for warning signs. What a pro does: the installation, DC cabling and fusing, the AC connection and transfer switching, grounding, and any repair.
Have the inverter's manual and your battery bank size (amp-hours) ready.
Steps
Write down each AC device and its watts (on its data tag). Add up only what will run at the same time. BoatUS gives the example of a 200-watt TV plus an 800-watt microwave: you need at least 1,000 watts continuous. Motors and some electronics draw a short surge at startup (that TV might briefly want 500 watts), so include the surge. Running things one at a time lets a smaller inverter do the job.
An inverter is limited by the batteries behind it. BoatUS suggests a battery bank of at least 20% as many amp-hours as the inverter's watt rating as an absolute minimum: a 2,000-watt inverter needs at least 400 amp-hours. Running it near full output for an hour uses roughly 200 amp-hours from a 12-volt bank. Air conditioning or a water heater on an inverter usually needs far more battery and charging than most boats have; plan those for shore power or the generator.
Modified sine wave units cost less, but BoatUS notes they can make radios and audio buzz, upset some TVs and computers, and suit motors and pumps poorly. Pure sine wave inverters cost more and are the better all-round choice, especially for anything with a motor or sensitive electronics.
When you hire the installer, these are the basics BoatUS (a marine surveyor writing to ABYC practice) lists, so you can ask about each one:
- Location: dry, ventilated, easy to reach, away from heat such as exhaust, and within the maker's limits for temperature and humidity.
- Near the batteries but not above them: short cables are safer and cheaper, but charging lead-acid batteries give off corrosive gas.
- Never in a gasoline engine compartment: inverters are not ignition-protected and can ignite fuel vapor.
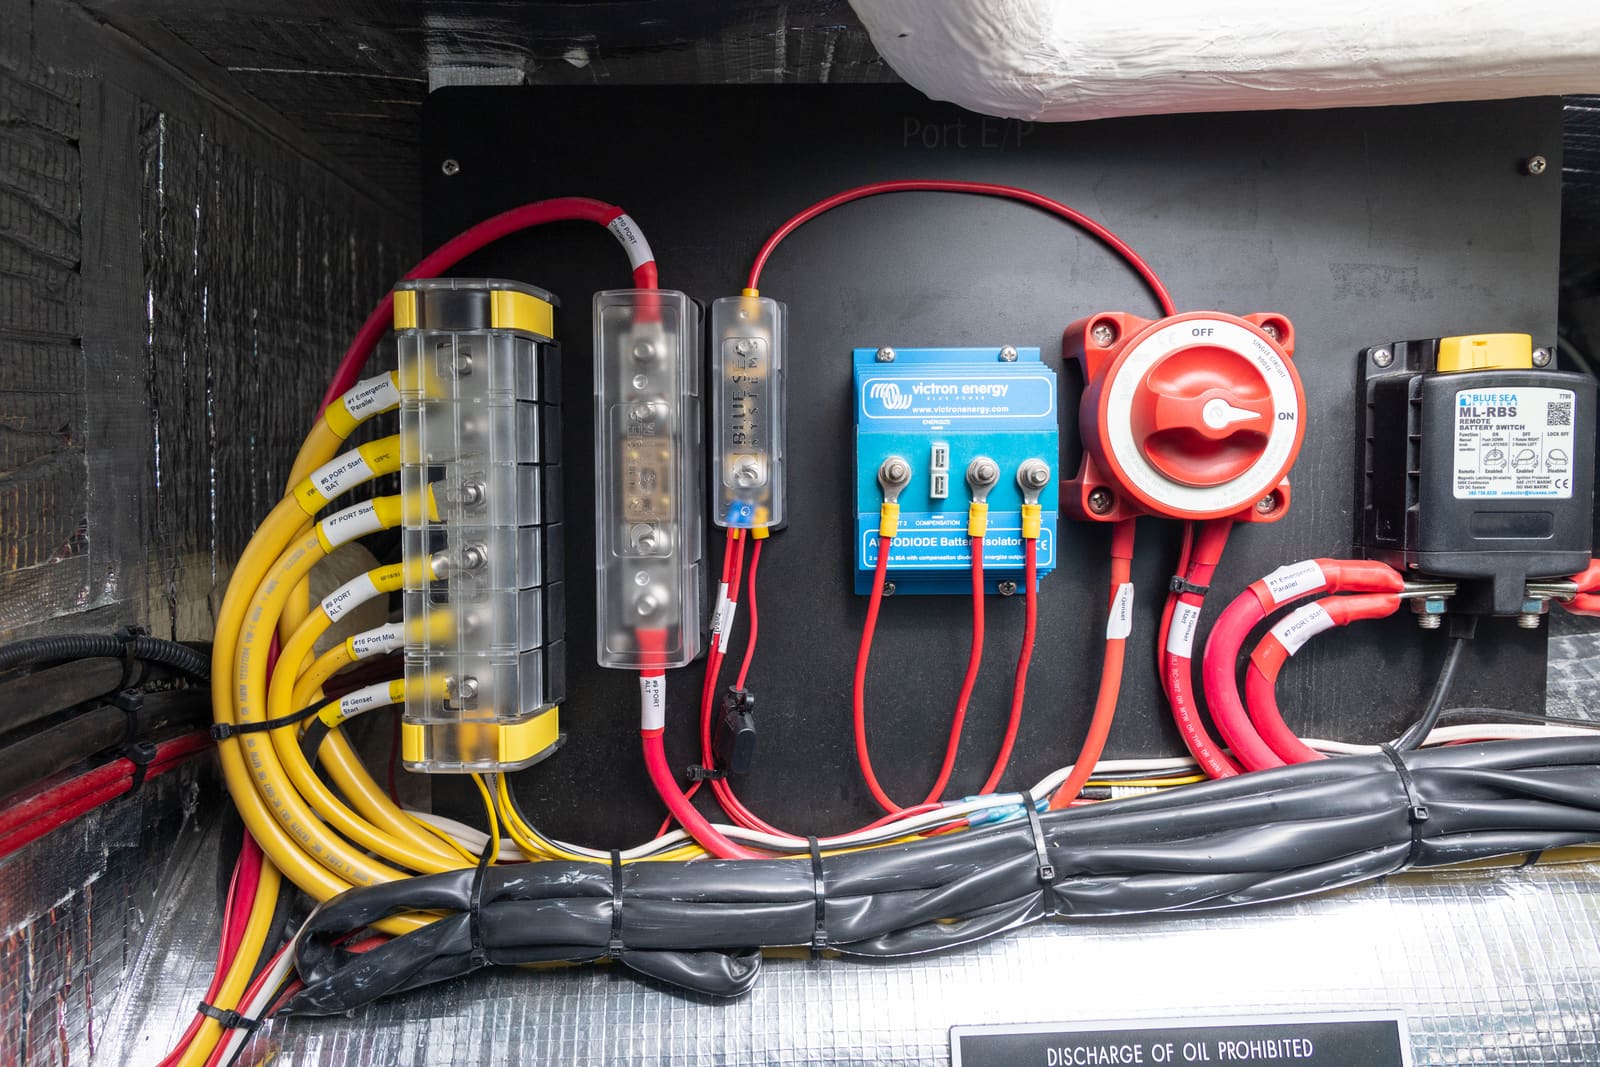
- A fuse on the positive cable close to the battery, of the type and rating the inverter maker specifies. BoatUS says a typical installation puts it within 7 inches of the battery and uses a Class T fuse rather than a cheaper ANL type; follow the maker and ABYC.
- A battery disconnect switch in the positive cable, so the inverter can be shut off for service or an emergency.
- Cable size per the maker's chart for the inverter's current and the cable length.
- A chassis ground wire as large as the DC positive cable. BoatUS says a missing or undersized one is among the most common problems surveyors find.
- Chafe protection and support about every 18 inches along the cable run.
If the inverter feeds the boat's outlets, BoatUS says there must be a visible way to tell that the inverter is on (an indicator light or remote panel) and a warning placard at the main AC panel stating that the boat has an inverter. That warning exists for a reason: Practical Sailor reported boatyard technicians getting shocked after unplugging only the dock cord, because an inverter was still feeding the panel.
Backfeeding means AC flowing the wrong way into wiring that is supposed to be dead. Never:
- Make or use a cord with a plug on both ends to push inverter power into a boat outlet or the shore power inlet.
- Connect an inverter's output and shore power or the generator to the same circuit without a proper transfer switch.
- Plug a portable inverter's output into the boat's wiring at all; use it only for appliances plugged directly into it.
A backfed shore inlet can put 120 volts on exposed pins and on the dock, and can energize wiring a technician thinks is off.
On US boats, an inverter/charger must bond the AC neutral to the green ground wire when it is inverting, and lift that bond when shore or generator power is supplying the boat, so there is only one bond point at a time. Blue Sea Systems explains this prevents voltage differences that can cause shocks or nuisance GFCI trips. Most marine inverter/chargers do it internally; ask your installer to confirm yours is set up correctly. This is not a DIY change. Small stand-alone inverters are the ones to watch: depending on the model and voltage version, the output neutral may be left "floating" from the factory, and a GFCI outlet wired after it may then give no shock protection until the installer makes the bond the manual describes. That is exactly what the test in the next step catches.
Outlets in wet areas (galley, head, engine room, deck) are normally protected by GFCI outlets or breakers on a properly wired boat. With the boat on inverter power (shore power off), press the TEST button on each GFCI outlet: power should cut off, and RESET should restore it. A plug-in tester helps. If a GFCI does not trip on inverter power but does on shore power, stop using those outlets and have the neutral-ground setup checked. Some inverters list GFCI types that work best with them in the manual.
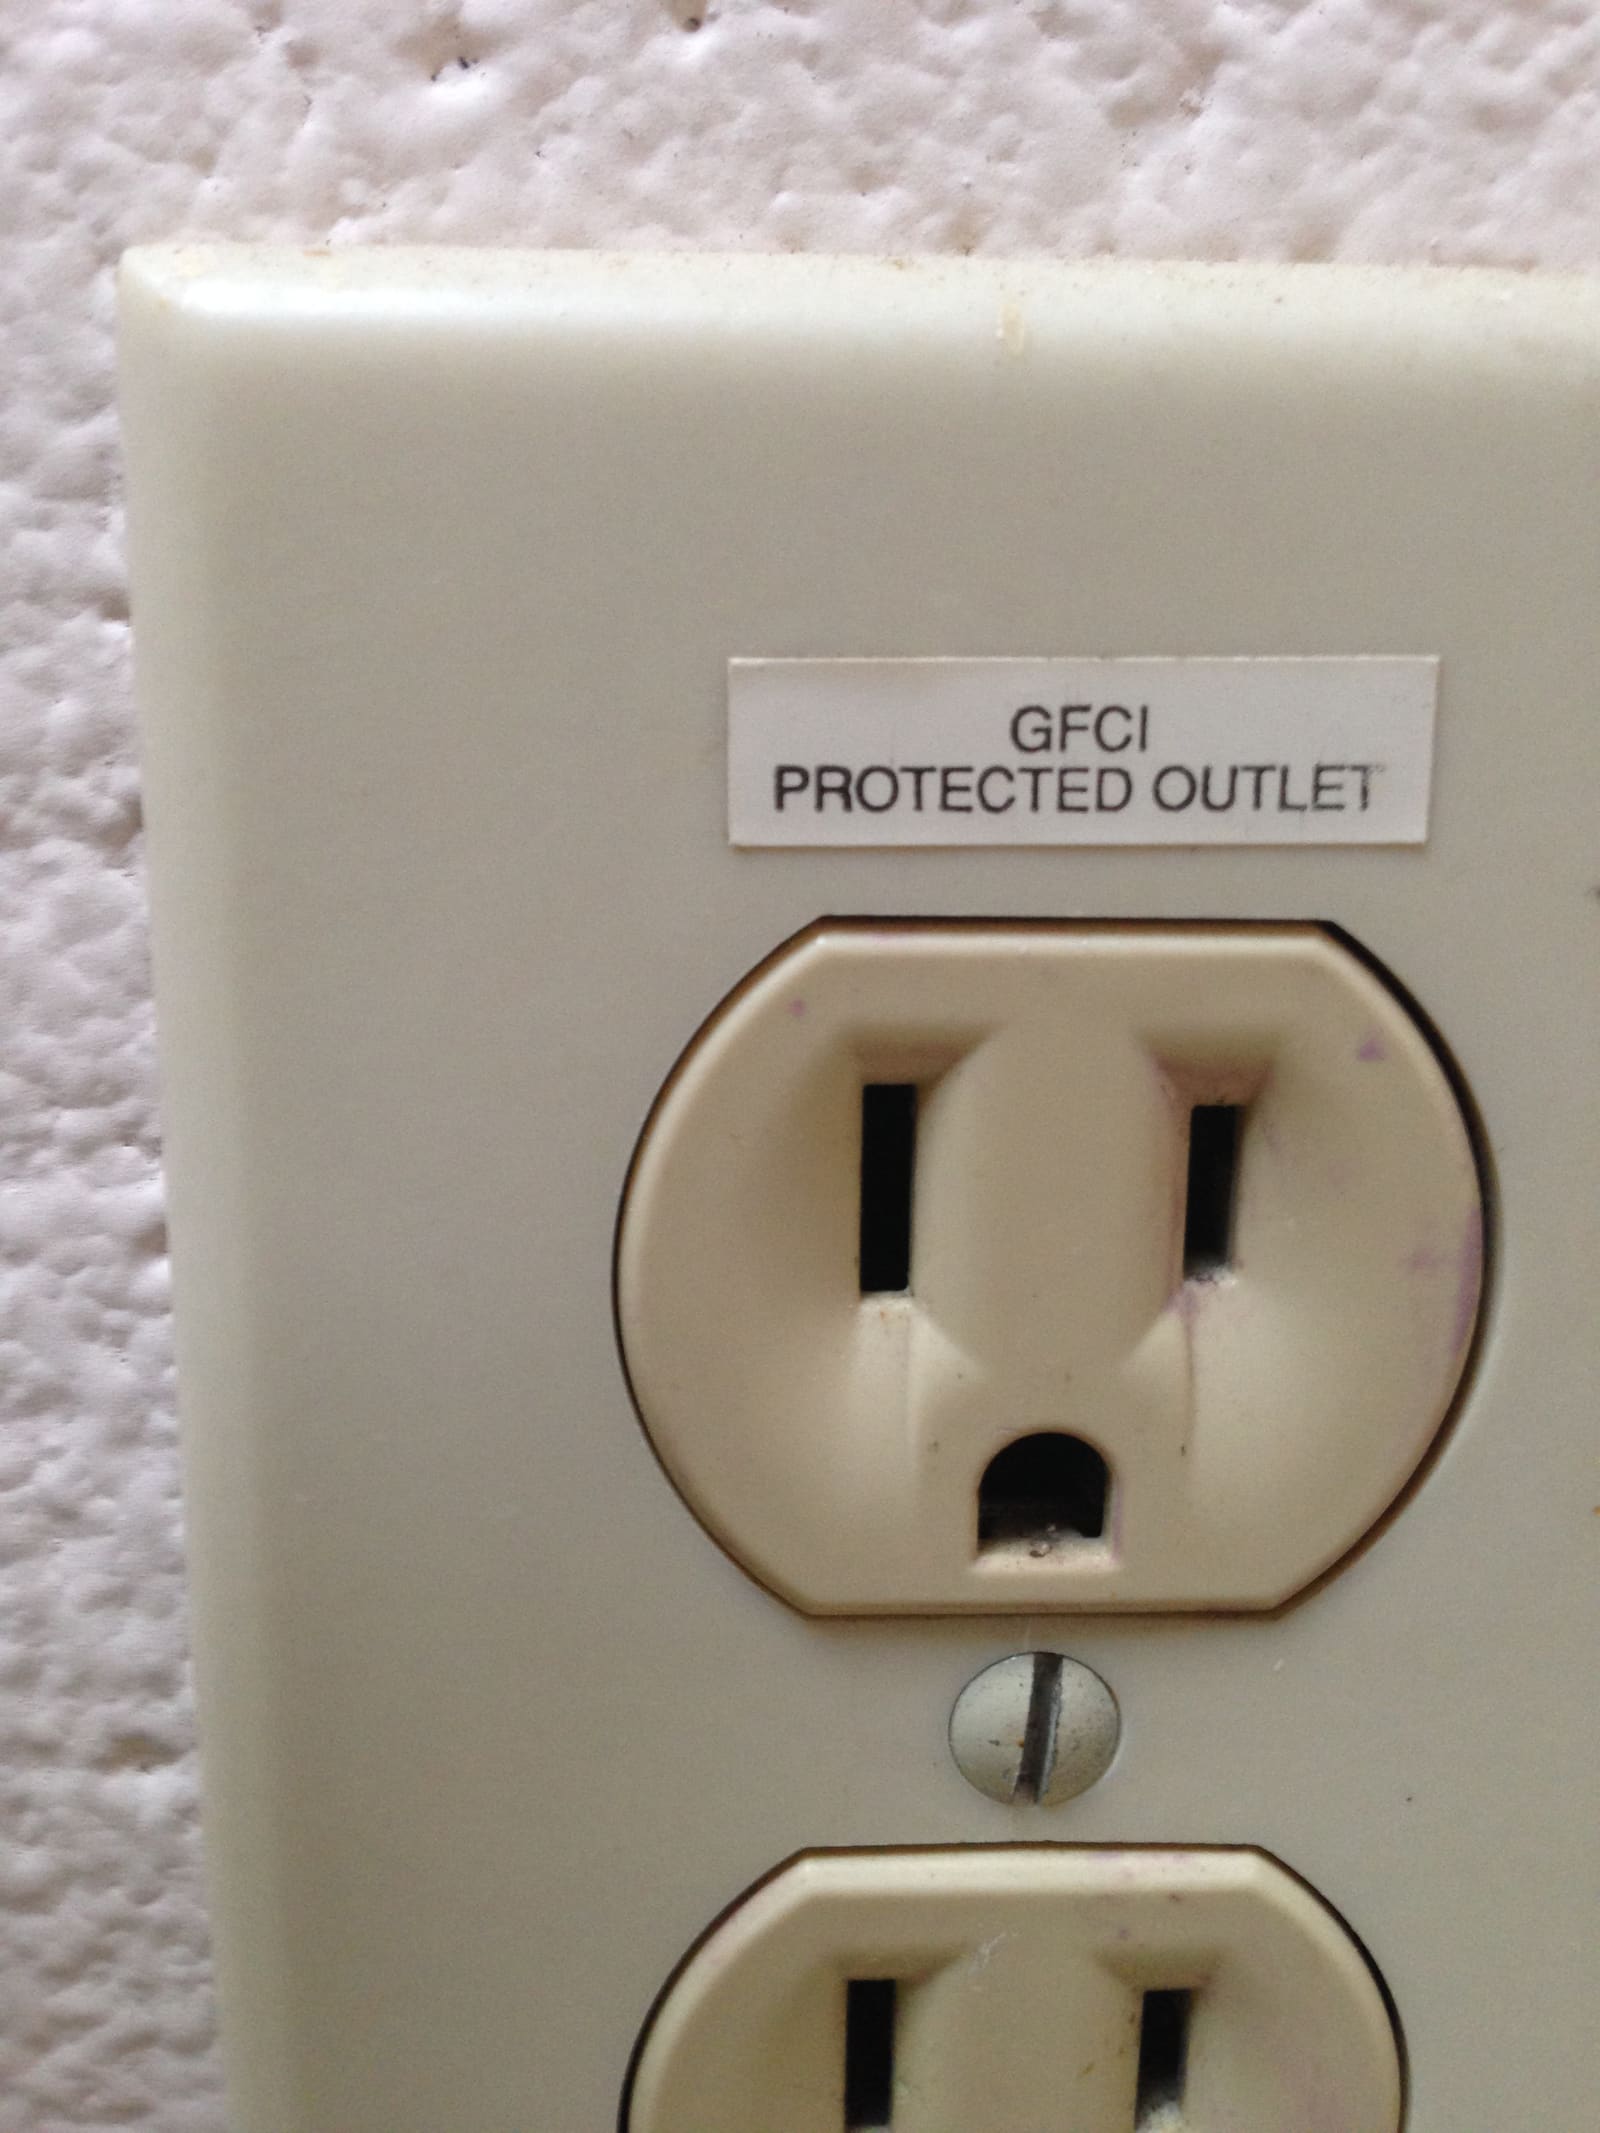
Outlets downstream of a GFCI are often labeled like this. Test the GFCI monthly, on shore power and on inverter power. Photo: dankeck / Wikimedia Commons · CC0 1.0 With the inverter off:
- Check that the vents and fan openings are clear of dust, lint and stored gear; inverters make heat.
- Look at the battery cables and fuse holder for discoloration, melted insulation, green corrosion or loose-looking lugs. Don't tighten heavy terminals yourself on a live bank; note it and call the installer.
- Feel the cables after a heavy load (a microwave run). Warm is OK; hot is not.
- Read any fault codes on the remote panel and look them up in the manual.
- Switch the inverter off when you don't need it; many draw power just sitting on.
- Watch battery voltage on big loads, and let the low-battery shutdown work instead of overriding it.
- Don't use it to power heaters or other big loads unattended.
- Keep the area around it free of rags, fuel cans and cleaning chemicals.
Before anyone works on the AC panel or outlets: unplug shore power, switch off the generator, switch the inverter off at its control, and open its DC battery switch. Then confirm with a tester that the circuit is dead. BoatUS says to always disconnect the inverter's DC power and its AC connection before working on the AC system.
Switch the inverter off and open its DC disconnect so it does not drain the batteries. If you use the inverter/charger to maintain the batteries on shore power over winter, confirm the charger settings match your battery type and check it periodically. Keep the space dry and ventilated.
Common mistakes
- Buying a big inverter and expecting it to run air conditioning or a water heater from a small battery bank.
- Fusing with an undersized, oversized or wrong-type fuse, or skipping the fuse because "it came with a cable."
- Mounting the inverter in a gasoline engine room or right above flooded batteries.
- Using a cheap modified sine wave unit for pumps, chargers or audio, then fighting buzzing and overheating.
- Making a "suicide cord" to backfeed outlets from a portable inverter.
- Working on outlets with the dock cord unplugged but the inverter still on.
- Skipping the chassis ground wire or using a thin one.
When to call a pro
- Any new installation, upgrade or relocation of an inverter or inverter/charger (choose an ABYC-certified marine electrician)
- Hot, melted or discolored cables, fuse holders or terminals; a burning smell (switch off and isolate first)
- GFCI outlets that don't trip on inverter power, tingles from metal fittings, or reverse-polarity warnings
- Repeated fault codes, shutdowns or the inverter tripping breakers
- Adding lithium batteries, solar or a second charging source to a system with an inverter
- You are not sure whether the inverter is tied into the AC panel or how its transfer switch works
Tips
- Put a small label at the AC panel: "INVERTER ON BOARD – switch off inverter AND unplug shore power before work."
- A remote panel near the nav station makes it easy to see if the inverter is on and how the batteries are doing.
- If you only need to charge phones and laptops, a few 12-volt USB outlets are simpler and safer than an inverter.
- A small plug-in inverter is only as good as the 12-volt socket feeding it. BoatUS notes that loose socket contacts and thin socket wiring limit these units; if the plug gets warm or the inverter keeps cutting out, unplug it and stick to small loads.
- Keep the inverter manual aboard with the installer's wiring notes and fuse ratings.
Official references
We read these to write this guide. Your engine's own manual always wins.
Safety: BoatMend is for information only and does not replace a certified marine technician. You are responsible for your safety and your boat. Read the full disclaimer.
Last updated 2026-10-24
Related guides
Shore Power Safety: Cords, Inlets, Burned Plugs and Electric Shock Drowning
An owner's inspection routine for your shore power cord, plugs, boat inlet, galvanic isolator and ground-fault protection, plus the right way to plug in and the facts about Electric Shock Drowning. This guide is for looking and testing only; any electrical repair belongs to an ABYC-certified marine electrician.

Marine Battery Care: Test, Charge and Store for Winter
Check your boat battery's health, charge it the right way for its type (flooded, AGM or lithium), and store it so it is ready in spring. Most "boat won't start" calls start with a neglected battery.
Switching to Lithium (LiFePO4) Boat Batteries: What Changes and When It's Worth It
What really changes when you swap lead-acid for lithium iron phosphate (LiFePO4) batteries on a boat: the battery management system, charger settings, protecting the alternator with a DC-DC charger, not mixing chemistries, cold-weather charging, and which jobs (trolling, house, starting) suit lithium. House-bank conversions should be designed and installed by a qualified marine electrician.
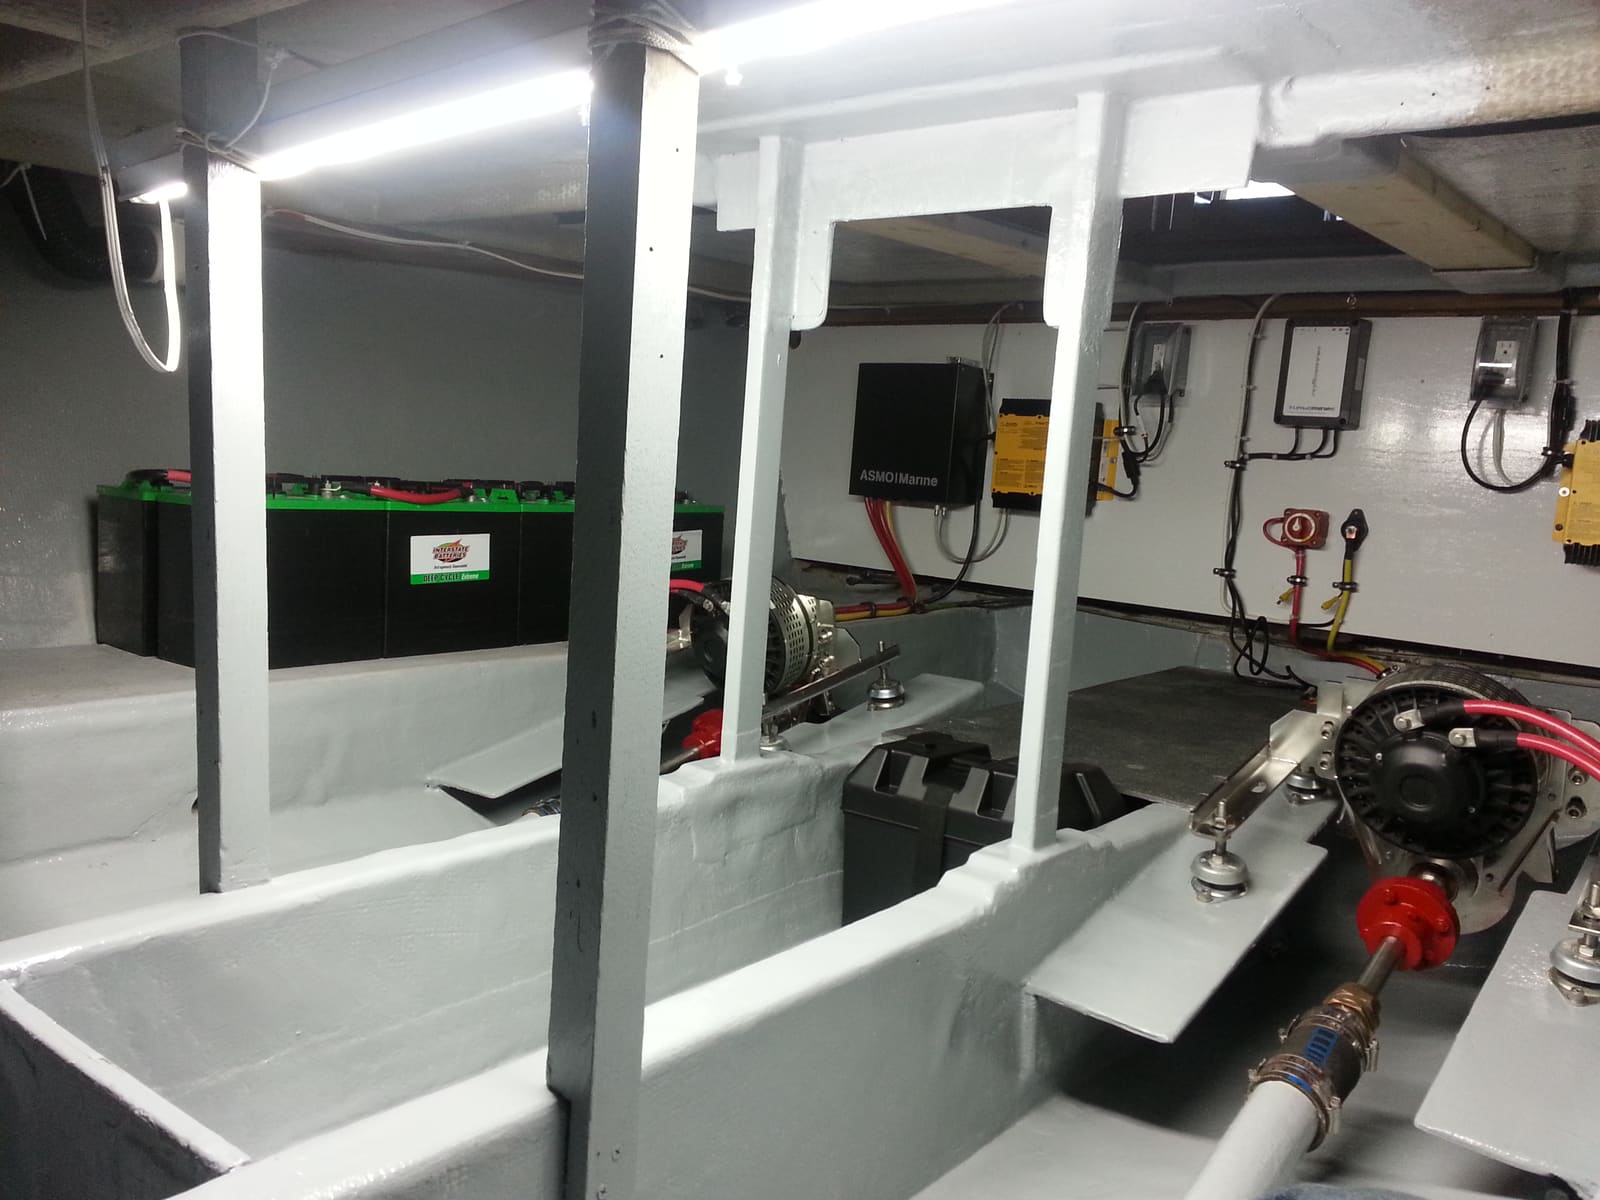
How to Choose, Install and Maintain an Onboard Battery Charger
Pick the right marine charger for your batteries (how many banks, how many amps, flooded, AGM or lithium), mount and fuse it safely, set the charge profile, and use it to keep batteries healthy all season and through the winter. The AC (shore power) side is a job for a marine electrician.
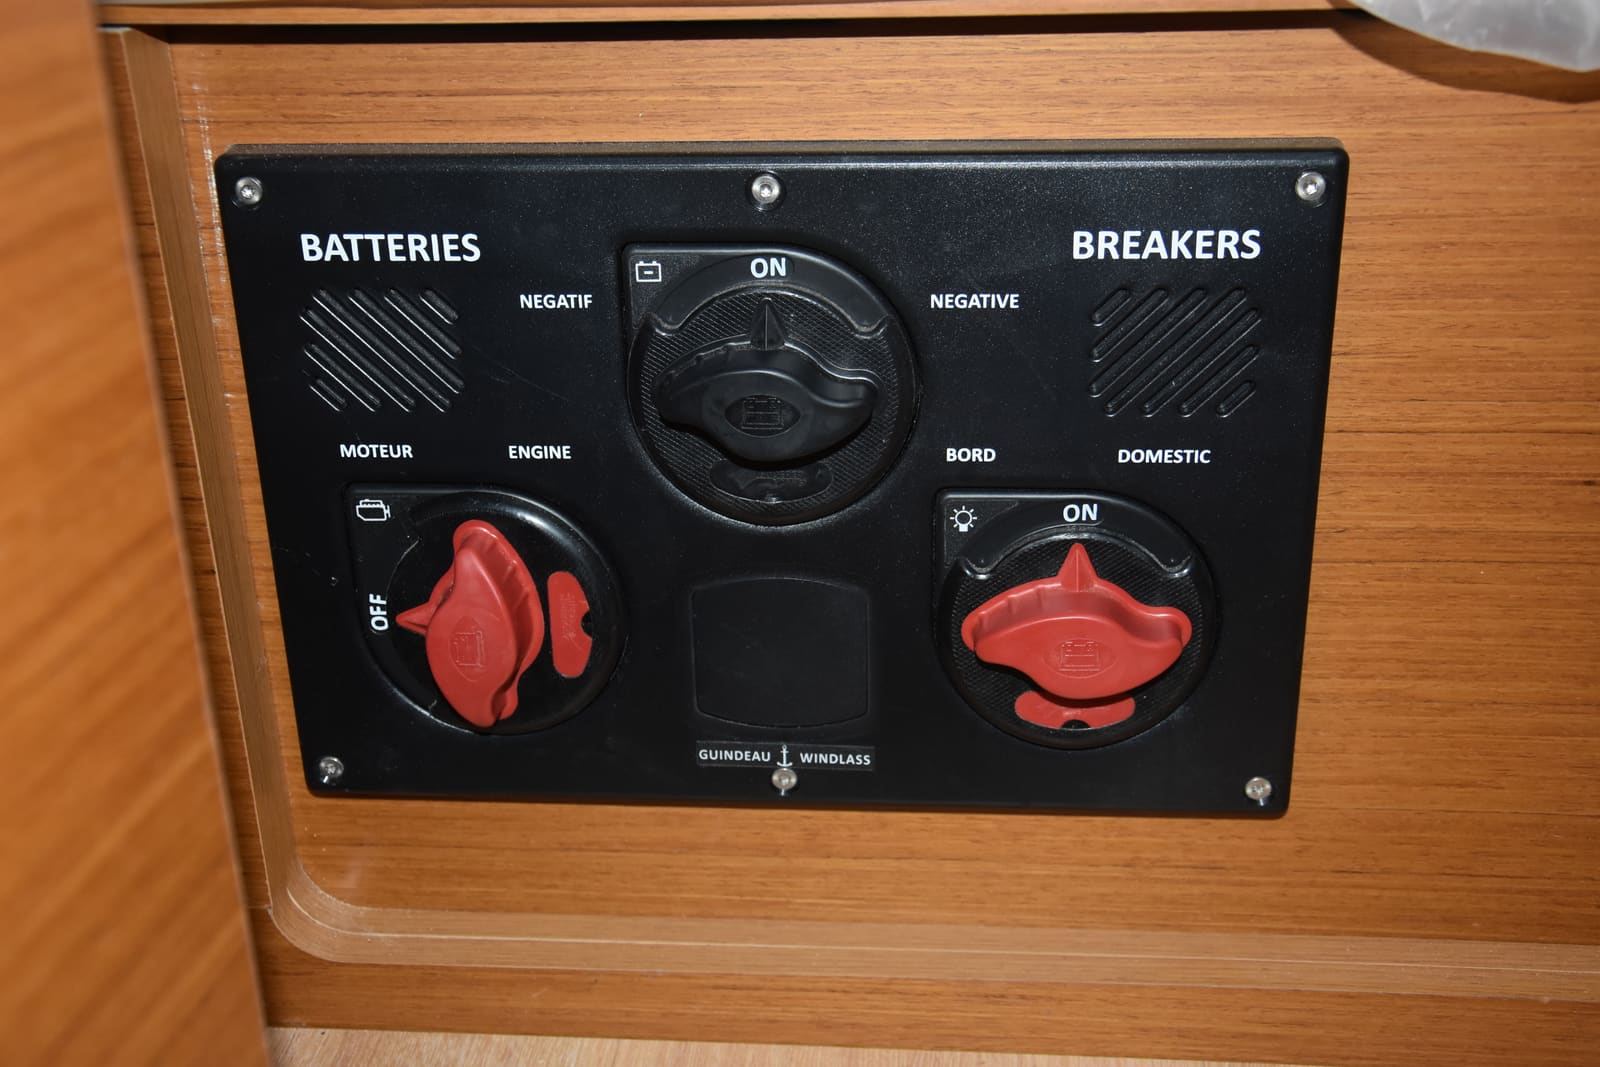
How to Use a 1-2-Both Battery Switch and Run Two Batteries
Learn what the 1, 2, Both and Off positions really do, a simple routine that keeps one battery ready to start the engine, how to check that both batteries are charging, and when an automatic charging relay makes life easier. Rewiring high-current cables is a job for a marine electrician.

How to Find and Fix Corroded Electrical Connections on a Boat
Track down the green crust and loose terminals behind flickering lights, dead gauges and slow cranking with a simple voltage-drop test, then remake the connection the marine way: tinned wire, a proper crimp, adhesive-lined heat shrink and a protective coating.
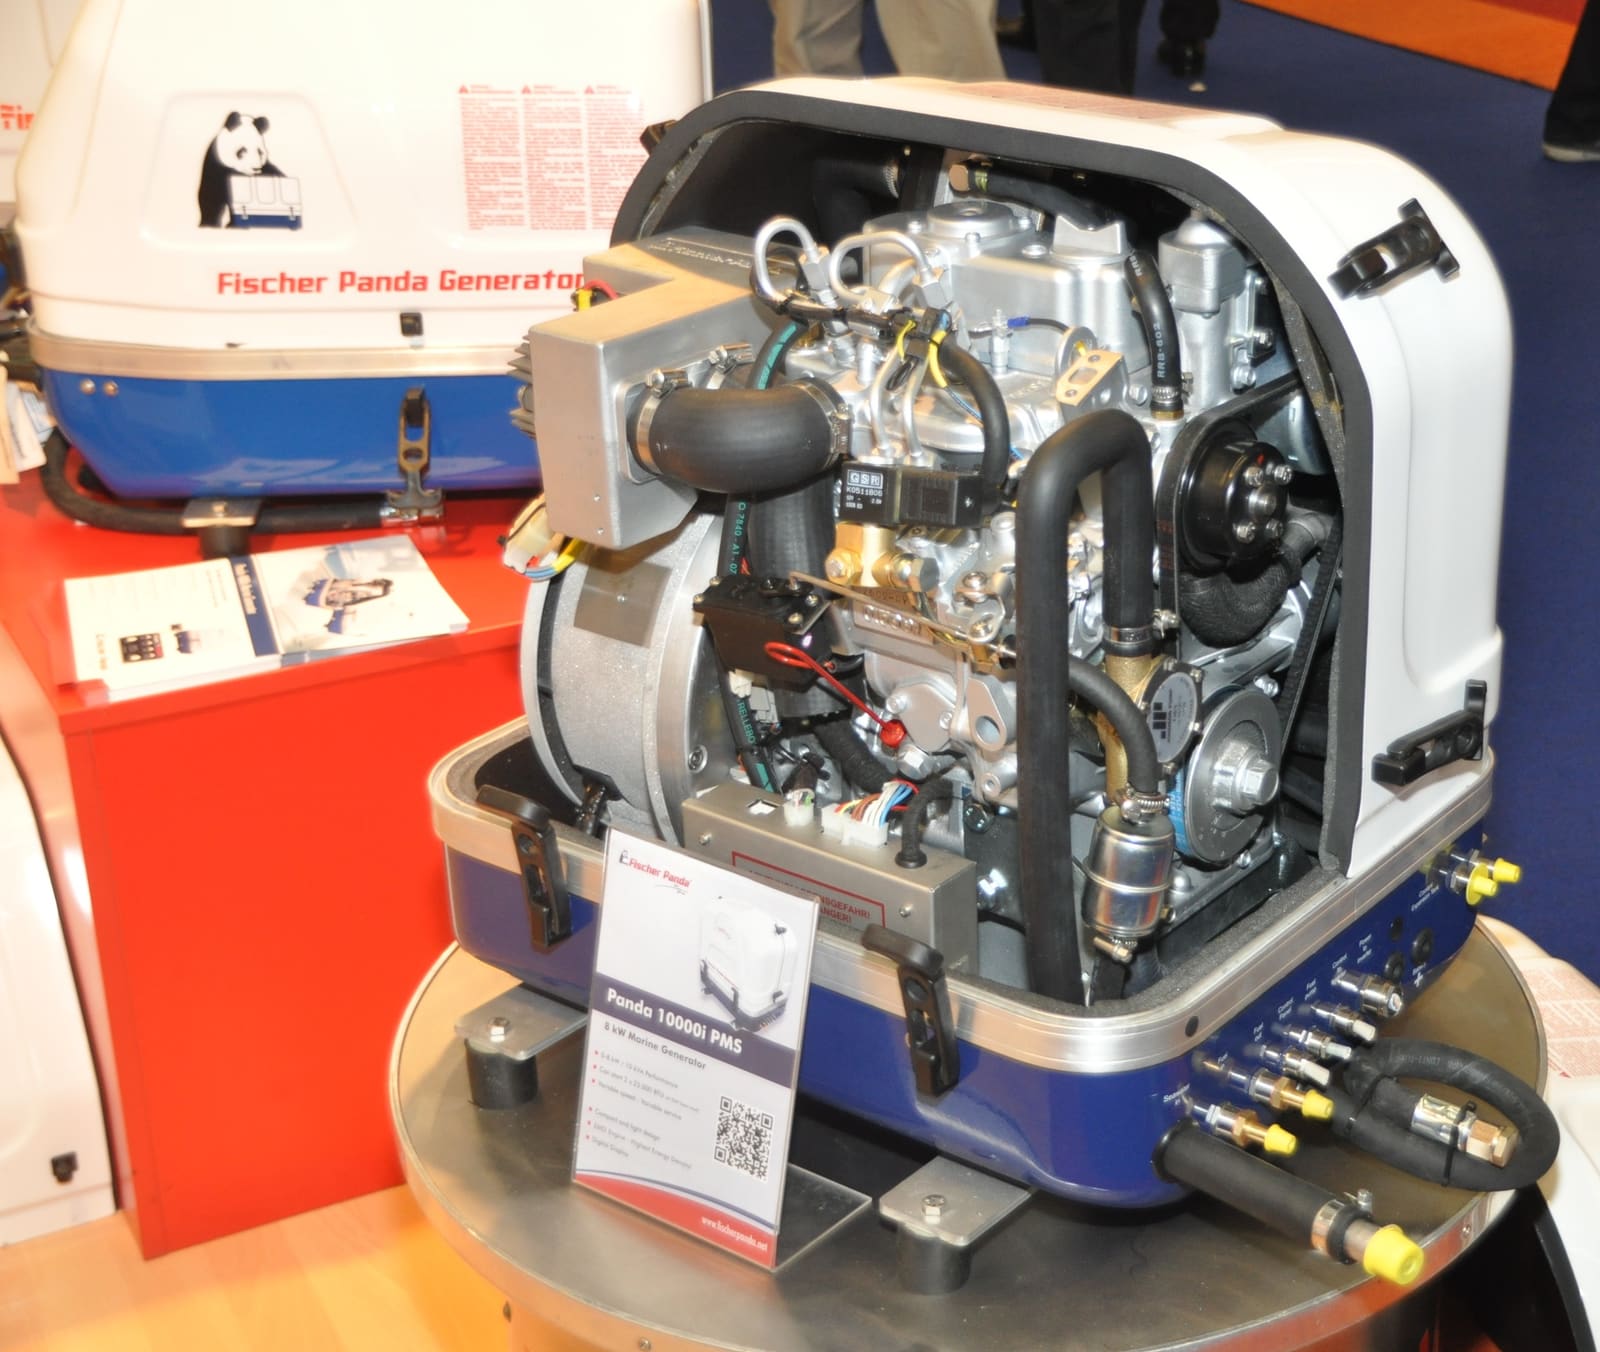
Marine Generator Routine Maintenance and CO Safety
Keep an Onan, Kohler/Rehlko, Northern Lights, Westerbeke or similar marine generator reliable with regular checks of oil, raw-water cooling, fuel, exhaust and the start battery, plus a monthly run under load. Generator exhaust is a leading source of carbon monoxide on boats, so safety checks come first.
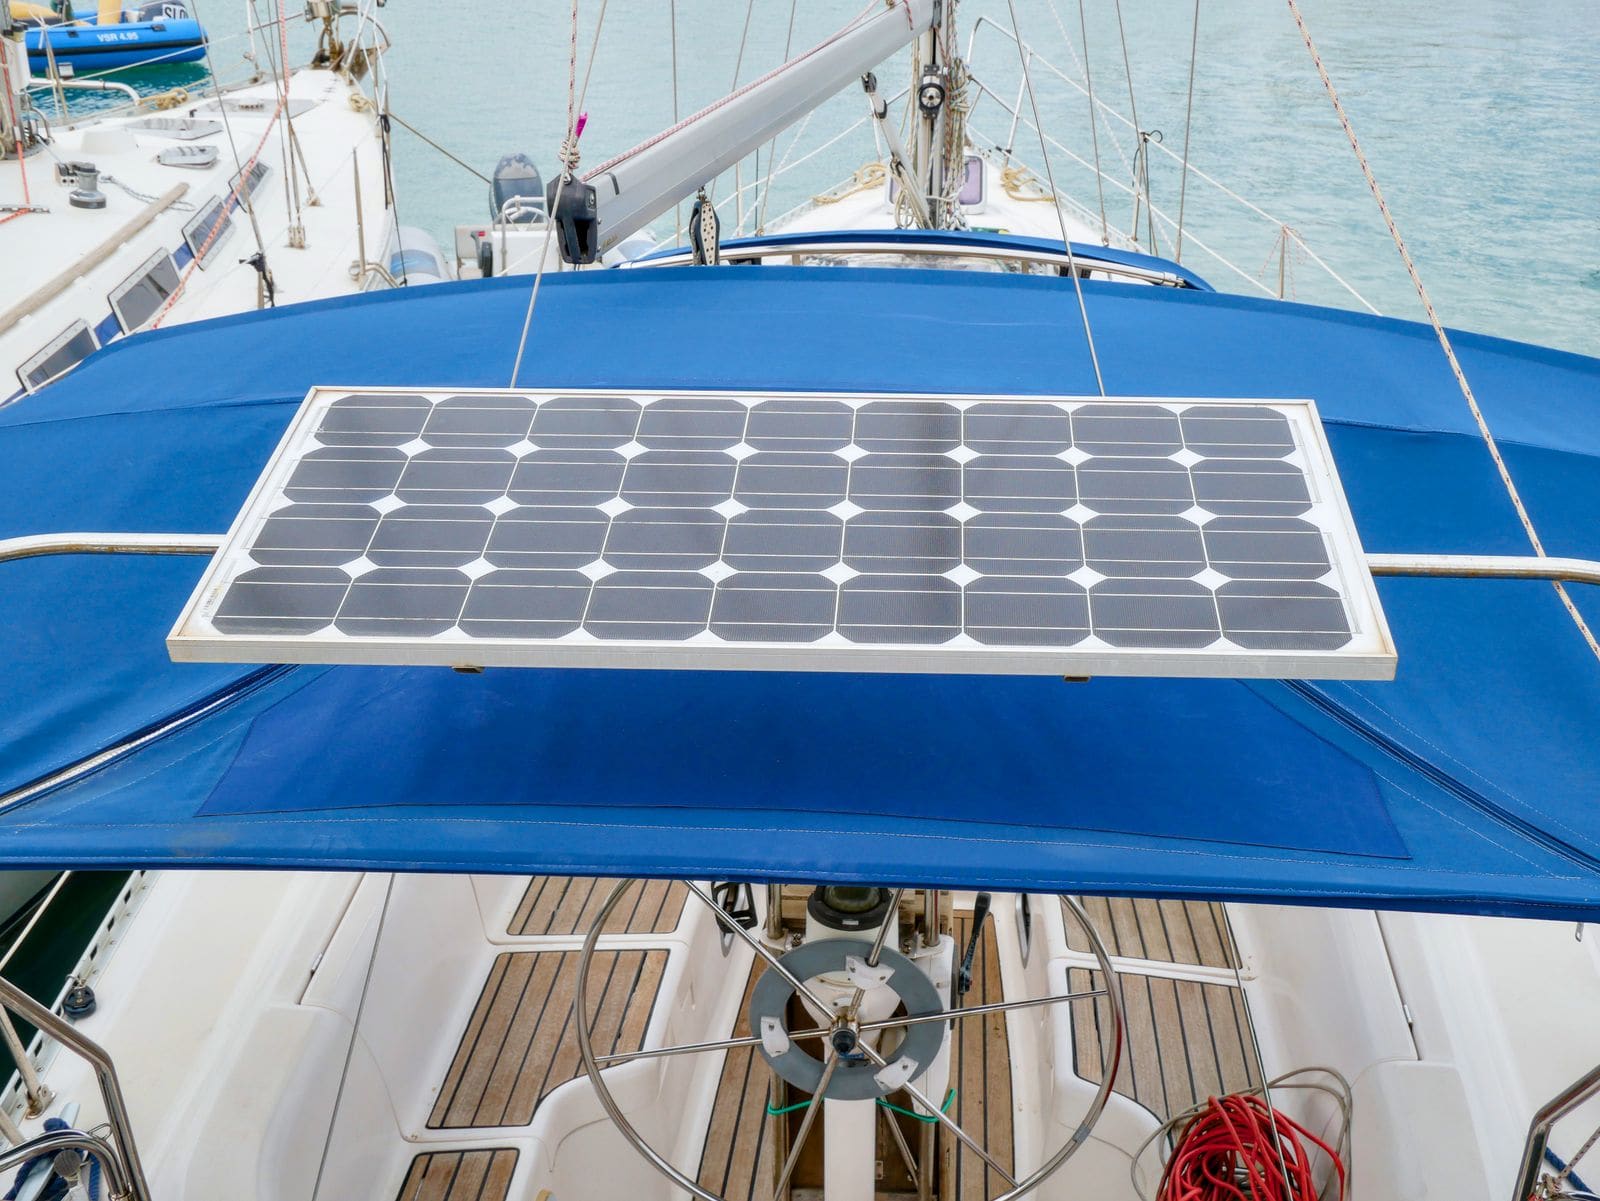
How to Care for Boat Solar Panels, Connectors and the Charge Controller
A boat solar setup is quiet and almost maintenance-free, but salt, shade, loose connectors and a wrong battery setting quietly cut its output or hurt the batteries. Learn the cleaning, inspection and controller checks to do each season, and how to leave the system for winter.