How to Inspect Sailboat Lifelines, Stanchions and Gates
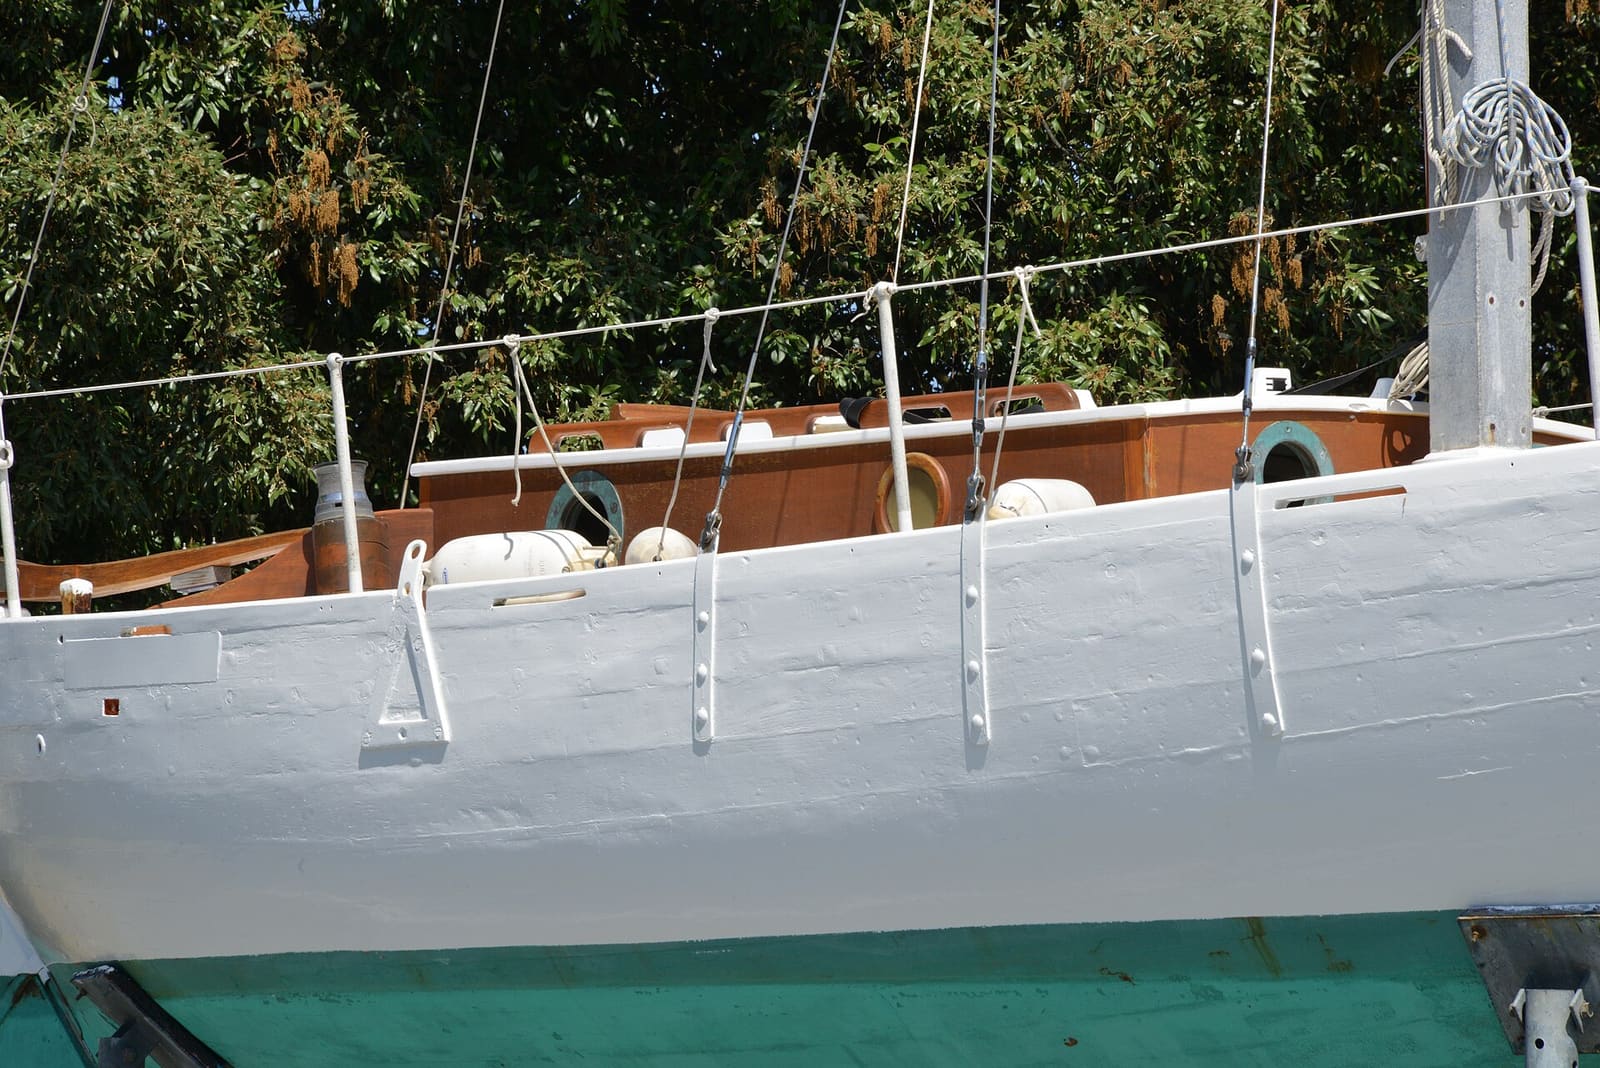
Check the wire or rope, swaged ends, gate hooks, stanchion bases and pulpits that make up your lifeline system, and know when to replace them. Lifelines keep people aboard, but only if every link is sound, and they are never a place to clip a safety tether.
Time
1 h 30 min
Shop would charge
$300-1500
Applies to
All engines · Sailboat
Safety first: Lifelines and stanchions are a last barrier, not an anchor point. BoatUS is clear that neither lifelines nor stanchions should be used to clip harness tethers or to attach jacklines; jacklines go to strong deck hardware or fittings made for them. Don't lean your full weight on a lifeline you haven't inspected, especially when the boat is hauled out and a fall means landing on hard ground. If someone goes overboard, shout, point, throw flotation and press MOB on the GPS, then call the Coast Guard on VHF 16 (see /guides/mob-recovery-gear).
Owners often ask
- Can I clip my harness tether to the lifelines or a stanchion?
- Should I replace my vinyl-coated lifelines with bare wire or Dyneema?
- Can I strip the vinyl coating off my old lifelines instead of replacing them?
This guide walks you through it. Still stuck? Ask the AI Mechanic about your engine.
Tools
- Magnifying glass and a bright flashlight
- Tissue or toilet paper (for finding broken wire strands)
- Gray nylon scrub pad and a rag
- Screwdrivers, Allen keys and wrenches that fit stanchion bases
- Tape measure
- Rigging tape or self-amalgamating tape
- Phone camera
Parts & supplies
- Cotter pins and split rings in the right sizes
- Rigging tape for pelican hooks and pins
- Replacement lashing line (low-stretch) if your lifelines are lashed
- Bedding sealant if a stanchion base needs rebedding
Before you start
What the system includes: the lifelines (usually an upper and a lower line each side), their end fittings and turnbuckles or lashings, the gates with their pelican hooks, the stanchions that hold the lines up, and the bow pulpit and stern rail (pushpit) that anchor the ends. BoatUS points out that the whole system shares the load: one weak stanchion or one failed swage lets the rest down.
What your lifelines are made of:
- Vinyl-coated stainless wire: common and comfortable to grab, but water gets under worn or cracked coating and corrodes the wire out of sight. BoatUS says many offshore racing organizations prohibit it and recommends replacing coated lifelines about every five years regardless of looks. Practical Sailor reports finding many old coated lifelines that broke at the end fitting after being flexed back and forth only a few times.
- Bare stainless wire (often 1x19): easier to inspect for rust and broken strands. West Marine notes it is now required on offshore racing boats. Practical Sailor reports that the offshore racing rules (now World Sailing's Offshore Special Regulations) have required stainless lifelines installed since 1999 to be uncoated, with no close-fitting sleeves.
- Synthetic rope (Dyneema/Spectra type): light and doesn't rust, but more vulnerable to chafe and UV, which are harder to see. Expect to replace it more often, and check the splices. Practical Sailor's 2026 review says chafe where the line passes through stanchion holes, often made worse by burrs, is the most common cause of failure. Their rough guide is about 5 to 7 years in the tropics and 8 to 10 years in milder climates, compared with well over a decade for uncoated stainless. Typical; follow your rigger or the rope maker.
How often: a close look every season, and remove the lifelines once a year to inspect them fully, as BoatUS recommends. Typical; adjust for offshore use.
Who sets the rules: Practical Sailor checked with the Coast Guard, which said it has no lifeline standard for privately owned recreational sailboats and defers to the American Boat and Yacht Council (ABYC). ABYC's standard covers how lifelines are built and mounted, and it accepts rails that meet the offshore racing rules. Racing and rally boats must also meet World Sailing's Offshore Special Regulations, and boats built for Europe follow ISO 15085. These documents are updated from time to time, so check the current version if you race, join a rally, or are buying replacement parts.
Steps
Start at the bow pulpit and work around the boat. Photograph each gate, end fitting and stanchion base. Label port and starboard. These photos also help if you later order replacement lifelines.
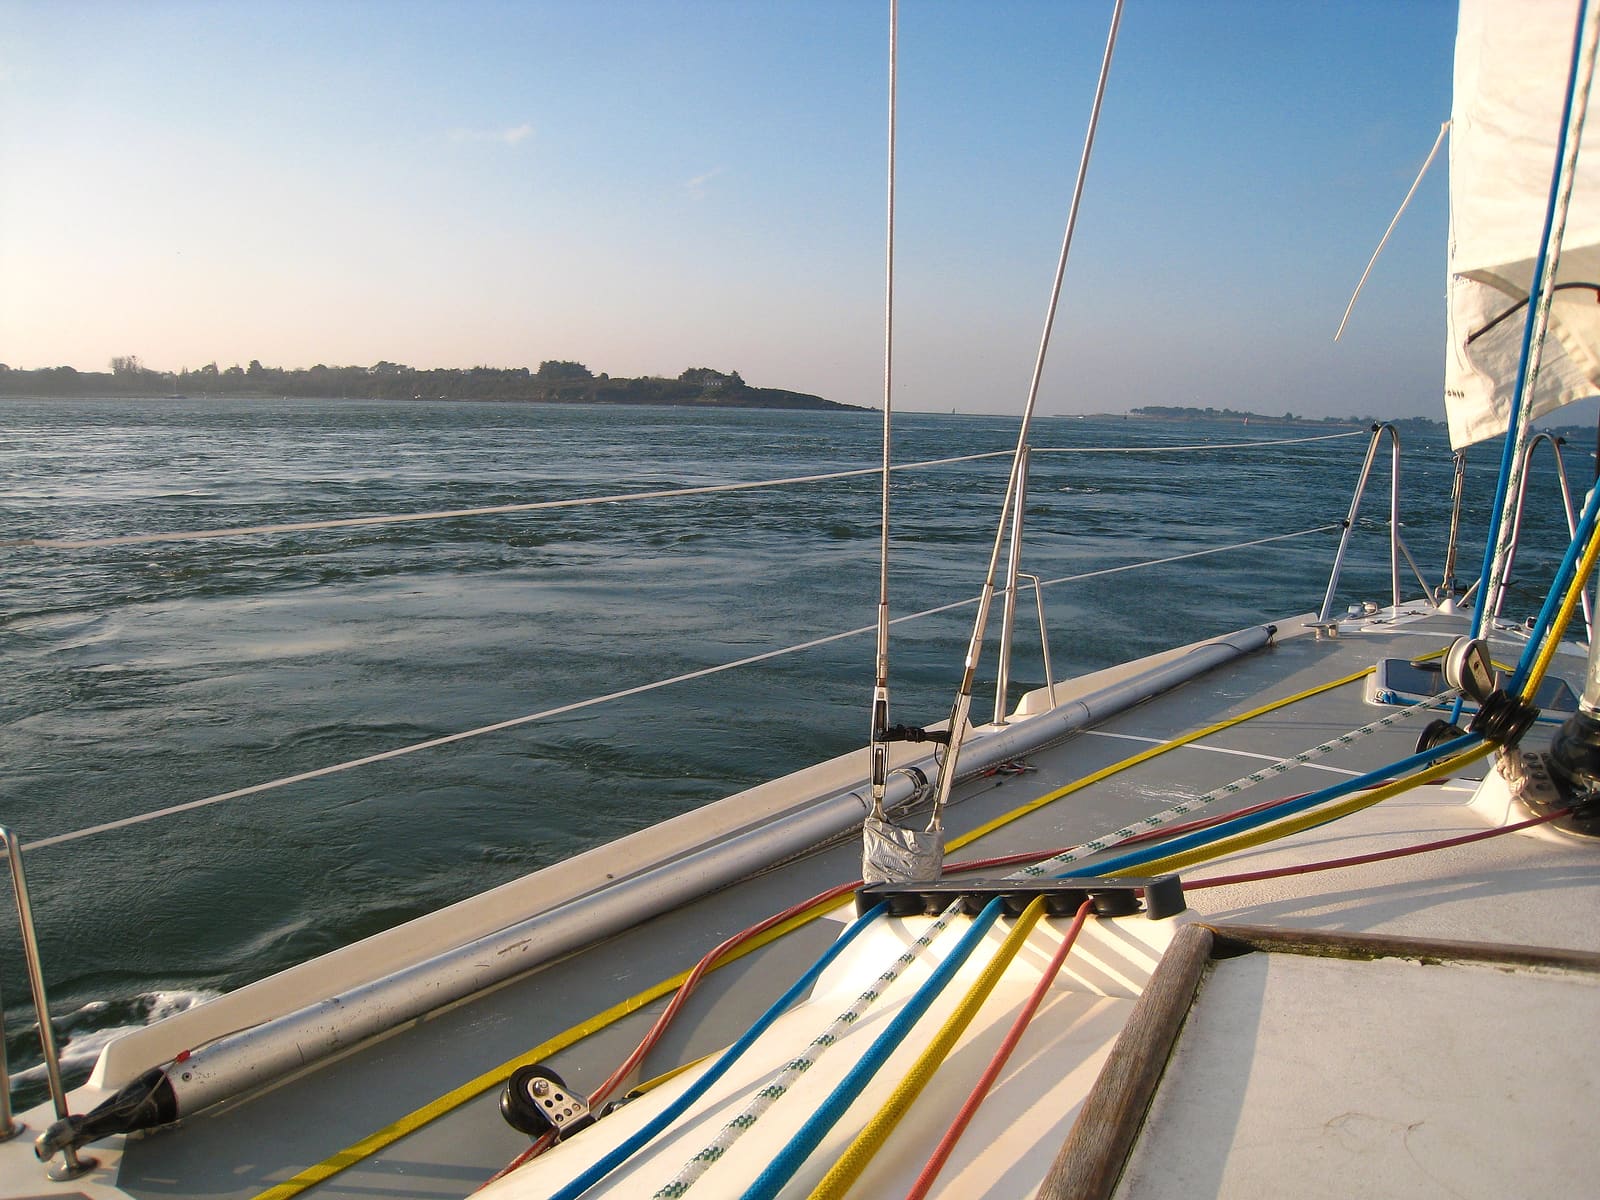
Photo: Matthieu FAURE / Wikimedia Commons · CC BY-SA 2.0 Every clevis pin should have a cotter pin or ring in place, and every turnbuckle should be locked so it can't unscrew. Replace bent or missing pins. Tape over cotter pins and ring ends so they don't snag hands or sails.
Swaged and crimped end fittings are the usual weak spot. Studies summarized by BoatUS and West Marine point to wire pulling out of a swage as a common failure. Clean each fitting with a nylon pad, then look with a magnifier for:
- Hairline cracks along the swage barrel
- Rust where the wire enters the fitting
- A bent or banana-shaped fitting
- Broken strands sticking out at the fitting
For uncoated wire, BoatUS suggests wrapping tissue loosely around the wire and sliding it along the full length both ways. Any broken strand (a "fishhook") snags the paper. Hold it lightly, or the wire will snag your hand instead.
On vinyl-coated wire, look for cracked, yellowed, chafed or swollen coating and rust staining, especially near the ends where the coating was cut back for the fitting. Don't tape over damaged coating; it traps water. Damaged coating means replacing that lifeline.
On synthetic lifelines, look for fuzzy or flattened areas where they rub stanchions, faded stiff rope from UV, and splices that have crept or opened.
Open and close each gate. The pelican hook should close firmly and the bail should not open easily by itself. BoatUS and West Marine both recommend taping pelican hooks closed (or using a pin if the hook accepts one) so a knee or sheet can't knock them open. Replace worn hooks; West Marine notes newer over-center style hooks are an upgrade option.
If the lifelines are tied to the pulpit with lashings instead of turnbuckles, BoatUS recommends replacing the lashings every year, keeping them short, and making them as strong as the wire. If the lashing is designed to be cut to drop the lifelines for a crew-overboard pickup, make sure everyone aboard knows it.
Slack the lifelines, then push each stanchion firmly side to side. A little play between the stanchion and its socket is normal; BoatUS says flexing of the deck itself is not. Look for:
- Loose set screws or bolts holding the stanchion in its base
- Gelcoat cracks around the base (a sign of load on a thin deck)
- Bent stanchions, cracked welds or rust at the base
- A stainless stanchion in an aluminum base, which corrodes; BoatUS says to replace mismatched parts
Tighten loose screws. A base that moves with the deck needs to come off for a backing plate check and rebedding.
From inside the boat, look under each stanchion base. It should be through-bolted with nuts and a solid backing plate, not just screwed into the deck. Water stains or a soft deck around a base mean it is leaking into the core: rebed it (see /guides/deck-hardware-rebedding) and check the core (see /guides/deck-core-moisture).
Bow pulpits and stern rails usually have welded bases. Check every weld for hairline cracks and rust, and check the lifeline attachment eyes for bending. BoatUS warns that solar panels, outboard brackets, davits and grills hung on the stern rail add loads it wasn't built for; mount heavy gear independently if you can.
BoatUS cites ABYC's minimum of 24 inches for the top lifeline, with 36 to 42 inches preferred, and a lower lifeline no higher than about 9 inches off the deck so an adult can't roll under it. Other standards land in the same range: the 2024 revision of ISO 15085, as summarized by the European standards body CEN, sets minimum heights of about 450 mm (roughly 18 inches) for a "low" overboard barrier and 600 mm (roughly 24 inches) for a "high" one. Racing boats have their own height table in World Sailing's Offshore Special Regulations. Practical Sailor goes further and recommends at least 28 inches on boats used in open water, since people don't get shorter on smaller boats. Which figure applies to your boat depends on its size, its design category and whether you race, so check the current standard rather than relying on these numbers. Tighten the lines so they're snug but not bending the stanchions. BoatUS's rough check: pressing down at midspan with your thumb (arm muscles only), the line shouldn't move more than about two inches. Typical; confirm against your boat's design.
If you sail with children or pets, lifeline netting stops small bodies (and headsails) from sliding under the lower line. BoatUS suggests attaching it with whipping twine rather than plastic zip-ties, which go brittle in the sun and are harder to cut in an emergency. Inspect the netting once or twice a season.
For night or offshore sailing, rig jacklines from strong cleats or dedicated padeyes, never from stanchions or the pulpit. BoatUS suggests flat webbing, which won't roll underfoot like wire, and running a single jackline down the centerline where possible so a crew member who slips falls onto the deck rather than over the side.
Replace lifelines when you find rust, broken strands, cracked swages, damaged coating or UV-worn rope, or when coated wire reaches about five years old. West Marine suggests taking the old lifelines to a rigging shop so they can be duplicated exactly. Replace questionable turnbuckles, pelican hooks and toggles at the same time.
Common mistakes
- Clipping a harness tether to a lifeline or stanchion. They are not built to hold a falling person's shock load as an attachment point.
- Using lifelines as a handhold to climb aboard or a pulpit as a step. That bends stanchions and cracks bases.
- Keeping vinyl-coated wire because "it looks fine." Corrosion hides under the coating.
- Taping over cracked coating instead of replacing the lifeline.
- Untaped pelican hooks that can be knocked open.
- Hanging solar panels and outboards off the stern rail without extra support.
When to call a pro
- A stanchion base flexes with the deck, or the deck around it is soft or cracked
- Cracked welds on a pulpit, stern rail or stanchion
- Any swage with a crack or broken strands (a rigger replaces the whole lifeline)
- You want to convert from wire to synthetic lifelines and aren't confident splicing
- You are heading offshore or racing and need to meet World Sailing or event rules
Tips
- Rinse lifelines and fittings with fresh water regularly, especially after salt spray.
- Keep a spare cotter pin and roll of rigging tape in the cockpit locker.
- Give crew a quick "lifelines are for leaning, not for clipping" talk as part of your safety briefing.
- When you replace the standing rigging or the lifelines, have the rigger look over the turnbuckles, gates and pulpit welds in the same visit.
Official references
We read these to write this guide. Your engine's own manual always wins.
- BoatUS – Inspect Your Boat's Lifeline System (Frank Lanier, 2024)
- West Marine – When and How to Replace Your Lifelines
- BoatUS – Stay Put On Deck (jacklines)
- BoatUS – Stay Safe On Deck (lifeline netting)
- BoatUS – Inspecting Older Sailboats (stanchion base cracks)
- Practical Sailor – Offshore Log, Check Your Lifelines, Save Your Life (Darrell Nicholson)
- Practical Sailor – PS Advisor (USCG, ABYC H-41 and ORC rules on lifelines)
- Practical Sailor – Revised Lifeline Protection Plan (Drew Frye, 2026)
- CEN-CENELEC – Stay on board, revised standard EN ISO 15085:2024
Safety: BoatMend is for information only and does not replace a certified marine technician. You are responsible for your safety and your boat. Read the full disclaimer.
Last updated 2026-10-26
Related guides
How to Inspect Your Sailboat's Standing Rigging
A step-by-step owner's inspection of the wires, fittings, turnbuckles, pins, chainplates and mast that hold your rig up, plus how to decide when it is time for a rigger and new rigging. Includes what insurers commonly expect for older rigs.
Man-Overboard Recovery Gear: Throwables, Lifesling, Ladders and MOB Alarms
Set up and check the gear that gets a person in the water back aboard - a throwable within reach, a floating rescue line or Lifesling-style sling, a boarding ladder someone in the water can pull down, and MOB alarms or AIS beacons - and practice the drill so it works when it counts.
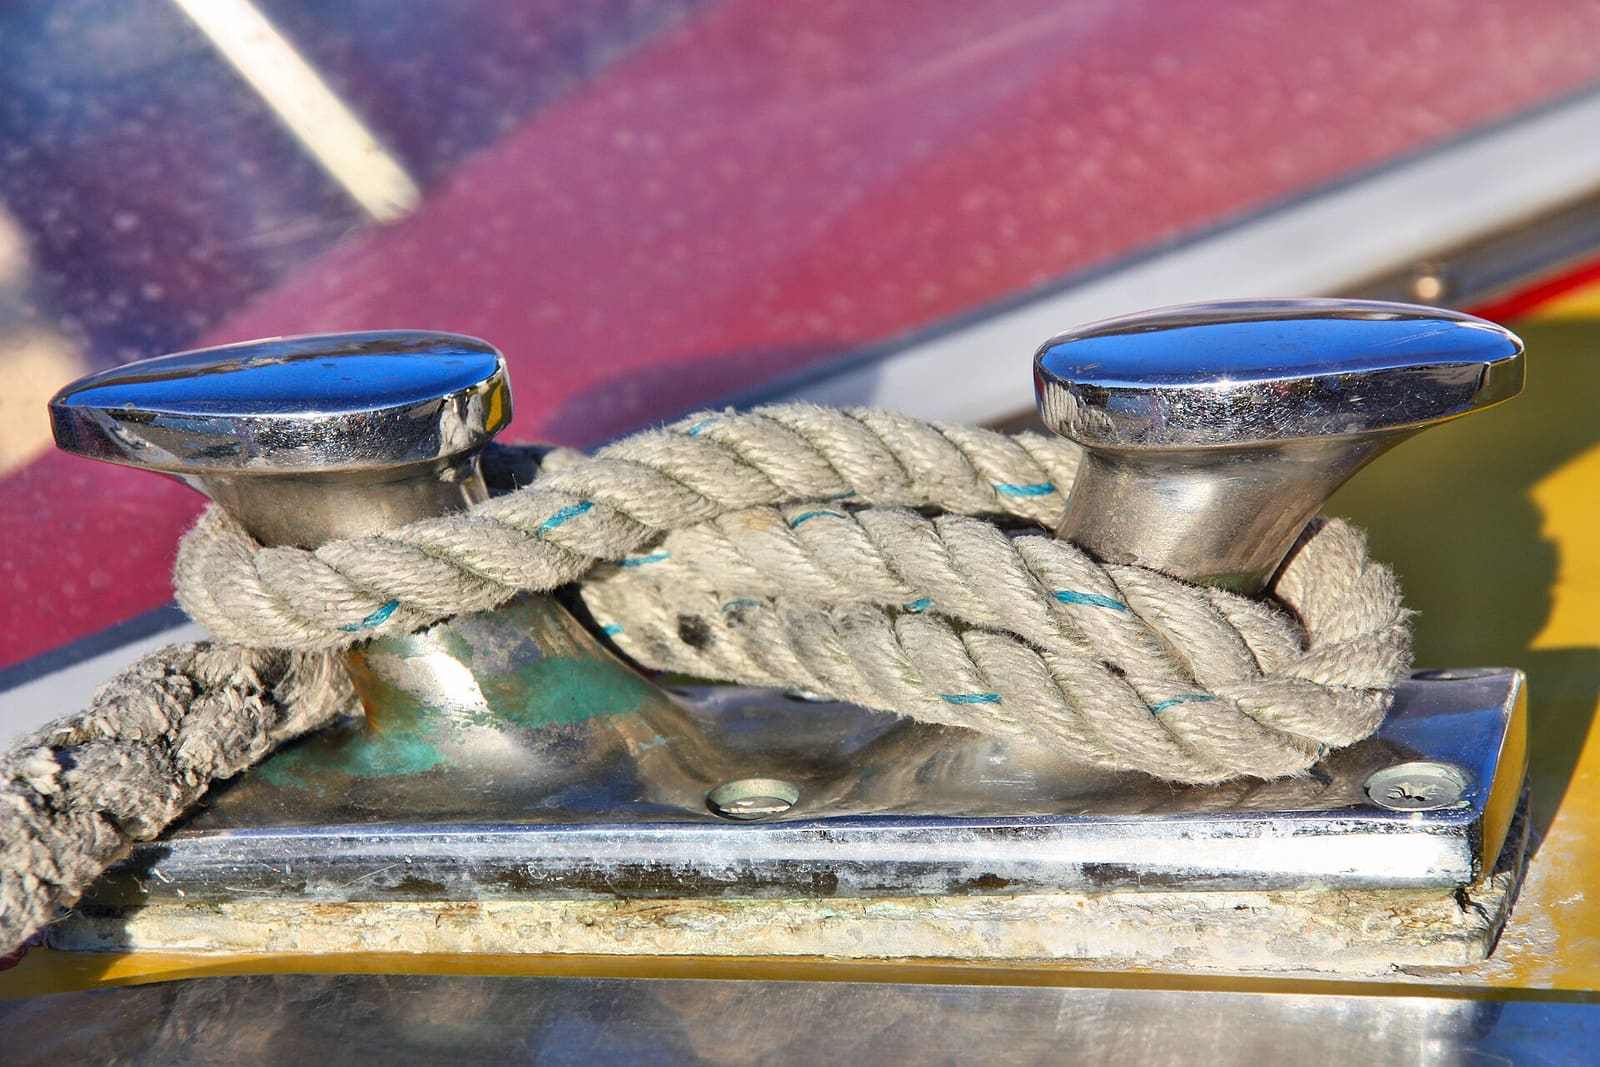
How to Find and Fix Leaking Deck Hardware (Rebedding Cleats, Stanchions and Tracks)
Track down the cleat, stanchion base or track that is dripping into the cabin, then remove it, seal the deck core and bed it again with the right sealant so the leak stops for years instead of weeks. Catching it early protects the deck core from rot.
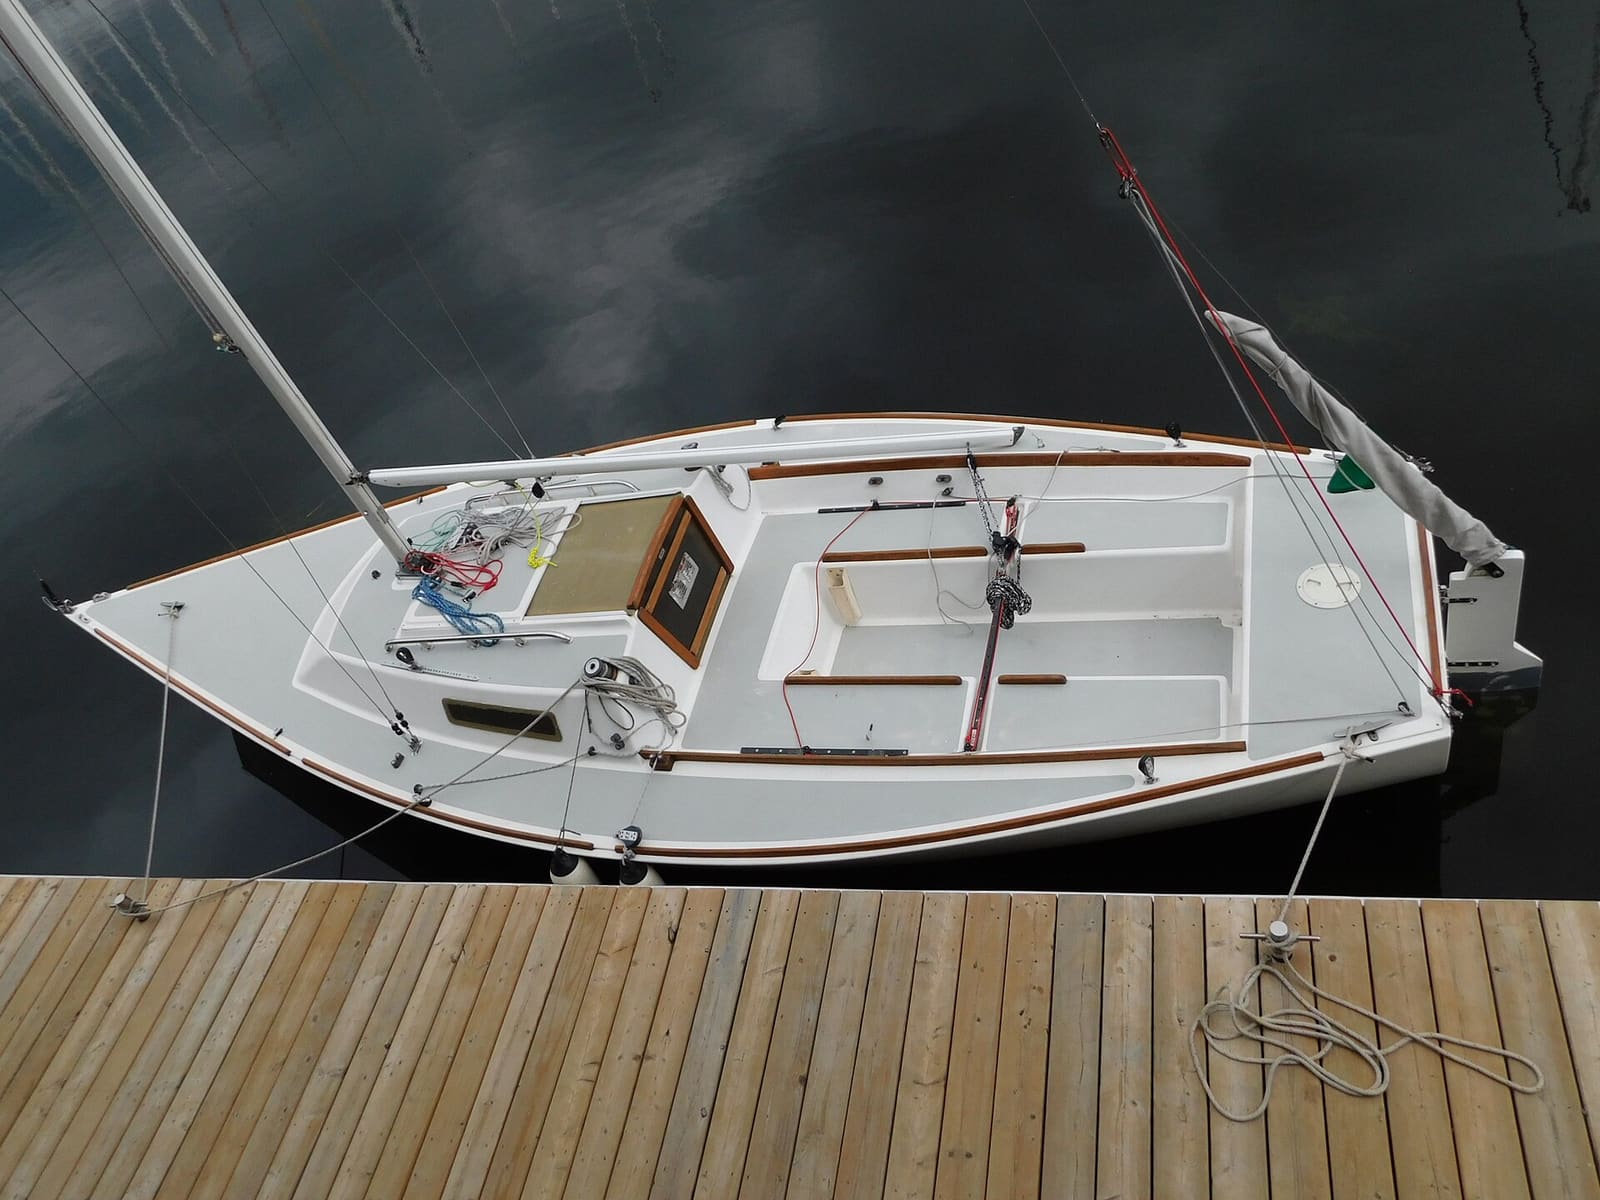
How to Find Soft Spots and Wet Core in a Fiberglass Deck
Tap, press and meter your deck to find wet or rotting core before it spreads, track down the leaking hardware that let the water in, and decide whether a small DIY injection repair will do or the deck needs a pro to recore it.
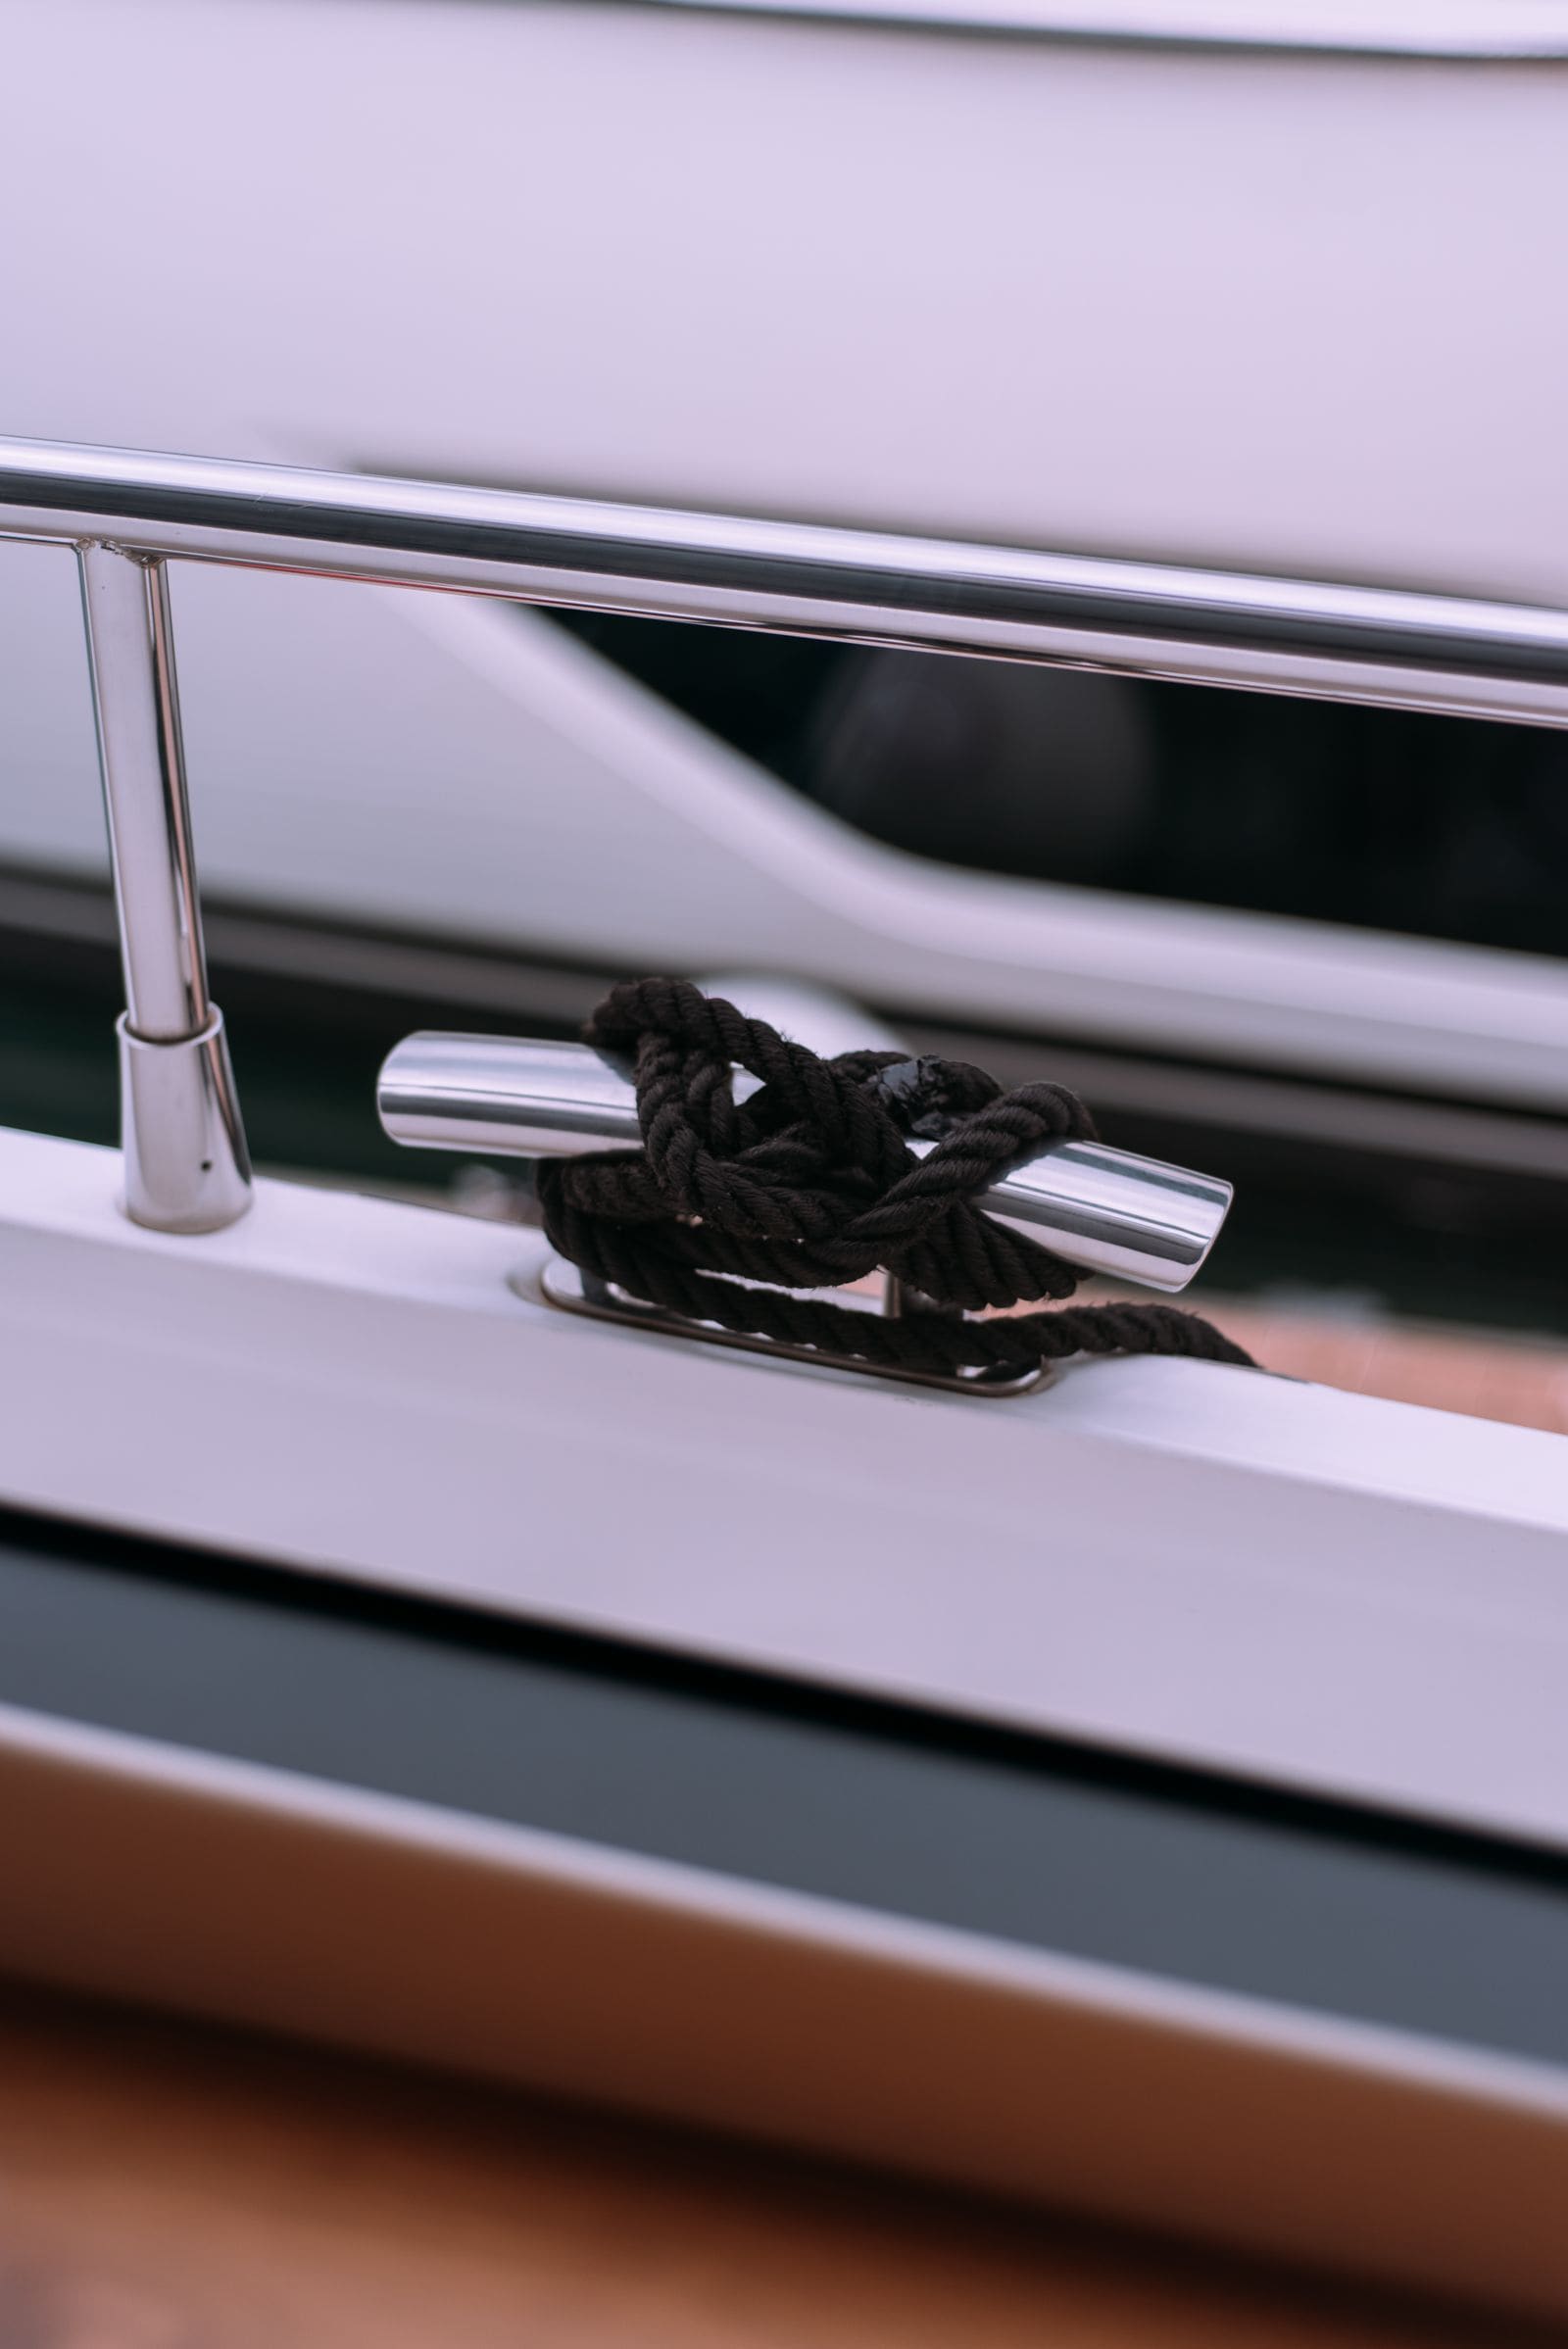
How to Clean, Protect and Inspect Stainless Steel Boat Hardware
Remove tea stains and rust from rails, cleats and fittings without scratching them, passivate stainless so it stays clean longer, understand why 304 and 316 behave differently, and spot the hidden crevice corrosion that weakens fittings from underneath.
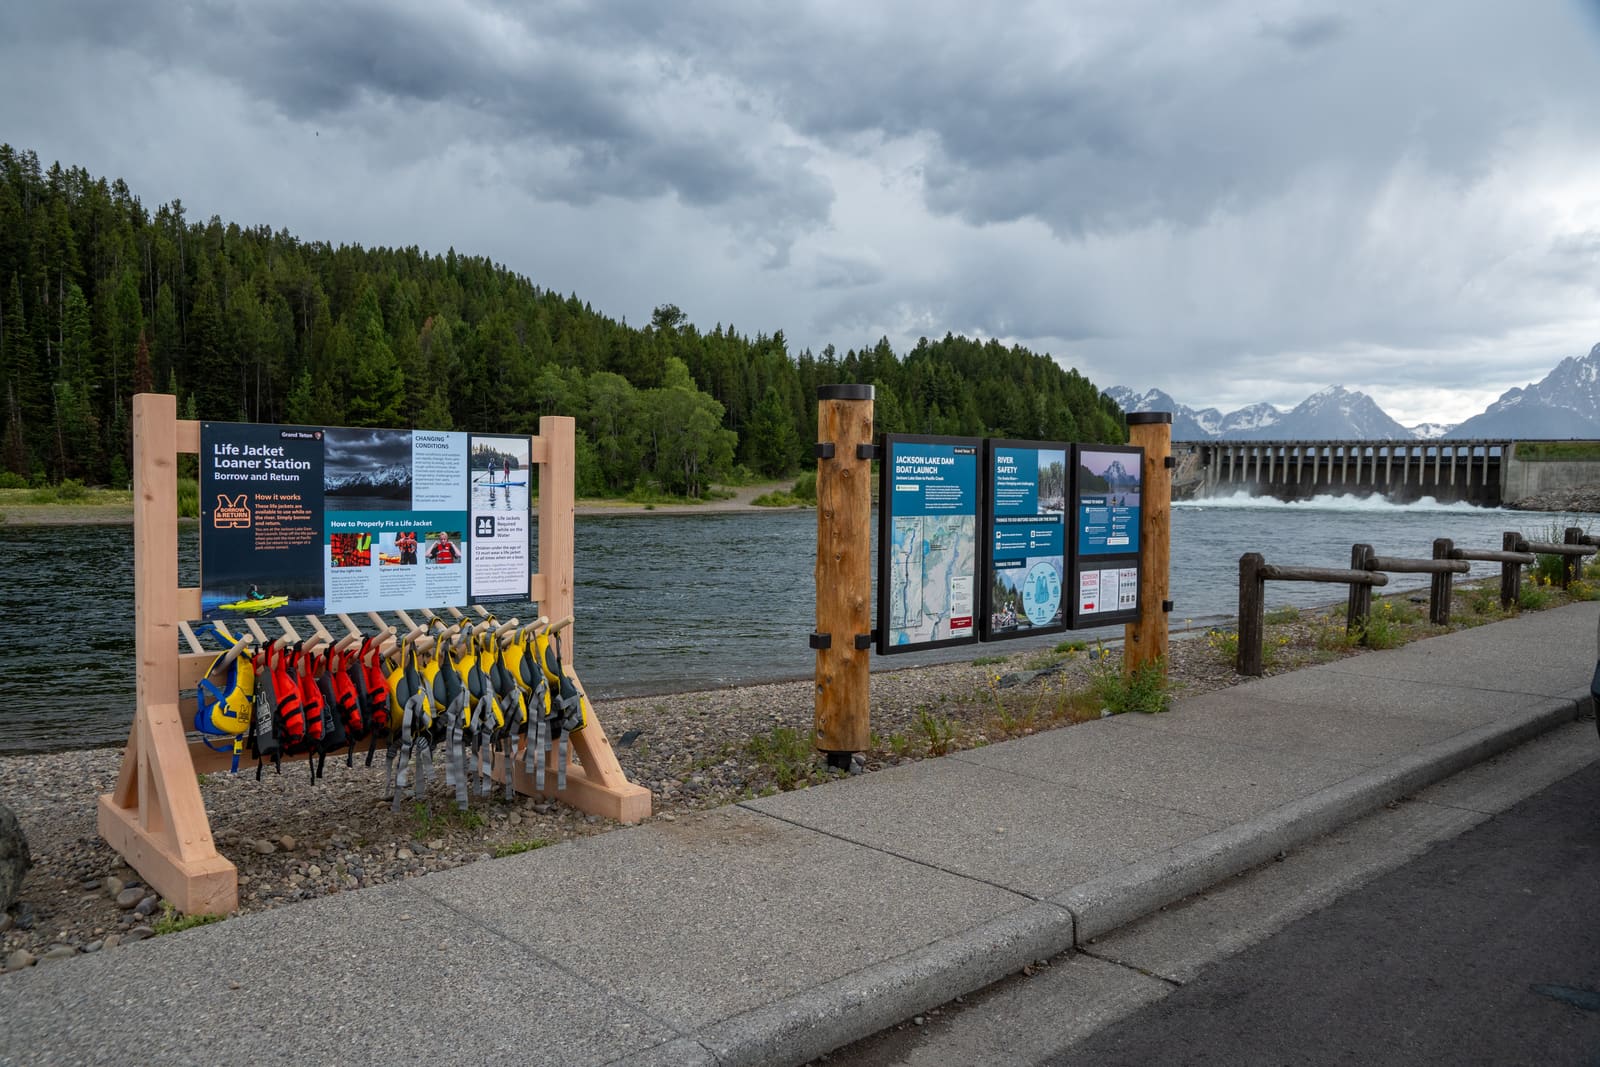
How to Choose and Fit Life Jackets for Children and Babies
Pick the right Coast Guard-approved life jacket for each child by weight, check the fit so it can't slip off, look for head support and a crotch strap on little ones, and learn the federal and state wear rules. Inflatables are not for kids, and a life jacket never replaces an adult watching.
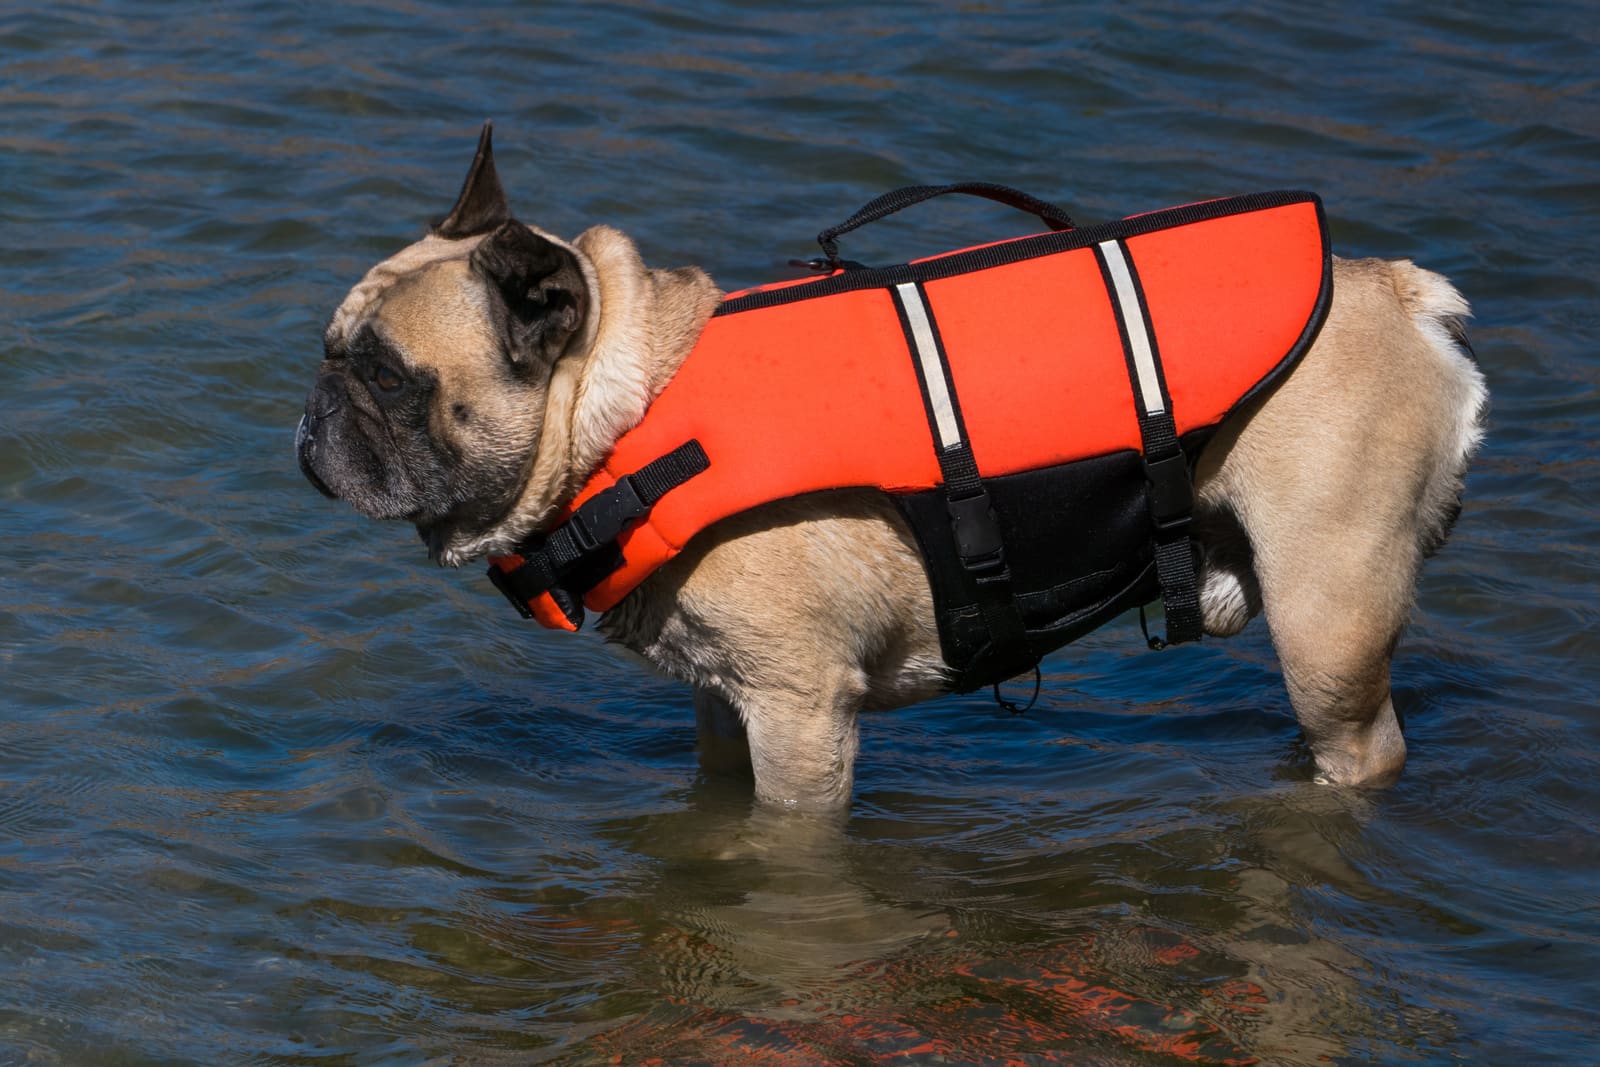
Dogs and Pets Aboard: A Safety Checklist for Boat Owners
Set your boat and your dog up for a safe day on the water, from a well-fitted pet life jacket with a handle to shade, fresh water, safe boarding and a plan for getting a dog back aboard if it goes over the side.
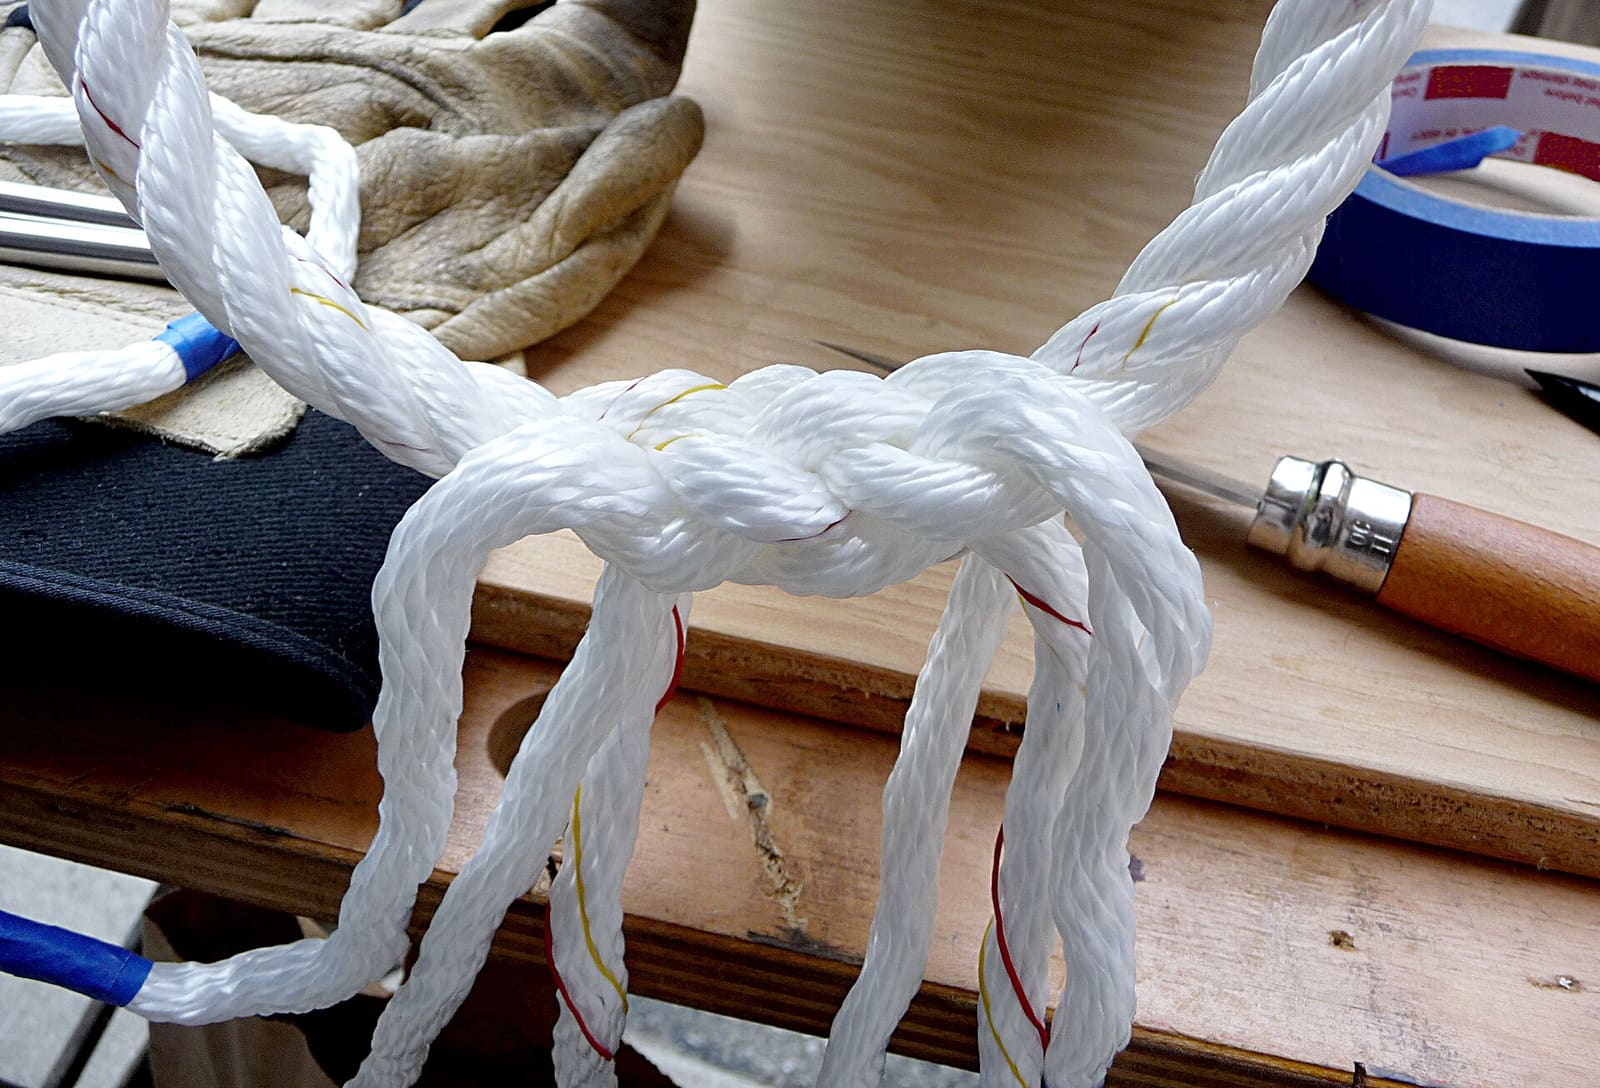
Basic Rope Work for Boat Owners - Eye Splices, Whipping and Sealing Line Ends
Learn the rope skills every owner uses: put an eye splice in three-strand dock or anchor line, stop line ends from unraveling with a whipping or by melting them, know when double-braid splicing is worth it or when to buy pre-spliced line, and inspect splices so you retire a line before it fails.