Spun Prop Hub - How to Tell, Quick Marker Test and Repair Options
If the engine revs up but the boat barely accelerates, the rubber or plastic hub inside your propeller may be slipping. Learn how a spun hub feels, how to confirm it with a simple marker test, the difference between pressed rubber hubs and replaceable hub kits, and your repair options.
Time
45 min
Shop would charge
$50-200
Applies to
Outboard, Sterndrive (I/O)
Safety first: Before you touch the propeller, remove the key, take off the kill-switch lanyard and, if you can, turn the battery switch off, so the engine cannot start or crank while your hands are on the blades. Wedge a block of wood between a blade and the anti-ventilation plate instead of holding the prop with your hand. Wear gloves: prop edges can be sharp. Changing a prop while afloat risks dropping parts and falling overboard, so do it at the ramp or on the trailer when you can. If you are stuck on the water, call TowBoatUS or Sea Tow, and in an emergency use VHF channel 16 or dial 911.
Owners often ask
- My engine revs up but the boat won't accelerate or get on plane. Did I spin the prop hub?
- Can I replace a spun propeller hub myself?
This guide walks you through it. Still stuck? Ask the AI Mechanic about your engine.
Tools
- Propeller wrench or socket that fits your prop nut
- Block of wood to keep the propeller from turning
- Paint marker, grease pencil or lipstick (or a small file)
- Needle-nose pliers (for the cotter pin or tab washer)
- Torque wrench
- Gloves (prop blades can be sharp)
- Phone camera to record the order of parts
Parts & supplies
- Replacement hub kit made for your propeller (for props with a replaceable hub)
- Spare propeller with its own hub and mounting hardware
- New cotter pin or tab washer, if your prop nut uses one
- Propeller shaft lubricant specified in your owner's manual
Before you start
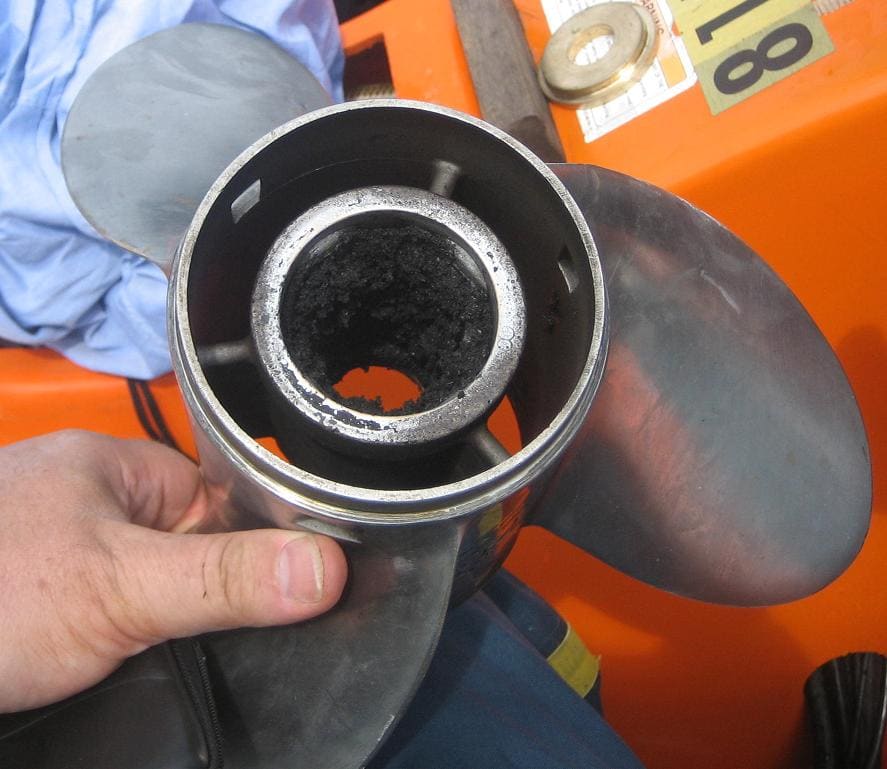
What the hub does. Mercury explains that the hub sits inside the propeller's barrel (the tube the blades are attached to). A splined metal insert in the center fits the propeller shaft, and a cushion between that insert and the barrel softens the shock when you shift into gear. In a hard strike, the hub is meant to give way so the prop shaft and lower-unit gears survive. A spun hub is annoying, but it's far cheaper than a damaged gearcase.
Two main hub styles:
- Pressed rubber hub: a rubber sleeve squeezed into the barrel and held by friction. Mercury notes that older props, and its current props for motors of 30hp and less, use this style. Once the rubber breaks loose, it won't grip again until a new hub is pressed in, which needs a prop shop's press and tools.
- Replaceable (slip-in) hub kit: a separate insert and sleeve that slide into the barrel and can be swapped by the owner. Mercury introduced its Flo-Torq system in the early 1990s, with a Delrin plastic sleeve designed to give way on impact, and later added rubber-cushioned Flo-Torq SSR versions to reduce shift clunk. Other propeller makers have their own interchangeable hub systems, such as Solas's Rubex hubs. Kits are specific to the prop and the engine's shaft, so match them carefully.
Why hubs spin:
- Impact: hitting a rock, log or sandbar.
- Age: Mercury says old rubber hubs harden and gradually slip in the barrel.
- Heat: exhaust runs through the hub on most outboards and sterndrives. Mercury warns that very hot exhaust from a worn water pump impeller, a clogged cooling system or an engine running poorly can cook the rubber or plastic. So a spun hub can be a warning sign of a cooling or engine problem.
- Hard use: BoatTest adds that heavy throttle use, an overloaded boat and high hours make a spun hub more likely.
Steps
Mercury and Boating Magazine describe the same pattern:
- When you open the throttle, the RPM shoots up but the boat barely accelerates, almost as if there's no prop on the engine.
- The boat is slow to get on plane, or won't plane at all.
- At idle and low speed it may still push the boat. Boating Magazine calls this a sort of "get home" mode.
- It may only slip above a certain RPM, so it can feel like a power problem or ventilation.
- A "clunk" when you shift into gear is not one of the signs by itself. Mercury explains that shift clunk is the normal sound of free play in the drivetrain being taken up and isn't damaging; rubber-cushioned hub kits are sold to quiet it. A clunk that suddenly gets much louder, or a prop that rattles at low speed, is still worth a look while the prop is off.
- Engine down on power: the RPM stays low and won't reach its normal range. A spun hub does the opposite: RPM goes higher than normal for the speed you're going. See the loss-of-power guide.
- Ventilation or cavitation: the prop grabs air, usually in tight turns, with the engine trimmed too high, mounted too high, or with a damaged prop. It usually recovers when you trim down or straighten out. See the prop-ventilation-cavitation guide.
- Trim problem: Mercury notes that if the drive or outboard won't trim all the way down, the boat may struggle to get on plane. Check that trim works normally (see the trim-tilt-fluid guide).
- Something wrapped on the prop: a rope, weeds or a plastic bag around the blades or hub can make the prop slip and vibrate much like a spun hub. Look before you start pulling parts.
- Worn blade edges: Yamaha points out that grit, sand and silt slowly wear away a prop's edges, so a prop that looks fine at a glance can still lose grip and performance. Compare it with a new prop if you can.
If the hub slips when you try to plane but still pushes at idle or slow speed, Mercury suggests you may be able to limp home without changing the prop. Keep the RPM low and steady, avoid sudden throttle, and head to the nearest safe dock or ramp. If you carry a spare prop and the water is calm, you can swap it (steps 5 to 9), but only with the engine secured as described in the safety box.
With the boat out of the water, the key out and the lanyard off, shift into forward gear. Then try to turn the prop by hand (wearing gloves). In gear, the prop should resist strongly, since you're trying to turn the whole engine. If the prop turns easily while the shaft stays still, the hub has let go. A hub that only slips under heavy load may still pass this check, so use the marker test next.
Return the shift to neutral when you're done.
This is Boating Magazine's simple way to confirm a spun hub:
- With the engine secured, draw a straight line across the end of the hub insert and the propeller barrel at the back of the prop with a paint marker, grease pencil or lipstick. You can also scratch a light line with a small file so it can't wash off.
- Run the boat as you normally would, including the throttle range where it slips.
- Secure the engine again and look at the line (pull the prop if you can't see it clearly).
If the line has broken into two pieces that no longer line up, the insert has turned inside the barrel: the hub has spun.
With the engine secured (key out, lanyard off, battery switch off):
- Wedge the block of wood between a blade and the anti-ventilation plate.
- Straighten and remove the cotter pin, or bend back the tabs of the tab washer, if your prop nut has one.
- Loosen the prop nut with the correct wrench.
- Slide off the nut, washers, any spacer or adapter, the prop and the thrust hub or washer behind it.
Photograph or lay out each part in order. Hub kits and mounting hardware go back in only one correct order.
- Rubber hub: look for the insert sitting crooked or turned in the barrel, rubber that is melted, crumbled or torn away from the barrel, or gaps around the sleeve.
- Replaceable hub: check the sleeve for cracks, melting or rounded drive splines, and the insert for wear.
- Heat damage (melted, glazed or burned material): suspect a cooling or engine problem, as Mercury warns. Check the telltale stream and water pump before running the boat hard again (see the engine-overheating and water-pump-impeller guides).
- Blades: look for bends, cracks or missing chunks.
- Prop shaft: look for fishing line wound around the shaft where it enters the gearcase, which Boating Magazine warns can damage the seal and let water in or gear oil out. Check the splines and threads for damage. After a hard strike, have a shop check that the shaft isn't bent.
- Pressed rubber hub: take the prop to a prop shop to have the old hub pressed out and a new one pressed in. Boating Magazine puts a typical rehub at roughly $50 to $100, depending on the engine and the shop. It can be done at home only with the proper press tools.
- Replaceable hub kit: buy the correct kit for your prop and engine, and swap it yourself following the kit's instructions. Mercury says its Flo-Torq SSR kit can be installed by owners in most Mercury props.
- Damaged blades as well: a prop shop can often repair and rehub at the same time. If the repair costs close to a new prop, consider a new one with a replaceable hub so the next spun hub is a quick fix.
- A spun hub with signs of heat: fix the cooling or engine problem first, or the new hub will fail too.
Clean the shaft and coat it with the lubricant your owner's manual specifies. Mercury's pages differ on how much: one recommends a liberal coat to keep the prop from seizing on the shaft, while its newer prop-inspection quick tip asks for a light, even coat on the splines and around the thrust washer and warns against overdoing it. Cover every spline and contact surface without packing grease in; your manual has the final word. Reinstall the thrust hub, prop, hub kit parts, spacer, washers and nut in the exact order you removed them. Tighten the nut to the torque in your owner's manual, then fit a new cotter pin or bend the tab washer as required. Spin the prop by hand (shift in neutral) to make sure it turns smoothly and doesn't rub. Mercury also recommends checking that the prop is still tight after 20 hours of operation and never running with a loose prop.
Remove the block of wood, check the shift is in neutral, and launch. Accelerate gradually and watch the tachometer. The boat should get on plane normally, and the RPM at full throttle should be back in the range your owner's manual gives. If the RPM still flares, recheck the installation and look at ventilation, trim and engine power.
Mercury recommends carrying a spare prop and, for props with a replaceable hub, a spare hub kit, plus the tools and fasteners to fit them. Mercury's FAQ also suggests a floating prop wrench as part of the spare-parts kit, so a dropped wrench doesn't end your day.
Common mistakes
- Assuming the engine is sick and spending money on tune-ups when the RPM is actually higher than normal.
- Ignoring melted or burned hub material. Heat damage often means a cooling problem that will hurt the engine next.
- Buying a hub kit that doesn't match the prop or the engine's shaft and hardware.
- Putting the thrust washer, spacer or hub parts back in the wrong order, so the prop is loose or rubs the gearcase.
- Holding the prop with your hand, or working on it with the key and lanyard in place.
- Reusing a cotter pin or bent tab washer.
- Running the boat hard on a slipping hub. It can fail completely and leave you with no drive.
- Not checking for fishing line on the shaft while the prop is off.
When to call a pro
- Pressed rubber hubs that need pressing out and in
- Bent, cracked or chipped blades, or a prop that vibrates after a strike
- A suspected bent propeller shaft, damaged splines, or gear oil leaking at the prop shaft seal after an impact
- Hub material that looks melted or burned (also have the cooling system and engine checked)
- Hard strikes on sterndrives, where the drive should be inspected
- Stranded on the water: TowBoatUS or Sea Tow, and in an emergency VHF channel 16 or 911
Tips
- Note your normal full-throttle RPM and speed with a clean bottom and a typical load. It makes a spun hub (or any other problem) easy to spot.
- If your prop has a replaceable hub, keep the spare kit in a labeled bag with the prop nut socket and a new cotter pin.
- Inspect the prop and look for fishing line every time you remove it, at least once a season.
- After any impact, slow down, check for vibration, and look at the prop and hub before running at speed again.
- Stainless props are tougher and often faster, but they don't bend much in a strike, so more of the shock reaches the hub, shaft and gears. If you run in rocky or shallow water, a stainless prop makes a healthy hub (and a spare aluminum prop) even more worthwhile.
Official references
We read these to write this guide. Your engine's own manual always wins.
- Mercury Marine – How to Diagnose and Deal with a Spun Hub
- Mercury Marine – The Evolution of the Mercury Propeller Hub
- Boating Magazine – What Causes a Spun Prop Hub? (lipstick marker test)
- BoatTest – What Is a Spun Propeller?
- Mercury Marine – Service & Support FAQs (propeller shaft lubricant, checking prop tightness)
- Yamaha Outboards – Propeller Maintenance Guide (Maintenance Matters)
- Boating Magazine – Five Inboard and Sterndrive Engine Checks (prop shaft and fishing line)
- Mercury Marine – Prop Bite, Quiet the Clunk with the Flo-Torq SSR Propeller Hub Kit
- Mercury Marine – Quick Tip, Inspecting Your Prop and Prop Shaft
Safety: BoatMend is for information only and does not replace a certified marine technician. You are responsible for your safety and your boat. Read the full disclaimer.
Last updated 2026-10-24
Related guides
Propeller Care: Inspect, Remove, Replace and Choose the Right Pitch
Check your prop for damage, pull it to clear fishing line and grease the shaft, reinstall it correctly, and learn how pitch affects your engine's wide-open-throttle RPM. The right prop in good shape protects your engine and often makes the boat run better and use less fuel.
Prop Ventilation vs. Cavitation - Why Your Engine Revs Up and the Boat Loses Grip
Sudden RPM spikes, blowouts in turns, or a prop that slips when you accelerate are usually ventilation, not cavitation. Learn to tell them apart, then work through the fixes in order: trim, load, prop damage, the hull ahead of the prop, engine height, and finally a different prop.

Loss of Power, Hesitation or Misfire - Troubleshooting Guide
Figure out why your engine bogs down, stumbles, will not reach full rpm or runs rough. Work from simple checks like trim, prop and fuel filter to ignition and engine protection modes before paying for diagnostics.
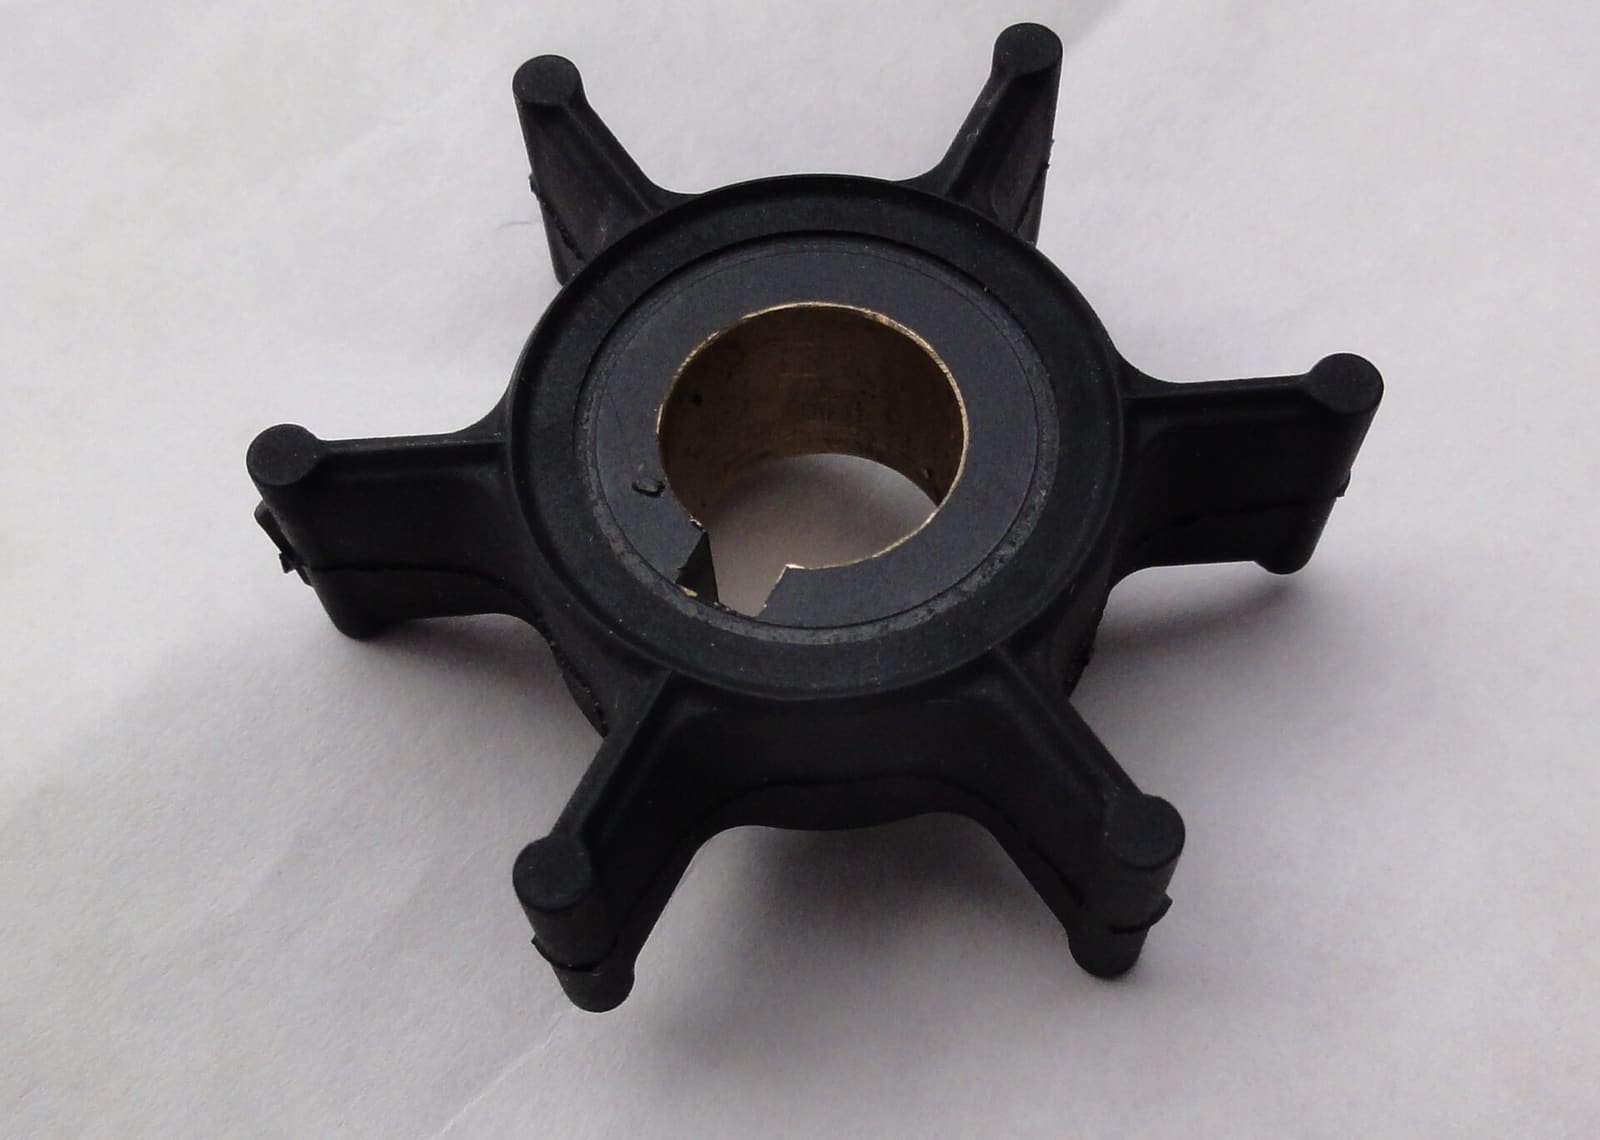
How to Replace the Water Pump Impeller
Replace the rubber impeller that pumps cooling water through your engine, the part most often behind overheating. On many outboards it is a two-hour driveway job that saves a shop bill of several hundred dollars and prevents far costlier heat damage.

Engine Overheating - Troubleshooting Guide
Work through the most likely causes of a hot engine or overheat alarm, from a blocked water intake to a worn impeller or stuck thermostat. Acting fast and in the right order can save your engine and often gets you home without a tow.

How to Check and Top Up Power Trim and Tilt Fluid
Check and top up the hydraulic fluid in your power trim and tilt unit, then work through the simple checks when the motor won't go up, won't go down or slowly sinks. Most trim problems are a dead battery, a bad relay, low fluid or a release valve left open, and you can find those yourself.
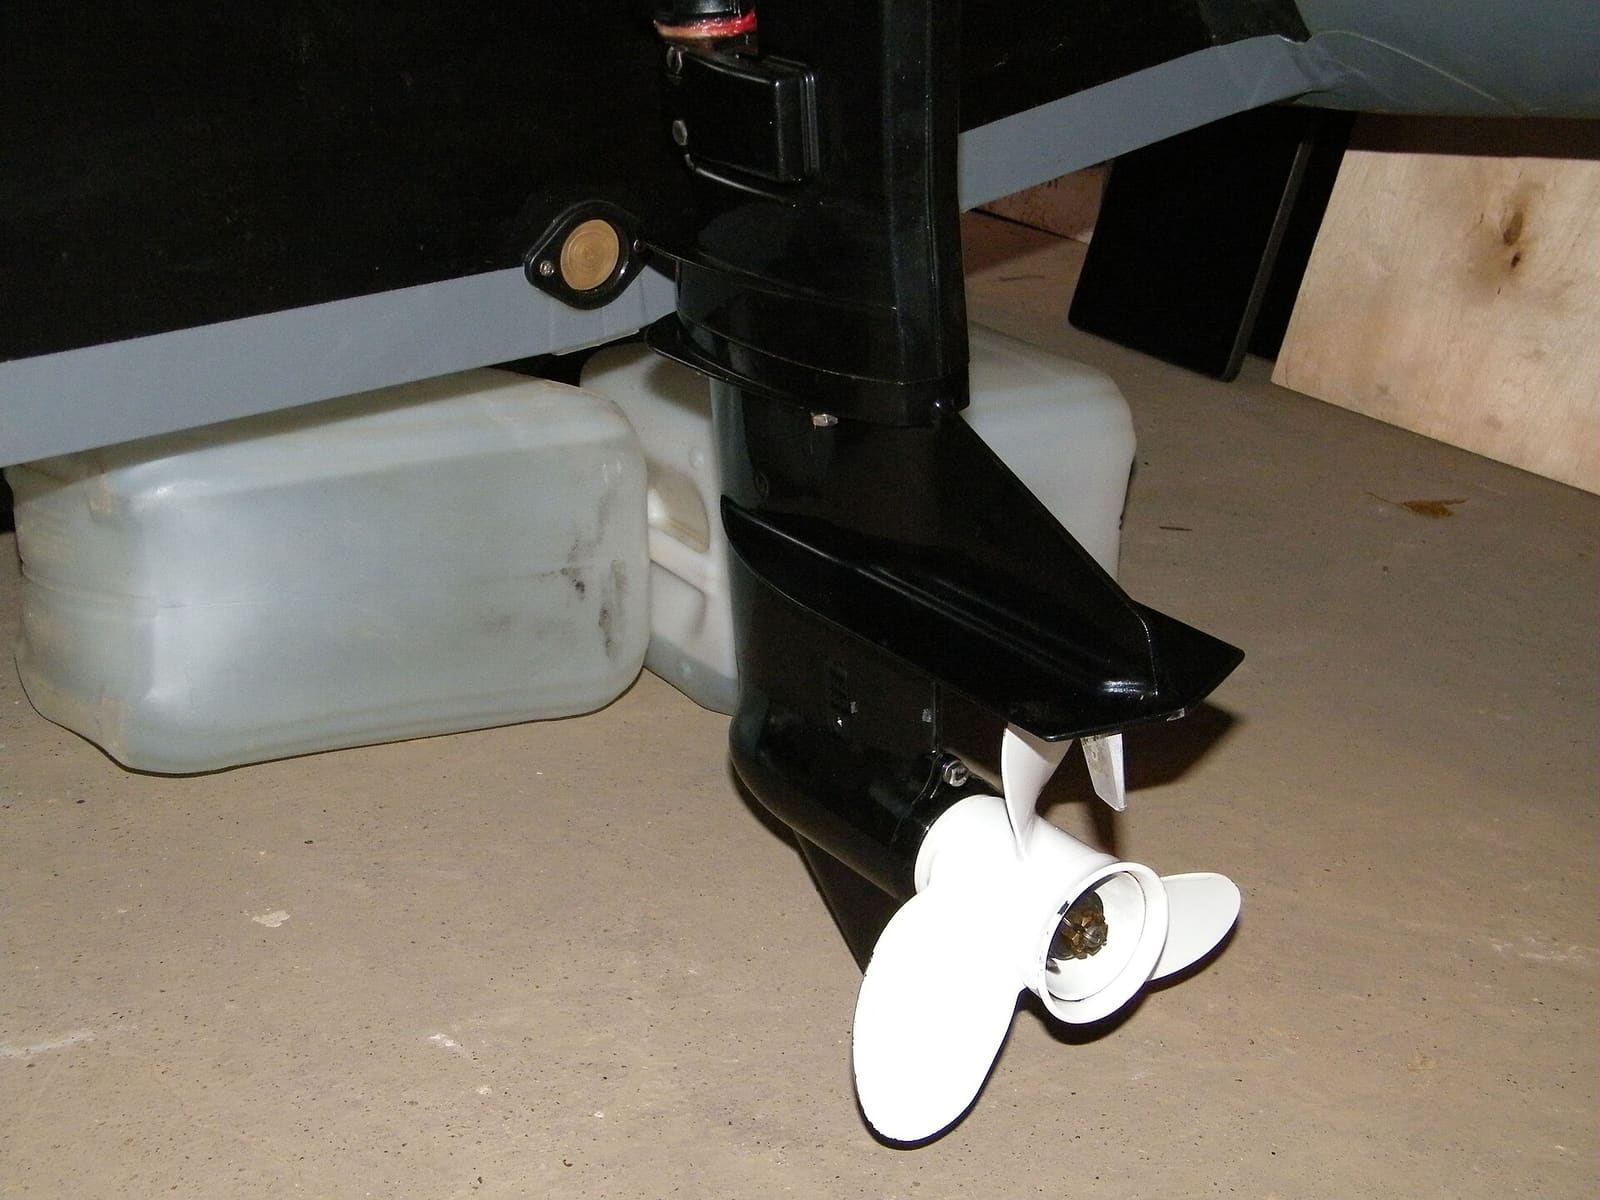
How to Change Lower Unit (Gearcase) and Sterndrive Oil
Drain and refill the gear oil in your outboard lower unit or sterndrive, and learn to spot water intrusion before it destroys the gears. It is a 30-minute job that protects a gearcase costing thousands to replace.
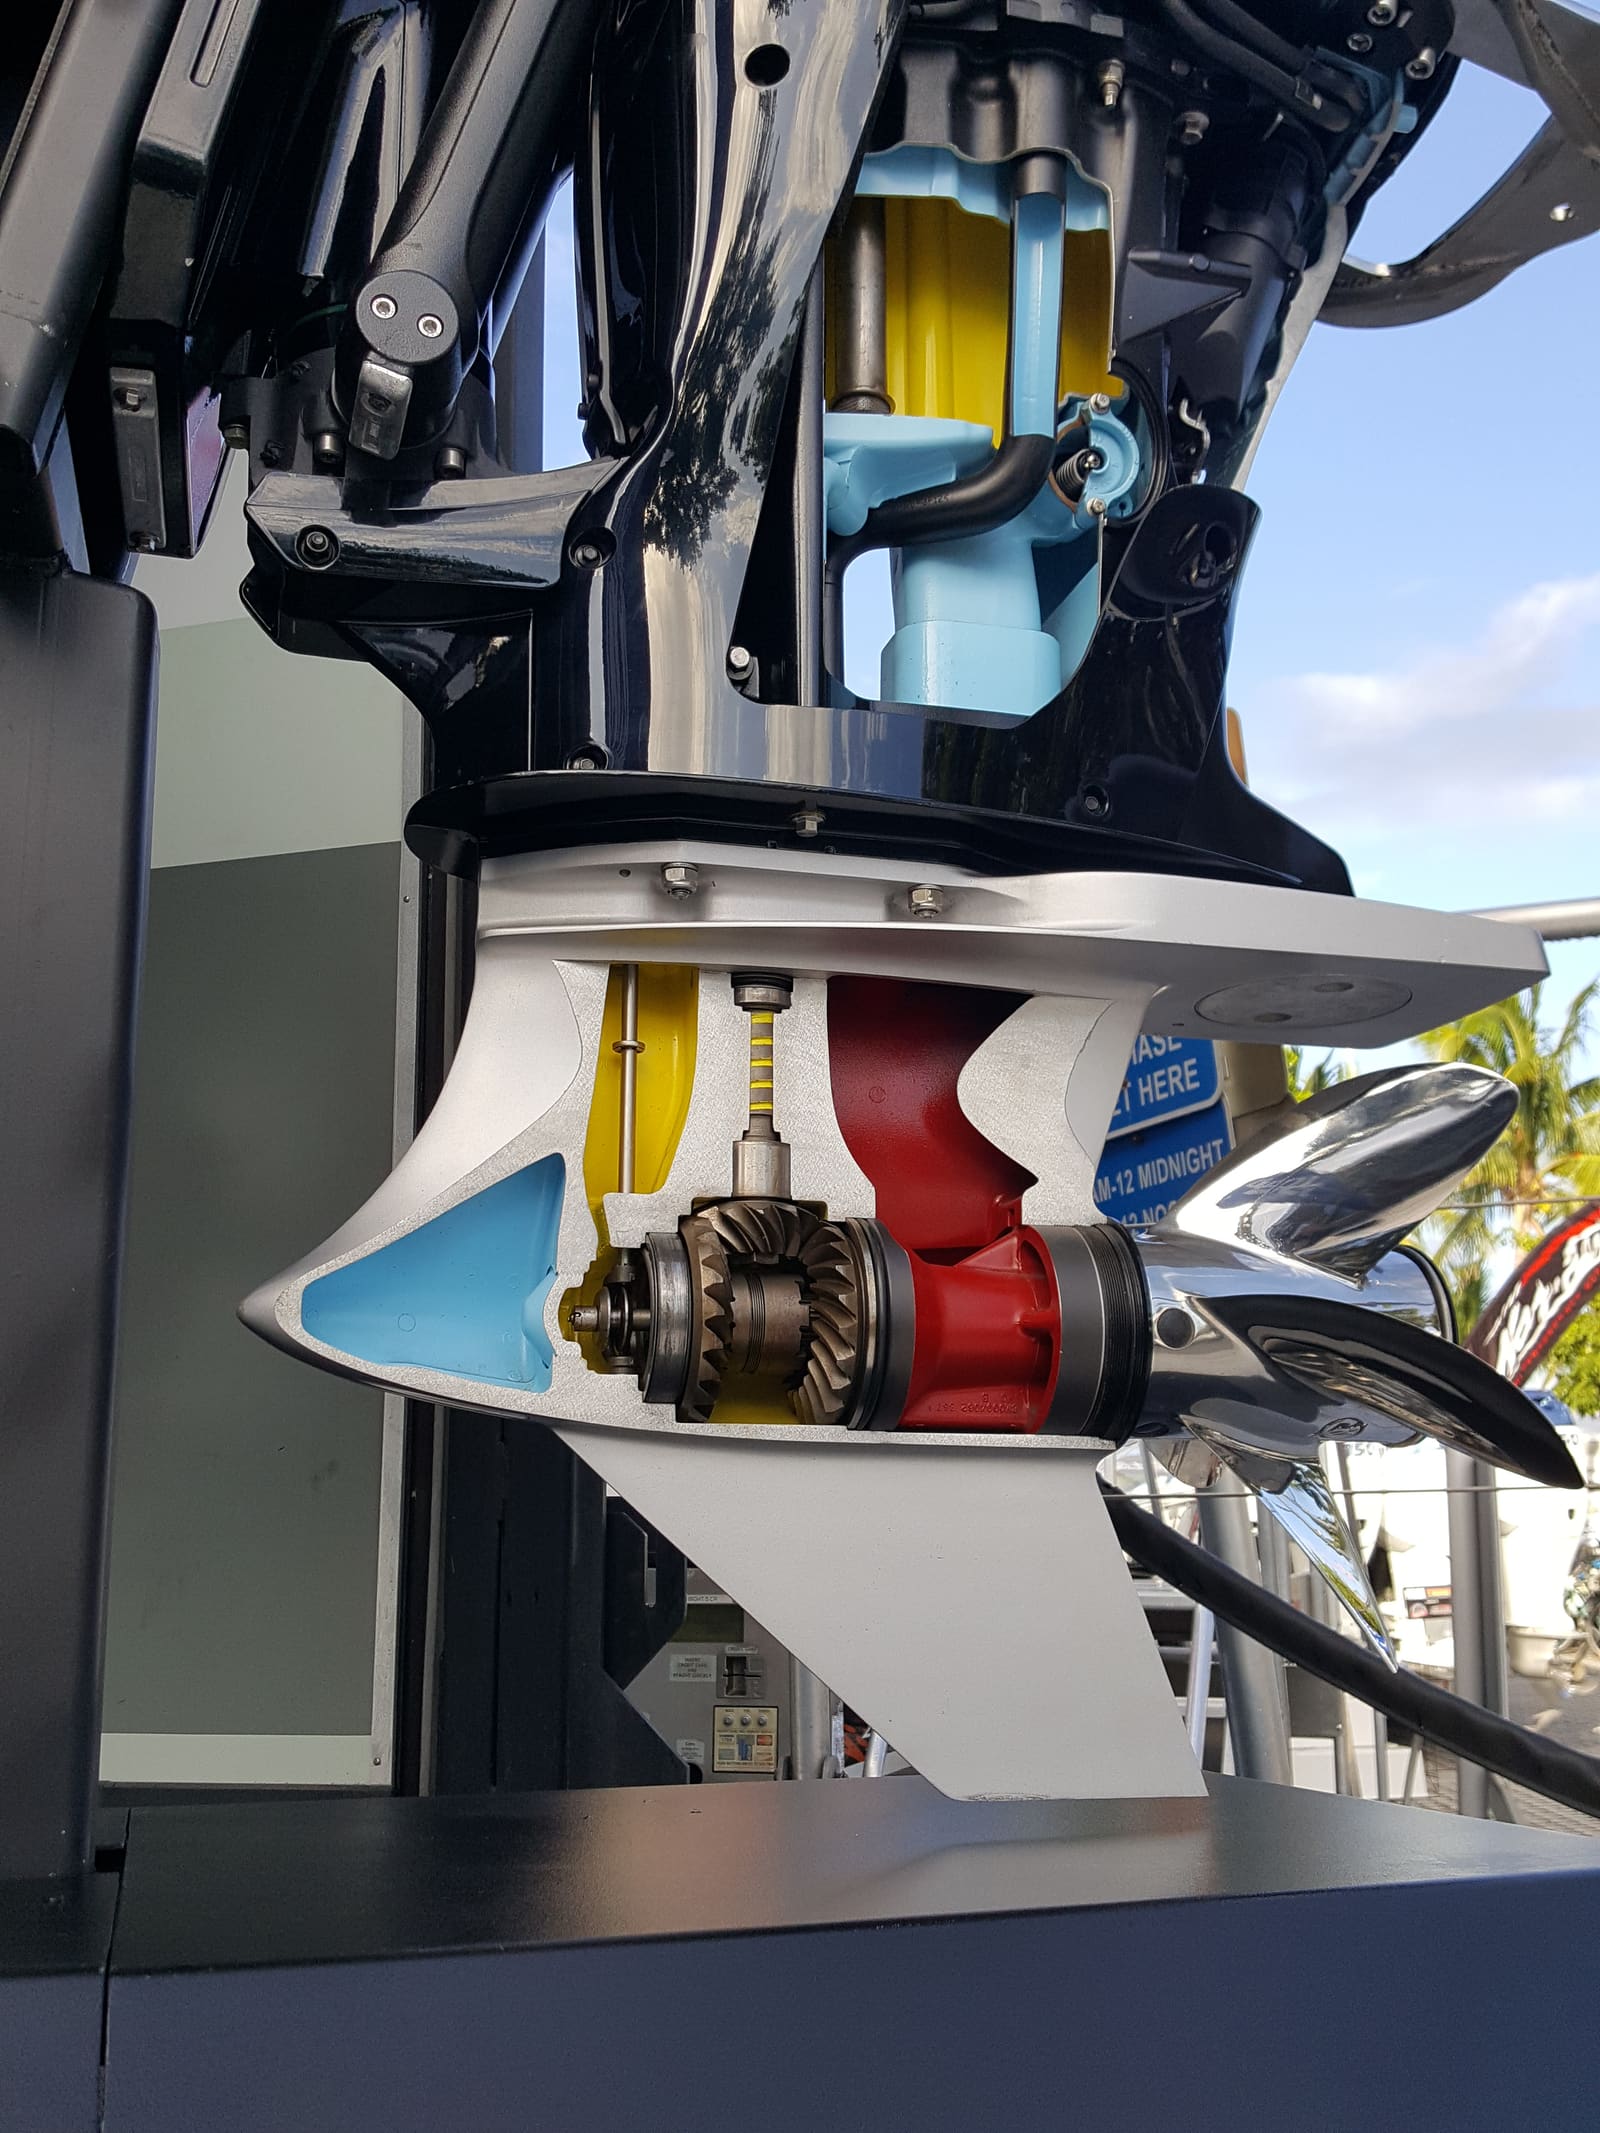
Water in the Lower Unit Keeps Coming Back - Seals and the Pressure Test Explained
Milky gear lube means water is getting past a seal, and changing the oil alone will not stop it. Learn where water gets in (prop shaft seals, driveshaft and shift shaft seals, drain and vent screw gaskets), how a pressure and vacuum test finds the leak, and when to do it yourself or hand it to a shop.

Launch Day and Haul-Out Checklist for Trailer Boats
A step-by-step checklist for getting your boat off the trailer and back on again safely and quickly, from the drain plug and tie-downs to the blower and ramp etiquette. Following it in order prevents the classic mistakes that sink boats and back up the ramp.