Jacklines and Tethers: How to Rig Them and Use Them So You Stay Aboard
Jacklines and a good tether keep you attached to the boat when you work on deck at night or in rough weather. Learn which jackline material to pick, where to run it and what to anchor it to, how to choose a double tether with safe hooks, and the clip-in habits that make the system work.
Time
2 h
Shop would charge
$150-600
Applies to
All engines · Sailboat
Safety first: A jackline only helps if it keeps you on the boat. One that lets you slide over the side can leave you dragged alongside a moving hull, which can be deadly. Never clip to lifelines or stanchions, and if someone does go over the side, stop the boat and call the Coast Guard on VHF channel 16 (or press the DSC distress button) right away.
Owners often ask
- Should I run my jacklines down the side decks or the centerline, and can I clip my tether to the lifelines?
- Is a nylon webbing jackline OK, or does it stretch too much when wet?
- The overload flag on my tether never popped. Does that mean it is still good?
This guide walks you through it. Still stuck? Ask the AI Mechanic about your engine.
Tools
- Tape measure
- Rigging knife (carry one on deck)
- Wrenches and drill, only if you add new padeyes
- Marine sealant and backing plates for any new hardware
Parts & supplies
- Pair of jacklines (polyester webbing or low-stretch Dyneema line) with sewn or spliced ends
- Shackles or lashing line rated at least as strong as the jacklines
- Double safety tether with an overload indicator
- Harness or inflatable life jacket with a built-in harness
- Through-bolted padeyes for the cockpit and work stations, if your boat lacks strong points
Before you start
What they are. Jacklines (also called jackstays) are straps or lines run fore and aft along the deck. A tether connects your harness to them, so you can move from the cockpit to the mast or bow without ever being unattached. West Marine notes they can run down the centerline, along each side deck, or inside the cockpit.
When you need them. Night sailing, any time you're alone on deck, offshore passages, and rough or building weather. Practical Sailor points out that people often go overboard in easy conditions, so on a passage, rig them for the whole trip rather than waiting for a blow.
The goal is to stay aboard. Plan the whole system (jackline route, anchor points and tether length) so a person who slips lands on the deck, not in the water. Being towed by a harness at boat speed is very dangerous; World Sailing's Offshore Special Regulations warn (as quoted by West Marine) that harnesses and tethers aren't made to tow a person and that the shortest workable tether should be used.
Rules for races. If you race offshore, your event's rules (often World Sailing's Offshore Special Regulations or US Sailing's equipment requirements) may set material and strength minimums. Read the current version for your event; requirements change.
Steps
- Flat webbing is the most common choice. BoatUS Magazine explains that round stainless wire tends to roll underfoot (helping cause the very fall it's meant to stop) and scuffs nonskid and teak, while webbing is kinder to the deck and has a little give.
- Nylon vs. polyester webbing. Nylon stretches a lot, especially when wet. West Marine recommends polyester webbing or low-stretch line instead, because less stretch means the jackline can't be pulled as far toward the rail.
- Low-stretch Dyneema line is strong and durable. Practical Sailor says rope works best where it can be routed off the deck (on boats with high cabin tops), and that sheathing Dyneema or wire in tubular webbing makes it less likely to roll underfoot.
- Stainless wire is strong but has hidden-corrosion risk. Practical Sailor warns wire systems must be sized very conservatively; in one of its field checks, a shackle on a tight wire jackline broke under a hard hand jerk.
Webbing degrades in sunlight, so plan to replace it more often than wire or line, and store it out of the sun when you're not on a passage.
The whole chain (jackline, anchor points, shackles and lashings) is only as strong as its weakest link. Practical Sailor reports that the World Sailing (formerly ISAF) standard recommends a minimum breaking strength for webbing jacklines, and suggests going stronger on boats over 40 feet. West Marine adds that jacklines should be at least as strong as your harness, because they take more strain. Buy jacklines with a stated breaking strength and check the current World Sailing or US Sailing figure if you race.
- As far inboard as possible. BoatUS suggests a single jackline down the centerline where it works, so a slip lands you on the deck rather than over the rail. On many boats, the cabin top or the inboard side of the side deck is better than the edge.
- Stop well short of the bow. Practical Sailor warns that fast boats, especially multihulls, can throw a person forward when the bow buries into a wave. Ending the jacklines a bit aft of the pulpit also keeps you from being flung past it.
- Reach the work, not the rail. You need to reach the mast, the foredeck and the cockpit while clipped on, but not much more.
- Under the sheets, over deck control lines. Practical Sailor says this keeps a sudden tack or jibe from catching your tether.
- Make them look different. Jacklines must be easy to tell apart from running rigging in the dark. Practical Sailor notes that color alone isn't enough at night; a different feel (flat webbing vs. round line) or reflective webbing helps.
Anchor the ends only to hardware that can take a shock load: large through-bolted cleats with backing plates, or dedicated padeyes. Practical Sailor warns that on light boats the existing deck fittings may not be strong enough, so whatever you use must be well reinforced. Never use stanchions, lifelines or the bow pulpit as anchors (our lifelines guide explains why). If you add padeyes, through-bolt them with backing plates and bed them properly; see our through-bolting and deck-hardware guides.
Practical Sailor recommends at least one dedicated, strong clip-in point in the cockpit, plus padeyes at work stations such as the mast and the bow. The cockpit point is what lets you clip on before you leave the companionway or the cockpit. iNavX's offshore rule is that anyone coming on deck after leaving the dock clips to something, even in the cockpit.
- Attach the forward end, lead the jackline aft along your planned route, and attach the aft end. Use shackles moused with wire or ties, or a lashing of strong line you can tighten.
- Tension them tight. iNavX says the less a jackline can be pulled sideways, the better. West Marine describes using a small Dyneema lashing (a simple purchase) at the aft end to cinch polyester webbing tight. If you use nylon, Practical Sailor says to tension it wet, since it stretches when wet.
- Twist webbing. Practical Sailor recommends a few twists along the length instead of laying webbing flat: it's easier to clip into with wet hands and won't flap in the wind.
Clip a tether to the jackline at several points and pull it toward the side of the boat, as iNavX suggests. If the end of the tether reaches over the lifelines, a falling body clipped there could go over too. Fix it by moving the jackline inboard, tightening it, or using a shorter tether leg. On outboard-powered boats, Practical Sailor warns that no jackline-and-tether combination should let someone overboard be towed back near the propeller; check the stern end especially.
- Double tether. Two legs let you clip the next point before unclipping the last. West Marine suggests one leg about 6 feet long for moving and one about 3 feet for working in one spot; World Sailing's guidance (as West Marine quotes it) favors the shortest practical length, such as a 1-meter line.
- Hooks that won't open by accident. World Sailing warns (quoted by West Marine) that a plain snap hook can twist off a U-bolt under load and strongly recommends hooks with positive locking. Look for double-action safety hooks you can still open with cold, wet hands.
- Quick release at your chest. If the boat capsizes or you're trapped under water by the tether, you need to get free. A snap shackle with a pull lanyard at the harness end releases under load. Some tethers attach with a sewn loop (cow hitch) and must be cut free, so carry a sharp rigging knife where you can reach it.
- Overload indicator. World Sailing-spec tethers have a colored flag stitched into the webbing that shows if the tether has been shock-loaded. West Marine quotes the rule: an overloaded line must be replaced urgently. But Practical Sailor's editors say they wouldn't rely on the flag alone to tell them when to retire a tether: it doesn't replace looking at the webbing and stitching yourself (step 12).
- Details that matter. Practical Sailor's tether checklist adds: the pull lanyard on a quick-release shackle should have no loop that could snag and open it by accident; stitching should be bar-tacked in a contrasting thread color so damage is easy to see; and a quick-release at the chest lets you go below while leaving the tether clipped on deck, hanging down the companionway, ready to clip back in when you come up.
West Marine notes most sailors now choose an inflatable life jacket with a built-in harness, since anyone wearing a harness would want flotation too, and one piece of gear is quicker to put on at night. Fit the harness snug and check the inflatable as described in our inflatable life jacket care guide.
- Clip in before you leave the cockpit, ideally before you climb out of the companionway.
- Clip the next leg before unclipping the last, so you are never loose.
- Move along the high (windward) side when you can; iNavX notes that if you fall there, you land on the boat.
- Use the short leg when working in one place, and double-clip when you stop.
- Stow the unused leg (West Marine suggests a front pocket) so it doesn't snag on a shroud.
- Never clip to lifelines. They aren't built for the shock load of a falling body.
Show everyone where the cockpit clip-in point is, how the hooks work, and how to release the tether under load. Practice clipping and unclipping in daylight. Set a boat rule for when tethers are required (for example: at night, alone on deck, or when reefed).
Before each passage and after any hard use, check the full length of each jackline and tether for chafe, UV fading, cuts and stiff spots, and check stitching, hooks, shackles and anchor points. Replace any tether with a broken overload flag, faded or damaged webbing, or damaged stitching (Practical Sailor treats any of these as lost strength), any jackline with chafe or sun damage, and any hook that doesn't snap closed by itself. A flag that hasn't popped is not proof a tether is still good. Rinse with fresh water and dry before storing out of the sun.
Common mistakes
- Running jacklines along the very edge of the deck or all the way to the bow, so a fall still ends in the water.
- Clipping to lifelines or stanchions because they're handy.
- Using slack nylon webbing that stretches far enough to let a person over the side.
- Rigging jacklines only after the weather turns, in the dark.
- Long single tethers with plain snap hooks and no way to release under load.
- Leaving the cockpit first and clipping on second.
When to call a pro
- Your deck has no strong anchor points and you need padeyes added through a cored deck: a rigger or yard can install them with proper backing and core sealing.
- Anchor-point cleats or padeyes are loose, cracked, or show water stains below: have them rebedded and checked.
- You're preparing for an offshore race or passage with specific equipment rules: a rigger or safety inspector can check your setup against the current requirements.
- Anyone goes overboard or is injured: VHF 16 / 911, then follow your man-overboard plan.
Tips
- Reflective webbing makes jacklines easy to find with a headlamp.
- Mark the cockpit clip-in point with reflective tape.
- Keep the tether attached to the harness at all times in a passage, so no one heads on deck without it.
- Practice a man-overboard drill with a fender to see how far a person could end up from the boat on your current setup.
Official references
We read these to write this guide. Your engine's own manual always wins.
- BoatUS Magazine – Stay Put On Deck (jacklines, 2019)
- Practical Sailor – Jackline Installation Advice
- Practical Sailor – Jackline Installation Tips
- West Marine Advisor – Safety Harnesses, Tethers and Jacklines
- iNavX – Using Jacklines and Tethers (2020)
- Practical Sailor – Criteria for the Ideal Safety Harness Tether (Darrell Nicholson)
Safety: BoatMend is for information only and does not replace a certified marine technician. You are responsible for your safety and your boat. Read the full disclaimer.
Last updated 2026-11-06
Related guides
How to Inspect Sailboat Lifelines, Stanchions and Gates
Check the wire or rope, swaged ends, gate hooks, stanchion bases and pulpits that make up your lifeline system, and know when to replace them. Lifelines keep people aboard, but only if every link is sound, and they are never a place to clip a safety tether.
Man-Overboard Recovery Gear: Throwables, Lifesling, Ladders and MOB Alarms
Set up and check the gear that gets a person in the water back aboard - a throwable within reach, a floating rescue line or Lifesling-style sling, a boarding ladder someone in the water can pull down, and MOB alarms or AIS beacons - and practice the drill so it works when it counts.
Inflatable Life Jacket Care: Inspect, Test and Rearm
An inflatable life jacket only saves a life if the cylinder is full, the inflator is armed and the bladder holds air. Learn the quick check before every trip, the overnight leak test, how to read replacement dates and how to rearm it after it fires.
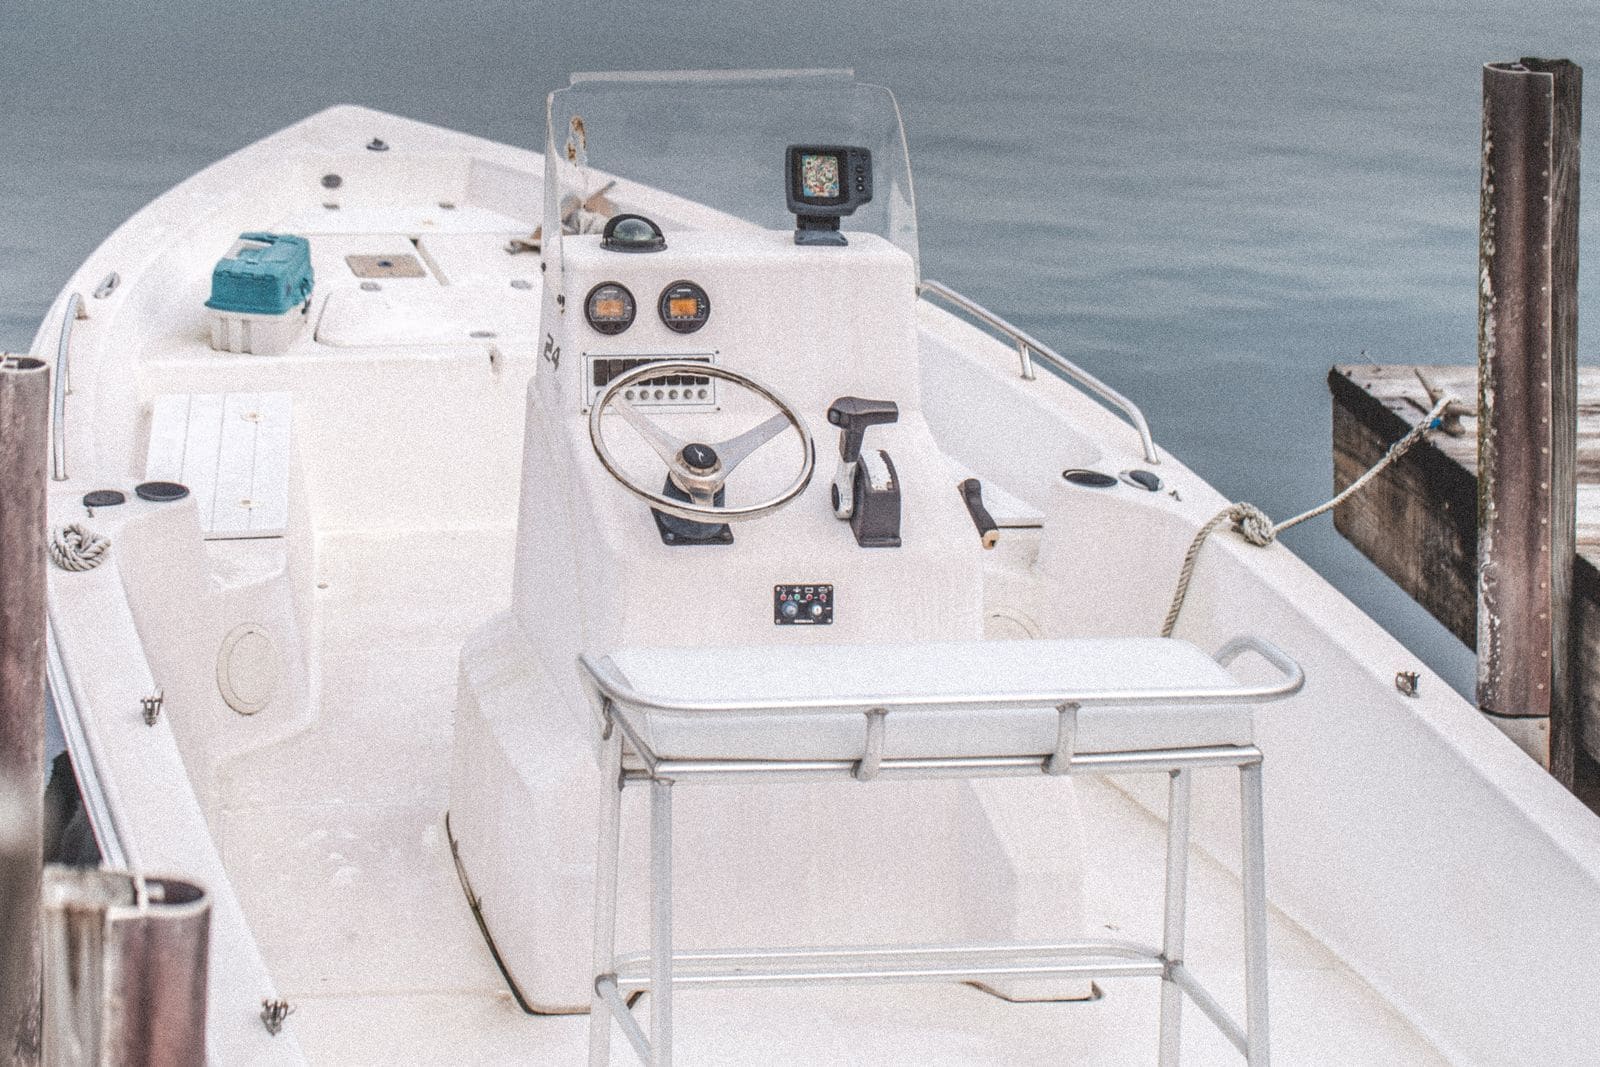
How to Mount Rod Holders, Fish Finders, Cleats and Antennas Without Causing Leaks
Add accessories to your boat the right way, with through-bolts, backing plates, sealed core and proper wire pass-throughs, so every new hole stays dry and strong. Also learn where you should never drill.
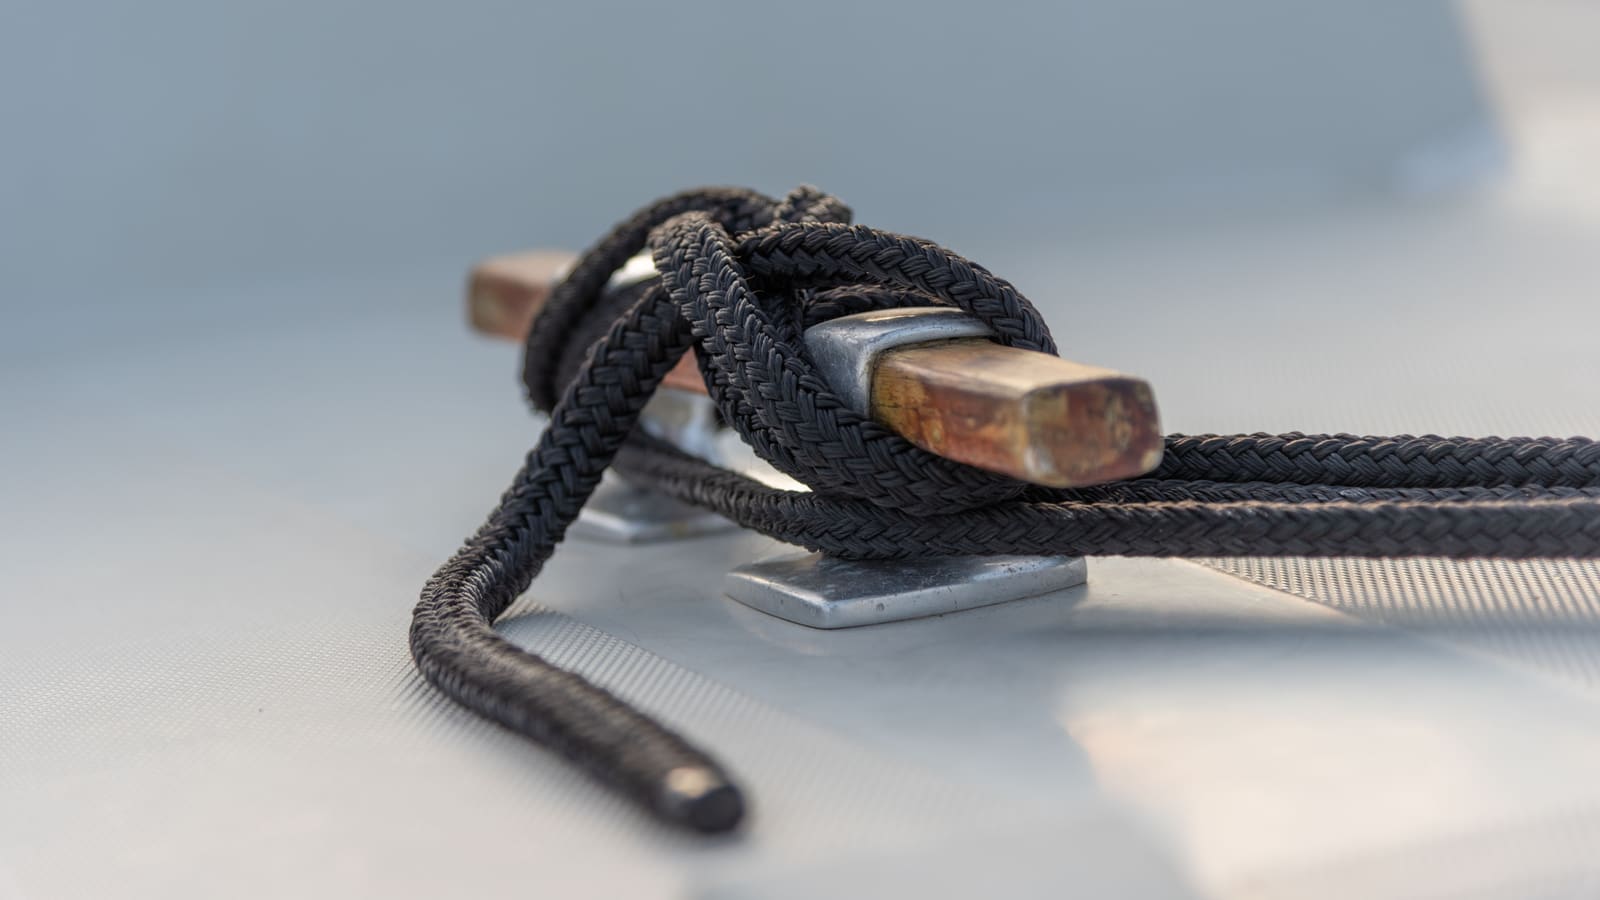
How to Add or Upgrade Boat Cleats (Sizing, Placement and Backing Plates)
Most cleats that fail don't break; they pull out of the deck. Learn how to size a cleat to your dock lines, where to put new cleats for docking and spring lines, how to through-bolt them with real backing plates, how to protect a cored deck, and what's different about pop-up and pull-up cleats.
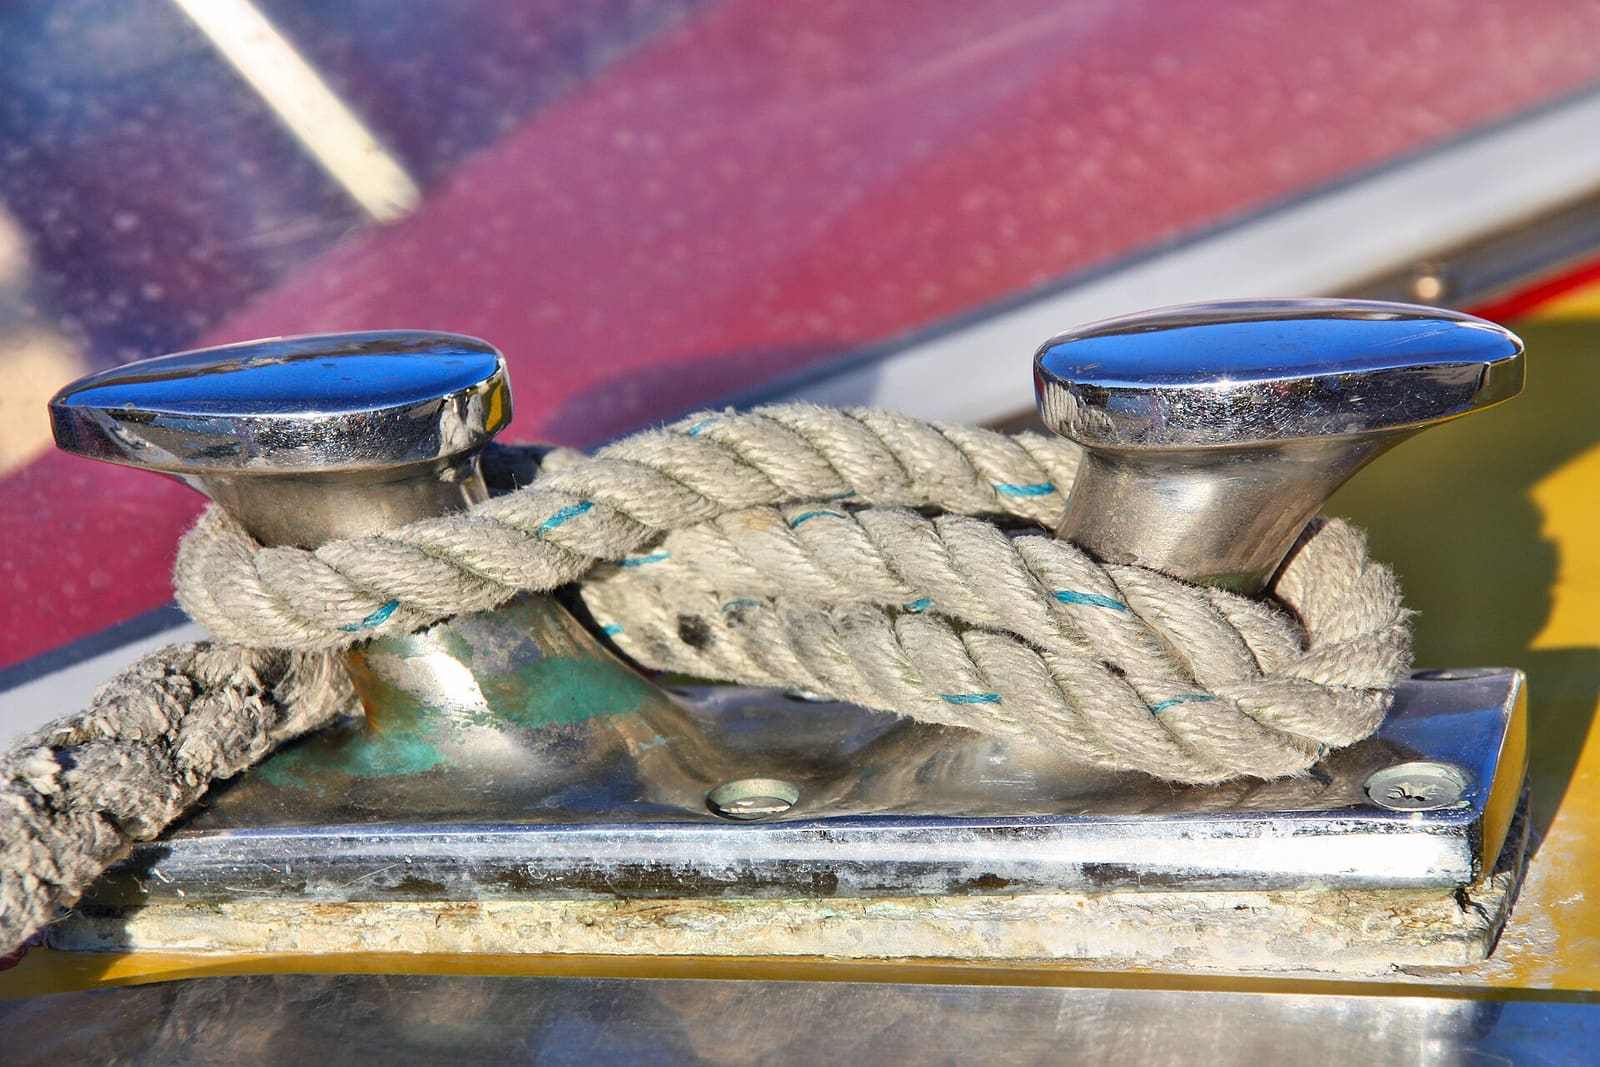
How to Find and Fix Leaking Deck Hardware (Rebedding Cleats, Stanchions and Tracks)
Track down the cleat, stanchion base or track that is dripping into the cabin, then remove it, seal the deck core and bed it again with the right sealant so the leak stops for years instead of weeks. Catching it early protects the deck core from rot.
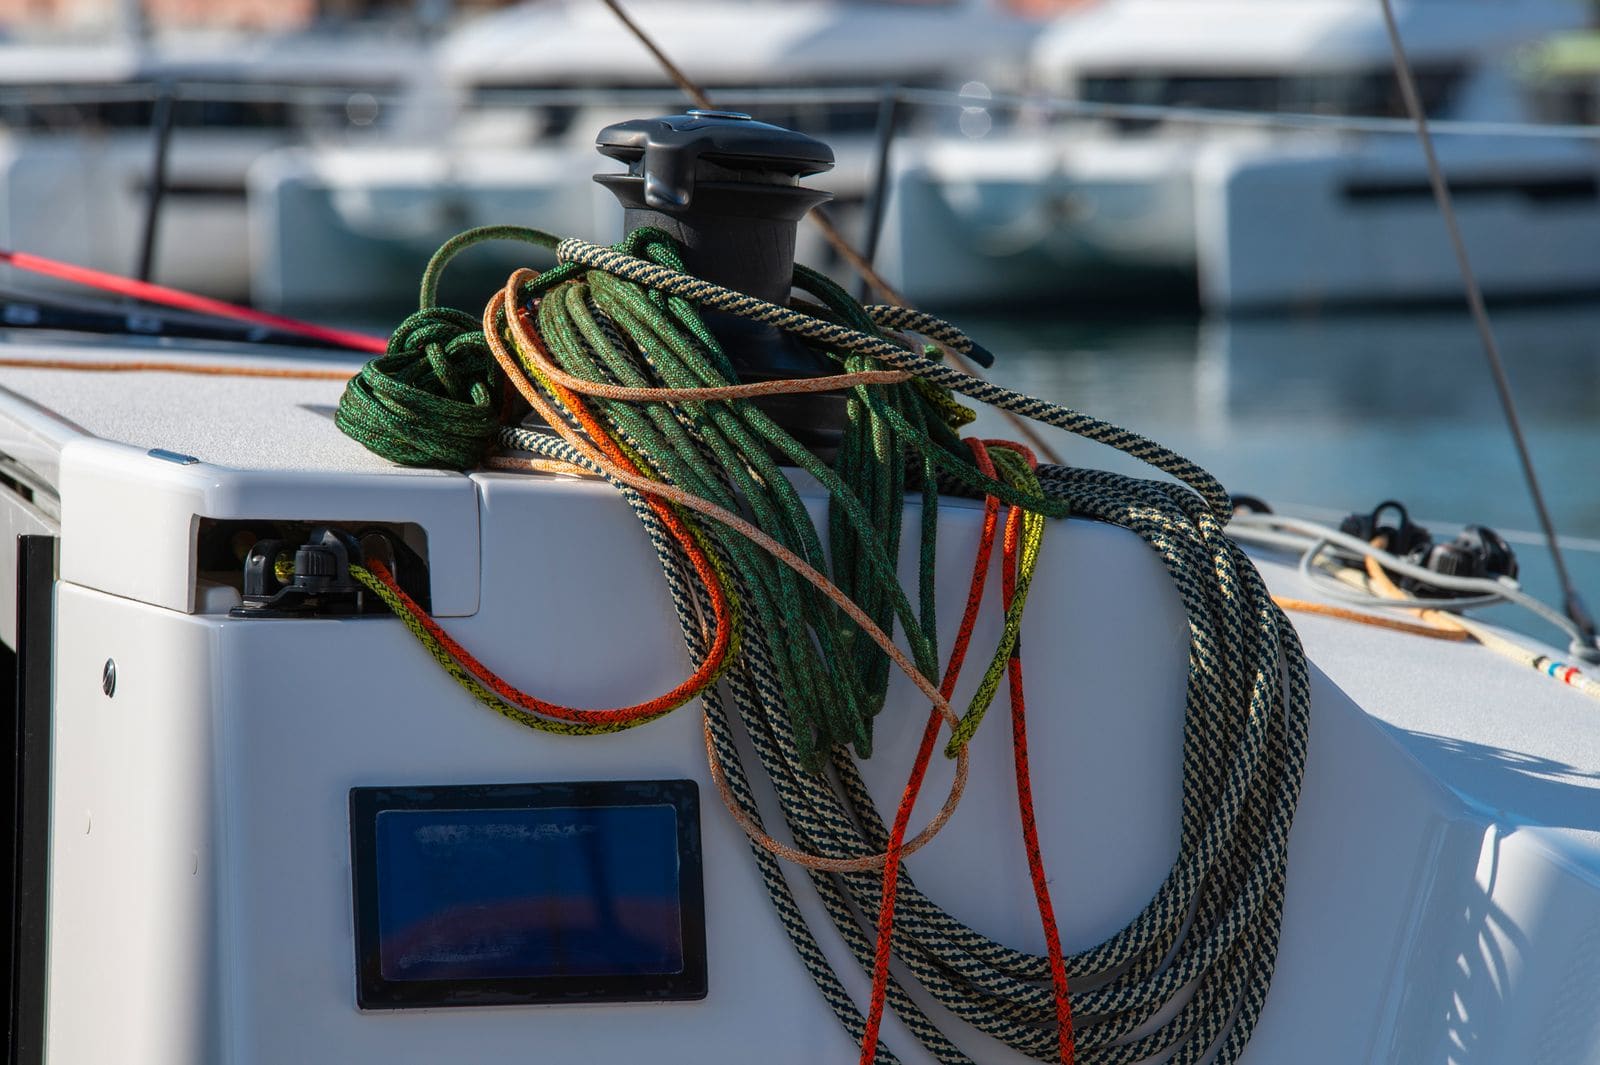
Running Rigging Care: Inspecting Halyards, Sheets and Dyneema Lines
Check your halyards, sheets and control lines for chafe, sun damage, glazing and cover slip, wash them the right way, end-for-end them to spread the wear, and know when a line has to go. A halyard that parts drops a sail; a sheet that parts in a gust can be worse.
Boating at Night: Lights, Speed, Night Vision and Reading Other Boats
Get ready for a safe run after dark, from checking your navigation lights and dimming the helm to slowing down, reading other boats' lights and buoys, keeping life jackets on and leaving the alcohol ashore.