How to Deep Clean a Boat Holding Tank
Clear the buildup that causes odors, slow pump-outs and false tank-level readings with a twice-a-year deep clean: pump out, rinse, soak with a tank-safe cleaning mix, slosh, pump out and rinse again, then inspect the tank and fittings while they are clean.
Time
3 h
Shop would charge
$150-500
Applies to
All engines · Cabin cruiser, Yacht, Sailboat
Safety first: Holding tanks give off hydrogen sulfide and methane. Ventilate the boat well, keep flames and sparks away, and never put your head into an open tank. Wear gloves, eye protection and old clothes; sewage carries germs. Never mix cleaning products (for example bleach with acid or ammonia cleaners) because some mixtures release toxic gas, and never use household drain cleaners in a marine toilet system. Close the head's seacocks before opening any hose. If water keeps coming into the boat, call a marine mechanic, Sea Tow or TowBoatUS, or the USCG on VHF 16 or 911 if you cannot control it.
Owners often ask
- How do I get rid of buildup and smell in my holding tank without damaging it?
- Does putting ice in the holding tank really help clean it?
This guide walks you through it. Still stuck? Ask the AI Mechanic about your engine.
Tools
- Heavy rubber gloves, safety glasses or a face shield, and an old raincoat or apron
- Two clean buckets (one marked for sanitation use only)
- Funnel that fits the deck pump-out fitting or the head
- Deck fitting key
- Flashlight and a small mirror
- Garden hose with a spray nozzle (dedicated to sanitation use)
Parts & supplies
- Holding tank treatment or cleaner approved for your tank material
- Water softener (such as a powdered household water softener)
- Biodegradable, bleach-free liquid laundry detergent
- A bag or two of ice (optional, for scouring underway)
- Replacement O-ring for the deck pump-out cap, if worn
Before you start
When to deep clean. BoatUS contributor Capt. Frank Lanier deep cleans his tank at least twice a year, once at fall layup. Do it sooner if you notice:
- Odors from the tank or vent even after a normal pump-out
- Slow pump-outs, or the station runs but little comes out
- A tank gauge that reads full right after a pump-out (crud on the sensor)
- A sale or survey coming up, or a boat that has sat for months
Where buildup comes from. Solid waste is mostly water and dissolves readily. Practical Sailor and BoatUS both point to two main causes of tank buildup: toilet paper and calcium carbonate scale, which forms when urine meets seawater on boats that flush with salt water. Practical Sailor's long-term testing also linked clumping solids to lubricating the head with vegetable or mineral oil, so lubricate with the product your toilet maker specifies. Raritan, for example, recommends a PTFE (Teflon) silicone grease on the pump parts of its manual toilets, and says oil poured into the bowl only quiets a squeaky pump for a short time.
Know your tank material (polyethylene, fiberglass, aluminum or stainless). Only use treatments and cleaners labeled safe for that material. Find the deck pump-out fitting, the vent fitting on the hull, any inspection or access plate on top of the tank, and any macerator or overboard discharge.
Know the discharge rules. Everything in this guide goes out through a pump-out station, not overboard. Untreated sewage cannot be discharged within 3 miles of shore or on inland waters, and nothing can be discharged in a no-discharge zone. Keep any Y-valve or overboard seacock secured closed as the rules require.
Steps
Holding tank treatments come in several types (enzyme, bacterial, oxidizing and chemical). Practical Sailor prefers enzyme and bacterial products for routine use. The EPA says each sanitation device should be maintained as its own manual describes. Read your tank, toilet and treatment labels for compatibility and dose, and pick one product for the job. Don't stack different chemicals in the tank.
Open hatches and ports, run a fan if you have one, and put on gloves, eye protection and an apron. Have rags and a sealed bag ready for anything you wipe up. Make sure the head's seacocks and Y-valve are set so nothing can go overboard.
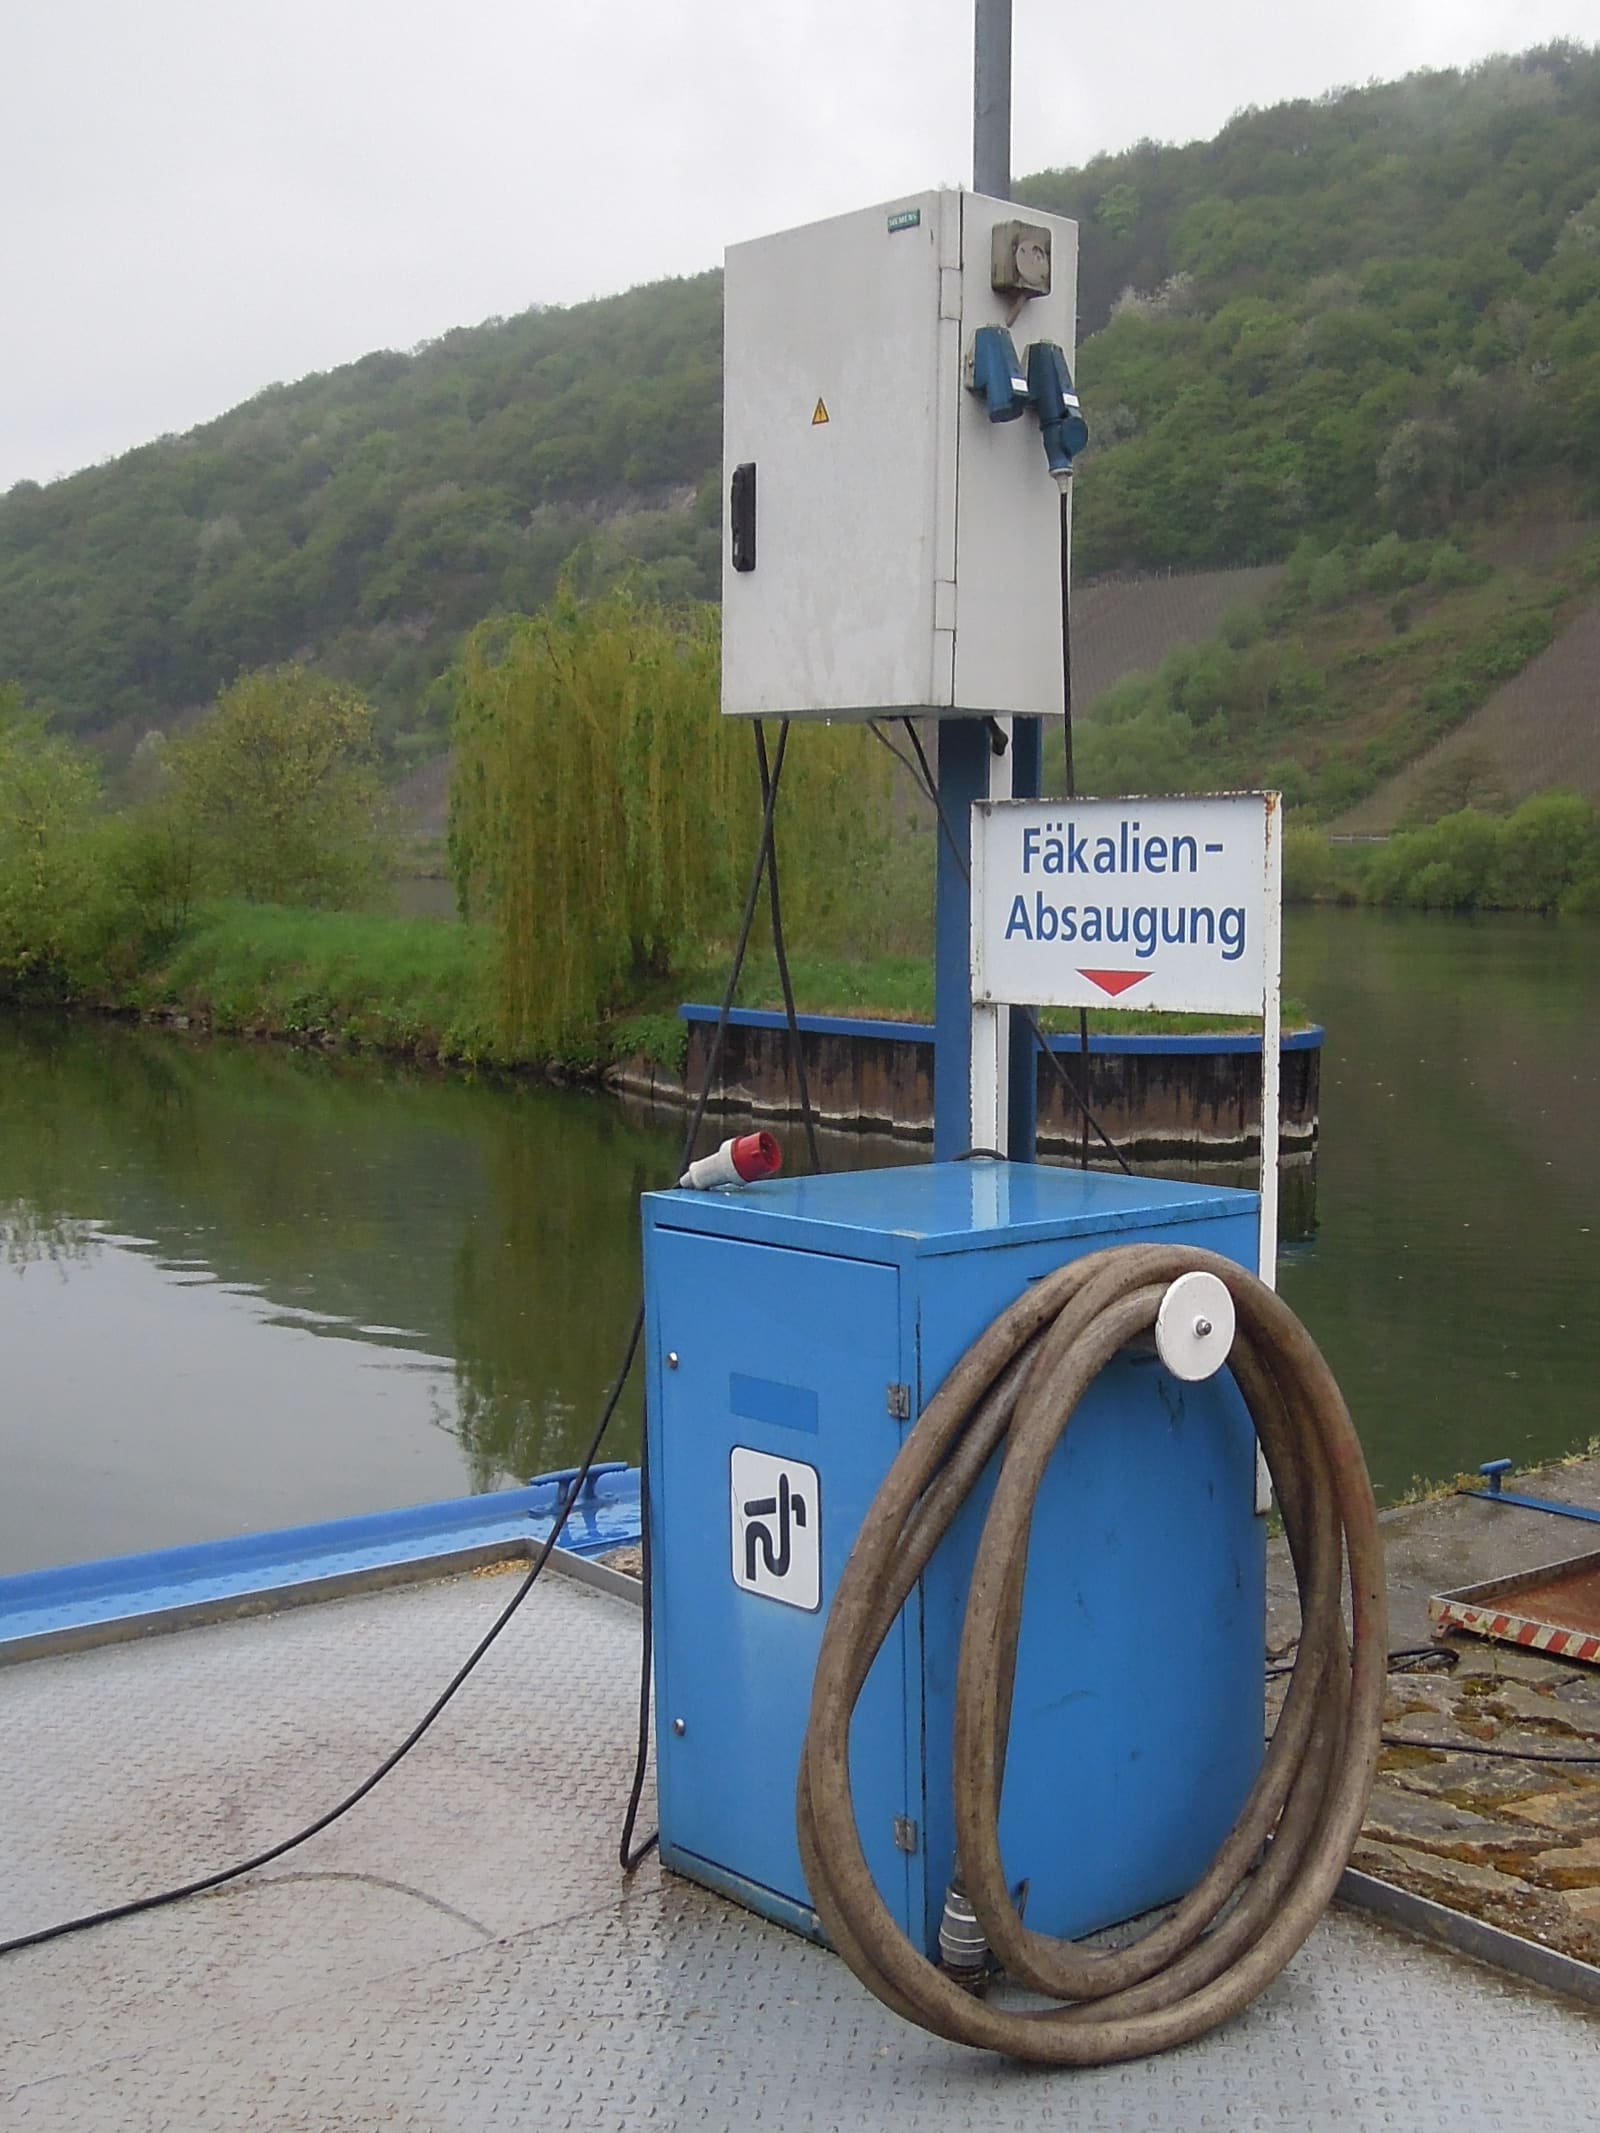
At a pump-out station, empty the tank completely. Let the station pump run a moment after flow stops to clear the hose.
A deep clean means two or three pump-outs in a row, so plan it at a station you can tie up at for a while, or book a pump-out boat. Many public pump-outs are free or cheap because the federal Clean Vessel Act funds state boating agencies to build, run and maintain them, paid for by excise taxes on fishing gear and boat fuel. Your state boating agency's website usually lists locations.
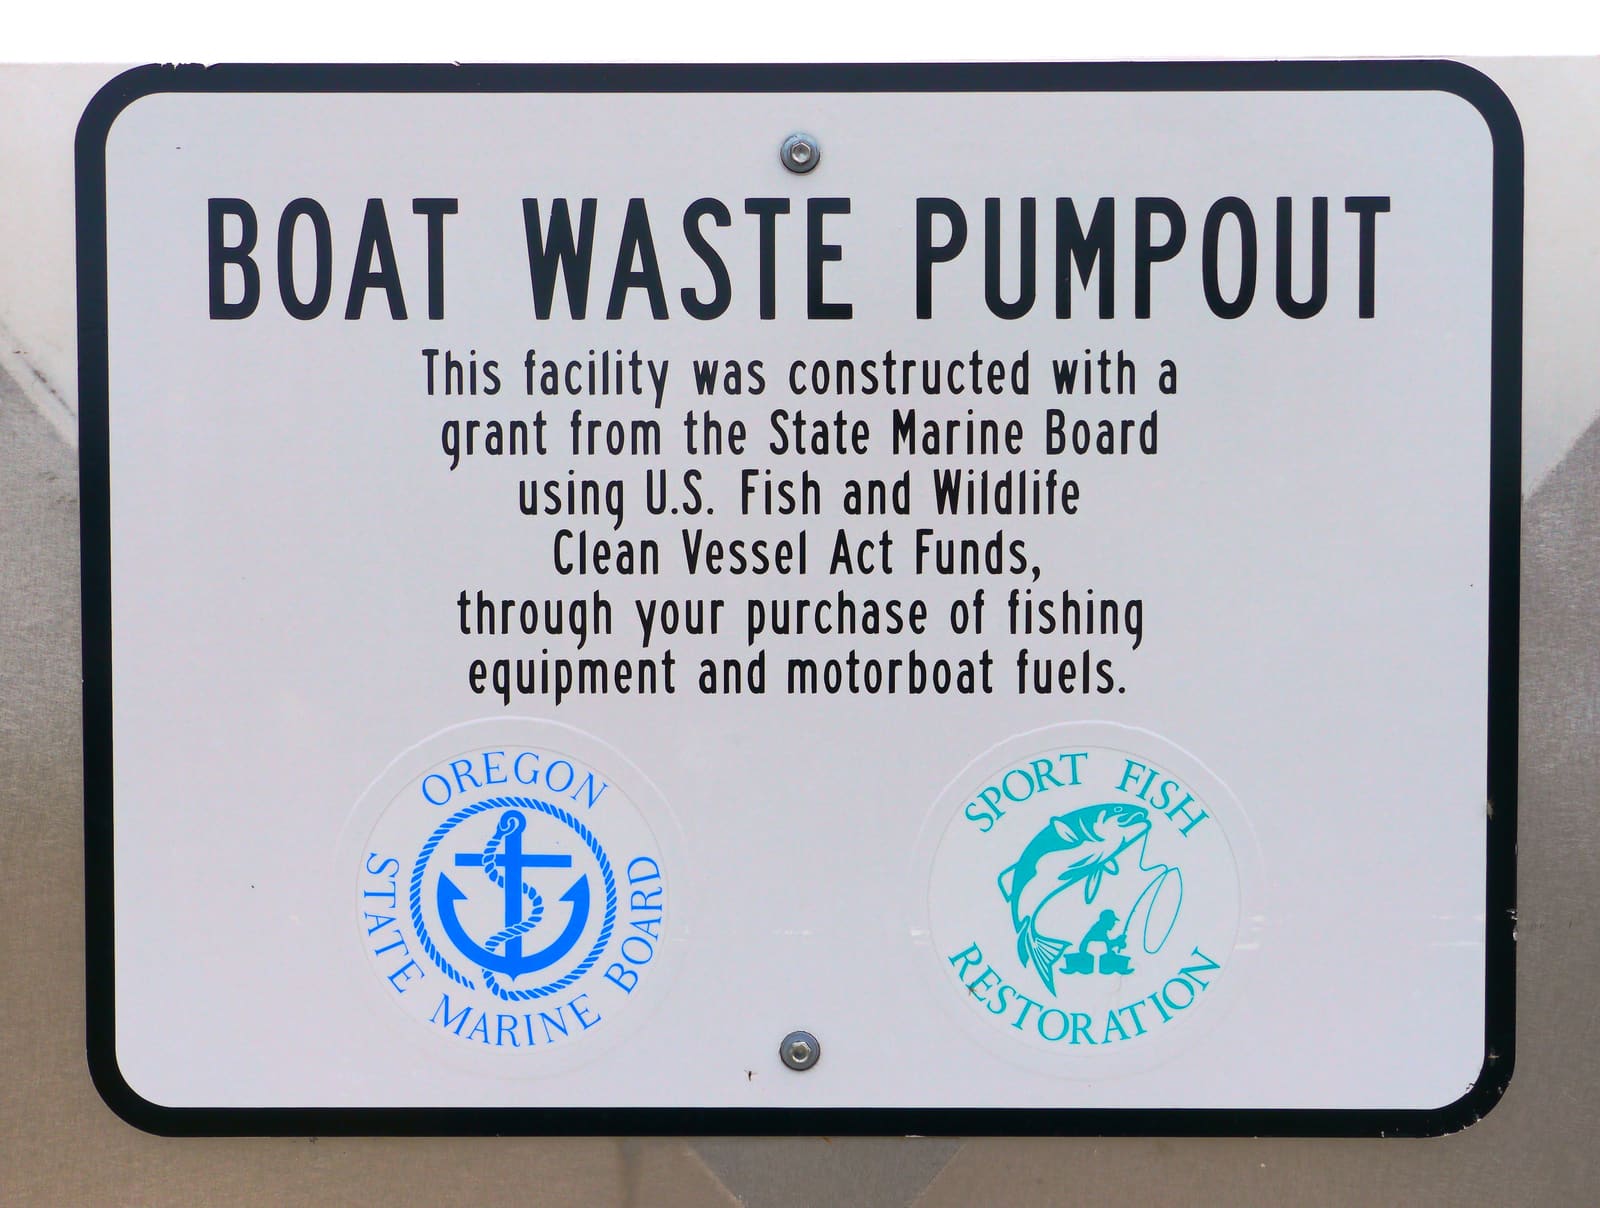
Photo: Rick Obst / Wikimedia Commons · CC BY 4.0 Fill the tank partway with fresh water. You can flush it in through the head (if it can use fresh water) or carefully add it through the deck fitting with a hose used only for sanitation. Pump out again. Many owners repeat this once more before the cleaning soak.
Lanier's method for a tank of about 20 gallons, which you can scale up or down:
- Dissolve 2 cups of water softener in 1 gallon of hot water and pump it into the tank through the head.
- Mix 1 cup of biodegradable, bleach-free liquid laundry detergent with 1 gallon of hot water and pump that in too.
Dometic/SeaLand, quoted by Practical Sailor, suggests filling the tank about halfway with fresh water and adding about 8 ounces of the same type of detergent. If you use a commercial "shock" or cleaning treatment instead, follow its label exactly.
Top off the tank with fresh water and let it sit for a couple of hours (Lanier's method). Better still, go for a run in choppy water: the motion scrubs the tank walls. For extra scouring, both BoatUS and SeaLand suggest adding a couple of buckets of ice through the tank's access port before you go. With a commercial shock treatment, makers typically want it to slosh around for three days to a week; follow the label.
Pump out the cleaning solution. Right away, refill the tank with fresh water (about half full is enough), and pump that out too. Lanier recommends repeating the fill-and-pump step a couple of times if you can. Any loosened residue leaves with the rinse water instead of settling back.
A tank needs air. While it is empty, check the vent fitting on the hull for insect nests, salt or corrosion, and confirm air moves freely. Back-flushing the vent line with fresh water is easier now. Replace a vent filter that has reached the end of its life. See the holding tank vent filter guide.
With a flashlight, look at:
- The tank's outside for weeps, stains, cracks or bulges, and the straps or chocks for tightness
- Hose connections at the tank, head and deck fitting for leaks, rusty clamps and stiff, smelly hose (do the warm damp cloth test on the hose)
- The deck pump-out cap O-ring; replace it if flattened or cracked
- On aluminum or stainless tanks, signs of corrosion at welds or fittings
Any leak from the tank itself is a job for a pro.
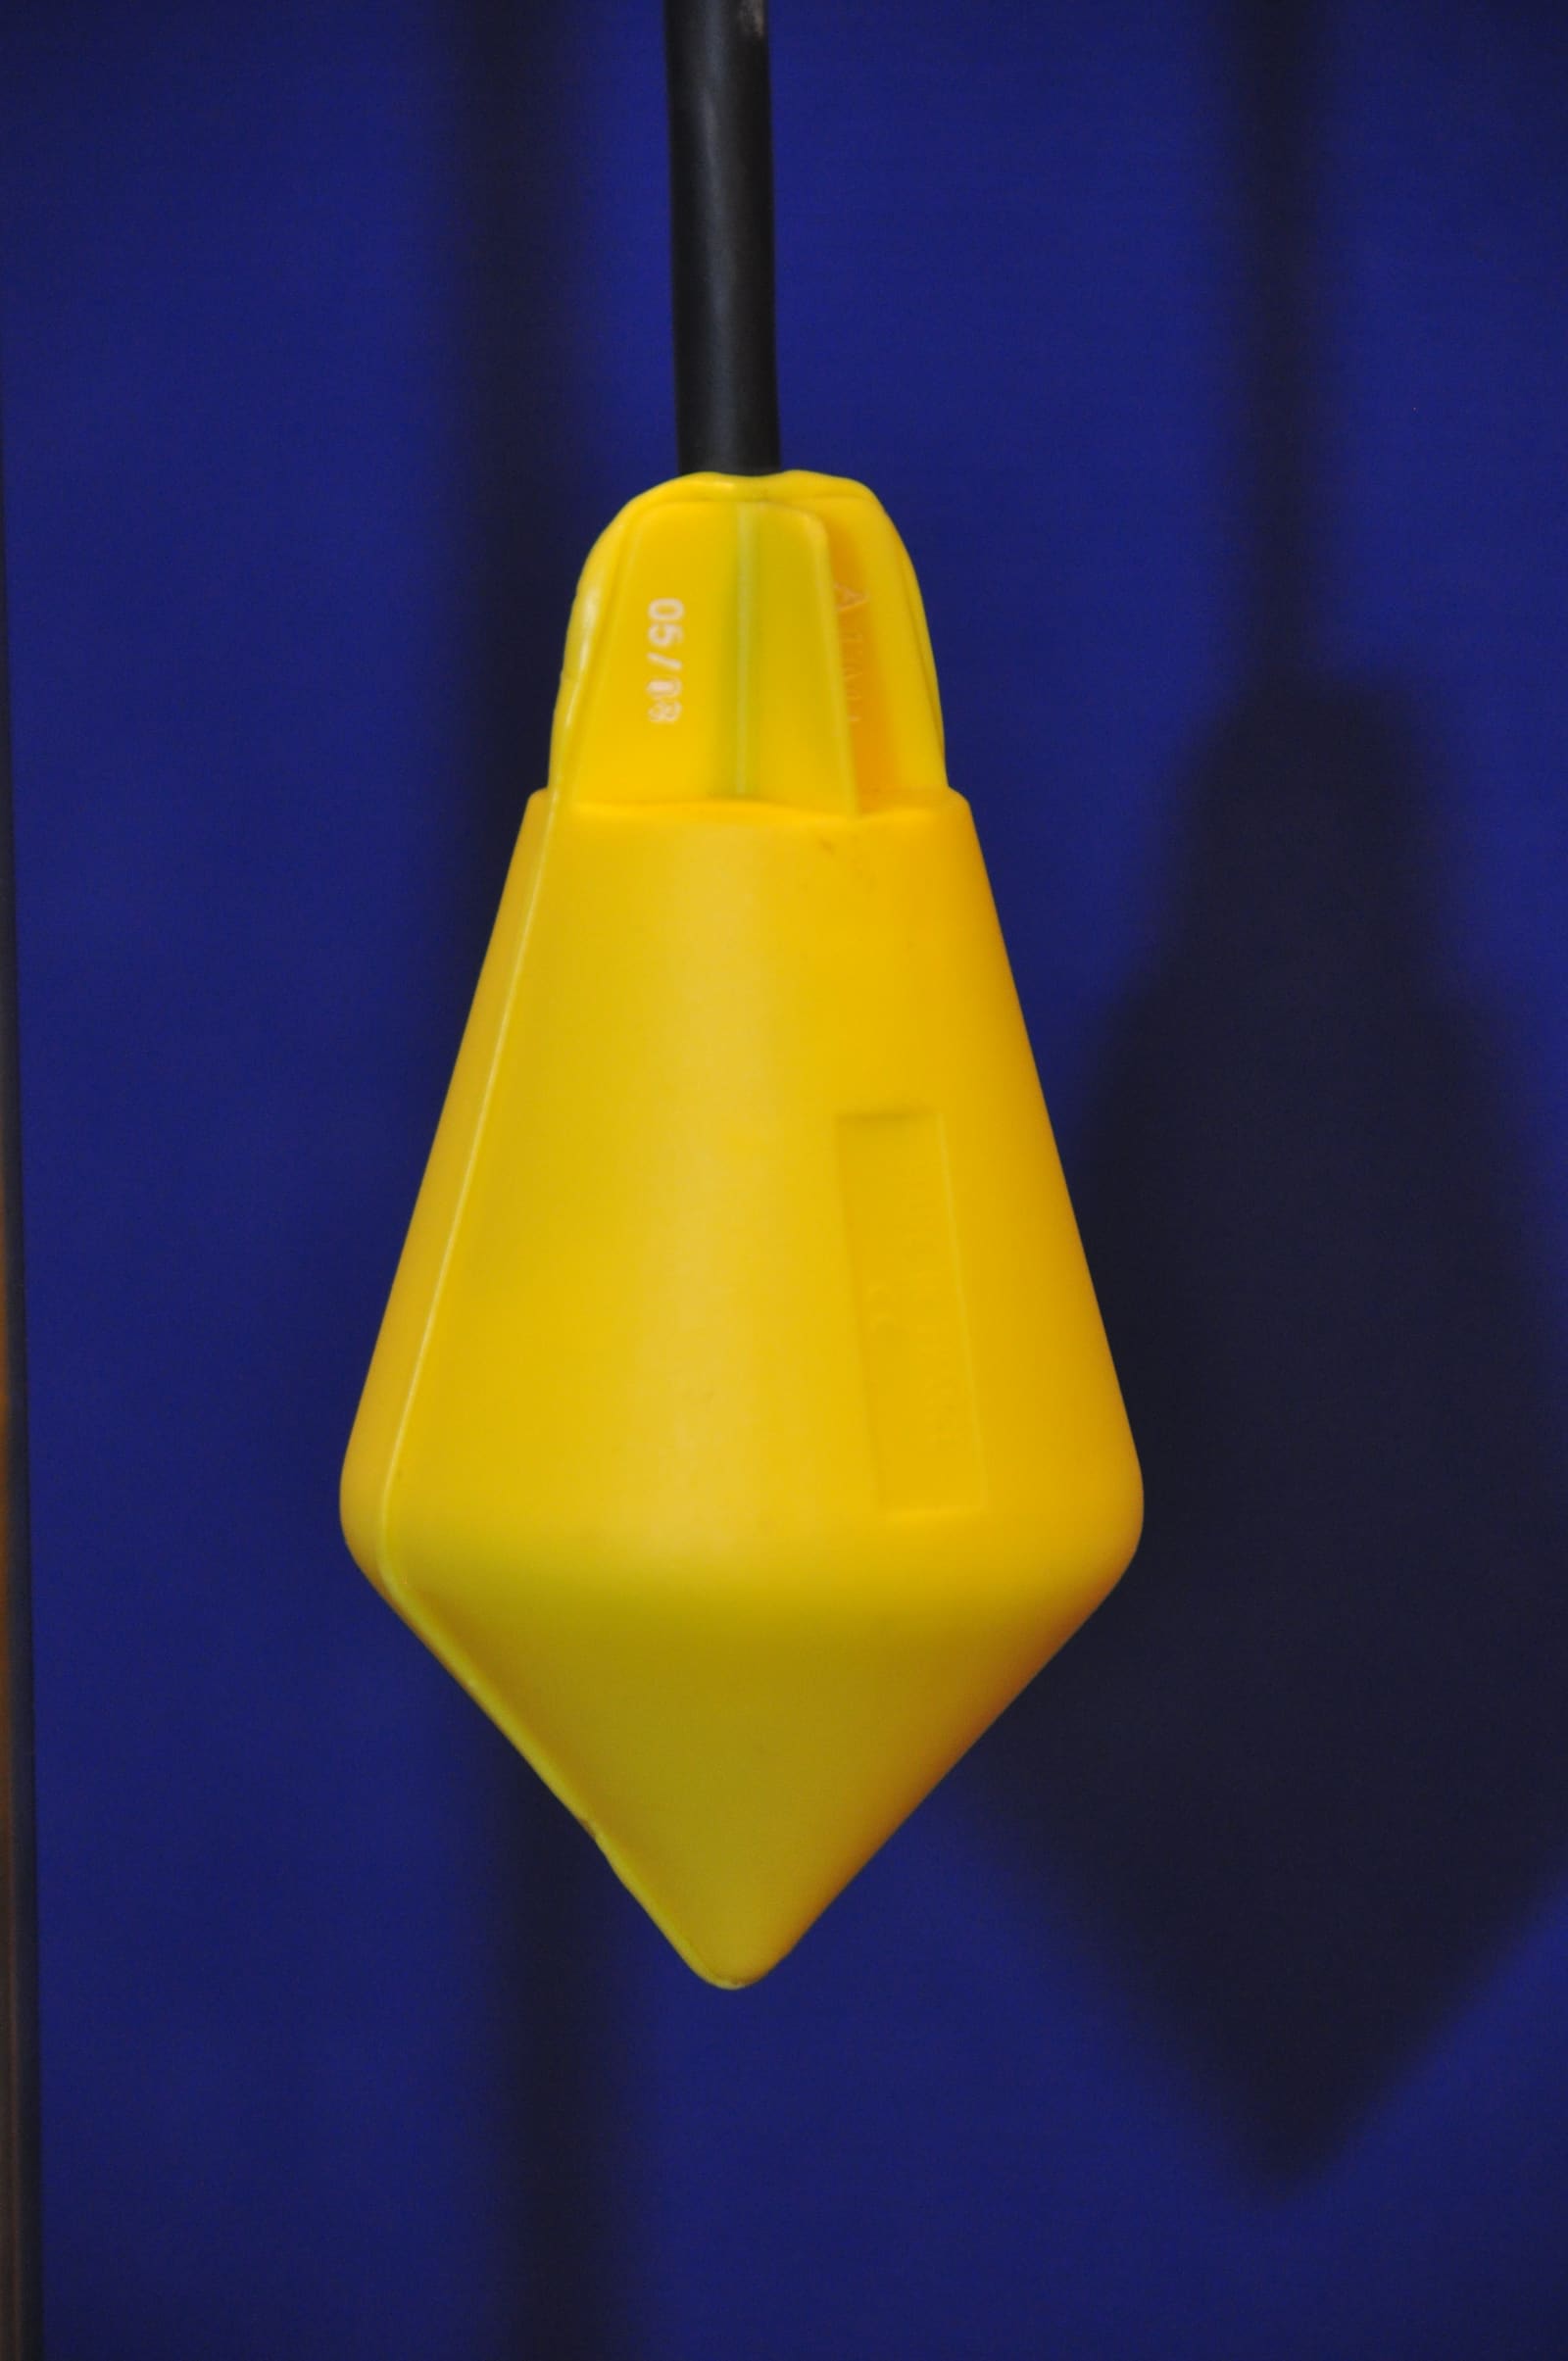
A deep clean often frees a sticky float sensor. If your gauge still reads wrong, see the holding tank level monitor guide; in-tank senders sometimes need to be removed and cleaned by hand.
If the buildup has hardened, chemical treatments won't do much. BoatUS and Practical Sailor agree the options then are living with it, cleaning by hand, or replacing the tank. To clean by hand through an access plate: empty and rinse the tank, remove the plate, spray the inside with a high-pressure hose, and loosen stubborn spots with a disposable stick. Lanier suggests doing it in cold weather to keep the smell down and wearing a raincoat, gloves and a face shield, and keeping your mouth closed. Never climb in or lean far into a tank. If your tank has no access plate, ask a pro before cutting one.
- Flush the tank with fresh water every four or five pump-outs (Practical Sailor's advice), or more often.
- Add water to the bowl before use, and use little paper or none. Lanier keeps a lidded, lined bin in the head for paper.
- Never flush wipes, even ones sold as "flushable."
- Use a regular enzyme or bacterial treatment as its label directs.
- Lubricate the head only with what its maker specifies.
- Pump out before the tank is full.
Note the date and products used in BoatMend so you can keep a twice-a-year rhythm and spot changes (like faster odor return) that hint at a hose or vent problem.
Common mistakes
- Pouring in household drain openers or toilet bowl cleaners. They can damage seals, valves and the tank, and some cause more scale. Raritan warns that cleaners containing pine oil, formaldehyde, chlorine, phosphoric acid or petroleum-based solvents can damage the plastic and rubber parts of a marine toilet.
- Using a product that is not compatible with the tank material.
- Mixing two different treatments in the same tank.
- Pumping out once and skipping the fresh-water rinse, so the loosened crud settles again.
- Blaming the tank for a smell that actually comes from saturated sanitation hose or a blocked vent.
- Opening a hose without closing the seacock first.
When to call a pro
- The tank, a fitting or the deck pump-out fitting leaks or is cracked
- Hardened buildup blocks the outlet or pick-up and won't clear
- You need a new access port cut, or the tank needs replacing
- The tank collapses or bulges during pump-out (often a blocked vent)
- Odors stay after a deep clean, a vent check and the hose cloth test
Tips
- Time one deep clean for about a week before the season's last pump-out so the tank goes into winter clean.
- Keep a hose, gloves and buckets that are used only for sanitation work, and label them.
- Do the soak on a day you will be near a pump-out station, so you can empty the cleaning water as soon as it has done its job.
- Label your deck fittings (WASTE, WATER, FUEL) so nobody ever puts cleaner or rinse water into the wrong tank.
- A manual head that suddenly gets hard to pump can be a tank problem, not a toilet problem: Raritan lists a clogged holding tank vent first, because air that can't escape the tank pushes back on every flush.
- If you winterize with antifreeze in a tank that uses a bacterial treatment, expect the treatment to stop working until spring. Raritan suggests diluting and pumping out the whole tank at recommissioning before you dose it again.
Official references
We read these to write this guide. Your engine's own manual always wins.
- BoatUS – The Shocking Truth About Cleaning Holding Tanks
- Practical Sailor – Cleaning the Holding Tank
- BoatUS – Holding Tank Monitoring Systems
- US EPA – Vessel Sewage Frequently Asked Questions
- US EPA – No-Discharge Zones (NDZs) by State
- U.S. Fish and Wildlife Service – Clean Vessel Act (pump-out station funding)
- Raritan Engineering – Frequently Asked Questions (toilets, odors, holding tanks)
Safety: BoatMend is for information only and does not replace a certified marine technician. You are responsible for your safety and your boat. Read the full disclaimer.
Last updated 2026-10-25
Related guides
Marine Head and Holding Tank Care: Odors, Clogs, Pump-Outs and Winterizing
Keep your boat's toilet and holding tank working and odor-free, clear common clogs, pump out the right way, and winterize the system. Also covers the Y-valve and the federal no-discharge rules every owner with a head needs to follow.
How to Check a Holding Tank Vent and Replace the Vent Filter
A blocked holding tank vent makes the head gurgle, pressurizes the tank every flush and can collapse it at the pump-out dock. Learn the warning signs, how to clear the vent fitting and hose, when and how to replace the carbon vent filter, and how to keep insects and overfills from plugging it again.
Holding Tank Level Monitors: Fix, Calibrate or Upgrade Your Tank Gauge
Find out why your holding tank gauge reads wrong, clean or calibrate the sensor, and choose a better internal or external monitor so you never overfill the tank and push sewage up the vent.
How to Prevent and Remove Scale in Marine Toilet Discharge Hoses
A head that gets harder to pump, flushes slowly or lets water creep back into the bowl often has mineral scale building up inside the discharge hose. Learn a simple monthly vinegar routine, when to use a maker-approved descaler, what never to pour in, and when replacing the hose or switching to a freshwater flush is the real fix.
Smelly Head Hoses: How to Test, Choose and Replace Sanitation Hose
Find out if your toilet and holding-tank hoses are the source of that sewage smell with a simple hot-rag test, then pick the right sanitation hose, route and clamp it properly, and get rid of the old hose cleanly.
How to Rebuild a Manual Marine Toilet (Hand-Pump Head)
A manual head that's hard to pump, lets water flow back into the bowl or leaks at the pump shaft usually just needs new valves and seals. Learn how to diagnose the symptom, pick the right service kit, replace the joker valve, flapper and piston seals safely and hygienically, and keep the pump working afterward.

How to Inspect and Exercise Seacocks, Through-Hulls and Hose Clamps
Check every hole in your hull below the waterline, work each seacock open and closed, and inspect the hoses and clamps attached to them. A single failed fitting or hose is one of the most common reasons boats sink at the dock.