Holding Tank Level Monitors: Fix, Calibrate or Upgrade Your Tank Gauge
Find out why your holding tank gauge reads wrong, clean or calibrate the sensor, and choose a better internal or external monitor so you never overfill the tank and push sewage up the vent.
Time
2 h
Shop would charge
$150-800
Applies to
All engines · Cabin cruiser, Yacht, Sailboat
Safety first: Only open a holding tank or remove a sender right after a pump-out and fresh-water rinse. Tanks give off hydrogen sulfide and methane: ventilate well, keep flames and sparks away, and wear gloves and eye protection. Turn off the gauge's power before working on wiring. Never drill into a tank or a bulkhead until you know exactly what is on the other side. If a fitting starts leaking sewage or water you cannot stop, close the head seacocks and call a pro, Sea Tow or TowBoatUS (USCG on VHF 16 or 911 if the boat is taking on water).
Owners often ask
- My holding tank gauge says full right after a pump-out. How do I fix it?
- Which holding tank level sensor works best without drilling into the tank?
This guide walks you through it. Still stuck? Ask the AI Mechanic about your engine.
Tools
- Multimeter
- Screwdrivers and a small wrench set
- Heavy rubber gloves and safety glasses or a face shield
- Flashlight
- Notepad and a marker (for calibration marks)
- A clean bucket or a hose with a flow meter (for calibration by volume)
Parts & supplies
- Replacement gasket or O-ring for the sender flange, if you remove it
- Tank-safe holding tank cleaner
- Replacement sender or monitor kit matched to your tank material and depth (if upgrading)
- Marine-grade tinned wire, heat-shrink connectors and an inline fuse (if rewiring)
Before you start
Why it matters. An overfilled holding tank pushes sewage up the vent line and out the vent fitting, can blow a hose off its fitting, and clogs the vent and pump-out lines. BoatUS surveyor Frank Lanier has seen it happen and argues every holding tank should have a monitor, yet many boats have none or one that stopped working years ago.
The main sensor types:
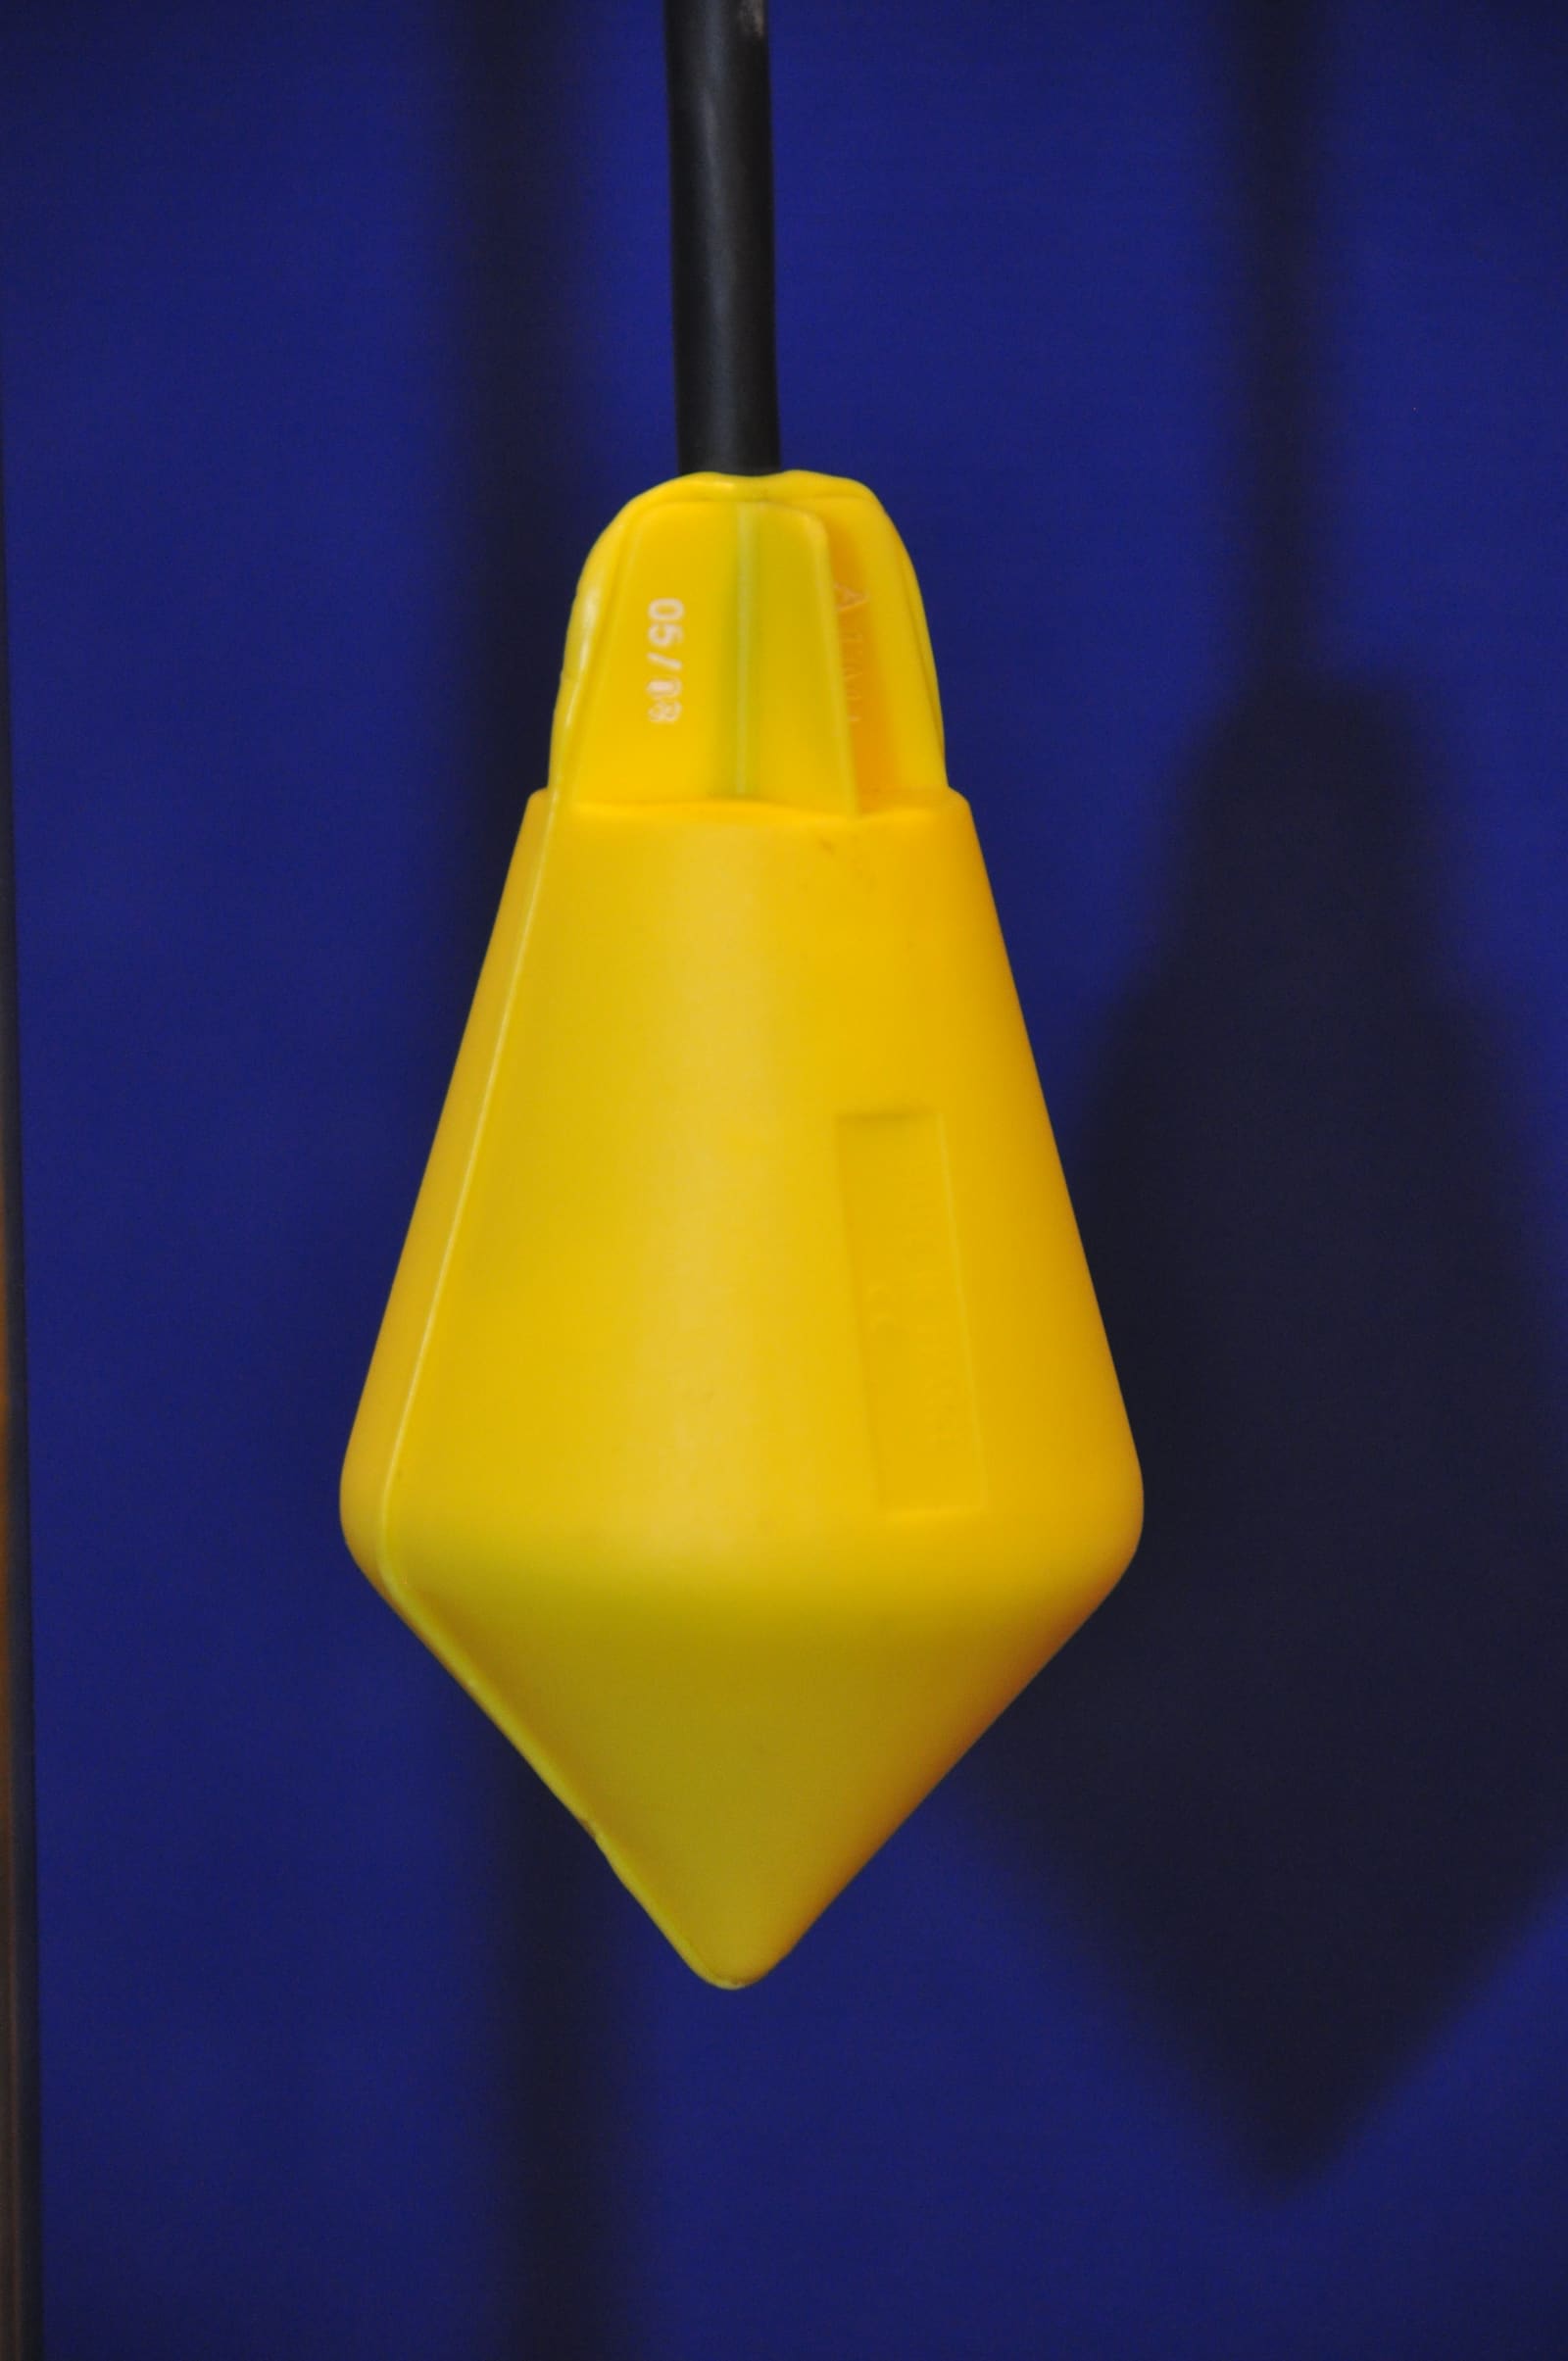
- Internal float senders: floats ride up and down on probe tubes or a single tube and switch reed contacts or a resistor. Some have three tubes (empty, half, full) and thread into the tank's cleanout port. Inexpensive and work in any tank material, but the floats sit in waste and foul.
- Internal pressure senders: a pressure transducer near the tank bottom reads the depth of liquid. Some report over NMEA 2000 and can be calibrated for oddly shaped tanks.
- Pneumatic (air) gauges: a thin tube runs to the tank bottom; a hand pump pushes air down it and a gauge reads the back-pressure as inches of liquid. No electricity in the tank. The tube tip can clog in a holding tank.
- External sensors: strips or pads stuck on the outside of the tank. Some sense the liquid through plastic or fiberglass walls. Gobius uses small units that tap the tank wall and "listen" to the vibration, and works on most metal and plastic tanks within thickness limits. Nothing touches the waste, so nothing fouls, but they cost more and need access to the tank side.
Displays range from a single "tank full" light to a bar gauge, a multifunction display, or a phone app over Bluetooth.
Steps
Look at the top of the tank for a sender flange or tube, a thin air line, or a cable going into the tank; look at the sides for stuck-on strips or pads. Follow the wire or tube to the display. Note the maker and model, and find its manual.
For electric senders:
- Is the display getting power? Check the breaker or fuse and measure 12 volts at the display's power terminals.
- Look for corroded or loose connections at the display and the sender, especially near the tank where it's damp.
- Check the ground (negative) wire; a poor ground makes gauges read high, low or jump around.
- On external or wireless sensors, replace batteries and check the app's pairing.
If the display is dead with good power, the display itself may have failed.
Right after a pump-out and rinse, the gauge should read empty. Then count flushes or know roughly how much goes in per flush and see if the gauge rises as expected. Typical findings:
- Reads full even when empty: a float stuck at the top, or a fouled probe.
- Never rises: a stuck float at the bottom, a broken wire, or no power.
- Jumps around: a loose connection, poor ground, or slosh while underway (normal on some types).
- Wrong in the middle of the range: the tank shape is irregular and the gauge needs calibrating.
A no-mess way to check the real level: Practical Sailor found that an inexpensive pinless moisture meter or a stud finder, slid down the outside of a plastic or fiberglass tank, reliably showed the liquid level to within about half an inch. Both use the same principle as external tank sensors. It doesn't work on metal tanks, which read as "full" everywhere. On a warm day you can sometimes feel the level with your palm too, since the empty plastic above the liquid warms faster than the contents.
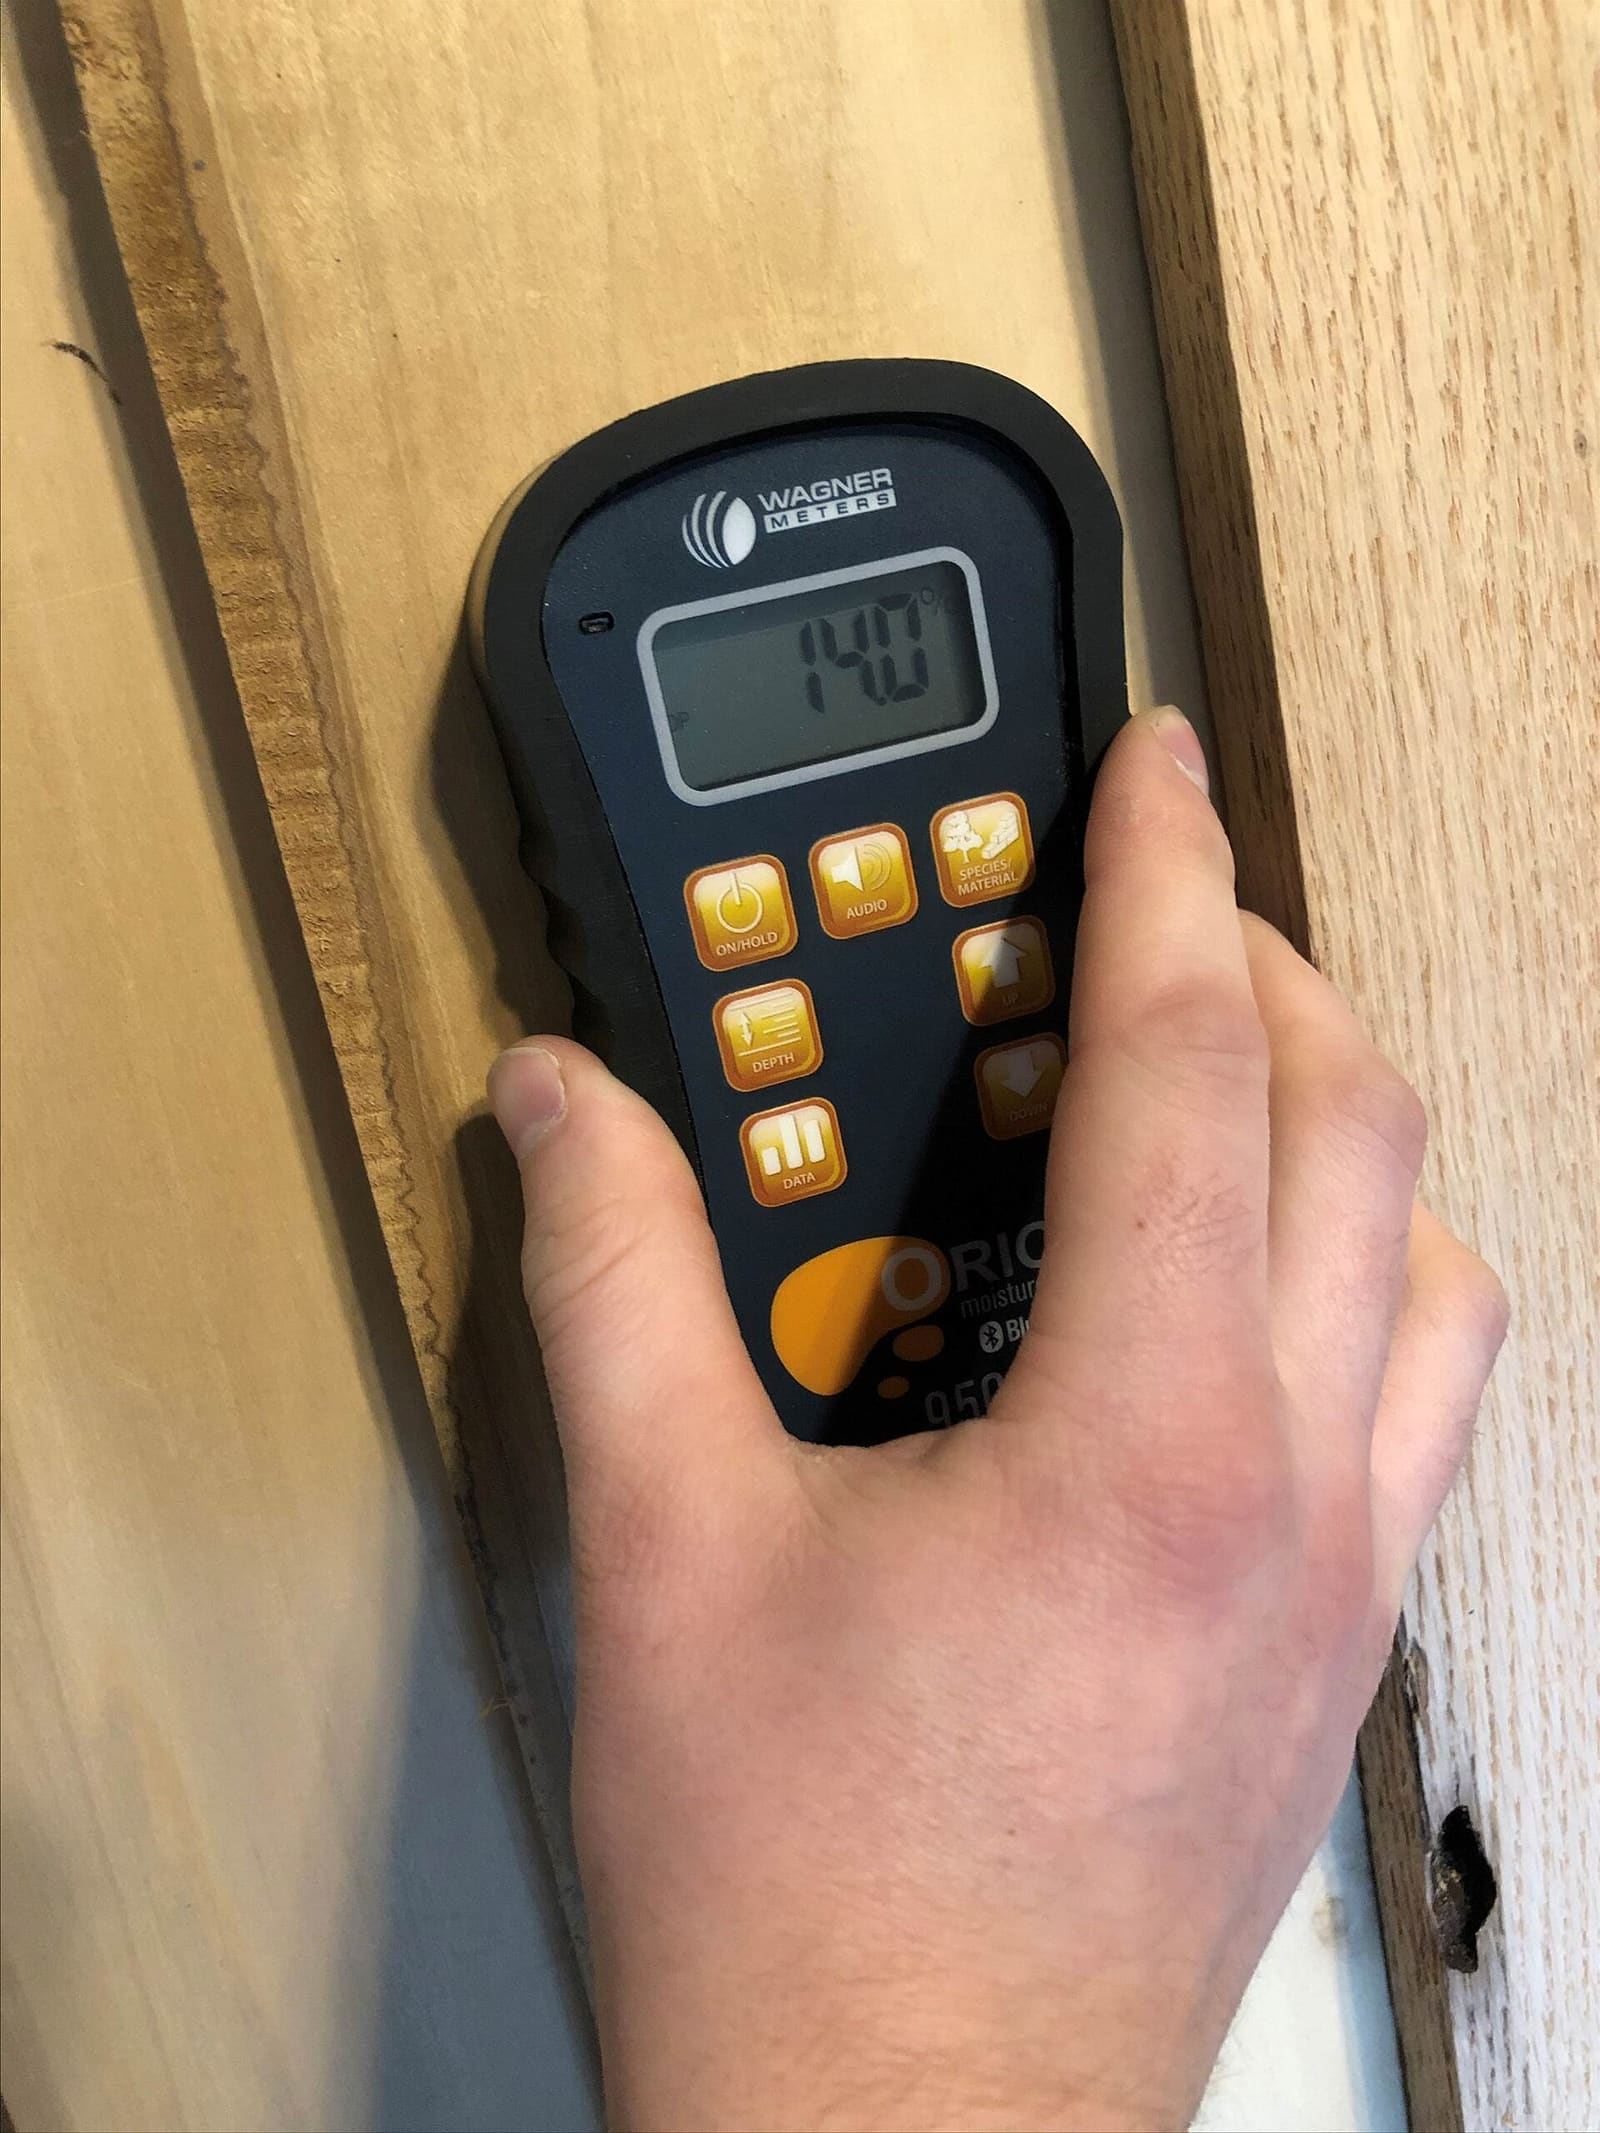
A pinless moisture meter reads through a surface without piercing it. Slid slowly down the side of a plastic or fiberglass tank, its reading jumps where the liquid starts. Photo: Hrco / Wikimedia Commons · CC BY-SA 4.0 Lanier explains that floats get coated when they dry out after each pump-out, and after many cycles they stick. Before opening anything, fill the tank with fresh water and a tank-safe cleaning solution and let it slosh for a few days (a run in choppy water helps), then pump out and rinse. The holding tank deep clean guide covers the method. Many owners find the gauge works again.
Pump out and rinse the tank twice first. Ventilate and gear up. Turn off the gauge power, label and disconnect the wires, then remove the sender flange screws or unscrew the sender from its port. Lift it straight out, carefully; don't bend the tubes. Rinse it with fresh water and scrub the floats and tubes gently with a soft brush and a mild cleaner until each float slides freely. Refit it with a new gasket or the sealant the maker specifies, reconnect, and test. If floats are cracked or the tubes are scaled solid, replace the sender.
If an air gauge drifts back to zero, check the small tubing and fittings for air leaks first, since a leak gives low or falling readings. If the tube tip is clogged with waste, some holding tank versions have a purge feature to blow the tube clear; use it as the maker directs. Never blow the line out with high-pressure air.
Make sure each strip or sensor is still firmly stuck to a clean, dry tank wall at the position the instructions specify. Peeling, damp or dirty surfaces cause errors. Confirm the tank wall material and thickness are within the sensor's limits, and that nothing stowed against the tank presses on the sensors. Gobius's support notes give two limits owners often miss: the tank wall should be at least about 68°F when the sensors are stuck on (so do it on a warm day or warm the area first), and each sensor needs some distance from the tank's edges and corners (Gobius gives about 70 mm, roughly 2 3/4 inches, from the sensor's center). A sensor squeezed into a corner may never read reliably.
Most electronic monitors have an empty and a full setting; some let you enter a tank shape or several points. Follow the maker's procedure. To do it by volume, as a Cruising World writer did for his irregular tanks:
- Start with the tank empty and rinsed, and set "empty."
- Add fresh water in measured amounts (for example a quarter of the tank's real capacity at a time) and note or set each level.
- Set "full" below the true top, leaving a safety margin so you never reach the vent.
Tanks against the hull are often narrower at the bottom, so "half way up" can be well under half the volume. Also check the sender is long enough: that writer found his old senders stopped well short of the tank bottom, so they could never read accurately.
- Plastic or fiberglass tank with access to a side: an external sensor avoids fouling and drilling.
- Metal tank: choose an external system rated for metal or a well-sealed internal sender.
- Tank with a spare cleanout or sender port: an internal sender that fits that port avoids drilling a new hole.
- Networked boat: a sender with NMEA 2000 output can show on your plotter and in a remote-monitoring app.
- Submersible sensor through a top or side fitting: some newer systems drop a sealed sensor into the tank instead of using floats. Raritan's TankAssure, for example, is sold for polyethylene, fiberglass or metal tanks, shows a percentage on a panel or phone app, can watch up to four tanks, and includes a blocked-vent warning, which is handy because a clogged vent causes many holding tank problems.
What long-term testing showed: Practical Sailor left seven internal sensors in a tank of homemade "sewage" for nine months in the Florida heat. Some float-type senders failed to read mid-levels because greasy sludge kept a float from sliding, and one had its float coating eaten away. The two air-pressure (pneumatic) gauges and an ultrasonic sender kept reading accurately; the pneumatic gauge just needed its "purge" setting to blow debris out of the tube. If floats keep sticking in your tank, a type with no moving parts in the waste is the usual fix.
Match the sender length to the tank depth (some are cut to length) and order any flange or fittings for your tank.
Lanier mounted his in the head compartment above the toilet; the galley, helm or near the tank are other choices. Pick a dry spot, plan the wire run from the sender and a fused 12-volt supply, check the space behind the panel, and be sure there are no hoses or wires where you drill. Use marine tinned wire and sealed connectors.
Useful options on many monitors:
- A "Do Not Flush" light in the head that comes on when the tank is nearly full
- An interlock that cuts power to an electric toilet at the full mark. Some toilet makers sell full-tank sensors made for their own flush controls: Raritan offers one that fits in the tank cap and an external one for plastic or fiberglass tanks, and says its control boards are designed for its own sensors, so check compatibility before mixing brands.
- An alarm or phone alert for remote monitoring
- Pump out before the gauge reaches full; treat "full" as "pump out today."
- Rinse the tank with fresh water every few pump-outs and deep clean it twice a year.
- Use little or no toilet paper; Lanier notes this reduces float fouling, though in-tank floats still foul eventually.
- Test the gauge right after each pump-out: it should drop to empty.
- Note sender and display models and calibration settings in BoatMend.
Common mistakes
- Trusting a gauge that has read the same for weeks. Check it against a known empty tank.
- Drilling a new hole in a tank without checking the tank material, wall thickness and what is behind it.
- Calibrating "full" at the very top of the tank, leaving no margin before sewage reaches the vent.
- Using an external sensor on a tank material or thickness it isn't rated for.
- Opening the sender before the tank has been pumped out and rinsed.
When to call a pro
- The sender flange, port or tank leaks, or the tank is cracked or bulging
- You need a new hole cut in a metal or fiberglass tank
- A tank has overflowed into the boat or the vent line is full of sewage
- Wiring problems you can't trace, or adding an electric toilet interlock
- You want monitoring tied into a network or remote-alarm system
Tips
- Put a small label by the display with the tank's real capacity and roughly how many days of normal use fill it.
- If you have to guess, count flushes; it beats a broken gauge.
- A clean vent and a clean tank make every type of sensor more reliable.
- Many monitor kits can also read your freshwater tank, which is handy when you're replacing one display anyway.
Official references
We read these to write this guide. Your engine's own manual always wins.
- BoatUS – Holding Tank Monitoring Systems (Frank Lanier)
- BoatUS – The Shocking Truth About Cleaning Holding Tanks
- Cruising World – How to Install a Custom Tank Gauge
- Practical Sailor – PS Advisor, Tank Monitor and Camera Mount Hacks
- Practical Sailor – Boat Holding Tank Sensor Long-term Test Update
- Gobius – External tank level monitors
- Gobius – Support (installation limits for external sensors)
- Raritan Engineering – TankAssure tank monitor (product page)
- Raritan Engineering – Frequently Asked Questions (full-tank sensors for toilet controls)
- US EPA – Vessel Sewage Frequently Asked Questions
Safety: BoatMend is for information only and does not replace a certified marine technician. You are responsible for your safety and your boat. Read the full disclaimer.
Last updated 2026-10-25
Related guides
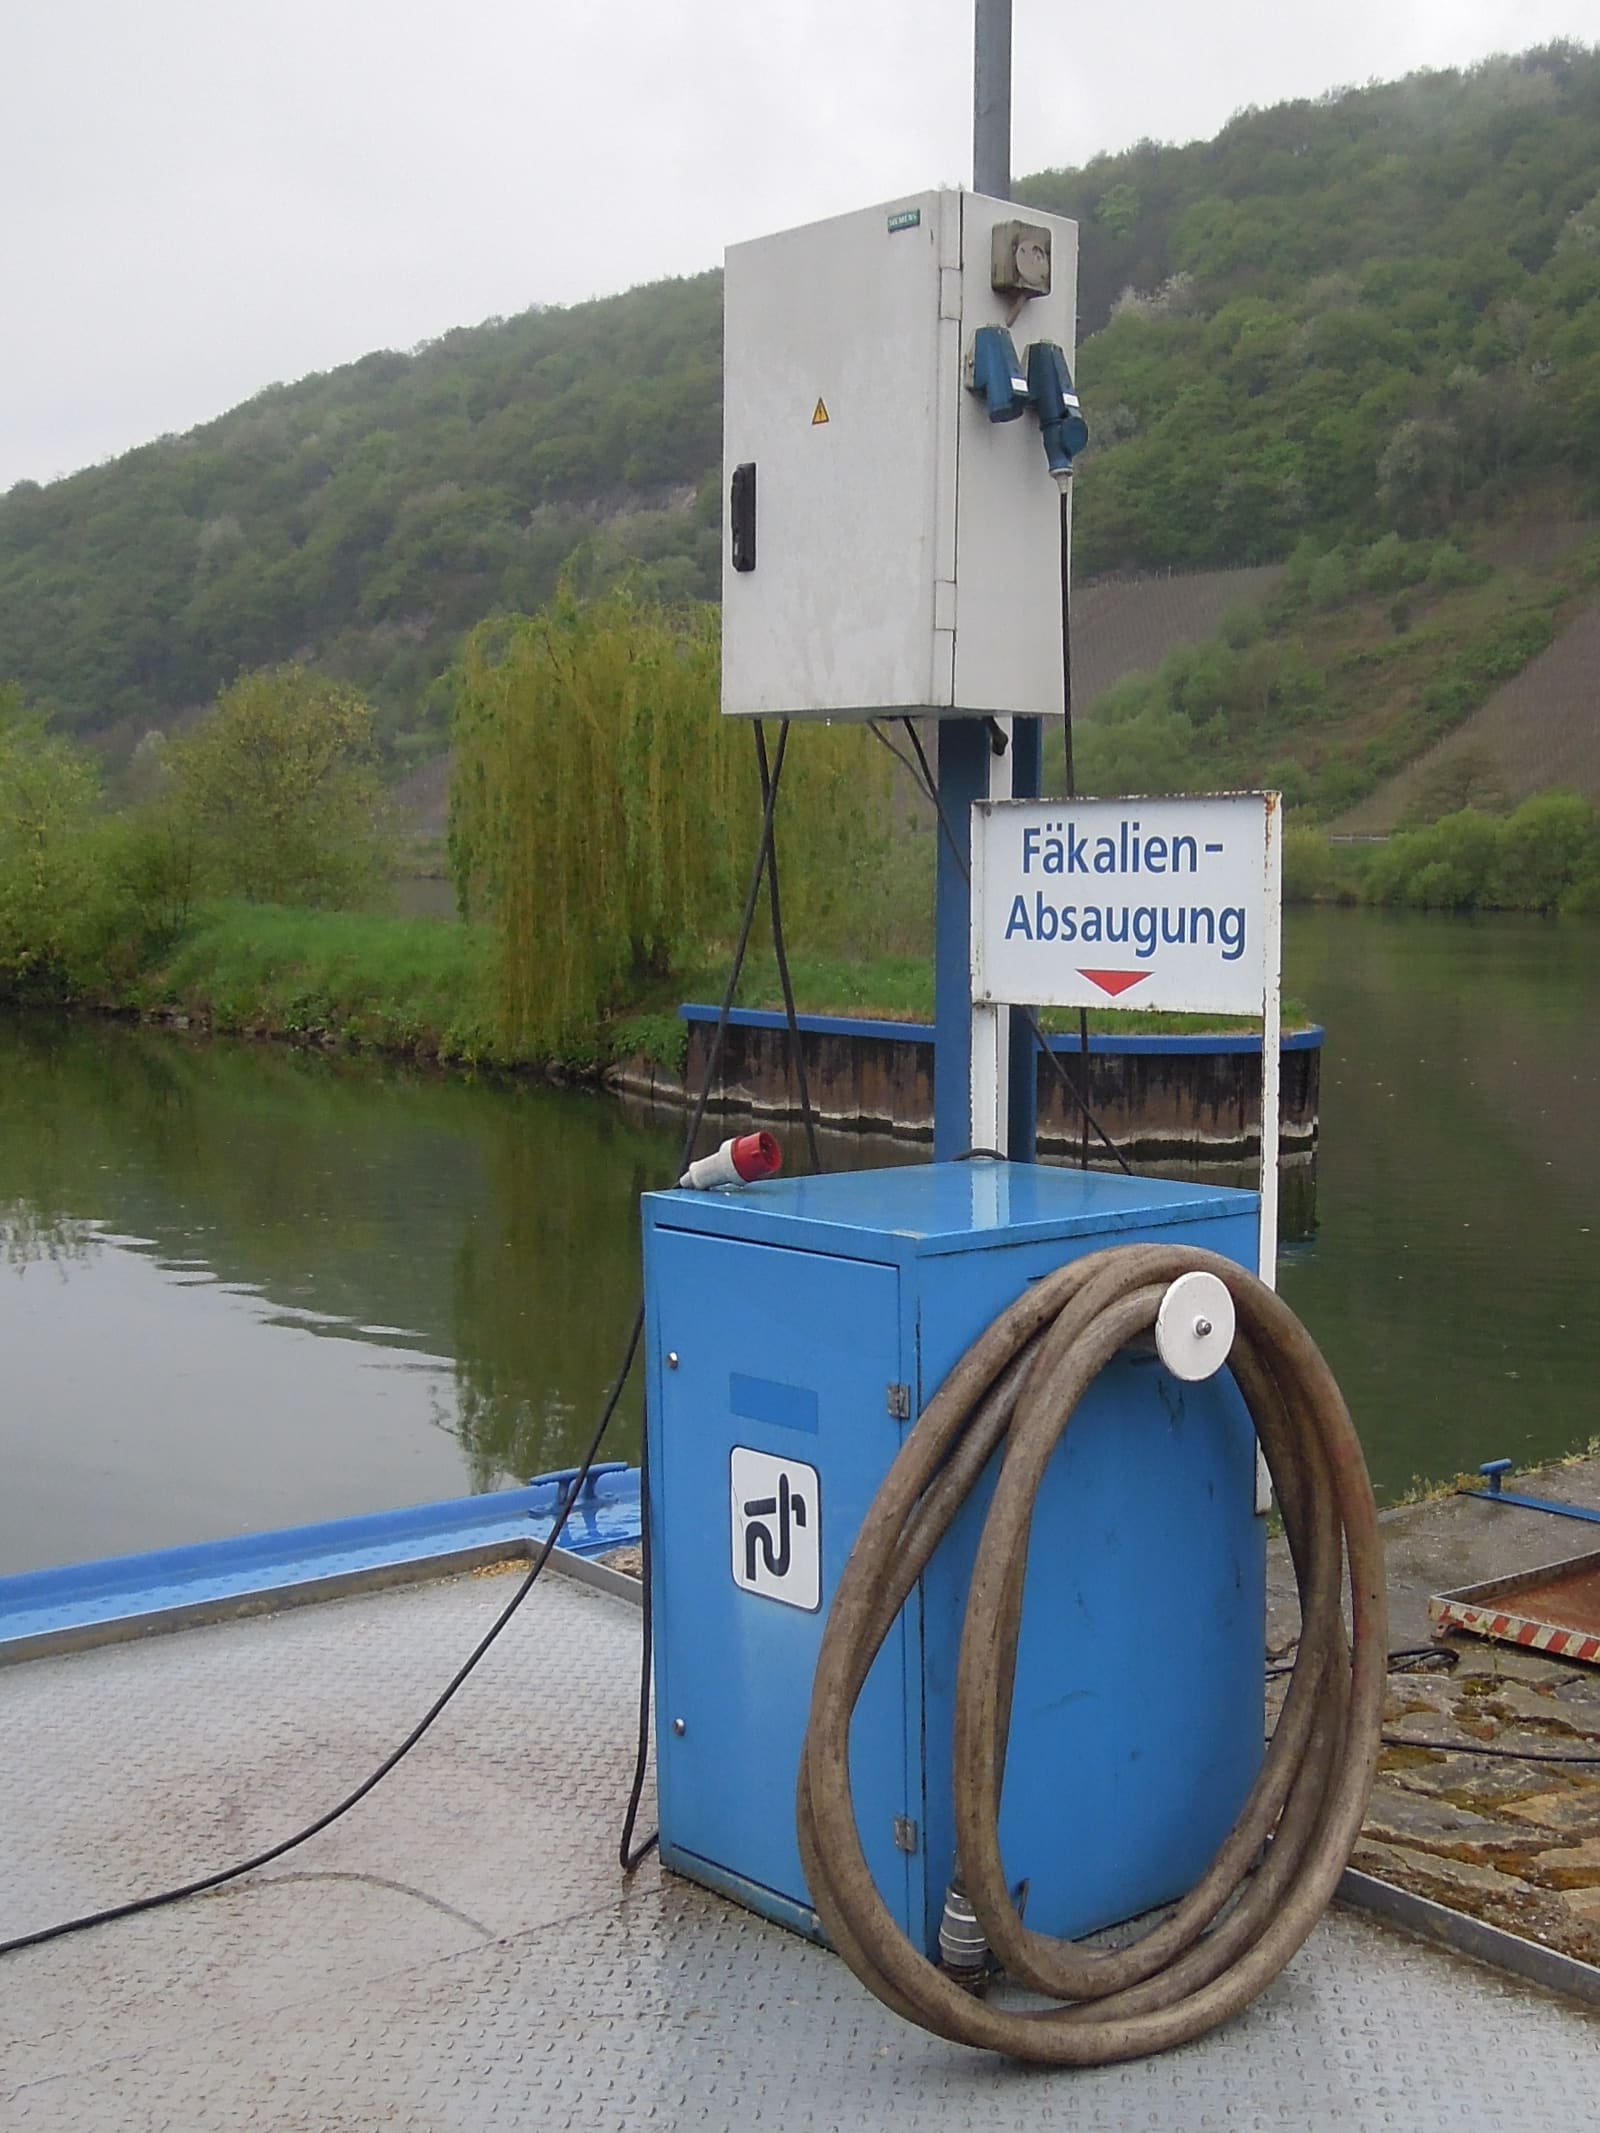
How to Deep Clean a Boat Holding Tank
Clear the buildup that causes odors, slow pump-outs and false tank-level readings with a twice-a-year deep clean: pump out, rinse, soak with a tank-safe cleaning mix, slosh, pump out and rinse again, then inspect the tank and fittings while they are clean.
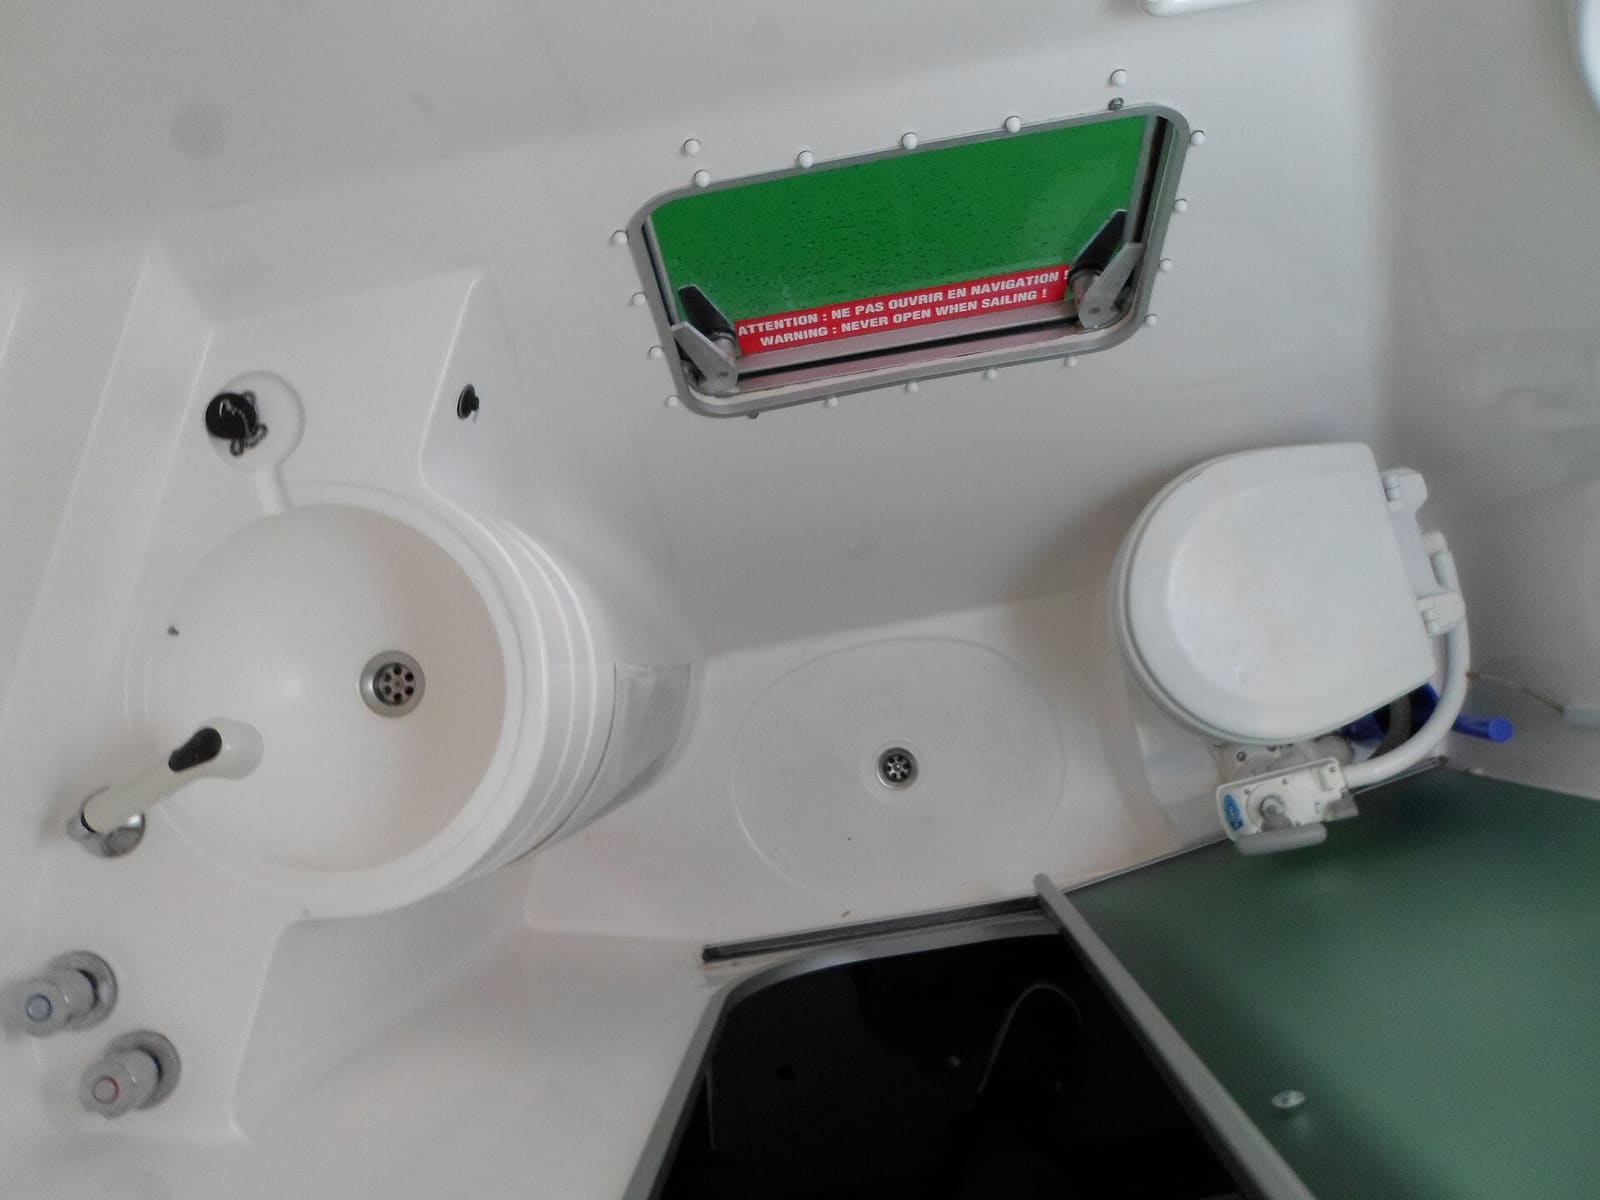
Marine Head and Holding Tank Care: Odors, Clogs, Pump-Outs and Winterizing
Keep your boat's toilet and holding tank working and odor-free, clear common clogs, pump out the right way, and winterize the system. Also covers the Y-valve and the federal no-discharge rules every owner with a head needs to follow.
How to Check a Holding Tank Vent and Replace the Vent Filter
A blocked holding tank vent makes the head gurgle, pressurizes the tank every flush and can collapse it at the pump-out dock. Learn the warning signs, how to clear the vent fitting and hose, when and how to replace the carbon vent filter, and how to keep insects and overfills from plugging it again.

Fuel Gauge Reads Wrong or Empty? How to Test the Gauge, Sender and Wiring
Find out why your boat's fuel gauge reads empty, full, backward or jumps around, working from the free checks at the dash to testing the tank sender and replacing it safely. Most problems are a stuck float, a bad ground or a sender that doesn't match the gauge.
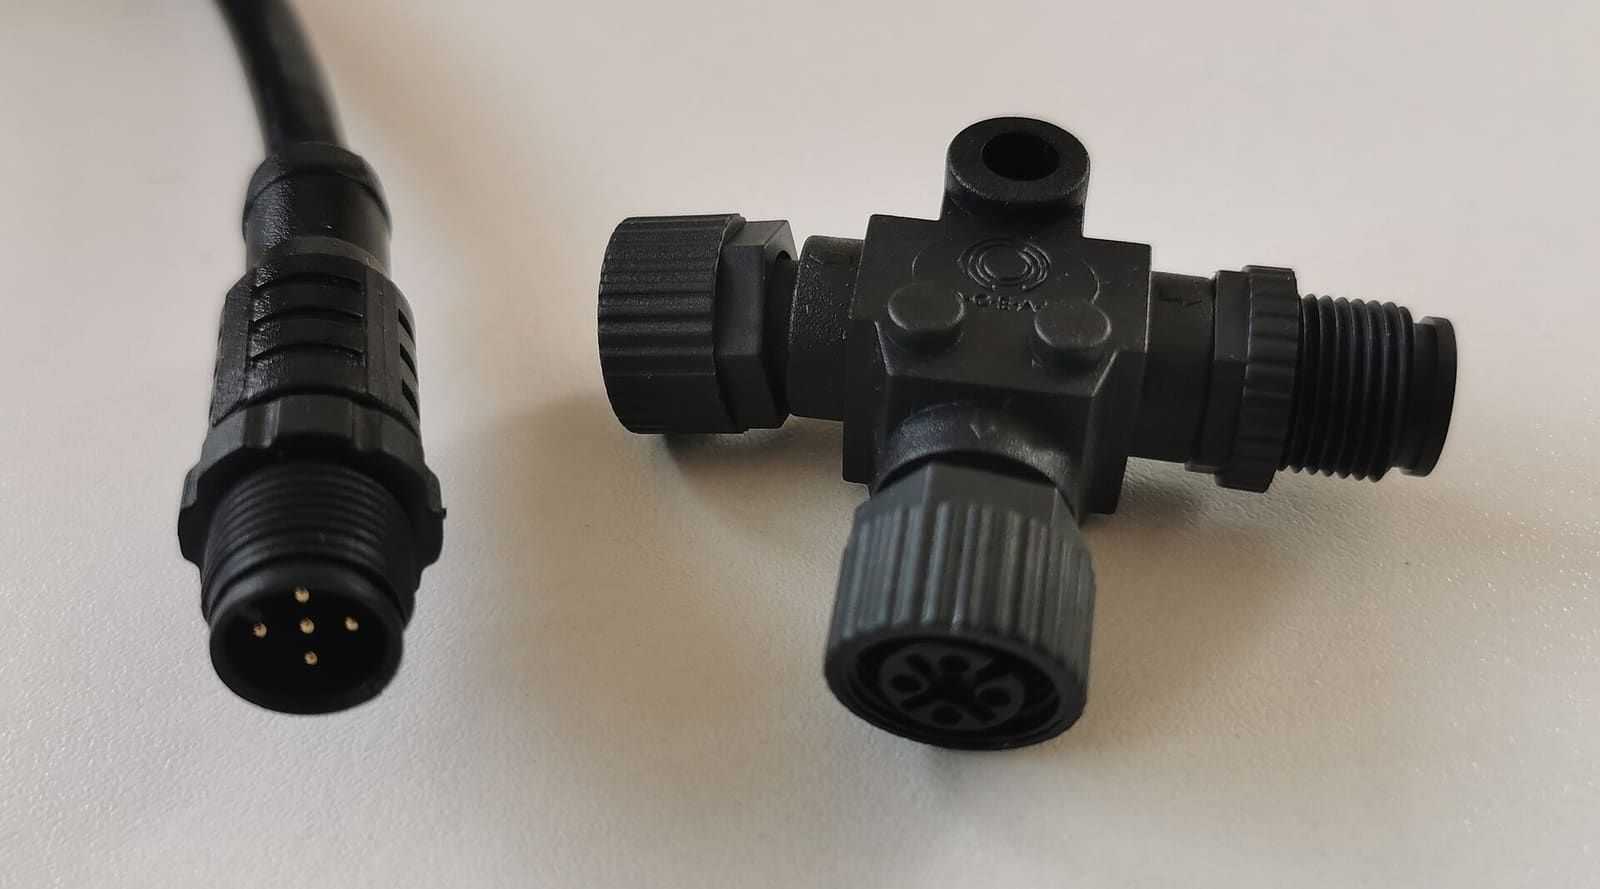
NMEA 2000 Network Basics and Troubleshooting (Plus Chartplotter Updates)
Understand the backbone, terminators, power tap and drop cables that tie your chartplotter, engine data, GPS, depth and autopilot together, then track down why a device keeps dropping off. Finish by updating chartplotter and device software the safe way.

Remote Boat Monitoring: Bilge, Battery, Shore Power and GPS Alerts on Your Phone
Choose, install and set up a system that texts you when your unattended boat is taking on water, losing battery or shore power, or moving without you. Covers cellular versus satellite, what each sensor really tells you, wiring it so it stays on, sensible alert settings and what happens to your location data.
12-Volt Boat Wiring Basics: Circuits, Color Codes, Fuses and Wire Size
Learn how your boat's 12-volt system is laid out, what the ABYC wire colors mean, how fuses and breakers protect the wiring, why voltage drop and tinned wire matter, and how to read a wiring diagram, so you can troubleshoot smarter and know which jobs belong to a marine electrician.