How to Remove and Reinstall an Outboard Gearcase (Lower Unit) Without Losing Shift
Dropping the lower unit is the first step of every outboard water pump job, and the reinstall is where most DIY trouble starts: no forward gear, no cooling water or a driveshaft that will not seat. Learn how to set the shift position, protect the water tube, line up the splines and test everything before the boat goes back in the water.
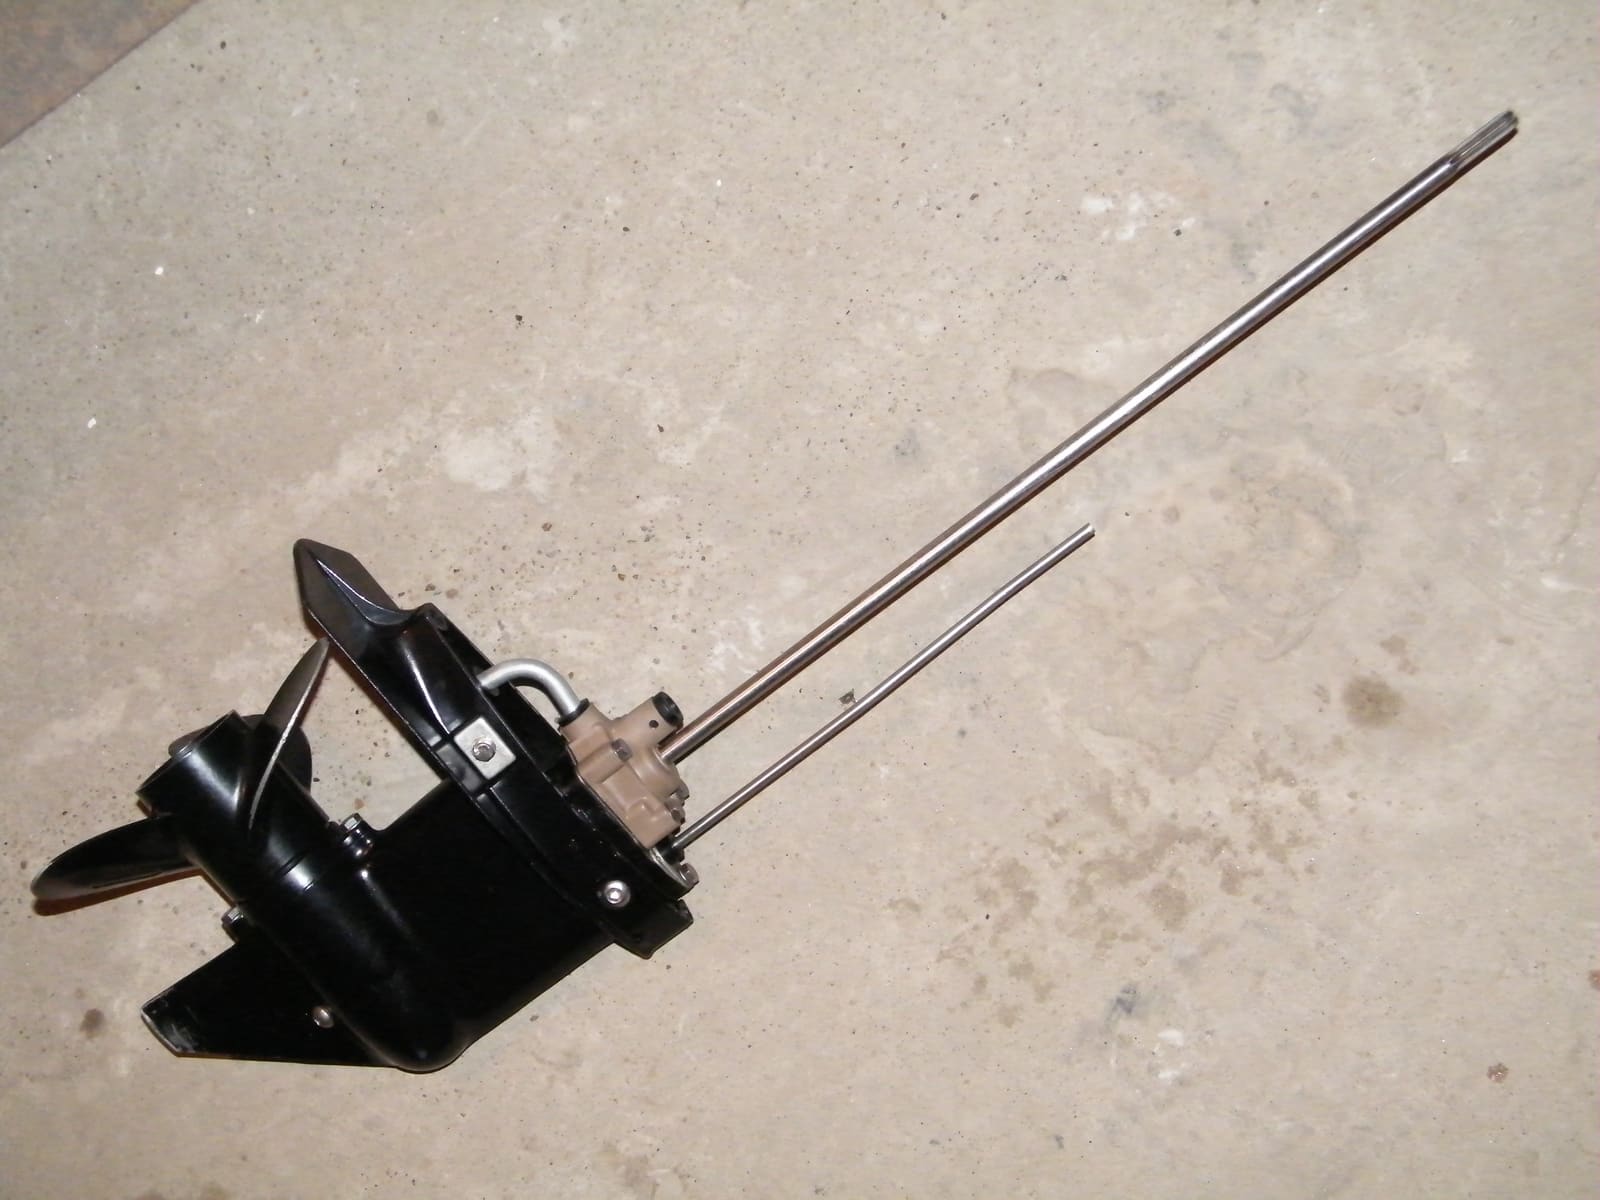
Time
2 h
Shop would charge
$200-450
Applies to
Outboard
Safety first: You will have your hands around the propeller and a heavy gearcase hanging over your feet. Take the key out, remove the kill switch clip and turn the battery switch off before you start, so the engine cannot crank while you work. Support the tilted motor with its tilt lock or a solid block, never only the trim system. Large gearcases can weigh well over 50 pounds: use a helper and a stand. When you test on muffs, stay clear of the propeller, keep the motor in neutral, and never run it without cooling water.
Owners often ask
- I replaced the water pump and now my outboard has no forward gear (or the gears are reversed). What happened?
- The lower unit will not slide all the way back on. How do I line up the driveshaft and shift shaft?
This guide walks you through it. Still stuck? Ask the AI Mechanic about your engine.
Tools
- Socket set with extensions and a torque wrench
- Prop wrench or a block of wood to hold the propeller
- Gearcase stand, or a padded bench and straps
- Flat screwdriver and needle-nose pliers
- Masking tape, a marker, a ruler and a phone camera
- Flush muffs or a test tank
- A helper for anything bigger than a small portable
Parts & supplies
- Water-resistant marine grease (for driveshaft splines)
- Anti-corrosion compound or grease for the bolt threads, as your manual specifies
- New water tube grommet or seal, if the old one is torn or hard
- New cotter pin or clip for the propeller nut and shift rod, if your engine uses them
- Water pump kit, if that is why you are dropping the gearcase
Before you start
Owners drop the gearcase (also called the lower unit) to replace the water pump impeller, grease the driveshaft splines, change seals, or swap a damaged unit. The bolts are the easy part. The reinstall is where people get stuck, because three things must line up at once:
- The driveshaft splines must slide into the crankshaft at the top.
- The shift shaft (or shift rod) must connect in the right position.
- The water tube must slip into its grommet on the water pump so cooling water reaches the powerhead.
Get one of these wrong and you get the classic forum complaints: "no forward after an impeller change", "it shifts backward", or "it overheats with a brand-new pump".
Every brand is different. On many newer Mercury, Yamaha and Suzuki outboards, the shift shaft has a splined coupler that slides apart and back together. Many older engines use a vertical shift rod joined by a pin and clip, and some (such as many Johnson and Evinrude models) have the shift connection under the cowl, which you must disconnect first. Some makers want the engine left in neutral for removal and reinstall; some want it in forward or reverse. BoatUS, for example, notes that most Mercury outboards must be shifted into forward first, while Johnson/Evinrude manuals name the gear for each model. Disconnecting the shift cable at the engine end often makes the job easier on engines where the shift connection is under the cowl. Get the service manual for your exact model and serial number before you start: it overrides everything here.
Do this job on the trailer or in dry storage, never with the boat in the water.
Steps
Find the gearcase removal section in your service manual and note four things: which gear position to use, where every bolt is (one is often hidden), what goes on the bolt threads and splines, and the bolt torque. Buy a new water tube grommet and, if you are doing the pump, the full water pump kit. If you have no manual, a dealer can usually tell you the gear position for your model.
Key out, kill switch clip off, battery switch off. Many owners drain the gear oil now, because they will refill it anyway and it lets you check for water or metal (see the lower unit oil change guide). Put a pan under the gearcase.
Tilt the motor fully up and lock it. Remove the propeller, thrust washer and any spacers, and lay them out in order. Without the prop the gearcase is lighter, fits in a stand and cannot cut your hands. Look for fishing line on the shaft while it is off.
Put the engine in the gear position your manual specifies. If it says neutral, check by turning the driveshaft or prop shaft: in neutral it turns freely both ways.
Now take photos and make marks. On engines with a threaded shift rod or an adjustable coupler, measure the height of the shift rod in neutral before you touch it and write it down. Boating Magazine's DIY gearcase swap made this point: you need that number when you reinstall. Do not move the shift lever or helm control again until the gearcase is back on.
Depending on your engine:
- Pin-and-clip rod: remove the clip and pin to separate the upper and lower rods.
- Splined coupler: nothing to undo; it slides apart as the gearcase drops.
- Connection under the cowl: remove the cowl and disconnect the shift linkage there, as the manual shows.
Also remove any speedometer pickup tube connection and the bonding (ground) wires between the gearcase and the midsection. Note where each one goes.
Loosen all the gearcase bolts. Check for a hidden bolt, often above or behind the trim tab or anode; on some engines you must remove the trim tab to reach it. Mark the trim tab position with a pencil before you take it off. Have your helper hold the gearcase before the last two bolts come out, then slide it straight down and away from the midsection, keeping the driveshaft vertical. Set it in a stand.
If it will not come off, you have probably missed a bolt. BoatUS says a gearcase usually needs some wiggling and pulling even with every bolt out, and a few taps on the gearcase body with a soft mallet are normal. Never strike the anti-ventilation (cavitation) plate: BoatUS warns it is sure to break. If it still won't move, corrosion may be holding it: stop prying and get a shop to help, because forcing it can crack the housing.
With the gearcase off you can see a lot:
- Driveshaft splines: they should be clean and evenly shaped. Rusty, dry or twisted splines need attention (worn splines are a pro job).
- Water tube and grommet: the tube should be straight and clear, and the grommet soft and not torn. Replace a hard or split grommet.
- Shift shaft: straight, not bent, with clean splines or a smooth rod.
- Mating surfaces: clean off old grease, sand and corrosion so the gearcase will seat flat.
Do your water pump work now if that was the goal (see the water pump impeller guide).
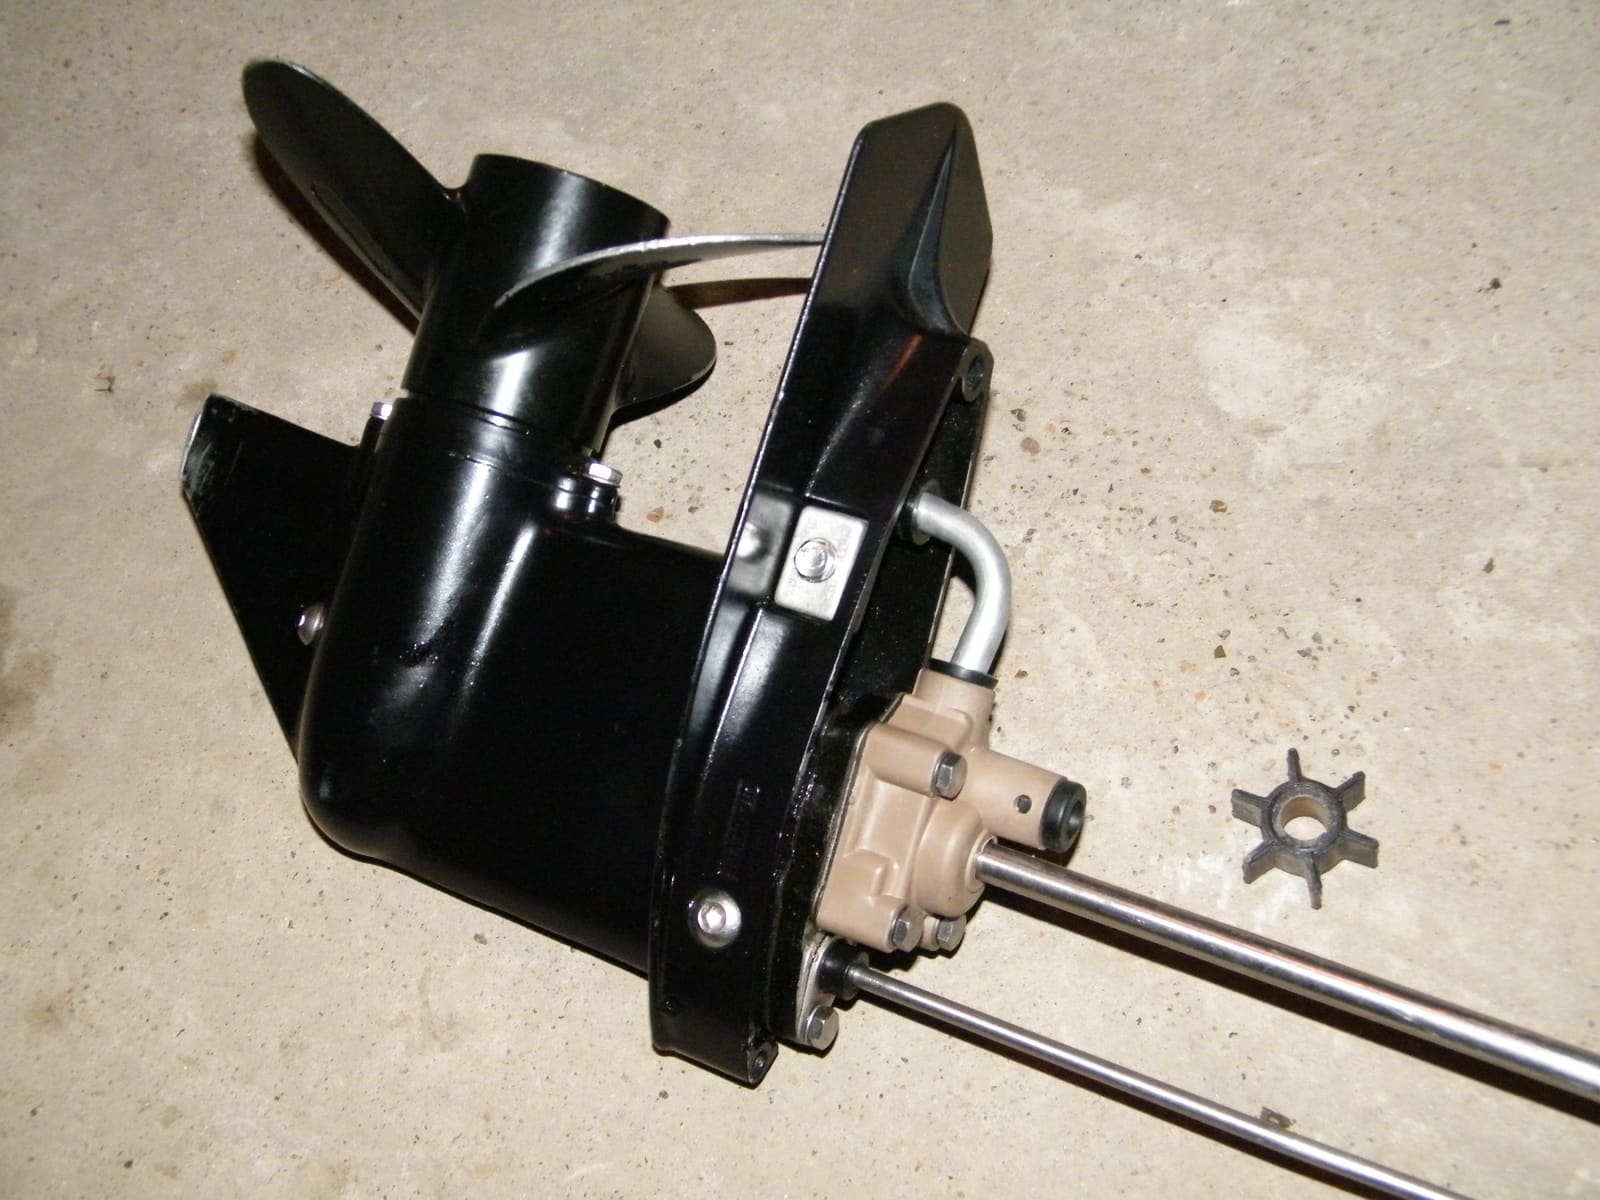
The three things that must line up on reinstall: driveshaft (thick rod), shift rod (thin rod) and the water tube on the pump. Photo: Andshel / Wikimedia Commons · CC BY-SA 4.0 Coat the driveshaft splines with a thin layer of the grease your manual specifies. Do not pack grease on top of the driveshaft end: too much grease can stop it seating fully. Lightly lubricate the shift shaft splines and the water tube seal if the manual says so. Put the bolt thread compound on the bolts. Double-check the gearcase is still in the specified gear, and that the shift rod height matches what you recorded.
With your helper, raise the gearcase straight up under the midsection. Guide the water tube into its grommet first; look from the side with a flashlight to be sure it goes in and does not fold the grommet over. Then the driveshaft enters the midsection.
When the driveshaft reaches the crankshaft, it usually will not slide in by itself. Pull the gearcase back down a couple of inches and turn the driveshaft slightly (or turn the flywheel clockwise by hand, if your manual allows) until the splines line up. Only ever turn it in the engine's normal running direction: Yamaha warns never to rotate an outboard's crankshaft or driveshaft counterclockwise, because turning the pump backward can damage the impeller. At the same time, make sure the shift shaft coupler or rod lines up. Never pull the gearcase up with the bolts: it should go up by hand with no gap between the gearcase and midsection. Before the bolts go in, use a small mirror and a flashlight to confirm the shift rod or coupler actually engaged; owners often find it sitting beside its socket.
Start all the bolts by hand, then snug them evenly in a crisscross pattern. Torque them to the value in your service manual (do not guess: aluminum threads strip easily). Reconnect the shift rod pin and clip if you have one, the bonding wires, the speedometer tube and the trim tab, back in its marked position. Refill the gear oil if you drained it.
Before you start anything, check the shift, with the prop still off or with the kill switch clip out and the key removed:
- Put the helm control in neutral: the prop shaft should turn freely both ways.
- Shift to forward while a helper turns the prop shaft slowly by hand: it should lock in one direction.
- Shift to reverse: it should lock in the other direction.
If forward and reverse are swapped, or one gear will not engage, the shift shaft was off position. Do not try to fix it with the cable barrel: the gearcase has to come off again and go back on in the right position.
Many owners leave the propeller off for this test so nobody can be hurt by it; follow your manual. Connect flush muffs or use a test tank, turn on the water, then start the engine in neutral. Within a few seconds you should see a steady telltale stream. If there is no stream within about 30 seconds, shut down: the water tube may have missed its grommet. Do not shift into gear on muffs or on the trailer. When the test is done, shut down, then reinstall the propeller with a new cotter pin or tab washer and torque the nut to your manual's spec. Yamaha suggests a coat of marine grease on the prop shaft splines first, which makes the prop much easier to remove next time, especially in salt water.
Check for oil at the drain and vent screws, recheck the bolts, and make sure the trim tab is straight. At the dock, with the boat tied up and the area behind clear, run the engine at idle and shift forward and reverse, pausing in neutral between them. Shifting should be crisp and the telltale strong. On your first run, watch the temperature gauge and the telltale.
Common mistakes
- Moving the helm lever or the engine shift lever while the gearcase is off, then reinstalling it in a different gear.
- Trying to fix "no forward after an impeller change" by adjusting the shift cable, when the shift shaft is off by a position inside the gearcase.
- Folding over or missing the water tube grommet, so the brand-new impeller cannot deliver water and the engine overheats.
- Missing the hidden bolt and prying the gearcase off, cracking a flange.
- Pulling a stubborn gearcase into place by tightening the bolts instead of lining up the splines.
- Packing grease on top of the driveshaft so it cannot seat fully.
- Forgetting the bonding wires or the trim tab, which speeds up corrosion and can make steering pull.
- Running the engine on muffs without the water on, or shifting it into gear on the trailer.
When to call a pro
- The gearcase is stuck by corrosion after all the bolts are out.
- The driveshaft or crankshaft splines are worn, twisted or rusted away.
- You find water, metal flakes or chunks in the gear oil (see the lower unit oil change guide).
- Shifting is wrong after reinstall and you cannot find the gear position for your model.
- Engines where the manual requires special tools or shimming, or a new gearcase that needs the shift rod set up from scratch.
- No telltale or an overheat alarm after reinstall that you cannot trace to the grommet.
Tips
- Take photos of every step on the way apart; they are your best manual on the way back.
- Grease the driveshaft splines every time the gearcase is off; it makes the next removal much easier.
- Keep a spare water tube grommet with the water pump kit; it is cheap and often the part that fails.
- A gearcase stand pays for itself the first time it keeps the unit from falling over.
Official references
We read these to write this guide. Your engine's own manual always wins.
- Boating Magazine – Removing an Outboard Lower Unit
- Boating Magazine – Replacing an Outboard Lower Unit Gearcase
- BoatUS – Replacing An Outboard's Water Pump (2013)
- BoatUS – Outboard Water Pump Impeller Service (2017)
- Yamaha Outboards – Maintenance Matters, Additional Tasks (water pump and impeller)
- Yamaha Outboards – Maintenance Matters, Propeller Solutions
Safety: BoatMend is for information only and does not replace a certified marine technician. You are responsible for your safety and your boat. Read the full disclaimer.
Last updated 2026-10-24
Related guides
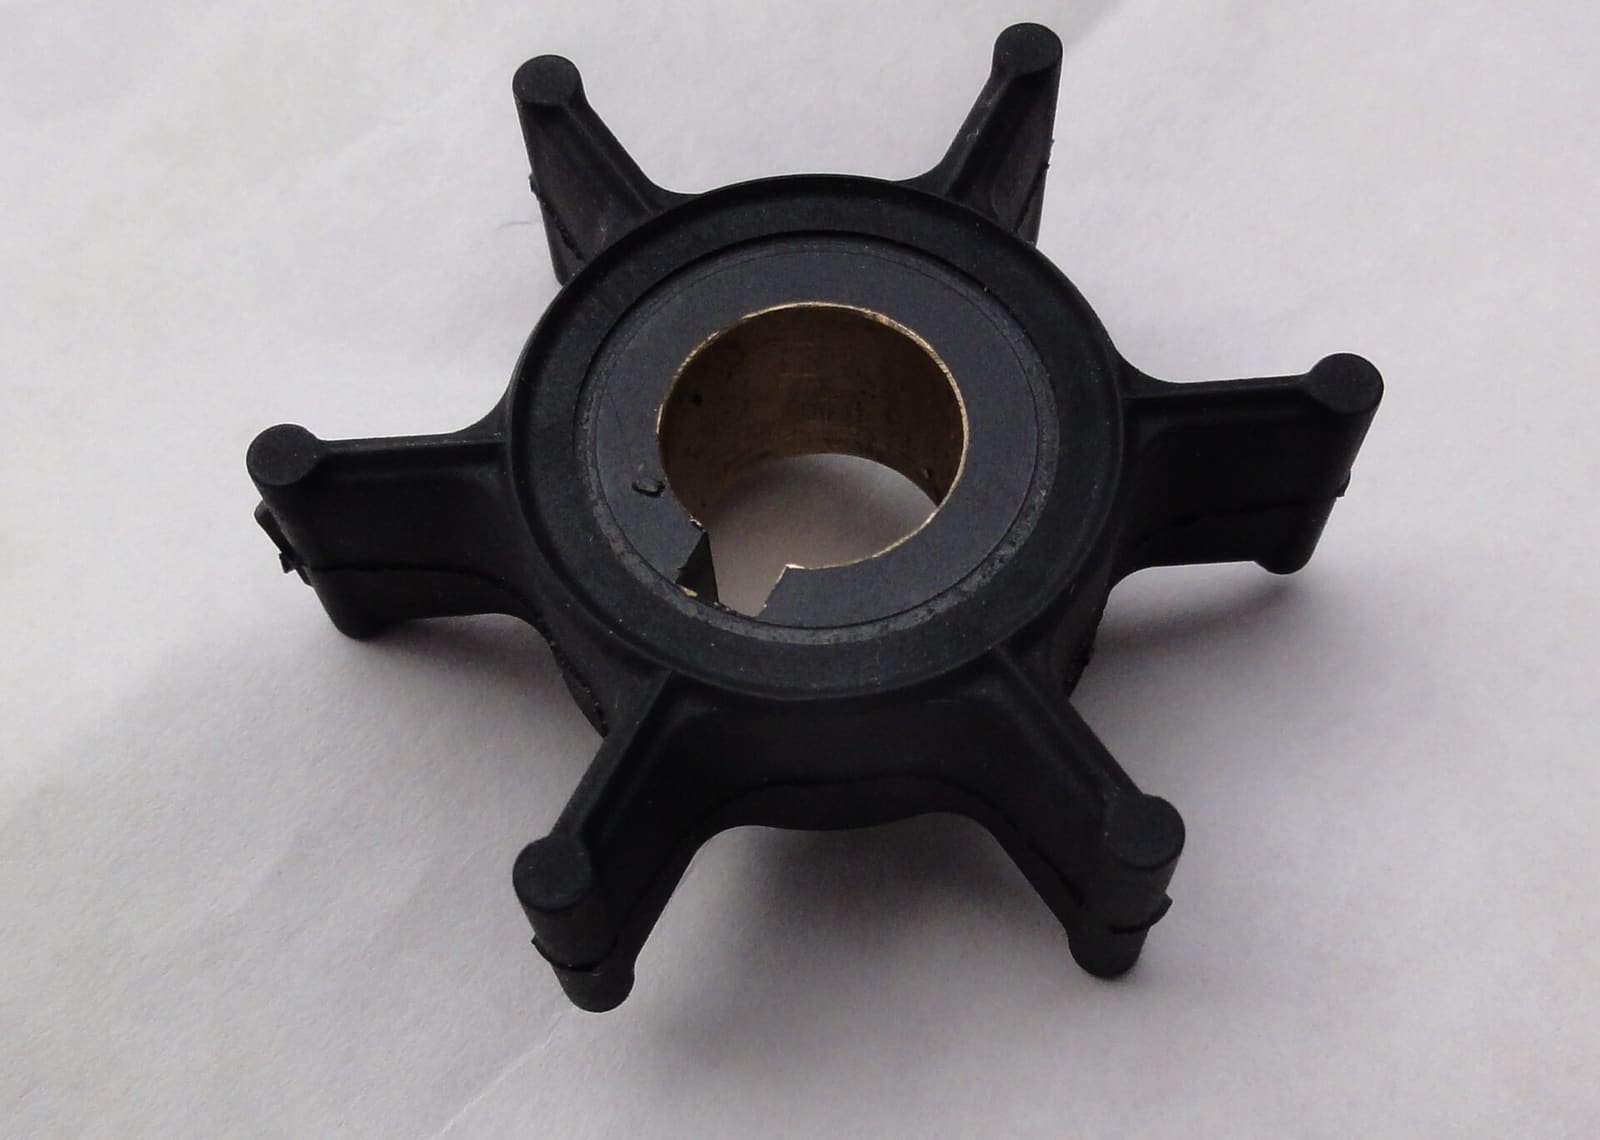
How to Replace the Water Pump Impeller
Replace the rubber impeller that pumps cooling water through your engine, the part most often behind overheating. On many outboards it is a two-hour driveway job that saves a shop bill of several hundred dollars and prevents far costlier heat damage.
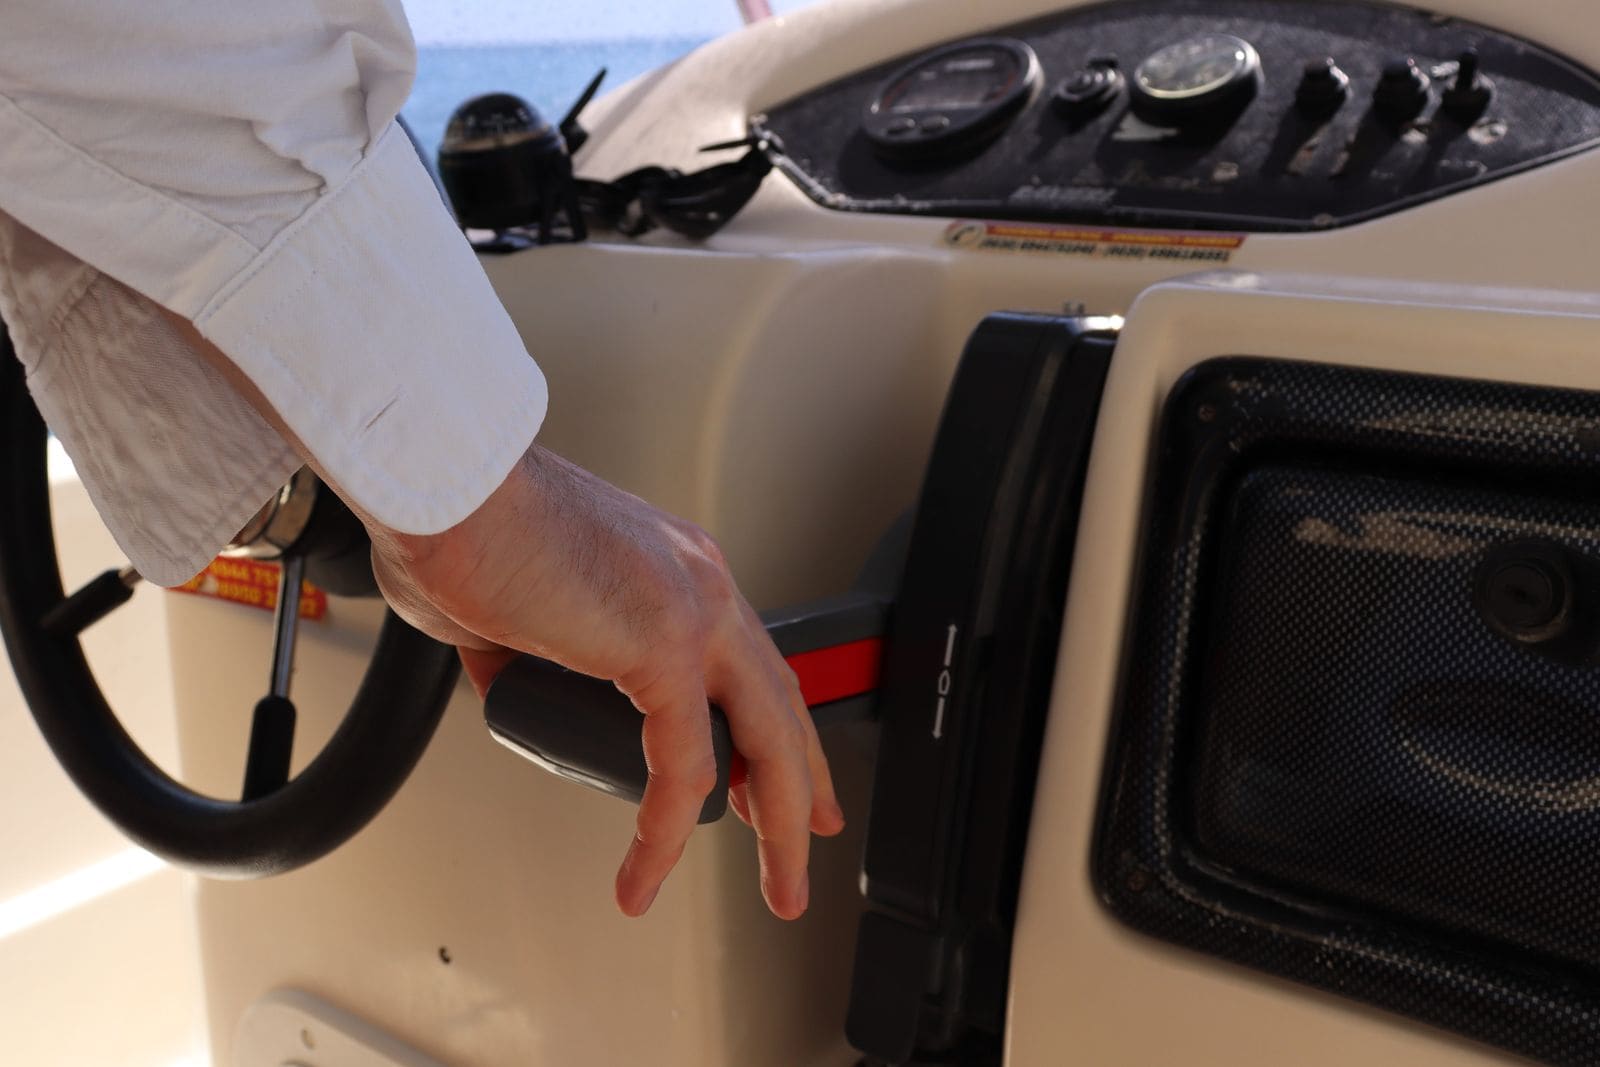
How to Check and Adjust Boat Shift and Throttle Cables
Hard shifting, a lever that will not go fully into gear, or a gear that lands in a different spot every time usually point to the control cables. Learn how to find out whether the problem is the cable, the control box or the engine, how to adjust the cable ends, and when it is time to replace both cables.
How to Change Lower Unit (Gearcase) and Sterndrive Oil
Drain and refill the gear oil in your outboard lower unit or sterndrive, and learn to spot water intrusion before it destroys the gears. It is a 30-minute job that protects a gearcase costing thousands to replace.
Propeller Care: Inspect, Remove, Replace and Choose the Right Pitch
Check your prop for damage, pull it to clear fishing line and grease the shaft, reinstall it correctly, and learn how pitch affects your engine's wide-open-throttle RPM. The right prop in good shape protects your engine and often makes the boat run better and use less fuel.
Engine Overheating - Troubleshooting Guide
Work through the most likely causes of a hot engine or overheat alarm, from a blocked water intake to a worn impeller or stuck thermostat. Acting fast and in the right order can save your engine and often gets you home without a tow.
How to Grease Your Outboard's Lubrication Points
Grease the swivel bracket, tilt tube, steering and shift linkages, trim rams and prop shaft splines on your outboard. Grease keeps salt and water out of the moving joints. A 30-minute job once or twice a season prevents seized steering, stuck props and corroded brackets.