Fuel Gauge Reads Wrong or Empty? How to Test the Gauge, Sender and Wiring
Find out why your boat's fuel gauge reads empty, full, backward or jumps around, working from the free checks at the dash to testing the tank sender and replacing it safely. Most problems are a stuck float, a bad ground or a sender that doesn't match the gauge.

Time
1 h 30 min
Shop would charge
$150-400
Applies to
Outboard, Sterndrive (I/O), Gas inboard, Marine diesel
Safety first: The sender sits in the top of the fuel tank, so the area around it can hold gasoline vapor. Do all jumper and meter tests at the back of the gauge, behind the dash, never by touching wires together at the tank. Before you open a sender, turn the battery switch off, ventilate the compartment, and keep anything that can spark away. If you smell fuel, see wet fuel around the sender, or find a leaking tank, stop, keep people and flames away, and call a marine technician (or 911 if fuel is pooling).
Owners often ask
- My fuel gauge reads empty with half a tank. Is it the gauge or the sending unit?
- Can I use a European fuel gauge with the US fuel sender in my tank?
This guide walks you through it. Still stuck? Ask the AI Mechanic about your engine.
Tools
- Digital multimeter (with an ohms range that reads at least 300 ohms)
- Short jumper wire with small alligator clips
- Screwdrivers and a small socket set
- Flashlight or headlamp
- Fine sandpaper or a small brass brush for terminals
- Marker or tape (to mark the sender's position before removal)
- Rags and an approved fuel container (only if the sender comes out)
Parts & supplies
- Replacement sender of the right type, depth and ohm range (only after testing proves it bad)
- New sender gasket (usually included with the sender)
- Marine heat-shrink crimp terminals and dielectric grease
- Fuse of the exact rating marked for the gauge circuit
Before you start
A typical analog fuel gauge is a simple ohmmeter. The sender in the tank is a variable resistor moved by a float. Moeller Marine says its senders and gauges use the US industry standard of 33 ohms at full and 240 ohms at empty, and Rod Collins of Marine How To lists the same 33–240 ohm range for US gauge makers such as Faria, Teleflex and Moeller. Moeller also points out that the sender itself gets no 12 volts: the gauge is powered, and the sender only provides resistance.
Not every boat uses that standard. Marine How To warns that European boats and boats with VDO gauges may use different resistance ranges, so check with the gauge maker before buying parts. Boats with digital displays may read the sender through the engine or a network module instead of a separate gauge.
Watch what the gauge does, because the symptom points the way:
- Always empty: an open circuit (broken wire, corroded terminal, failed sender) or a float stuck at the bottom.
- Always full: the sender wire is shorted to ground, or the float is stuck at the top.
- Reads backward: a mismatched gauge and sender, or wiring connected wrong.
- Jumps around: worn sender contacts or a loose connection.
Steps
Fill the tank (or note exactly how many gallons you add) and see what the gauge does. A gauge that reads a quarter low all the time may just be a sender arm set for a slightly different tank depth; one that never moves is a real fault. Remember that a boat sitting bow-up on a trailer or lift reads differently from one floating level.
Turn the battery switch on and the key to ON. Most fuel gauges only work with the key on. If the fuel gauge's light and needle are both dead, and especially if other gauges are dead too, check the gauge fuse or breaker first and see the gauges troubleshooting guide for power and ground checks. Replace a blown fuse only with the same rating.
Owners often report a gauge stuck on empty after the tank was drained for storage or a repair: the float arm can hang up at the bottom. It sometimes frees itself once the boat is running and rocking. If the gauge suddenly comes alive after a rough ride, a sticky sender is the likely cause and it will probably happen again.
Moeller describes a quick test, done behind the dash:
- With the power off, the needle should rest at or below empty.
- Disconnect the sender wire from the gauge's sender terminal (often marked S or SEND). Turn the power on; the needle should stay at empty.
- Briefly touch a jumper from the sender terminal to the gauge's ground terminal. The needle should swing past full.
If the gauge does all three, the gauge is fine and the problem is the sender or its wiring. If it doesn't move with power and ground confirmed, the gauge is bad.
A corroded ground is one of the most common causes of wrong readings. With the key on, measure voltage between the gauge's power terminal and its ground terminal, then between the power terminal and the battery negative. If the second reading is higher, the gauge ground is poor. Then find the sender's ground: on many arm-type senders it's a terminal or screw on the flange, with a black wire back to the boat's negative. Clean and tighten both ends.
On saltwater boats the sender ground often corrodes somewhere under the deck where you can't follow it. Owners regularly fix an "always empty" gauge by running a new marine-grade ground wire from the sender's ground terminal to the boat's negative bus, routed and supported like any other new wire, instead of tearing up the floor to find the old one. Test with the meter first, so you know the ground is the problem before you pull wire.
Boating Magazine notes that pink is the ABYC color for the wire from the sender to the fuel gauge. Follow it from the gauge to the tank as far as you can and look for chafe, pinches under hatches, or green corroded crimps. With the battery off and the wire disconnected at both ends, a continuity test tells you whether it is broken. A wire that is pinched against metal can short to ground, which makes the gauge read full.
With the key off, disconnect the sender wire at the back of the gauge again. Set your meter to ohms, on a range that reads above 240 (often the "2k" setting), and measure between that wire and ground. On a standard US system:
- Somewhere between about 33 and 240 ohms, and roughly matching the fuel level: the sender and wire are probably fine. Look again at the gauge and its ground.
- OL, or a "1" at the left of the display: an open circuit, which means a broken wire, a corroded connection at the tank, or a failed sender. Marine How To calls an OL reading a complete open-circuit failure.
- Close to zero: a short to ground. The gauge will sit on full.
- Way outside the range: Marine How To notes that a little over or under is usually OK, but a big difference means a bad sender.
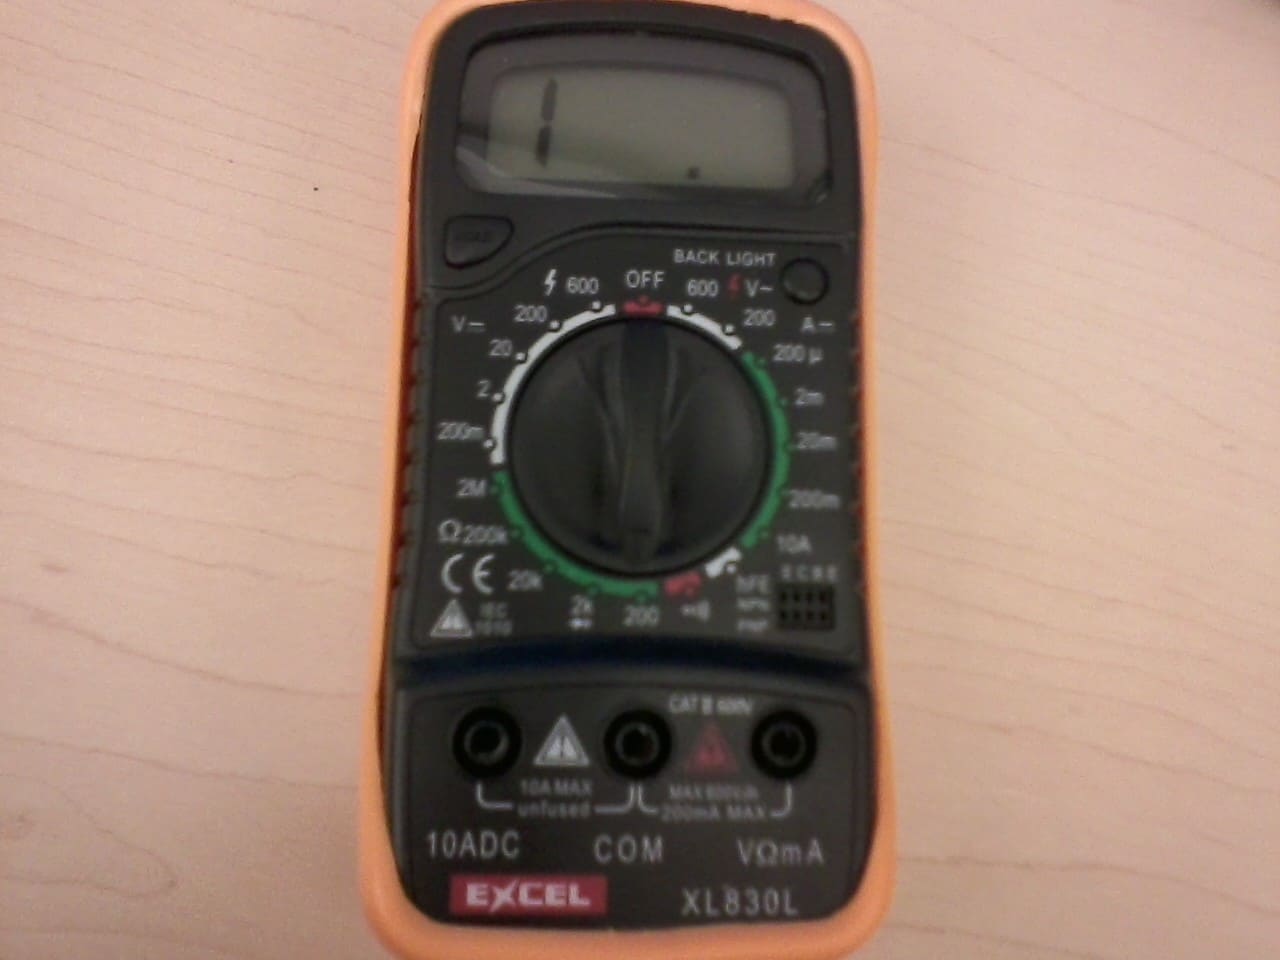
This meter is on its 200-ohm range, and the lone 1 means open or over range. A 240-ohm empty sender would show the same thing, so use the 2k range. Photo: 1sfoerster / Wikimedia Commons · CC BY-SA 3.0 Marine How To describes three common types, and they're tested differently:
- Swing-arm resistor senders (inexpensive and the most common): measure from the center stud to the flange or ground terminal. These fail most often.
- Float-on-a-tube senders (the WEMA style): no electrical parts touch the fuel, and they're very reliable. Test across the two wires on the pigtail, not to the flange. To the flange they read open even when they're good.
- Mechanical senders with an electric conversion capsule: you get a dial on top of the sender plus a signal for the dash gauge. The capsule is isolated from the tank, so you test across its two leads.
Moeller adds that electric senders are generally either reed-switch or resistor style.
If the gauge reads full on an empty tank and empty on a full one, Moeller's advice is to check the wiring first, then ohm-test the sender, and only then have the gauge tested. A backward gauge after a repair usually means a sender or gauge from a different standard (for example, a European gauge with a US sender). Moeller says its senders work with most analog gauges, but you should confirm the gauge reads 33 to 240 ohms before mixing brands.
The sender is usually under a round access plate in the deck above the tank, held to the tank by five screws. Before you open anything:
- Battery switch off. Open hatches and run the blower if you have one; let the compartment air out.
- Have a fire extinguisher within reach and no tools that can spark, no smoking and no work lights that aren't rated for it.
- Keep the fuel level well below the top of the tank.
- Clean around the plate so dirt and water don't fall into the tank.
If you aren't comfortable opening a gas tank, this is the point to call a pro.
Mark the sender's position on the tank before you loosen the screws. Moeller notes the bolt pattern is offset so the sender only fits one way, and that its tanks use the 5-hole SAE pattern (SAE J1810). Lift the sender out slowly so the float arm doesn't snag. Look for a bent arm, a float that's cracked or heavy with fuel, and corrosion on the terminals. On a swing-arm sender you can watch the meter while you move the arm: Marine How To shows arm-down (empty) reading near 240 ohms and arm level with the flange (full) near 33 ohms. Cover the opening with a clean rag while the sender is out.
Buy a sender with the right ohm range for your gauge and the right depth for your tank. Moeller's notes for installing one:
- Swing-arm senders are cut and adjusted for tank depth: follow the instruction sheet that comes with the sender exactly.
- Line up the gasket and sender holes, then tighten the screws in a star pattern so the gasket seals evenly.
- No sealant is needed. If you use one, make sure it's rated for E10 fuel.
- Moeller suggests 16–18 gauge wire for the sender-to-gauge circuit.
Use marine heat-shrink terminals on the sender wires and a dab of dielectric grease.
Close everything up, wait, and sniff the compartment: there should be no fuel smell. Run the boat, then check the gauge against a known fill-up. Write down what the gauge reads with known gallons so you know how far to trust it.
Common mistakes
- Jumping the sender wires at the tank to test the gauge. Do it at the gauge, where there's no fuel vapor.
- Replacing the gauge when the real problem is a corroded ground or a pinched pink wire.
- Testing a tube-style or capsule sender to the flange, getting "OL" and throwing away a good part.
- Buying a sender or gauge with a different ohm range, then getting a gauge that reads backward or pegs at one end.
- Forgetting to mark the sender's orientation and fighting the offset bolt pattern later.
- Using a meter range that is too small, so a good 240-ohm sender looks open.
- Opening the tank with the battery on, a work light dangling or a fuel smell already present.
- Plugging a removed sender back into its wires and swinging the arm with the key on, right over the open tank. Check it with the meter and the power off instead, and cover the tank opening.
When to call a pro
- Any fuel smell, wet fuel around the sender or tank top, or a tank that looks corroded
- You don't want to open the tank yourself, or the sender screws are seized or stripped
- The sender is under a fixed deck with no access plate
- The fuel level comes from a digital display or engine module that needs dealer software to set up
- New wiring through the boat, or a fuse that keeps blowing on the gauge circuit
Tips
- Note the gallons you burn per engine hour. It's a handy backup when the gauge is in doubt.
- Never plan a trip on the gauge alone. Boating Magazine reports that running out of fuel made up about 7 percent of TowBoatUS calls in 2021, and recommends logging fuel purchases and engine hours plus the old rule of thirds: a third of the fuel to go out, a third to come back, a third in reserve.
- The cheap swing-arm senders fail most often; Marine How To's author prefers a float-on-tube or mechanical-plus-capsule sender for reliability.
- Keep water off the top of the tank. Fixing a leaky access plate above the sender protects both the sender and the fuel.
- If your gauge reads a little low but steady, don't chase it: just learn its "real" empty and refuel early.
Official references
We read these to write this guide. Your engine's own manual always wins.
- Moeller Marine – Frequently Asked Questions (Sending Units & Gauges)
- Marine How To (Rod Collins, Compass Marine) – Testing A Marine Fuel Sender
- Boating Magazine – Testing Boat Analog Fuel Gauge and Boat Fuel Sending Unit
- Boating Magazine – How to Avoid Running Out of Fuel While Boating (rule of thirds)
Safety: BoatMend is for information only and does not replace a certified marine technician. You are responsible for your safety and your boat. Read the full disclaimer.
Last updated 2026-10-24
Related guides
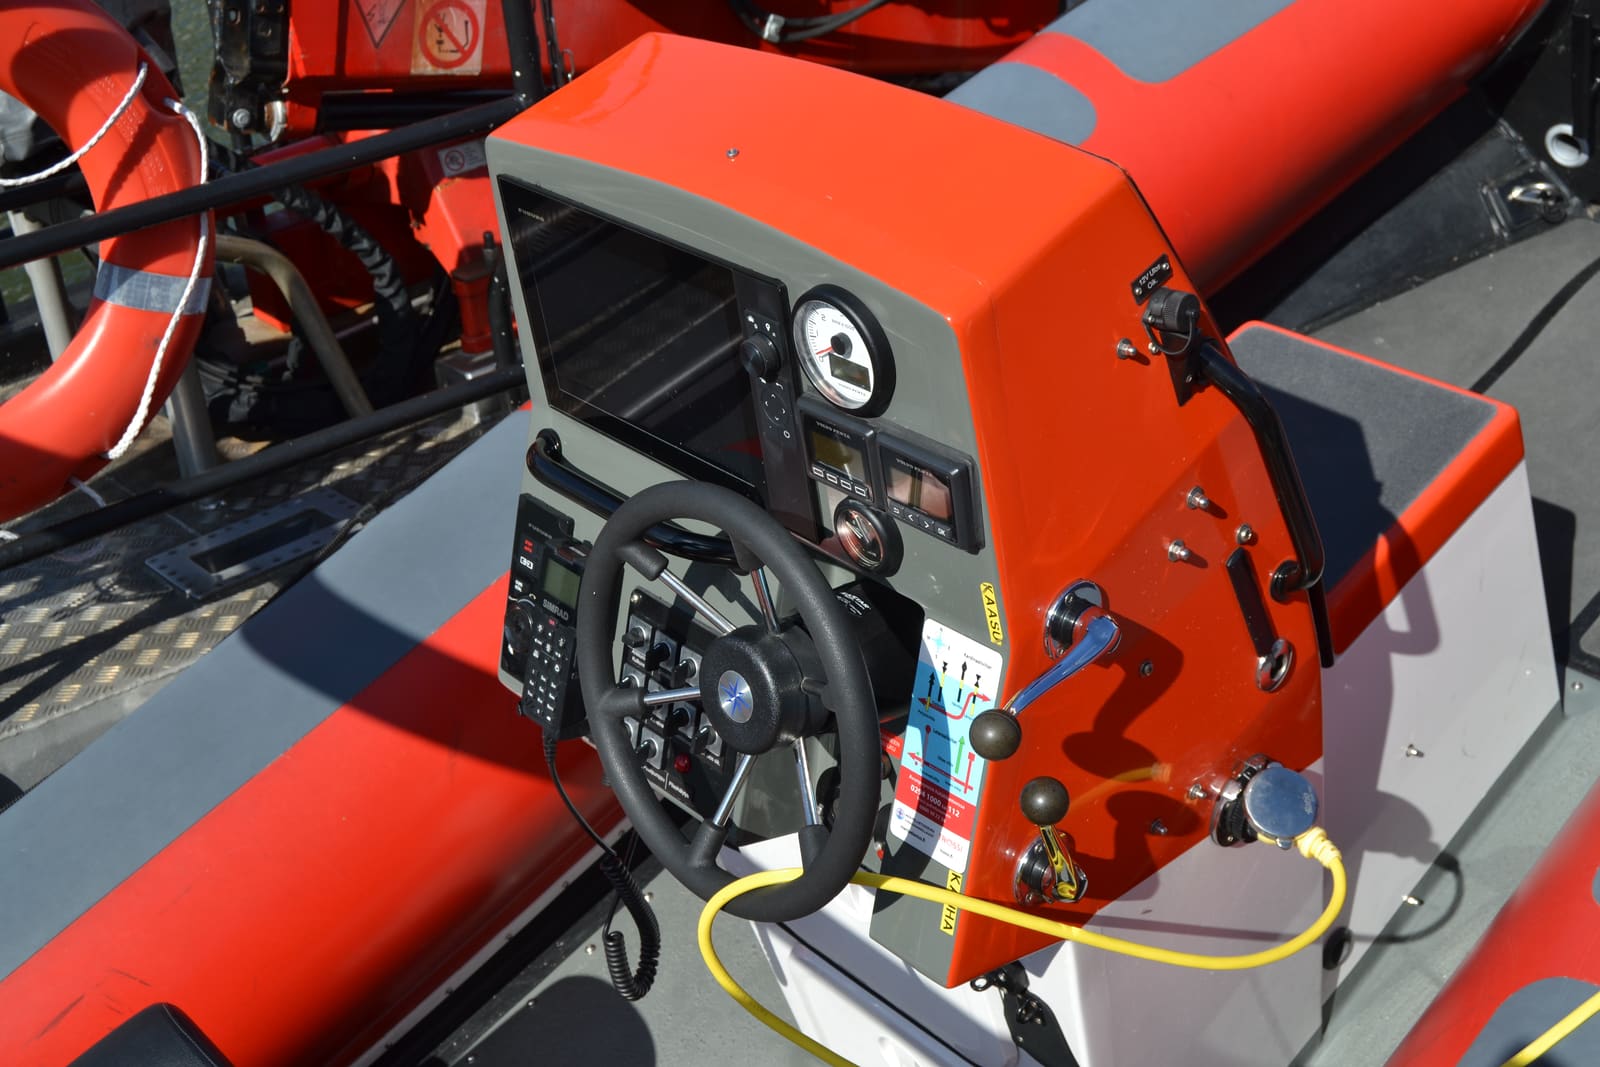
How to Troubleshoot Dash Gauges, a Dead Tachometer or a Wrong Fuel Gauge
Work through dead or wrong dash gauges from the cheapest check to the most involved: fuses and breakers, power and ground, the gauge-versus-sender test, the tachometer's pulse setting and the extra checks for digital network gauges. Most gauge problems turn out to be a bad connection, not a bad gauge.
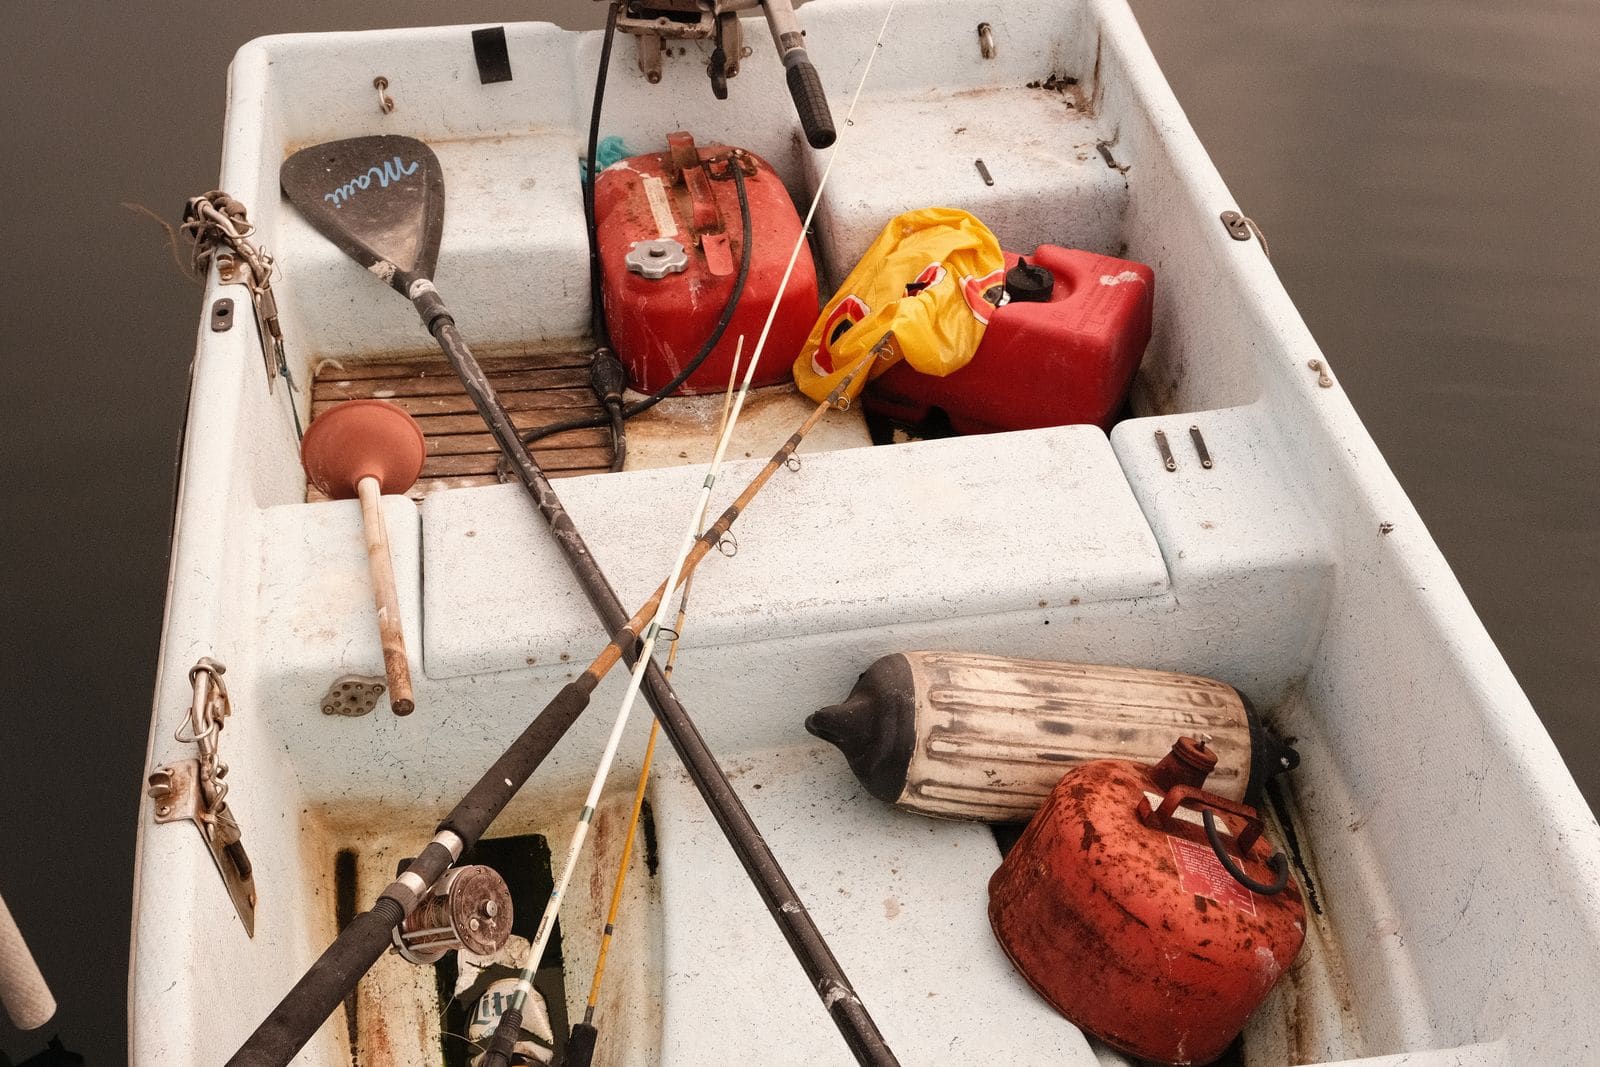
How to Inspect Your Boat's Fuel Tank, Fill, Vent and Hoses
A leaking gas tank is one of the most dangerous problems a boat can have, and it usually starts out of sight. Learn how to inspect portable and built-in tanks, spot aluminum tanks corroding from below, know the ethanol risk for old fiberglass tanks, and check the fill, vent, hoses, clamps and sender, plus why tank replacement is a job for a pro.
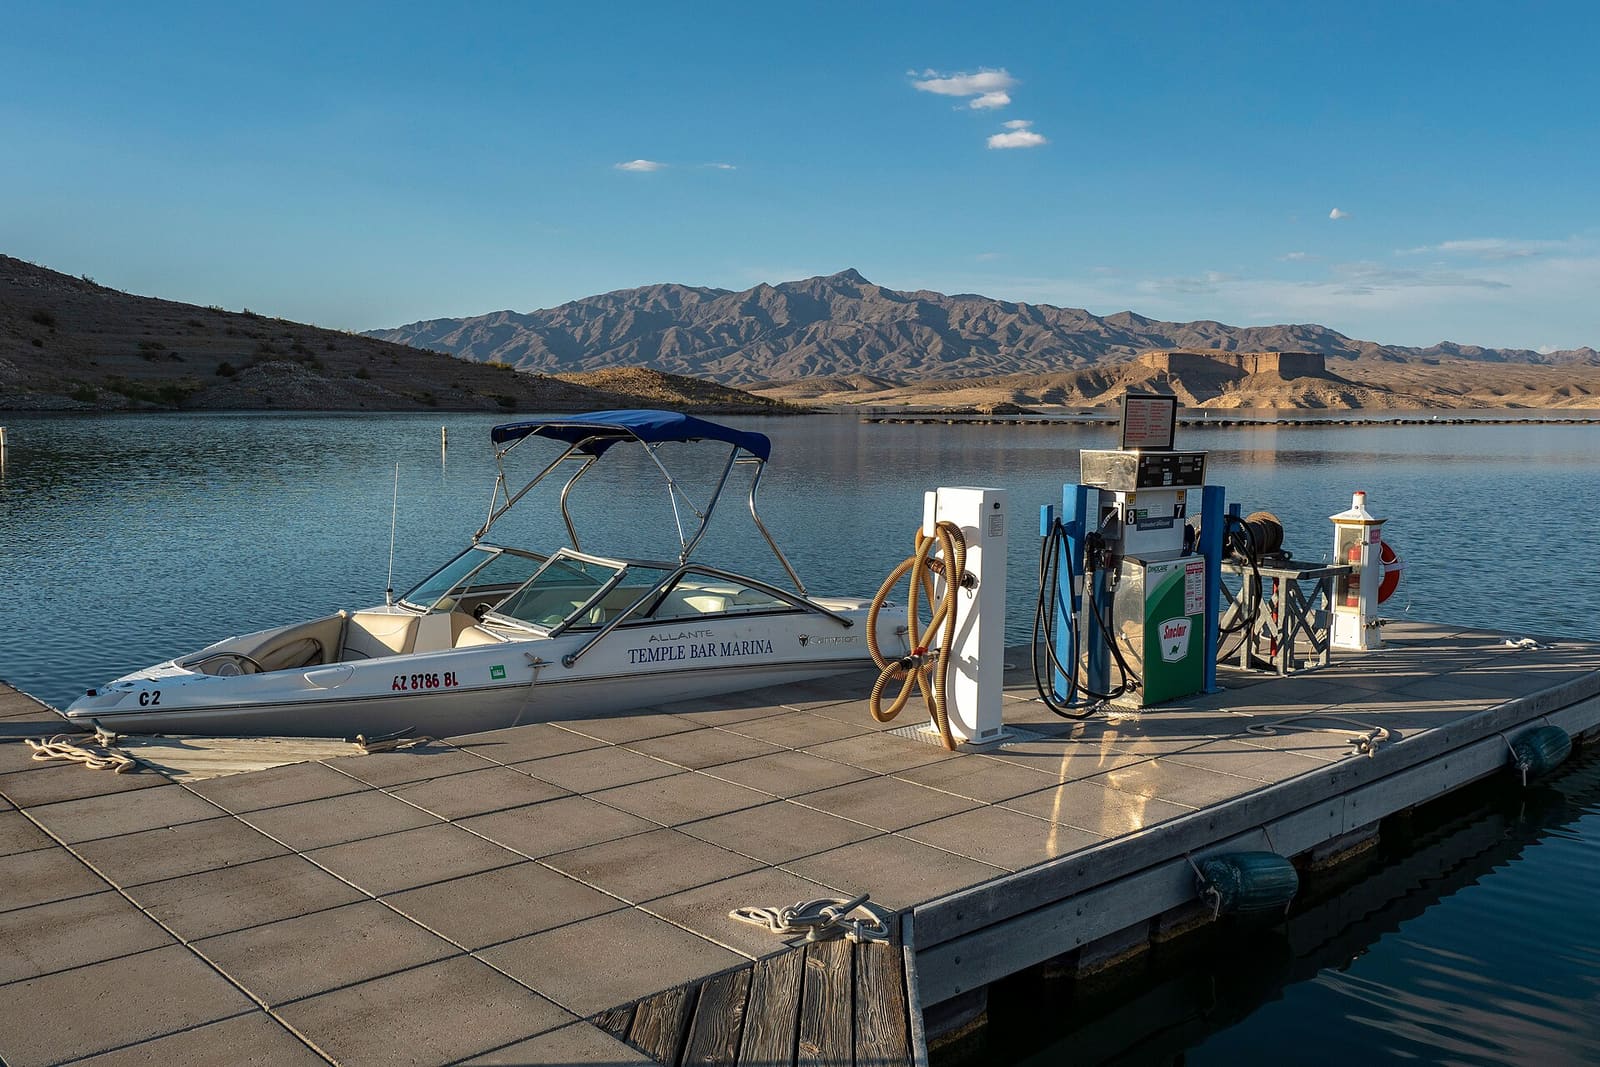
How to Refuel a Boat Safely (Gas Dock, Gas Station and Portable Tanks)
A step-by-step fueling routine that keeps gasoline vapor out of your bilge and fuel out of the water: shut everything down, close up, keep the nozzle in contact, stop short of full, ventilate, run the blower and sniff before you start. Includes portable tanks, personal watercraft and what to do about a spill.

How to Find and Fix Corroded Electrical Connections on a Boat
Track down the green crust and loose terminals behind flickering lights, dead gauges and slow cranking with a simple voltage-drop test, then remake the connection the marine way: tinned wire, a proper crimp, adhesive-lined heat shrink and a protective coating.
Ethanol (E10) Fuel Care: Stabilizer, Phase Separation, Fuel Lines and Tank Vents
Keep E10 gasoline from damaging your boat engine. Learn how to use stabilizer, test for water and phase separation, and inspect the fuel lines, primer bulb, anti-siphon valve and tank vent. Most fuel-related breakdowns start with one of these.
How to Inspect a Used Boat Before You Buy
A step-by-step checklist for looking over a used boat, from paperwork and the hull ID number to the transom, engine, compression test, sea trial and trailer. Know what to check yourself, what the red flags mean, and when to pay a marine surveyor.