How to Inspect Your Boat's Fuel Tank, Fill, Vent and Hoses
A leaking gas tank is one of the most dangerous problems a boat can have, and it usually starts out of sight. Learn how to inspect portable and built-in tanks, spot aluminum tanks corroding from below, know the ethanol risk for old fiberglass tanks, and check the fill, vent, hoses, clamps and sender, plus why tank replacement is a job for a pro.
Time
1 h 30 min
Shop would charge
$150-400
Applies to
Outboard, Sterndrive (I/O), Gas inboard, Jet boat
Safety first: Gasoline vapor is heavier than air and collects in the bilge, where one spark can cause an explosion. If you smell gas or see fuel in the bilge, stop: do not start the engine, do not use any switches, turn off the battery switch only if you can do it without sparks near the fumes, get everyone off the boat and away from it, and call a marine technician. On the water, shut down, put on life jackets, and call the USCG on VHF 16 or dial 911. Never use a flame or a non-sealed work light near a fuel tank, and never smoke while doing this inspection.
Fuel smell, water coming in, CO alarm or smoke? Stop, get everyone in life jackets and call USCG on VHF 16 or 911. For a tow: Sea Tow or TowBoatUS.
Owners often ask
- How do I know if my built-in aluminum fuel tank is corroded or leaking?
- My boat has an old fiberglass gas tank. Is it safe to use E10 fuel?
This guide walks you through it. Still stuck? Ask the AI Mechanic about your engine.
Tools
- Flashlight and an inspection mirror
- Phone camera (for hard-to-see spots)
- Clean glass jar with a lid (for a fuel sample)
- Clean, dry rags
- Screwdrivers or nut drivers for access plates
- Fire extinguisher within reach
Parts & supplies
- Fill cap O-ring for your fill (if worn)
- Sending unit gasket (if it weeps)
- USCG Type A1 fuel hose, marked on the hose (replacement by a qualified installer)
- Stainless steel hose clamps
Before you start
This guide is an inspection: looking, sniffing, feeling and taking a fuel sample. You will not open the fuel system or repair it. Replacing a built-in tank or fuel hoses is a job for a qualified marine technician, because a bad connection can leak into the bilge.
Know which tank you have:
- Portable tanks (usually plastic, 3 to 6 gallons) on small outboard boats. They are not covered by the USCG built-in fuel system rules, but they still leak and let water in.
- Built-in aluminum tanks: the most common below-deck tank on older and many current boats.
- Built-in plastic (polyethylene) tanks: common on newer boats; they do not corrode but can swell or warp.
- Built-in fiberglass tanks: mostly on older boats.
Read the tank label if you can see it. Federal rules (33 CFR 183) require each built-in gasoline tank to carry a label with the maker, the month and year built, the capacity, the material and the test pressure. That tells you how old the tank is and what it is made of.
Do this inspection once a year, when you buy a used boat, after a hard grounding, and any time you smell fuel.
Steps
Open every hatch and the engine compartment and sniff before you do anything else. A gas smell in a closed bilge is a stop sign (see the safety box). A faint smell right after fueling that quickly clears may be a spill at the fill; a smell that comes back on its own is a leak until proven otherwise. Run the bilge blower for at least four minutes before starting the engine any time the boat has been closed up (see the bilge blower guide).
- Look for cracks, swelling, and soft or bulging sides, especially near the fittings.
- Check the cap seal and the vent: the vent must be open when the engine runs and closed for storage.
- Newer tanks may have no vent screw. Federal evaporative rules (40 CFR 1045.112) have applied to new portable marine tanks since 2010–2011, so many current tanks use a self-sealing cap or automatic vent valve. These tanks can look slightly swollen on a hot day or pulled in on a cold one. Open the cap slowly, away from the engine, to let pressure out. Never drill a vent hole or replace the cap with an old-style one; follow the tank maker's instructions. A tank that stays badly deformed, cracks or won't feed fuel should be replaced.
- Check the fuel line connector at the tank and the O-ring inside it. A worn O-ring can suck air (engine stumbles) or leak. Quick-disconnect fittings are brand-specific (Mercury, Yamaha, OMC-style and others), so buy replacements that match your engine and tank, and keep the dust caps on when the line is unplugged.
- Store portable tanks out of the boat, in a dry, ventilated place out of the sun, when you are not using it. BoatUS notes rain often finds its way in through the cap if the tank stays aboard.
- Never fill a portable tank while it is in the boat: take it out and set it on the ground.
Mercury suggests draining or siphoning a few ounces into a clean glass jar and letting it sit for about 30 minutes. Water shows as a clear bubble or layer on the bottom; phase-separated ethanol fuel shows as a cloudy, jelly-like layer. BoatUS calls a fuel sample an important first step in judging a tank: any water means you need to find out how it got in (steps 6 to 9). Do this outside the boat, and pour the sample into an approved container for disposal.
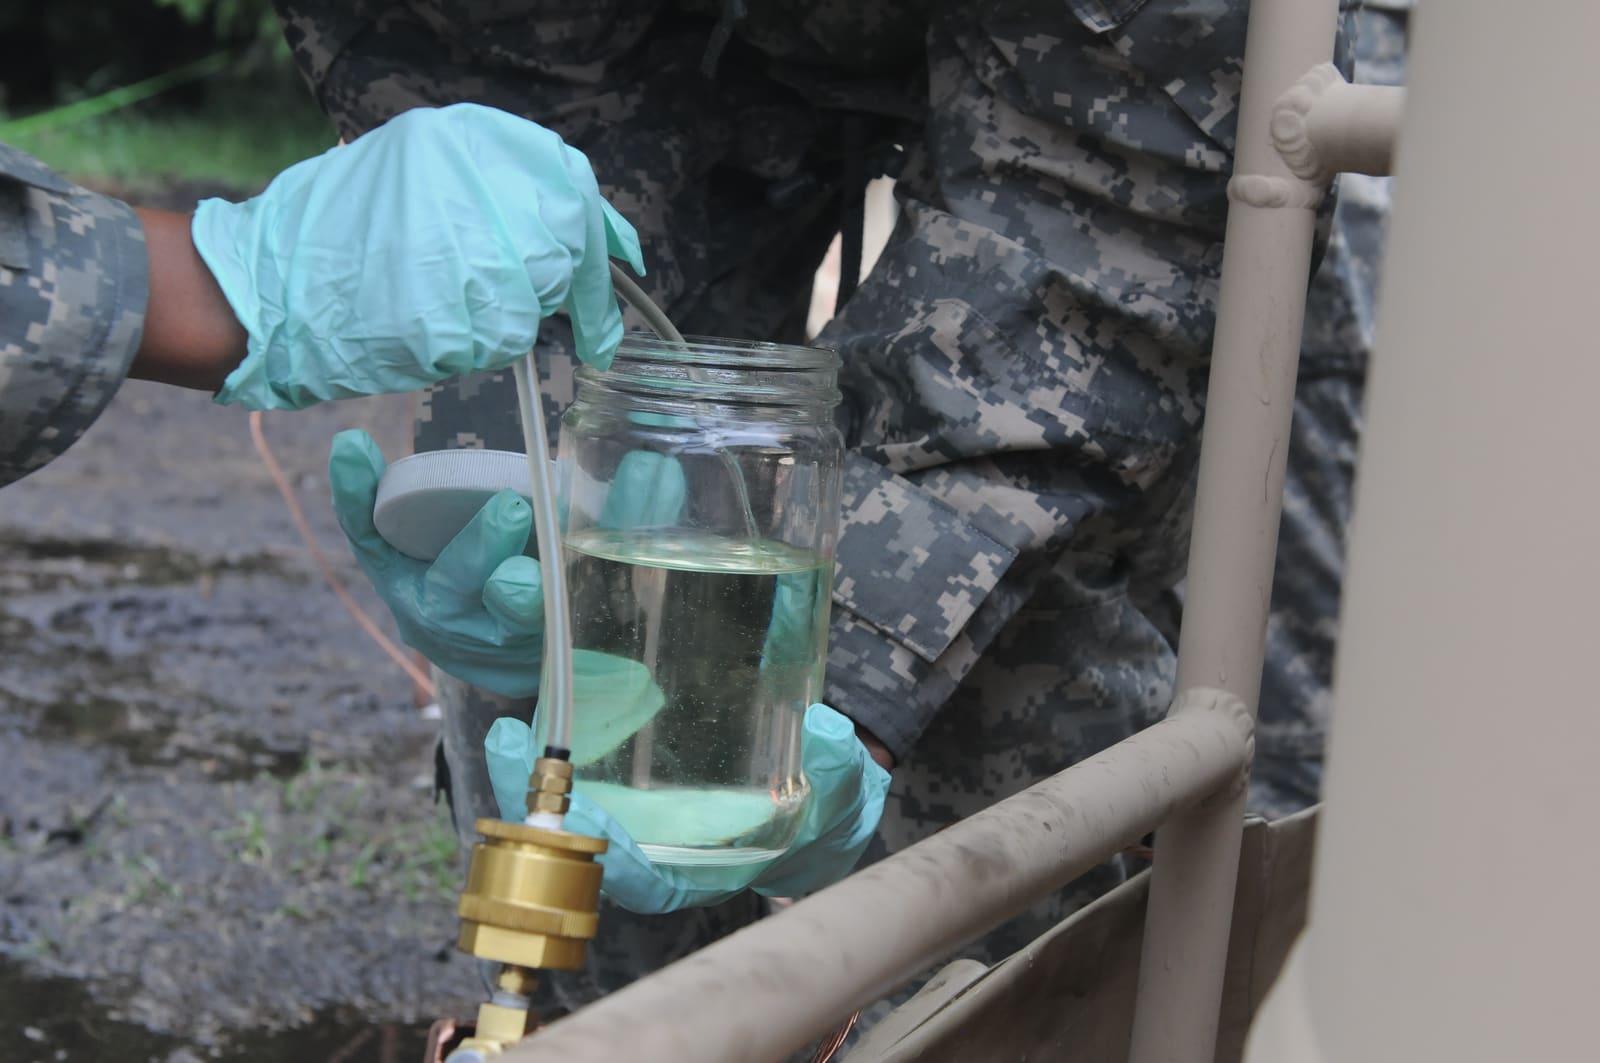
A fuel sample in a clear glass jar. Let it settle, then look for water or a cloudy layer at the bottom. Photo: Spc. Thomas Crough, U.S. Army / Wikimedia Commons · Public domain Built-in tanks are usually under a deck hatch or floor plate. Open what you can reach without cutting anything. Many boats only show the top of the tank, with the sending unit, fill, vent and fuel pickup fittings. Use the flashlight, mirror and your phone camera to see down the sides.
The sending unit is the round plate with a wire that measures the fuel level for your gauge. Look for:
- Fuel stains, wetness or a gas smell around the sender gasket or any fitting.
- Water sitting on top of the tank. BoatUS warns that water pooling on the tank top finds its way in through the sender gasket. Fix leaky hatches and deck plates above it.
- A dished (concave) top on plastic tanks that holds water and keeps the sender from sealing.
- Loose sender screws. If you ever remove the sender, mark its position first; most have an uneven hole pattern.
Gauge reading empty with fuel in the tank? Owners often chase wiring first, but a common cause is a sender float stuck at the bottom, sometimes after the tank was drained for storage; it can free itself once the boat is moving again. A replacement sender that doesn't match the gauge also reads wrong, because US and European senders use different resistance ranges. Checking the float means taking the sender out of the tank, which opens the tank to gasoline vapor: leave that to a technician unless you know how to do it with the area ventilated and nothing that can spark nearby.
Aluminum tanks usually fail from the outside, where water stays in contact with the metal. On many boats, foam was poured around the tank during building; moisture trapped between the foam and the tank can corrode right through it over time, as BoatUS explains. Look for:
- White, powdery corrosion, blisters or pitting, especially along the bottom edges and under straps or pads.
- Wet or waterlogged foam around the tank, or a bilge that never dries.
- Fuel stains or a sheen on bilge water.
You often cannot see the bottom of a foamed-in tank. If you find corrosion on what you can see, assume the hidden part is worse. Aluminum tanks are rarely repairable: a corroded, leaking tank is replaced.
Mercury warns that fiberglass fuel tanks built before 1991 may not be compatible with gasoline containing ethanol: some resins can be drawn out of the fiberglass and carried into the engine, where they can cause severe damage. If your boat has an old fiberglass tank, check with the boat or tank maker whether ethanol fuel is safe in it. Signs of trouble include a soft or blistered tank, dark sticky deposits in filters, and an engine with gummed-up intake valves. Mercury also advises checking all fuel system parts on engines from 1990 or earlier often for softening, swelling or leaks.
- Open the deck fill cap and check its O-ring. A dry, cracked O-ring lets rain and washdown water in. It is a cheap, easy replacement.
- Look at where the fill sits: water should not pool around it.
- Follow the fill hose to the tank. It should be firm, not cracked or mushy, and secured at each end with two metal hose clamps (the federal rule for fill hoses). The fill fitting should also be bonded with a ground wire on metal fills, to prevent static sparks while fueling.
The vent lets the tank breathe. On older boats it is a hose from the tank to a small fitting on the side of the hull, with a flame screen inside. Federal rules require that screen (a flame arrestor) to be cleanable.
- Make sure the vent fitting is not blocked by paint, wax, mud daubers or bugs. A blocked vent can starve the engine or let pressure build.
- The vent hose should have a gentle loop or rise with no low sag where water collects, and no cracks.
- If heavy seas push water into a side vent, BoatUS suggests a cover that faces aft.
- Plugging the vent for winter? Makers disagree, so follow your own boat's manual. Yamaha says never plug or cap the tank vent during storage, because the tank must breathe as temperatures change, and suggests storing the tank about 7/8 full. MasterCraft allows sealing the vent over winter on its boats, but only with the tank no more than 90 to 95% full, and the seal must come off before the first fill-up in spring.
Newer boats with EPA low-emission fuel systems may have a carbon canister and a different vent setup; do not alter it.
Follow the fuel line from the tank to the engine, through the anti-siphon valve and the water-separating filter.
- Federal rules call for hose marked USCG Type A1 (or A2/B in certain locations) on built-in gasoline systems. Read the printing on the hose.
- Wipe each hose with a dry rag and sniff it: BoatUS notes a fuel smell on the rag means the hose is breaking down. Ethanol fuel tends to make old hose soft.
- Squeeze the hoses: they should be firm and flexible, not hard, cracked, swollen or sticky.
- Clamps should be stainless, tight and placed over the fitting's barbs, not on bare hose. Clamps and straps must not cut into the hose.
- Check every joint for stains or wetness.
Replacing hoses on a built-in system is best left to a qualified technician, who will use the right hose and fittings.
A built-in tank must not move. Push on it with your hand: it should be firmly strapped or chocked, with non-absorbent pads between the tank and its supports. Straps sitting directly on aluminum, or wet carpet or wood pads, hold moisture against the metal and start corrosion.
- Small fixes you can do: fill cap O-ring, cleaning the vent screen, storing portable tanks properly, fixing leaky hatches above the tank.
- For a technician: any fuel leak, corroded aluminum, a swollen or damaged plastic tank, an old fiberglass tank with ethanol questions, and hose replacement. A technician can drain the tank and do a low-pressure air test to confirm a leak.
- Tank replacement is a pro job. Many tanks cannot come out without cutting the deck or floor. BoatUS notes the repair on an older boat can sometimes cost more than the boat is worth, so get a quote before you buy a used boat with a suspected tank problem.
Common mistakes
- Ignoring a faint gas smell in the bilge because it "always smells a little".
- Starting the engine without running the blower after the boat has been closed up.
- Leaving portable tanks in the boat in the rain with the vent open.
- Using automotive fuel hose, or a single clamp on the fill hose.
- Painting over the vent fitting or never checking it for insect nests.
- Patching a leaking aluminum tank with epoxy and putting it back into service.
- Assuming an old fiberglass tank is fine with E10 because the engine still runs.
- Filling the tank to the brim in hot weather so fuel overflows from the vent. BoatUS explains why: fuel comes from cool underground tanks and can expand by as much as 10 percent as it warms up in the sun.
When to call a pro
- Any fuel smell that comes back, fuel in the bilge, or a wet stain at a tank fitting: stop using the boat.
- Corrosion, pitting or blistering on an aluminum tank, or wet foam around it.
- A pre-1991 fiberglass tank with ethanol fuel questions, or resin-like deposits in filters.
- Replacing a tank, fuel hoses, the sender or the anti-siphon valve on a built-in system.
- Before buying a used boat with an old tank: ask a surveyor to look at the fuel system.
- On the water with a fuel leak: shut down, life jackets on, call the USCG on VHF 16 or 911.
Tips
- Photograph the tank label and keep it in your boat file; the build date tells you how old the tank really is.
- Check the fill cap O-ring every spring; it is one of the most common ways water gets in.
- Keep a spare water-separating filter aboard; it will catch water before the engine does.
- If your boat has a gas fume detector, test it per its manual.
Official references
We read these to write this guide. Your engine's own manual always wins.
- eCFR – 33 CFR Part 183 Subpart J, Fuel Systems
- Mercury Marine – Owners Resources FAQs (fiberglass tanks and ethanol)
- Mercury Marine – Fuel Basics (Maintenance Made Easy)
- BoatUS – How To Stop Water From Entering Your Boat Fuel
- BoatUS – Marine Exhaust and Fuel Hoses
- BoatUS – The Value Proposition (evaluating an older boat)
- eCFR – 40 CFR 1045.112, Evaporative Emission Standards (portable marine fuel tanks)
- BoatUS – The Proper Way To Fill A Fuel Tank
- Yamaha Outboards – Maintenance Matters, Extended Storage (tank level and vent)
- MasterCraft – Knowledge Center, Fuel System Winterization
Safety: BoatMend is for information only and does not replace a certified marine technician. You are responsible for your safety and your boat. Read the full disclaimer.
Last updated 2026-10-24
Related guides
Ethanol (E10) Fuel Care: Stabilizer, Phase Separation, Fuel Lines and Tank Vents
Keep E10 gasoline from damaging your boat engine. Learn how to use stabilizer, test for water and phase separation, and inspect the fuel lines, primer bulb, anti-siphon valve and tank vent. Most fuel-related breakdowns start with one of these.
How to Replace a Fuel/Water Separating Filter (and Check for Water in Your Fuel)
Swap the spin-on fuel/water separator on your gas boat and learn to spot water and ethanol phase separation before it stalls the engine. It is one of the cheapest jobs on the boat and one of the best protections for a fuel-injected engine.
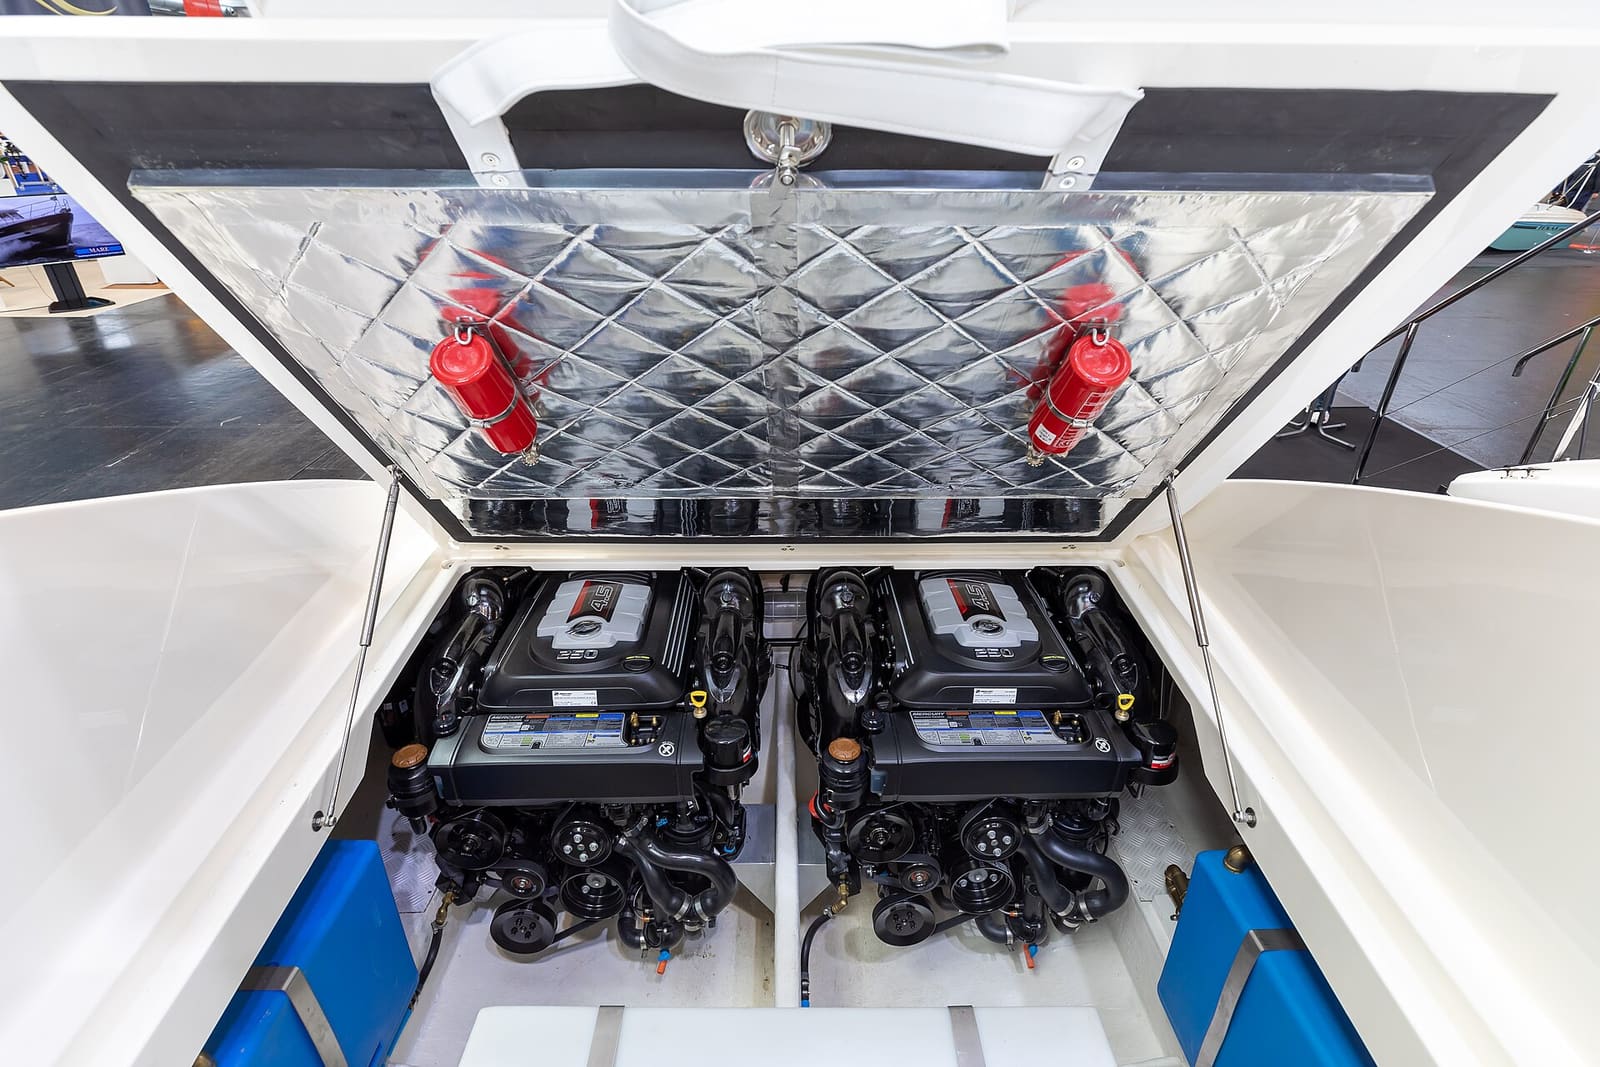
Bilge Blower and Engine Compartment Ventilation on Gas Inboards and Sterndrives
Learn why gas boats have a "run the blower 4 minutes" label, how to check that the blower and vent ducts actually move air out of the engine compartment, and how to replace a blower safely with an ignition-protected marine unit.
How to Inspect a Used Boat Before You Buy
A step-by-step checklist for looking over a used boat, from paperwork and the hull ID number to the transom, engine, compression test, sea trial and trailer. Know what to check yourself, what the red flags mean, and when to pay a marine surveyor.
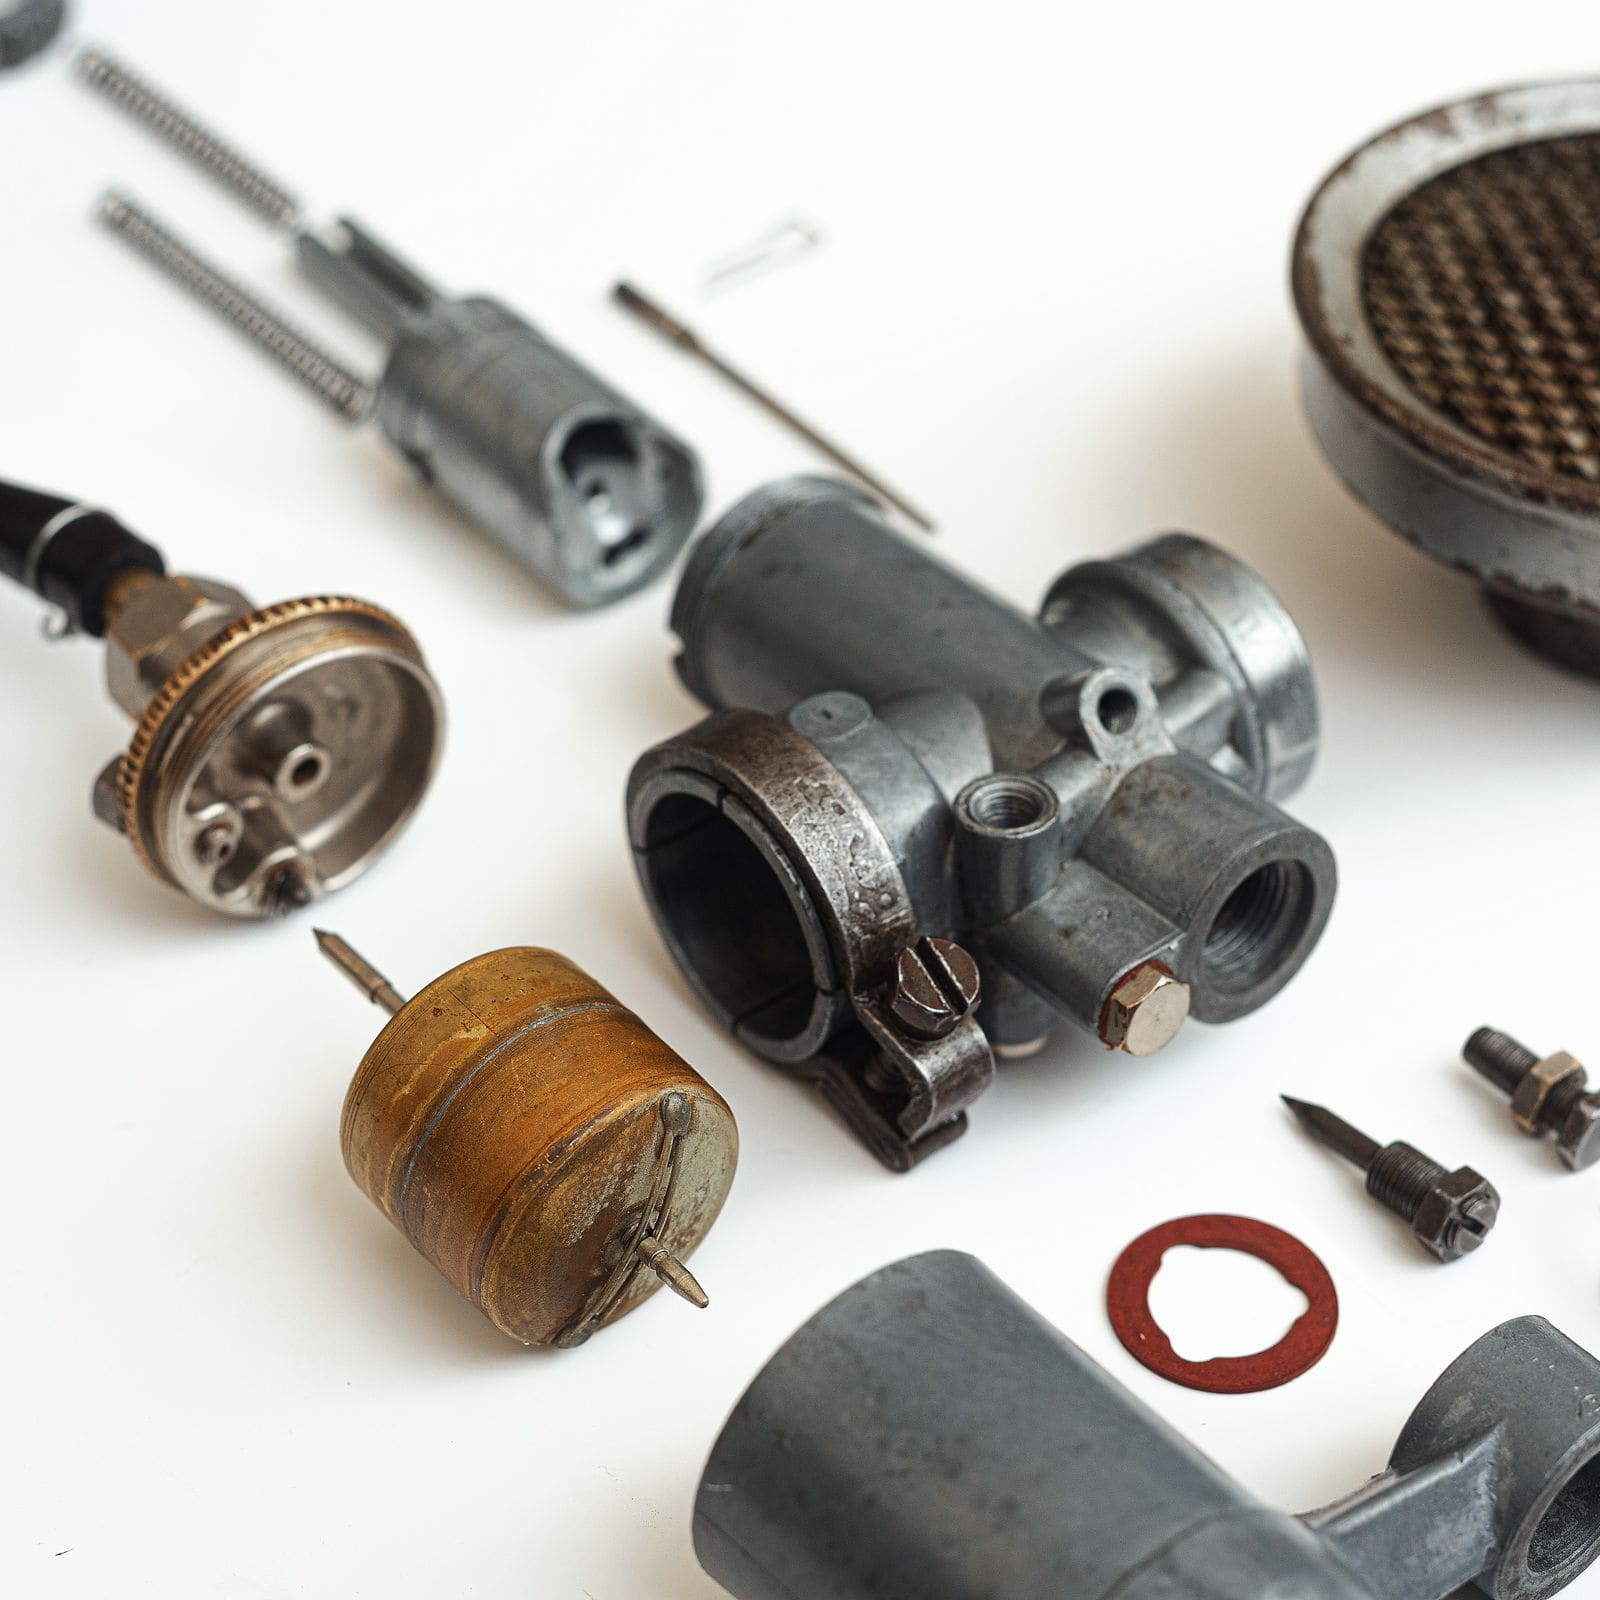
How to Clean the Carburetor on a Small or Older Outboard
Old fuel turns to varnish and plugs the tiny jets in a carburetor, so the engine only runs on choke, surges or will not idle. Learn when the carburetor really is the problem, how to drain and clean it, and when a rebuild kit or a replacement makes more sense.

USCG Required Safety Equipment Check by Boat Length
Walk through your boat and confirm you carry every piece of safety gear the US Coast Guard requires for your boat's length and type, and that none of it is expired or worn out. Missing or expired gear is one of the most common tickets on the water, and it is the gear you need when things go wrong.