How to Dye-Test Swage Fittings, Chainplates and Toggles for Cracks
Use a visible dye penetrant kit (cleaner, red dye and white developer) to find hairline cracks in stainless rigging fittings that your eye and a magnifier can miss, learn how to read what shows up, and know what the test can't tell you.
Time
2 h
Shop would charge
$150-500
Applies to
All engines · Sailboat
Safety first: Penetrant kits are aerosol solvents: they are flammable and the fumes are strong. Use them outdoors or with the boat wide open, away from stoves, engines, the fuel fill and anyone smoking, and wear gloves and eye protection. Do this test on fittings you can reach from the deck or with the mast down. Don't climb the mast or go aloft in a bosun's chair just to dye-test; let a rigger inspect the masthead. Never loosen or remove a stay, shroud or chainplate while the mast is up unless the rig is properly supported with halyards and you know exactly what you're doing; when in doubt, have a rigger do it. If you find a crack, don't sail on that fitting.
Owners often ask
- Is a dye penetrant kit worth buying to check my own swage fittings for cracks?
- Can I do a dye penetrant test on my rigging in cold weather?
This guide walks you through it. Still stuck? Ask the AI Mechanic about your engine.
Tools
- Visible (red) dye penetrant kit with cleaner/remover, penetrant and developer aerosols
- Lint-free cloths or shop towels
- Nitrile gloves and safety glasses
- 10x magnifier or loupe and a bright flashlight
- Plastic sheet or cardboard and painter's tape for masking
- Non-metallic scrub pad and a mild metal polish
- Phone camera and a marker or tags to label parts
Parts & supplies
- Replacement fittings, toggles or pins for anything that fails (ordered through a rigger)
- Sealant for chainplate deck openings if you remove chainplates
Before you start
What the test does. Dye penetrant is a simple, low-cost test used in aviation and industry. Practical Boat Owner's metallurgist Vyv Cox describes it this way: a bright red dye is sprayed on and soaks into any crack open to the surface; the excess is cleaned off; then a thin white "developer" is sprayed on, which draws the dye back out of the crack and shows it as a red line on the white coating.
What it doesn't do. Practical Sailor is clear that dye won't reveal cracks you can't get to: it mainly helps you tell a real crack from a scratch. SAIL adds that internal corrosion, poor swaging, work hardening and wire misalignment can all cause a rig failure without any visible crack. The test checks surfaces only. It can't see inside a swage, inside the wire, or along the part of a chainplate hidden in the deck or a bulkhead.
Where to test. SAIL names lower swage terminals as the most likely trouble spots, followed by all other swages, chainplates, clevis pins and turnbuckles. Cox adds T-ball and stemball fittings, mast tangs and toggles. Practical Sailor notes cracks often start inside fastener holes, so many parts need to come apart for a proper look.
DIY or rigger? SAIL points out kits contain more chemicals than most owners will ever need and that a rigger may do the test for less than the kit costs. If you're already doing your own rigging inspection (see the sailboat rigging inspection guide) and the parts are accessible, a kit is a useful extra tool.
Temperature. Magnaflux, a major penetrant maker, notes the standard working range for penetrant testing (from the ASTM E1417 practice) is 40°F to 125°F. In the cold the penetrant thickens and needs longer to soak in, and the developer dries much more slowly: in Magnaflux's tests at about 40°F it took around five times as long as at 75°F, and at freezing it never dried properly. Pick a mild, dry day.
Steps
Make a list: lower shroud and stay terminals, turnbuckles, toggles, clevis pins and the chainplates above deck. The best time is when the mast is unstepped for the season, when every swage, tang and toggle can be laid on a bench. Cox did exactly that, spraying fittings on a sheet of cardboard. With the mast up, test only what you can reach from the deck, one fitting at a time.
The dye is thin, very red and stains gelcoat, teak, sails and lines. Tape plastic sheet or cardboard around and under each fitting. Cover the deck below the turnbuckle and the wire just above the swage so drips don't wick into the wire strands or onto the boat.
Remove any old tape, boots or covers. Wash off salt, then polish lightly with a non-metallic pad and mild metal polish to remove grime and staining (Practical Sailor stresses that even a slight film of growth, grease or corrosion hides cracks). Avoid grinding, heavy sanding or wire-brushing on the area you're testing: aggressive abrasion can smear metal over the mouth of a fine crack. Then spray the kit's cleaner/remover on, let it work for a moment, and wipe dry with a clean, lint-free cloth. Magnaflux says to let the surface dry completely before applying penetrant, and to clean on the same day you test.
Before any dye, inspect each fitting with a 10x loupe and a flashlight held at a low angle across the surface. Practical Sailor notes low-angle light shows cracks and pits better than bright overhead light. Note anything suspicious; the dye will help confirm it.
Shake the can and spray (or brush) the penetrant over the whole area so it's completely wet. Magnaflux says that if the penetrant pulls back into droplets, the surface isn't clean enough: stop and clean again. Cox noticed the dye formed small globules on polished stainless but still went into the cracks; your kit's instructions decide.
Leave the penetrant on for the time your kit specifies. Magnaflux's general guide is 10 to 30 minutes, longer for very fine cracks; Cox's cans said 15 minutes and he preferred about 20. In cool weather, err toward the longer end. Don't let it dry out in hot sun; work in the shade.
This is the step that makes or breaks the test. Wipe off the bulk of the dye with a dry clean cloth. Then wipe with a fresh cloth moistened (not dripping) with cleaner/remover, and repeat with clean cloths until no pink shows on the cloth. Magnaflux warns not to spray cleaner directly onto the part or flood it, because that washes the dye out of the cracks you're looking for.
Shake the developer can until the ball rattles freely, then spray from about 8 to 12 inches away in light passes over short sections, just enough to leave an even, thin white film. Magnaflux notes that too much developer hides small indications and too little doesn't draw them out. Let it dry.
Large cracks show up as red lines almost immediately; fine cracks can take several more minutes. Cox suggests giving fine cracks 10 to 15 minutes to develop. Look with your magnifier and photograph each fitting next to a label.
- A sharp, continuous red line in the metal of a swage barrel, toggle, tang, chainplate or around a pin hole is a crack. A crack running along the length of a swage barrel is a typical stress-corrosion crack in stainless.
- Red bleeding out of joints and gaps where the wire enters a swage, between threads, around a pin or where two parts touch is usually just dye trapped in the gap, not a crack. It can make the mouth of the swage hard to judge; look closely at the barrel next to it.
- Faint, fuzzy pink or scattered dots usually mean excess dye wasn't fully removed or the surface is pitted. Clean and retest that spot.
- A line that matches a visible scratch you already noted is probably the scratch. If you can't tell, retest after cleaning, or ask a rigger.
If an indication is unclear, clean the fitting completely and repeat steps 3 to 9. Practical Sailor suggests practicing on a part with a known small crack (for example, an old bolt bent back and forth until a crack just starts) so you know what a real crack looks like with your kit.
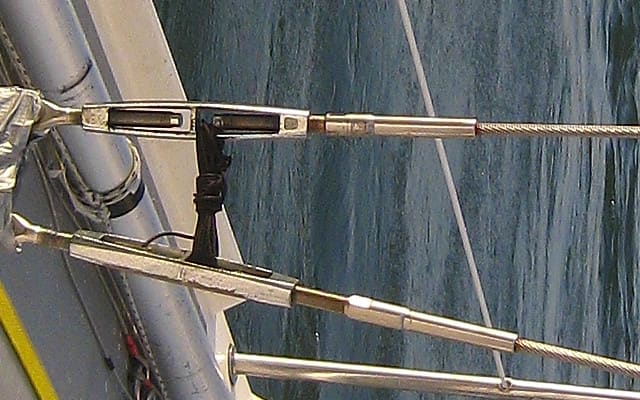
Swaged terminals and turnbuckles at deck level: the lower swages are where cracks most often start. Photo: Matthieu FAURE, derivative work by Sunspeanzler / Wikimedia Commons · CC BY-SA 2.0 Above-deck chainplate surfaces and pin holes can be tested in place. The part that runs through the deck is where crevice corrosion usually hides, and the dye can't reach it. The sailboat chainplates guide covers when plates should come out for a full look, including a surveyor's preference for pulling them on older boats and checking them under magnification with dye. Removing a chainplate means supporting the mast first; plan it as a rigger job or a mast-down job.
Wipe off the developer with a damp cloth or wash with soap and water (Magnaflux lists both). Clean any stray dye from gelcoat right away. Refit boots, covers and fresh tape only after inspection, and don't seal over a fitting you're unsure about. Dispose of used rags and cans as the labels say; solvent-soaked rags are a fire risk if piled up.
Photograph and log every fitting, pass or fail, in BoatMend, so you can compare next time. Any confirmed crack means replacing that part before sailing, and a rigger should look at the matching fittings: rigs tend to age together. Practical Sailor's old axiom for ocean sailors applies: if one shroud needs replacing because of wear, replace all shrouds of the same age.
Common mistakes
- Treating a clean result as a clean bill of health. The test only finds cracks open to the surface you tested. Old rigging can fail from inside the swage with no visible crack.
- Skipping the cleaning. Dirt, polish residue and grease keep the dye out of cracks.
- Flooding the part with cleaner to remove dye. It washes the dye out of the very cracks you want to see.
- A thick coat of developer. It covers fine indications.
- Calling every red line a crack, or dismissing every line as "just the joint." Retest anything you can't explain.
- Dye-testing a rig that's simply too old. SAIL notes a generally accepted lifespan for standing rigging of 10 to 15 years; past that, replacement is often the better spend than testing.
- Loosening stays to get at fittings without supporting the mast.
When to call a pro
- Any red line you believe is a crack in a swage, toggle, tang, chainplate, turnbuckle or pin: don't sail on it; a rigger replaces it, usually with its matching fittings
- Fittings you can't reach from the deck (masthead, spreader tangs, upper terminals)
- Chainplates that need to come out, or any work that means loosening stays with the mast up
- The rigging is near or past its expected age, or the boat is going offshore: a professional rig survey covers what dye can't
- Rust weeping from a swage, broken wire strands, or a fitting that's bent: replace it whatever the dye shows
Tips
- Buy a kit with all three cans from the same maker and read all three labels before you start.
- Test one fitting at a time from start to finish so nothing dries out or gets mixed up.
- Keep a set of numbered photos (port lower, starboard cap and so on) and repeat the same shots each season.
- Combine this with your regular rigging inspection rather than doing it alone.
Official references
We read these to write this guide. Your engine's own manual always wins.
- Practical Boat Owner – Metal Fatigue in Rig Components, Crack Detection by Dye Penetrant (Vyv Cox)
- Practical Sailor – DIY Materials Testing
- SAIL – Rigging Inspection (penetrating dye Q&A)
- Magnaflux – The Ultimate Guide to Visible Dye Penetrant Testing
- Magnaflux – How Low Temperatures Impact Dye Penetrant Testing
Safety: BoatMend is for information only and does not replace a certified marine technician. You are responsible for your safety and your boat. Read the full disclaimer.
Last updated 2026-11-06
Related guides

How to Inspect Your Sailboat's Standing Rigging
A step-by-step owner's inspection of the wires, fittings, turnbuckles, pins, chainplates and mast that hold your rig up, plus how to decide when it is time for a rigger and new rigging. Includes what insurers commonly expect for older rigs.
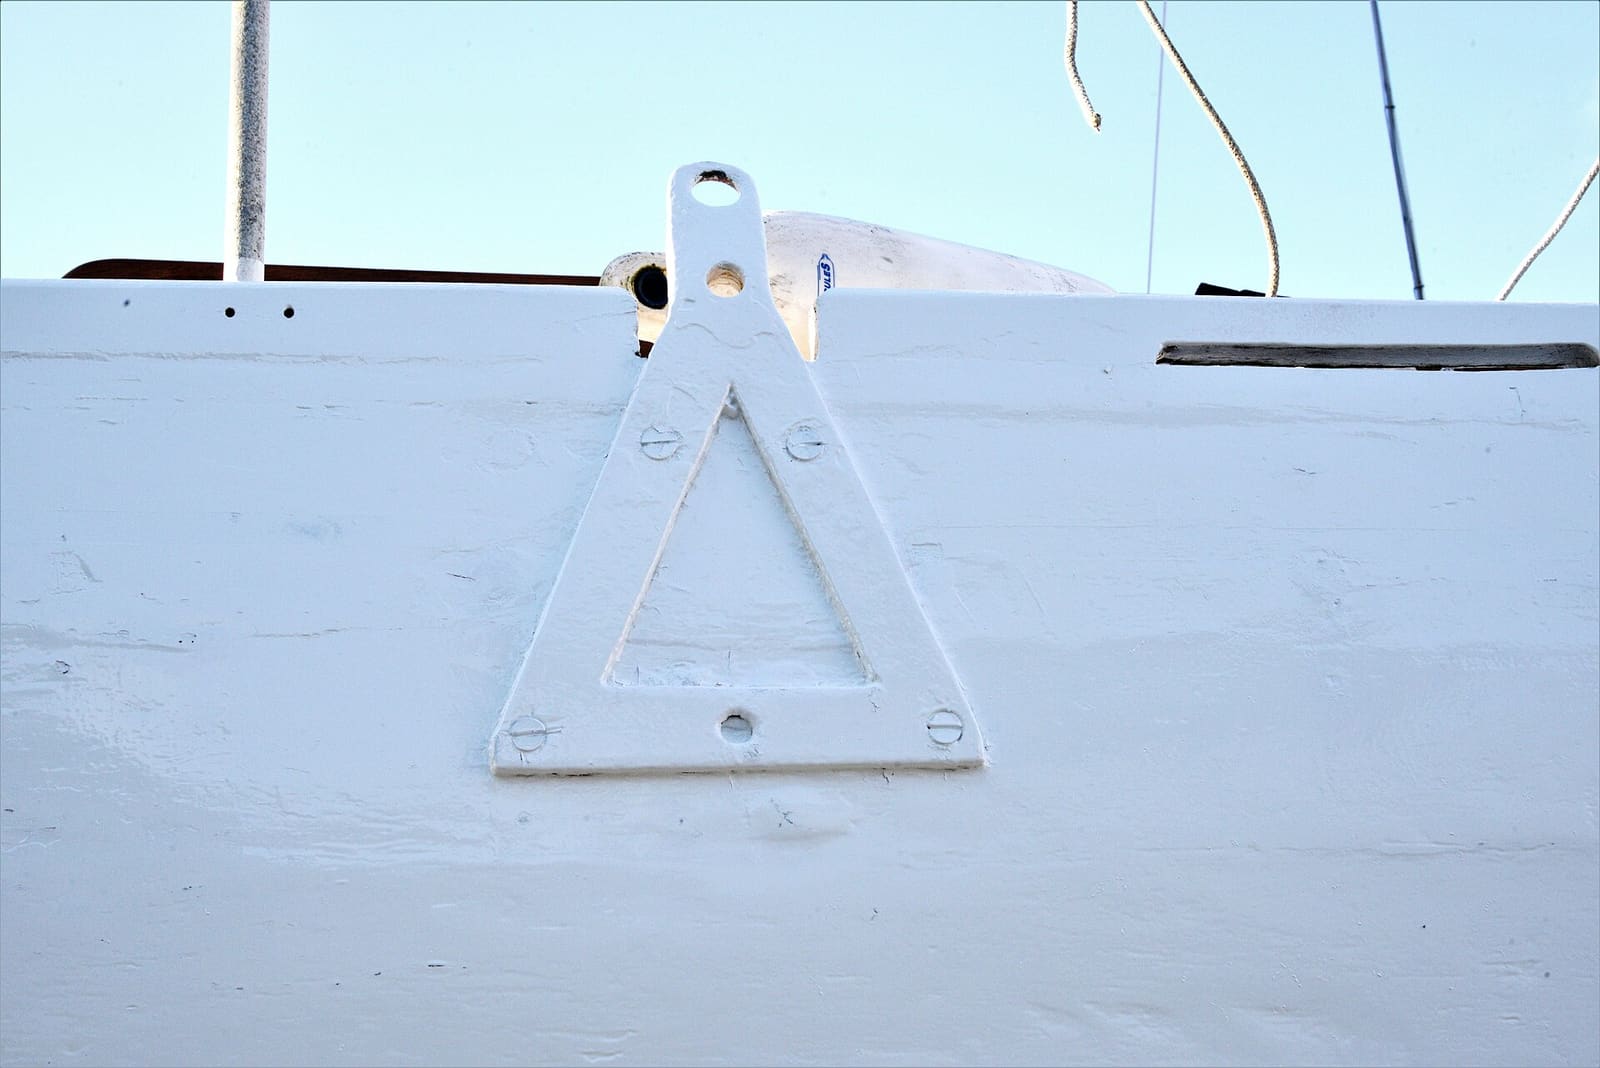
How to Inspect Sailboat Chainplates for Leaks, Cracks and Hidden Corrosion
Check every chainplate above and below deck for leaks, rust, cracks and a wet deck around it, reseal the ones that leak, and know when the plates need to come out for a proper look. Chainplates tie the mast to the hull, and one hidden failure can bring the rig down.

Stepping and Unstepping a Sailboat Mast: Trailer Sailers and Yard Cranes
How to raise and lower a sailboat mast safely, whether you step a trailer sailer's mast at the ramp or help the yard crane do it, including power-line checks, mast wiring, basic tuning afterward, and when to leave the job to the yard.
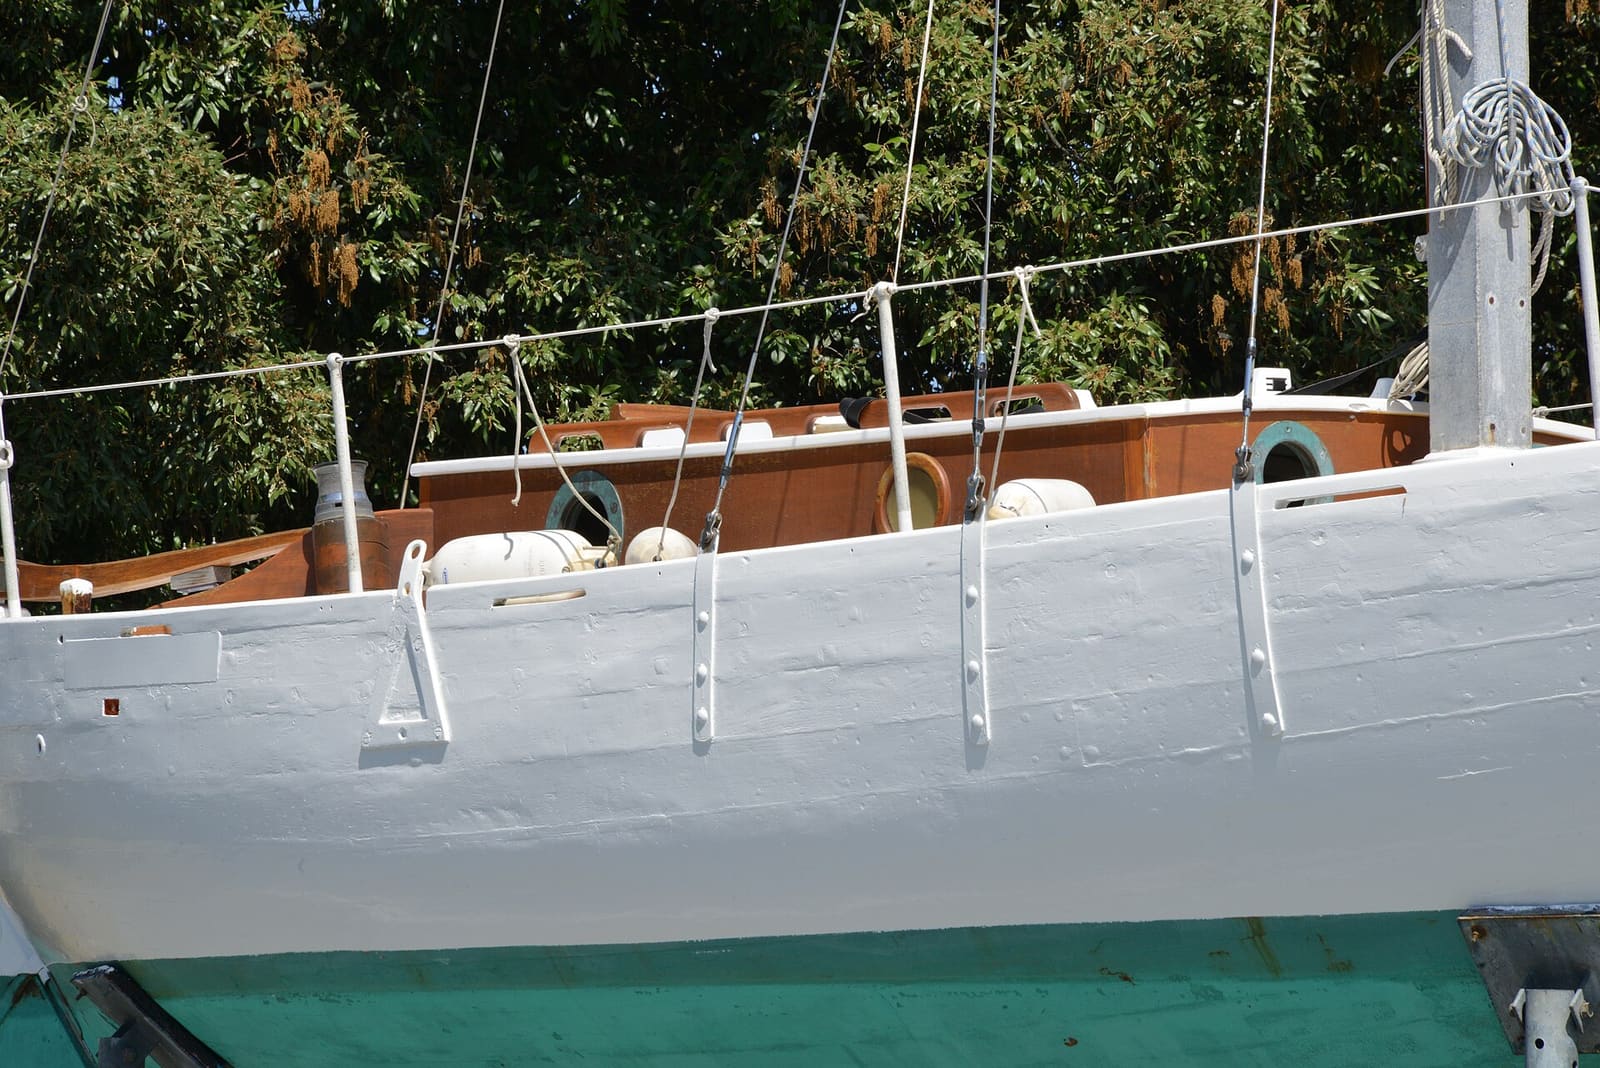
How to Inspect Sailboat Lifelines, Stanchions and Gates
Check the wire or rope, swaged ends, gate hooks, stanchion bases and pulpits that make up your lifeline system, and know when to replace them. Lifelines keep people aboard, but only if every link is sound, and they are never a place to clip a safety tether.
How to Clean, Protect and Inspect Stainless Steel Boat Hardware
Remove tea stains and rust from rails, cleats and fittings without scratching them, passivate stainless so it stays clean longer, understand why 304 and 316 behave differently, and spot the hidden crevice corrosion that weakens fittings from underneath.