How to Maintain a Bow Thruster (Anode, Prop, Shear Pin, Gear Leg and Batteries)
Keep your electric bow or stern thruster ready for the moment you need it, with seasonal checks of its anode, prop and shear pin, gear leg oil, motor compartment, batteries and heavy cables, plus how to avoid overheating it. Most thruster failures build slowly from corrosion and weak batteries.
Time
2 h
Shop would charge
$300-800
Applies to
All engines · Cabin cruiser, Yacht, Sailboat
Safety first: Thruster batteries can deliver enormous current. VETUS says to fully disconnect the thruster batteries before any work, not just switch off the control panel; a short across a terminal can weld a wrench and burn you, and an accidental start can injure. Never run the thruster out of the water. Before using it, make sure no swimmers or small boats are near the tunnel. If a thruster motor smokes or its cables get hot, stop using it and call a marine electrician. Any leak at the tunnel or motor mount is a water-ingress issue: have it checked right away, and if water comes in faster than the pumps remove it, call USCG on VHF 16 or 911 and your tow service.
Owners often ask
- My bow thruster motor runs but the boat doesn't move sideways. Is it the shear pin?
- Why does my bow thruster keep cutting out after a few seconds of use?
This guide walks you through it. Still stuck? Ask the AI Mechanic about your engine.
Tools
- Your thruster's owner's manual (model and serial number are on the motor label)
- Socket set, Allen keys and screwdrivers to fit your thruster
- Digital multimeter
- Wire brush, small brush and clean rags
- Flashlight and inspection mirror
- Battery load tester (or a shop that can load-test)
Parts & supplies
- Thruster anode(s) for your exact model
- Spare shear pin or drive pin and prop hardware for your model
- Brush-on corrosion protection for terminals
- Gear oil specified in your manual, if your gear leg has a reservoir
- Thruster-compatible antifouling paint (at haul-out)
Before you start
What you have: most yacht thrusters are 12 V or 24 V DC electric units in a tunnel through the bow (or stern). A motor sits on a bracket inside the boat; a gear leg (also called the tailpiece) hangs in the tunnel and drives one or two props. Some boats have hydraulic or external thrusters instead; this guide covers the common electric tunnel type. Look up your make (Side-Power/Sleipner, VETUS, Lewmar, Max Power and others) and model, because anode, shear pin and oil details differ.
How often: VETUS suggests basic checks several times a season and a thorough check at least once a year. Southern Boating says look in the thruster compartment at least twice a year. Underwater items (anode, prop, tunnel) are done at haul-out or by a diver. Typical; confirm in your manual.
Why bother if you barely use it: VETUS points out that moisture, salt and vibration keep working on the system even when it sits, and the problems show up as a sudden loss of power when you're trying to dock.
Steps
Turn off the thruster's main switch, then disconnect the battery cables (negative first) as VETUS recommends. Keep the cable ends from touching anything. This also stops an accidental start while you have hands near the motor.
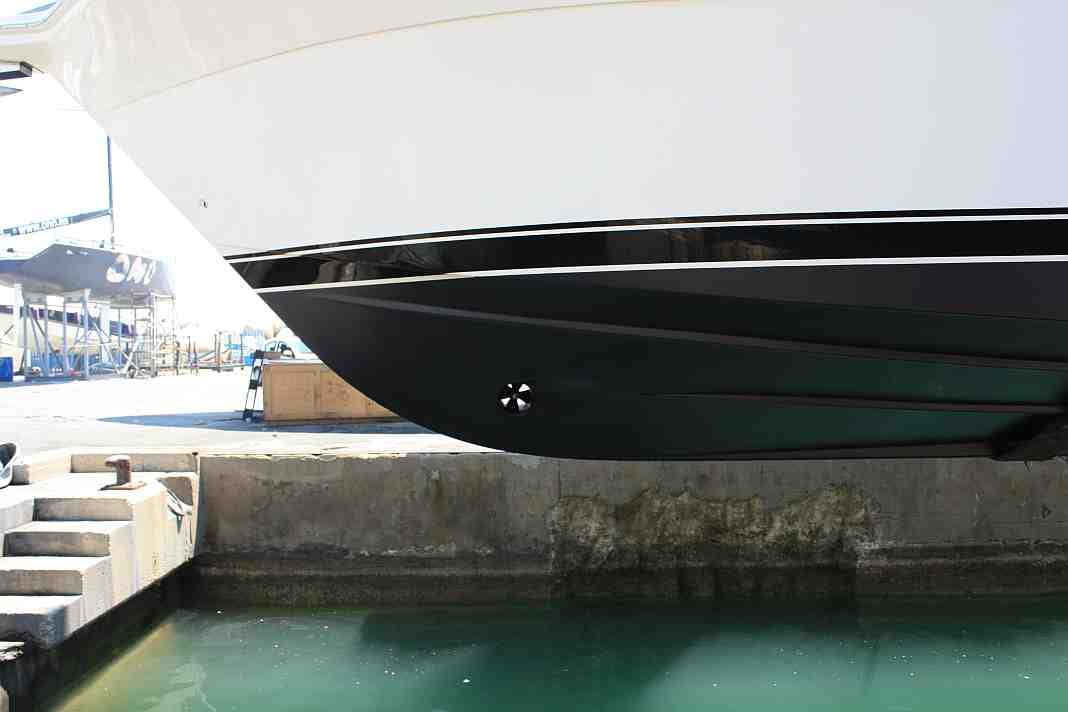
Thrusters usually live near the anchor locker, where wet chain keeps things damp. Look for standing water, leaks at the tunnel ends where they are glassed to the hull, cracks in the laminate there, and weeping at the gasket where the motor bracket mounts to the tunnel (Southern Boating). Running rust, flaking paint or white powder on aluminum all mean corrosion. Power & Motoryacht quotes a thruster specialist: if the outside of the motor is damp, the inside is too.
Corroded or loose terminals cause voltage loss and heat. Check both ends of the heavy cables, the main switch, fuse holder and the solenoids (relays). VETUS recommends a visual and hand check every three months with the batteries disconnected, and once a year loosening, cleaning and retightening every joint from battery to motor. On a new or newly rewired thruster, VETUS also suggests checking the power connections shortly after commissioning and again after a few weeks of use, because vibration and temperature changes loosen them early on. Protect terminals with a corrosion preventive applied with a brush or cloth: VETUS says sprays can get into solenoids and contacts and cause faults. Moisture can creep under heat-shrink, so look under it if a joint looks green.
VETUS suggests checking battery voltage under load every couple of months: with the batteries reconnected and the thruster running (in the water, in short bursts), the voltage should stay close to nominal. A big drop means weak batteries, undersized cables or bad connections. If your thruster has its own battery, load-test it twice a year (Southern Boating) and replace it if it can't hold up.
Most DC thruster motors have carbon brushes that wear. VETUS says inspect them at least once a year; they should slide freely under spring pressure, and worn brushes are replaced as a full set. VETUS notes that short or sticking brushes can show up as reduced power, on-and-off operation, or a thruster that works in only one direction. Several makers and installers recommend lifting the motor off once a year to check brushes and blow out carbon dust, which also lets you inspect the drive coupling and its shear pin. If you're not comfortable removing a heavy motor, this is a good job for the yard electrician.
Many thrusters protect the gears with a shear pin, either at the coupling between motor and gear leg or at the prop, depending on the model. If the motor runs but you get no thrust, a broken shear pin or a lost prop is the usual reason. Replace only with the maker's pin for your model; never substitute a stronger bolt. Southern Boating suggests carrying spare shear pins, brushes and a spare prop.
Some gear legs are sealed and never need oil checks. Others have a reservoir or feed tube inside the boat that you top up. Power & Motoryacht says 90-weight gear oil is common; use what your manual names. If the oil looks milky, water is getting past the gear leg seals: have it serviced before it ruins the gears. Southern Boating adds that oil in the tunnel under the prop also means a leaking seal.
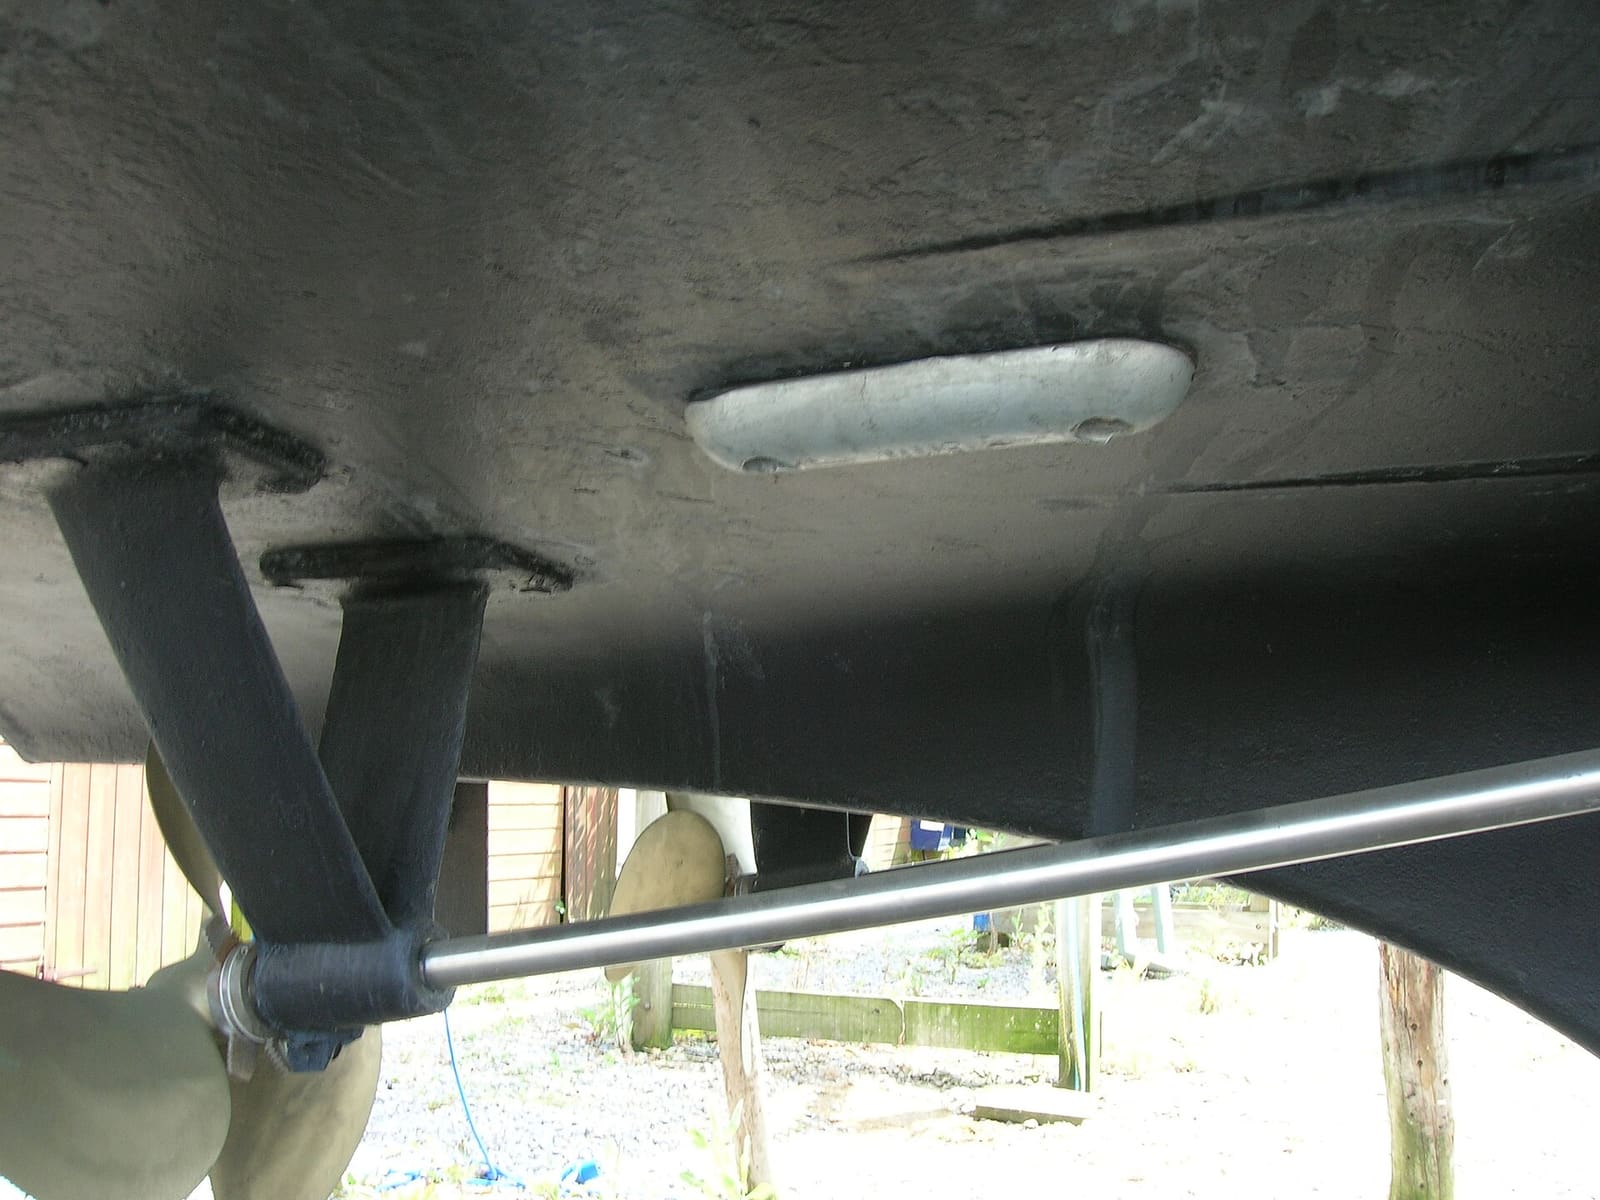
Most thrusters with a metal gear leg have a zinc anode on the gear leg or prop. VETUS says replace it at least once a year, or sooner if it is more than half gone; Power & Motoryacht notes a diver can do it in the water. A few small thrusters with composite gear legs have no anode at all. Use the anode made for your model, and check your other underwater zincs at the same time.
Clean growth out of the tunnel and off the props. Look for cracked, chipped or loose blades and for anything wrapped around the prop shaft. Southern Boating says check the drive for corrosion and the props for damage and looseness.
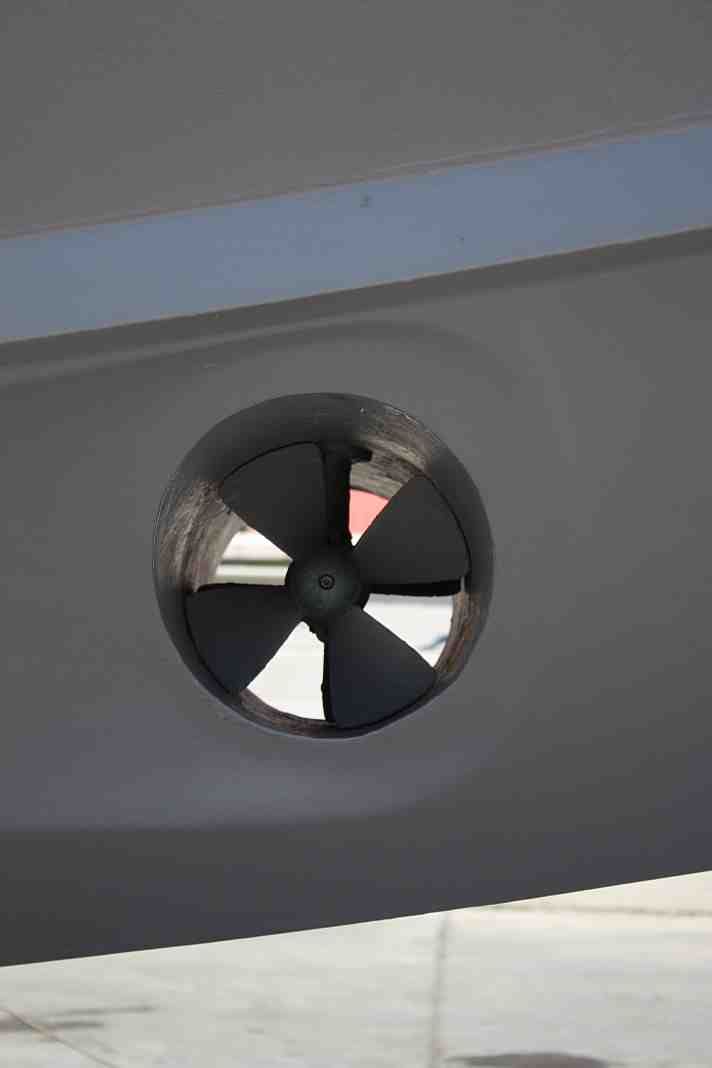
Look into the tunnel at haul-out: blades, growth, the anode and any oil on the tunnel floor. Photo: Nol Aders / Wikimedia Commons · CC BY-SA 3.0 Apply antifouling to the tunnel and drive at haul-out. Metal gear legs may need a specific antifouling (no copper on aluminum, for example); Southern Boating says follow the paint advice in your owner's manual. Keep paint off the anode, the prop shaft and its seal.
Electric thrusters are built for short bursts. Run them a few seconds at a time, not continuously. Most have a thermal cutout: if the motor overheats, it stops until it cools and resets (Practical Boat Owner). Power & Motoryacht quotes an installer saying that if the thermal cutout trips often, the thruster is probably undersized for the boat. After heavy use, let it cool before working near it.
Reconnect the batteries and, with the boat in the water and the area clear, give it short bursts each way and from every helm station or remote. Practical Boat Owner's order for a thruster that won't run:
- Weed, bags or line jammed in the prop, or an overheat shutdown (let it cool)
- Tripped breaker or blown fuse, main switch off, loose cables or connectors
- Is full battery voltage reaching the thruster?
- No click from the solenoids when you press the control: the relay or control circuit may be faulty After a test, carefully feel the cable joints (power off): any that are warm have high resistance and need cleaning.
If the thruster keeps running after you let go of the control, turn off the thruster's main (isolation) switch right away. The solenoid contacts have probably welded shut. Sleipner explains that weak batteries make the solenoid chatter under the huge current draw, which wears the contacts and makes this more likely. Don't use the thruster again until a marine electrician has replaced the solenoid and checked the batteries.
Common mistakes
- Working on the motor without disconnecting the batteries.
- Spraying anti-corrosion products into the solenoid box. Brush it on terminals instead.
- Holding the thruster button down for long pushes until the thermal cutout trips.
- Painting over the anode or forgetting the thruster zinc when the shaft zincs are changed.
- Replacing the motor or relay before checking the battery and connections. Low voltage causes most "weak thruster" complaints.
- Using a hardware-store bolt as a shear pin. The next jam strips the gears instead.
- Switching the thruster bank to lithium without checking the battery's BMS. Sleipner recommends a bank without a battery management system, such as lead-acid or AGM. A BMS can read the sudden thruster draw as a fault and cut the power, so you lose the thruster mid-docking. If you have lithium, have a pro check the voltage at the thruster and the current draw against the BMS limit.
When to call a pro
- The motor smokes, smells burnt, or cables and terminals get hot
- Water or damp inside the motor, or water around the motor bracket or tunnel ends
- Milky gear leg oil, or oil in the tunnel
- Cracks in the tunnel or where it joins the hull (haul-out job)
- The thruster works in one direction only after you've checked the controls and connections
- Thermal cutout trips repeatedly in normal use
- You're not comfortable removing the motor to check brushes, or the relay needs repair
Tips
- Record the thruster make, model and serial number in your BoatMend boat profile so ordering anodes and pins is easy.
- Ask the diver to check the thruster zinc each time they do your shaft zincs.
- Practice docking without the thruster now and then. It is a helper, not a replacement for boat handling.
- Keep the control panel and remote clean and dry, and change the remote's batteries each spring.
Official references
We read these to write this guide. Your engine's own manual always wins.
Safety: BoatMend is for information only and does not replace a certified marine technician. You are responsible for your safety and your boat. Read the full disclaimer.
Last updated 2026-10-24
Related guides
How to Inspect and Replace Sacrificial Anodes (Zincs)
Check the anodes on your outboard, sterndrive or inboard running gear, replace them when they are half gone, and choose the right metal for the water you boat in. Fresh anodes are cheap insurance against expensive corrosion damage to your lower unit, drive and prop.

Marine Battery Care: Test, Charge and Store for Winter
Check your boat battery's health, charge it the right way for its type (flooded, AGM or lithium), and store it so it is ready in spring. Most "boat won't start" calls start with a neglected battery.

How to Find and Fix Corroded Electrical Connections on a Boat
Track down the green crust and loose terminals behind flickering lights, dead gauges and slow cranking with a simple voltage-drop test, then remake the connection the marine way: tinned wire, a proper crimp, adhesive-lined heat shrink and a protective coating.

Launch Day and Haul-Out Checklist for Trailer Boats
A step-by-step checklist for getting your boat off the trailer and back on again safely and quickly, from the drain plug and tie-downs to the blower and ramp etiquette. Following it in order prevents the classic mistakes that sink boats and back up the ramp.