How to Remove and Apply Boat Names, Graphics and Registration Decals
Take off old vinyl names and graphics without scratching the gelcoat, clean up the glue and the "ghost" outline, then apply new lettering straight and bubble-free, and display your registration numbers the way federal rules require.
Time
3 h
Shop would charge
$150-800
Applies to
All engines
Safety first: A heat gun can blister gelcoat or paint and burn skin in seconds. Use the lowest setting, keep it moving and keep it away from clear vinyl windows, fuel fills and vents. Solvents like acetone are highly flammable and their vapors build up fast in enclosed spaces. Use them outdoors with no flames or sparks nearby. Never use solvents near an open fuel fill or where you smell fuel. Work from the ground or a stable platform, not a ladder resting on the hull.
Owners often ask
- How do I remove old boat name letters without damaging the gelcoat?
- What size do my boat registration numbers have to be?
This guide walks you through it. Still stuck? Ask the AI Mechanic about your engine.
Tools
- Hair dryer or heat gun (low setting)
- Plastic razor blades or a plastic scraper
- Optional decal eraser wheel for a drill
- Masking tape (1–2 inch) and a grease pencil
- Tape measure, straightedge or level
- Felt-edge plastic squeegee
- Spray bottle (for the wet method)
- Lint-free towels and microfiber cloths
- Nitrile gloves and safety glasses
Parts & supplies
- Adhesive remover safe for gelcoat or your hull paint (test first)
- 70 percent isopropyl alcohol
- Rubbing compound and polish (for ghosting and oxidation)
- New cast marine vinyl lettering or graphics, plus a spare set if you can
- Registration numbers and state validation decals
- Application fluid made for vinyl, or a drop of mild dish soap in water (wet method)
Before you start
Know your hull finish. Most boats have gelcoat, which tolerates heat and mild solvents reasonably well. Painted hulls (two-part polyurethane and similar) are more delicate. On a painted hull, check with the paint maker before using any solvent or compound.
Painted vs vinyl names: this guide covers vinyl. Hand-painted names usually won't come off with heat; they need sanding or a professional.
Registration numbers are a legal requirement. If your state numbers your boat, the numbers must be on the hull before you use it. Under federal rules (33 CFR 173.27), the numbers must be:
- On both sides of the forward half of the boat
- In plain vertical block characters at least 3 inches tall
- In a color that contrasts with the background and is easy to read
- Read left to right, with a space or hyphen between the letter and number groups, as wide as one letter (for example,
FL 1234 ABorFL-1234-AB)
Your state issues validation decals and sets where they go relative to the numbers, so read your registration paperwork or the state boating agency's website.
Weather: Boating Magazine recommends a calm day with air temperatures above 65°F for applying vinyl. BoatUS gives a range of about 65 to 85°F for the wet method and says the dry method can work down to around 45°F. Your vinyl maker's instructions win if they differ. Do removal and application in shade so the surface isn't hot.
Wet or dry? BoatUS's rule of thumb: if the distance from the center of the graphic to its edge is longer than your arm, use the wet method and get a helper. Small names, hailing ports and registration numbers usually go on dry.
Steps
Take photos of the old name, hailing port and numbers, and measure their height and position from a fixed line like the rub rail. That gives you a starting point for the new layout and size.
Warm a small section, one or two letters at a time, with a hair dryer or a heat gun on low. Keep the heat moving. Practical Sailor's method uses a hair dryer to soften the adhesive so the letter can be lifted. The vinyl should feel warm and soft, not too hot to touch. If you're replacing only some letters, mask the neighbors with tape to shield them from heat.
Start an edge with a plastic razor blade or scraper, then peel the vinyl back slowly at a low angle while you keep warming it. Metal razor blades and putty knives scratch gelcoat easily. If the vinyl is old and cracks into chips, a decal eraser wheel on a drill at moderate speed takes it off without solvents. Keep the wheel moving so it doesn't heat one spot or wear the gelcoat.
Wipe the glue residue with an adhesive remover that's safe for your finish. Practical Sailor uses a little acetone on a lint-free cloth on gelcoat, then cleans the area with an alcohol and water mix. Test any product on a hidden spot first, use small amounts, and keep it off neighboring letters and clear plastic. On painted hulls, use only what the paint maker approves.
Where old letters were, you'll often see a "ghost": a shinier, darker outline, because the gelcoat under the vinyl was protected from sun while the rest faded and oxidized. Wash the area, then use rubbing compound and polish across the whole panel, not just the ghost, so the color blends. Heavy ghosting on dark or very faded hulls may need several rounds or professional buffing. If it won't fully go, plan new graphics large enough to cover it. See
hull-cleaning-waxingfor compounding basics.Boating Magazine recommends high-performance cast vinyl for boats. It's UV-stabilized and shrinks less than the cheaper calendered vinyl many sign shops use. Ask for a proof with dimensions. For names, Practical Sailor suggests letters around 4 inches tall or larger so they're readable from a distance. Order a spare set if you can. It makes later repairs easy.
Wash the area with soap and water, rinse and dry. Then wipe it down with 70 percent isopropyl alcohol on a clean microfiber towel to remove wax, polish and oils. Vinyl won't stick well to fresh wax or polish, so do your final polishing a day or more before applying and remove the residue with alcohol.
Mark the vertical center of the space with a grease pencil. Fold the decal lightly to find its center, line the two up, and hold it in place with small pieces of masking tape. Use the rub rail, sheer line or waterline as your reference, not the ground; boats on trailers are rarely level. Step back and look from a distance. When it's right, run a long strip of masking tape across the top edge as a hinge, then remove the small tape pieces.
This is best for most lettering and small graphics. Flip the decal up on its hinge and peel the backing paper off from the top down, letting the vinyl touch the hull as you go. Squeegee firmly from the center outward to push out air. If a wrinkle forms, lift the transfer paper back quickly and lay it down again smoothly. Large decals can be cut between letters and applied in sections.
Some installers prefer the wet method for large one-piece graphics, because it lets you slide the vinyl into place. Lightly mist the clean hull (and the vinyl's adhesive side, if the maker says to) with application fluid or a weak soapy-water mix. Position the decal, then squeegee out the liquid firmly from the center. Wait longer before removing the transfer tape than with the dry method; BoatUS says at least an hour, and longer in humid weather. BoatUS's home mix is just a few drops of dish soap in a spray bottle of water. Follow the vinyl maker's instructions: some products and small lettering are meant to be applied dry only.
Peel the transfer paper off slowly, starting at a top corner, pulling back nearly flat against the hull. If a letter starts lifting with it, lay the paper back down, squeegee again and wait a bit. Pick out leftover backing from the middles of letters like O, D and P. Prick small bubbles with a pin and press the air out. Boating Magazine notes the adhesive needs about 48 hours to fully cure before you go boating. An edge sealer can help lettering on the transom or near spray last longer.

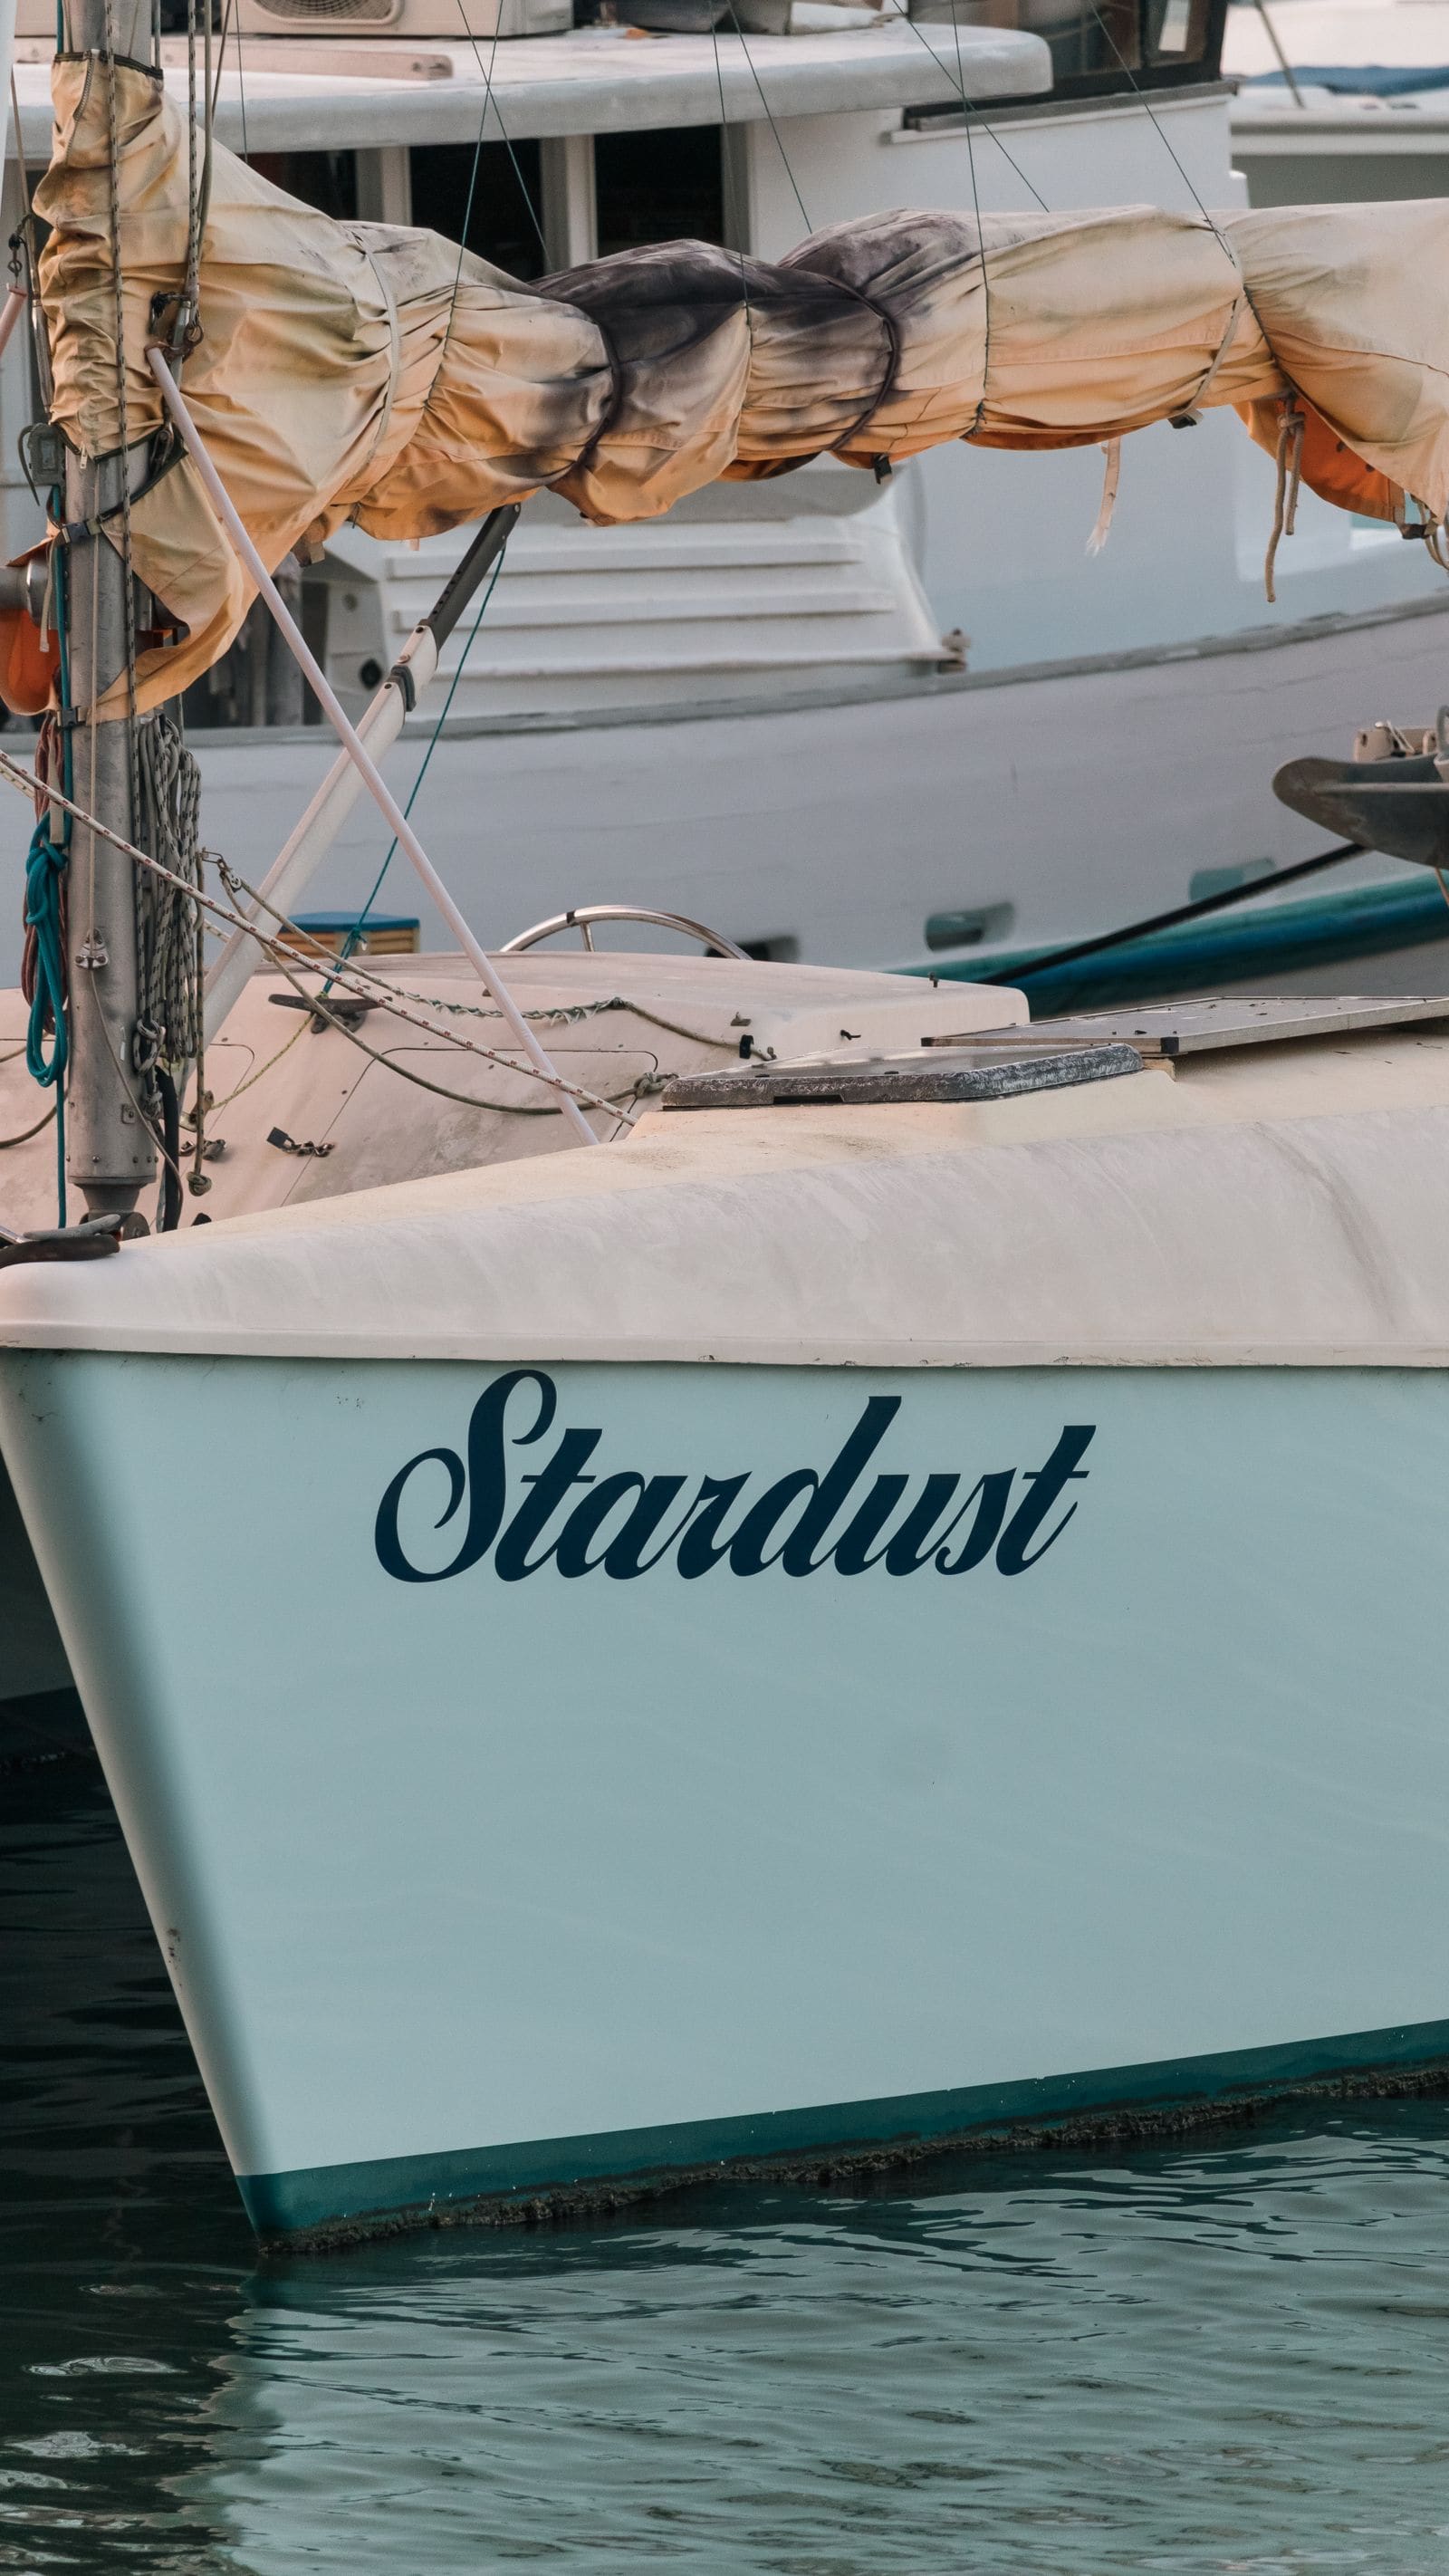
Script fonts look great for the boat's name, but registration numbers must be plain vertical block characters. Photo: Erik Mclean / Pexels Apply the numbers the same way on both sides of the forward half of the hull, at least 3 inches tall, in plain block characters that contrast with the hull color. Leave a letter-width space or a hyphen between groups. Place the state validation decal where your state requires. Put them on the hull itself, not on windows or removable rails. Use a level line so both sides match, and keep your registration card on board.
Wash graphics with mild boat soap. Don't aim a pressure washer at the edges, and don't use abrasive compound over the vinyl. Wax around graphics, not over the edges, unless the vinyl maker says otherwise. Check for lifting edges once a season, and press them down or replace the letter before water gets underneath.
Common mistakes
- Metal razor blades on gelcoat. They leave scratches that show forever.
- Too much heat. It can blister gelcoat or paint, and melt nearby plastic.
- Applying vinyl over fresh wax or polish. It won't stick and lifts within weeks.
- Leveling to the ground with a boat on a trailer. Line it up with the rub rail or sheer instead.
- Compounding only the ghost area. You get a bright patch. Do the whole panel.
- Script, italic or outlined registration numbers, or numbers too small. Federal rules call for plain vertical block characters at least 3 inches tall.
- Going boating the same day. Give the adhesive time to cure.
When to call a pro
- Painted hulls, metal-flake or specialty finishes you're unsure how to treat
- Deep ghosting or heavy oxidation that compound doesn't fix
- Full hull wraps, large printed graphics, or graphics across curves and strakes
- Painted-on names that need sanding or refinishing
- Questions about documented-vessel name and hailing port marking, which follow different federal rules than state numbers
Tips
- Keep spare letters and numbers on board for quick repairs.
- Take before and after photos for your boat records and insurer.
- If you're renaming the boat, update your registration or documentation, insurance and VHF/DSC records too.
- Renaming tradition, with practical sense behind it: a BoatUS Magazine writer (a former Coast Guardsman) says to take the old name off the hull completely, by peeling, scraping or sanding, rather than painting or lettering over it, and to remove any older names you find underneath. He also suggests keeping the old logbook ashore instead of defacing or destroying it, since a log can matter as a legal record; start a new one under the new name.
- Work on a cool, overcast day. Vinyl and adhesive behave better than in hot sun.
Official references
We read these to write this guide. Your engine's own manual always wins.
Safety: BoatMend is for information only and does not replace a certified marine technician. You are responsible for your safety and your boat. Read the full disclaimer.
Last updated 2026-10-25
Related guides
How to Clean, Remove Oxidation and Wax Your Boat's Gelcoat (Plus Pontoon Tubes)
Wash your hull the right way, bring back chalky, faded gelcoat with compound, and seal it with wax so it stays glossy and protected from the sun. Includes how to clean and protect the aluminum tubes on a pontoon boat.
How to Repair Small Gelcoat Chips and Scratches
Fill and blend small chips, dings and scratches in your boat's gelcoat with a repair kit so they stop letting water into the fiberglass and look close to new. Also learn to spot damage that is structural and needs a pro.
Used Boat Paperwork: Titles, Liens, HIN Checks, Bill of Sale and Registration
A practical checklist for the paperwork side of buying a used boat: state title or Coast Guard documentation, checking for liens and theft, verifying the hull ID number, writing a proper bill of sale, the trailer's own title, registering in your name, and transferring warranties and checking recalls. Rules vary by state, so confirm each step with your state agency.
How to Touch Up Paint and Corrosion on an Outboard or Sterndrive
Bare aluminum on a lower unit or sterndrive corrodes fast, especially in salt water. Learn how to find the cause, clean off corrosion, prime and repaint with the right products, and what must never be painted, such as anodes and sensors.