How to Paint a Boat Bilge (Prep, Paint Choice and What to Leave Bare)
A freshly painted bilge is easier to keep clean and makes small fuel, oil, coolant and water leaks easy to spot. Learn how to degrease and sand, pick between alkyd bilge paint and epoxy coatings, ventilate safely, and keep paint off the parts that must stay bare.
Time
10 h
Shop would charge
$500-2500
Applies to
All engines
Safety first: A bilge is a confined space. Solvent, thinner and paint vapors are flammable and heavier than air, so they pool exactly where you are working. On a gasoline boat, turn the battery switches off, take portable fuel tanks off the boat, and fix any fuel leak or fuel smell before you start; if you smell gasoline, stop and call a pro. Keep fans and lights that are not rated for flammable vapors outside the bilge, wear an organic vapor respirator, and take breaks in fresh air. If you feel dizzy or get a headache, get out right away.
Owners often ask
- What kind of paint should I use in my bilge, and do I need to prime first?
- Is it worth painting the bilge white?
This guide walks you through it. Still stuck? Ask the AI Mechanic about your engine.
Tools
- Stiff scrub brushes, a bucket and a wet/dry shop vacuum
- Scrapers and a wire brush for flaking paint
- Sandpaper (roughly 80 to 320 grit) and a sanding block or small detail sander
- Paint brushes in a few sizes, including a small angled brush for tight corners
- Short foam or mohair roller and a small tray
- Painter's tape and plastic bags to mask parts
- Two fans (one pushing air in, one pulling it out), placed outside the bilge
- Work light rated for damp locations
- Organic vapor respirator, nitrile gloves, safety glasses or goggles and coveralls
- Kneeling pad
Parts & supplies
- Bilge cleaner or degreaser that is safe for the environment
- Oil-absorbent pads
- Solvent or surface prep wipe named by the paint maker
- Primer if the paint maker requires one for your surface
- Bilge paint (alkyd enamel or epoxy-based) or an epoxy barrier coat system
- Thinner named on the paint label
- Lint-free rags and tack cloths
Before you start
Why paint it: Interlux points out that a freshly painted bilge is much easier to wipe down, smells better, and makes dropped screws and small parts easy to find. TotalBoat adds the bigger benefit: on a clean, light-colored surface you notice a small fuel, oil, coolant or antifreeze drip early, before it becomes an expensive repair. A good coating also helps keep oil and water from soaking into fiberglass or wood.
Paint is not a repair: Paint will hide problems, not fix them. Find and fix leaks, soft spots and wet wood first. If the stringers, floors or transom look dark, soft or delaminated, see the transom and stringer guide before you put a brush in the bilge.
Plan the time: Most of this job is cleaning and sanding. Expect a full day of prep and at least a second day (often more) for primer and paint, because each coat needs its full overcoat time. Pick dry weather: TotalBoat lists roughly 50 to 90°F for its bilge paint and warns that cool, humid weather stretches dry times.
Steps
Pump out the water, remove loose gear, and soak up any oil with absorbent pads before you wash. Never pump oily water overboard; it is illegal and the bilge cleaning guide explains how to dispose of it. Then scrub with a bilge cleaner and fresh water, rinse, and vacuum out the rinse water. Repeat until the water comes out clean. Let the bilge dry completely, with the hatches open and air moving.
Wrap or tape off everything that must not get paint:
- Float switches, bilge pumps and pump strainers. Paint can glue a float switch in the "off" position.
- Wiring, terminals, fuses and bonding wire connections.
- Hoses, hose clamps, seacock handles and other moving parts. A seacock that is painted shut is a safety problem.
- Fuel tank labels, engine and drive serial number plates, and other required labels. You or a surveyor will need to read them later.
- Any anodes, fuel and water tank fittings, sensors and transducers.
- Limber holes (the drain holes through the frames). Keep them open so water can still reach the pump.
If you can easily remove the pump and float switch, take them out and label the wires instead.
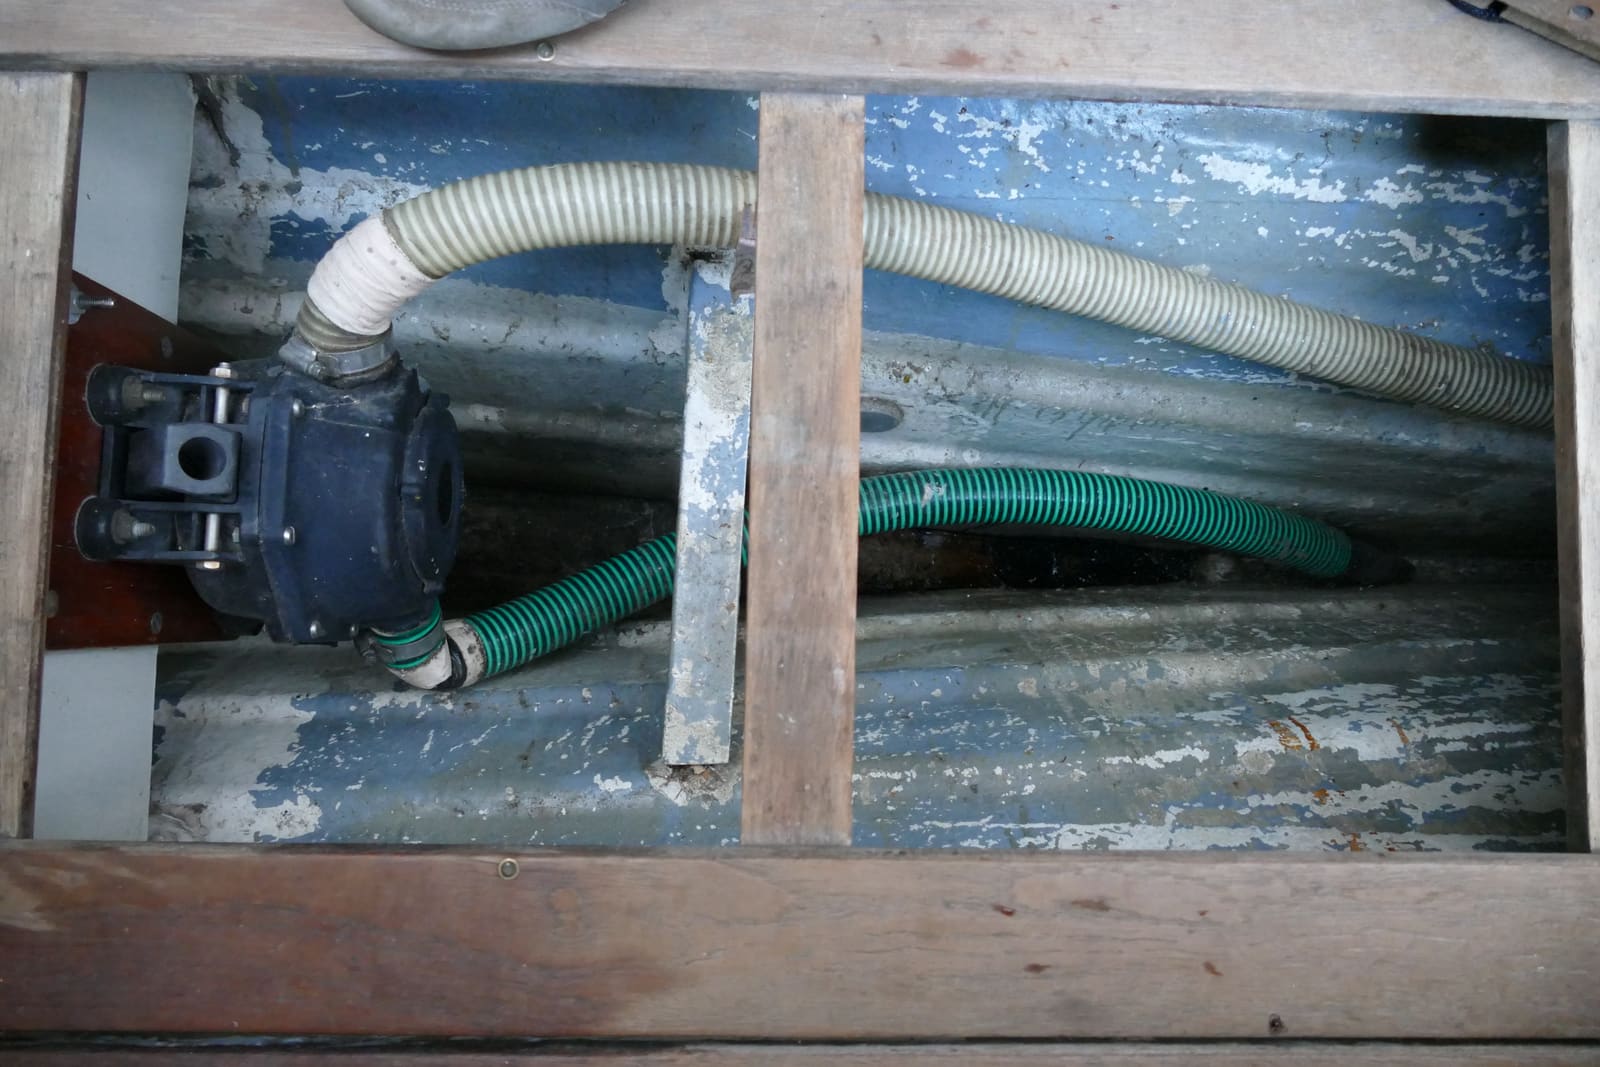
With the bilge clean, look closely at what you have. Note any cracks, soft spots, wet or dark wood, and stains that point to a leak. Then check the old coating: Interlux says that if the existing paint is cracking, peeling or lifting, all of it has to come off and the surface must be primed. If the old paint is firmly attached, you only need to clean and sand it. Old paint that is flaking like the bilge in the cover photo has to come off completely; painting over it just peels with it.
Even a bilge that looks clean usually carries a film of oil and wax. Wipe every surface you will paint with the solvent or surface prep product the paint maker names, using clean rags and turning them often so you lift the contamination instead of smearing it. TotalBoat notes that most adhesion failures come from grease that was not fully removed or a surface that was not fully dry.
- Old paint in good condition and bare fiberglass: both makers call for sanding with roughly 220 to 320 grit after the solvent wipe.
- Flaking or peeling paint: scrape and sand it all off, then follow the bare-surface prep.
- Bare wood: sand smooth and wipe clean; check the paint label for a first coat thinned more than usual.
Vacuum, then wipe with solvent or a tack cloth until a clean rag stays clean. Sanding dust is just as bad for adhesion as oil.
Read the label and data sheet for your exact product; they differ.
- Alkyd bilge enamel (for example Pettit EZ Bilge or Interlux Bilgekote): a one-part, high-solids paint made for bilges. Pettit says EZ Bilge resists fuel, engine oil, grease and antifreeze. Simple to apply and recoat.
- Epoxy-based bilge paint (for example TotalBoat TotalBilge): dries harder and glossier. TotalBoat says it resists moisture, oils and solvents, can go on bare fiberglass, gelcoat, wood and epoxy, but is not recommended on aluminum or steel.
- Epoxy barrier coat under the bilge paint: Interlux suggests InterProtect or an epoxy primer under Bilgekote for extra protection against moisture soaking in, and TotalBoat offers a barrier coat primer as an option. It means more steps but is a good idea where water sits all the time.
Color: White or light gray makes leaks and dropped parts easiest to see.
- Bare metal: TotalBoat says a primer is mandatory on metal, and its epoxy bilge paint is not meant for aluminum or steel at all. Use the system the maker lists for your metal.
- Bare wood: prime as the label directs.
- Bare fiberglass: some systems prime it, some do not. Interlux notes that the rough back side of molded fiberglass (what you see in most bilges) does not need primer before Bilgekote.
Watch the primer's overcoat window. Sand primer lightly if the label says so, then remove the dust again.
Interlux recommends two fans: one blowing fresh air in and one pulling stale air out. Put them outside the bilge or at the hatch openings, not down in the fumes, and keep extension cord plugs out of the space too. Good airflow protects you and also helps the paint dry properly. Put on your respirator, gloves, eye protection and coveralls now, before you start brushing.
Stir the paint thoroughly; TotalBoat warns that the heavy solids settle at the bottom of epoxy bilge paint. Cut in corners, frames and around fittings with a small brush, then roll the flat areas. Keep coats thin: TotalBoat says a heavy coat traps solvent underneath and will not dry, and gives about 3 mils wet per coat for its product. Most makers call for one to two coats on fiberglass and more on some surfaces; follow the label. Thin only with the thinner the label names, and only as much as it allows.

A small angled brush handles frames and corners, and a short roller covers the flat areas fast. Photo: whereareyousimon / Wikimedia Commons · CC BY 2.0 Let each coat dry for the full overcoat time on the label before the next. The times change a lot with temperature: TotalBoat lists hours between coats that roughly double from hot to cool weather. Paint early enough that the coat can dry before evening dew. Sand lightly between coats if the label says so, and remove the dust each time.
Pull the tape while the last coat is still slightly soft, or score the edge with a razor so the paint does not peel up with it. Let the final coat cure for the time on the label before bilge water, fuel, oil or traffic touch it. Then reinstall the pump and float switch, reconnect the wiring, and test that the float switch moves freely and turns the pump on.
Wipe the bilge often and keep an absorbent pad under the engine. Look down there every time you use the boat: a new drip or stain on a clean, light surface is the earliest warning you will get. Log the date, paint used and color in BoatMend so the next touch-up matches.
A BoatUS writer describes a decades-old engine compartment that still looks new because the area under the engine gets towel-dried after every trip: lower humidity means less rust on engine parts, and a dry, painted surface makes a new leak obvious. BoatUS also suggests washing the bilge with fresh water and clearing debris about once a month, because loose bits clog float switches and pump strainers. Test the pump from the helm switch and by lifting the float each time.
Common mistakes
- Painting over oil or old flaking paint. The new coat peels off with the contamination underneath. Most failures are prep failures.
- Rolling on one thick coat. It traps solvent and stays soft or wrinkles. Two thin coats beat one heavy one.
- Gluing a float switch or seacock with paint. Mask or remove anything that has to move.
- Painting over labels and serial plates. Fuel tank labels and engine plates need to stay readable.
- Running household fans or lights down in the fumes. Keep anything that can spark outside the bilge.
- Using epoxy bilge paint on aluminum or steel without checking. Some products are not made for metal; read the label.
- Hiding a problem. Painting over a wet, soft or leaking area just makes it harder for you or a surveyor to see later.
When to call a pro
- You smell fuel, see fuel in the bilge, or find a leaking tank or fuel line
- Stringers, floors or the transom are soft, cracked, delaminated or show wet, dark wood
- The bilge is on an aluminum or steel boat with active corrosion or pitting
- The bilge holds standing water you cannot trace, or water keeps coming in (see the water source guide; if the boat is taking on water, call USCG on VHF 16 or 911)
- You cannot ventilate the space well or cannot work safely in it (tight engine rooms with big diesels or generators)
- The boat has sound or fire suppression systems, tanks or wiring you would need to remove to reach the bilge
Tips
- Do the work in the off-season, when the engine is cool and you can leave hatches open for days.
- Take photos of the bilge before you start and after, and store them with the boat's records.
- White paint shows everything. That is the point, so resist the urge to choose gray to "hide dirt."
- Keep a small can of the same paint aboard for touch-ups after future repairs.
Official references
We read these to write this guide. Your engine's own manual always wins.
Safety: BoatMend is for information only and does not replace a certified marine technician. You are responsible for your safety and your boat. Read the full disclaimer.
Last updated 2026-10-25
Related guides
How to Clean Your Boat's Bilge (Legally, and Without the Smell)
Get oil, sludge and debris out of the bilge without pumping pollution overboard, choose absorbents that actually work, track down bilge odors, clear limber holes and the pump pickup, and dispose of the mess the right way.

Oil or Fuel in the Bilge: Safe, Legal Cleanup
What to do when you find oil, diesel or gasoline in your bilge. Soak it up with oil-only absorbents, keep it from being pumped overboard, dispose of it properly, report any sheen on the water to the National Response Center, and find the leak so it does not happen again.
Where Is the Water in My Bilge Coming From? A Step-by-Step Leak Finder
Track down the source of water in your bilge, from the cheapest clues (when it appears, salt or fresh) to the usual suspects: rain and deck drains, the freshwater system, AC condensate, the shaft seal, raw-water hoses and through-hulls. Fix the leak instead of relying on the bilge pump.
How to Test and Clean Your Bilge Pump and Float Switch
Make sure your bilge pump actually moves water overboard, both on the manual switch and automatically through the float switch. A working bilge pump is one of the most important safety systems on any boat that stays in the water.
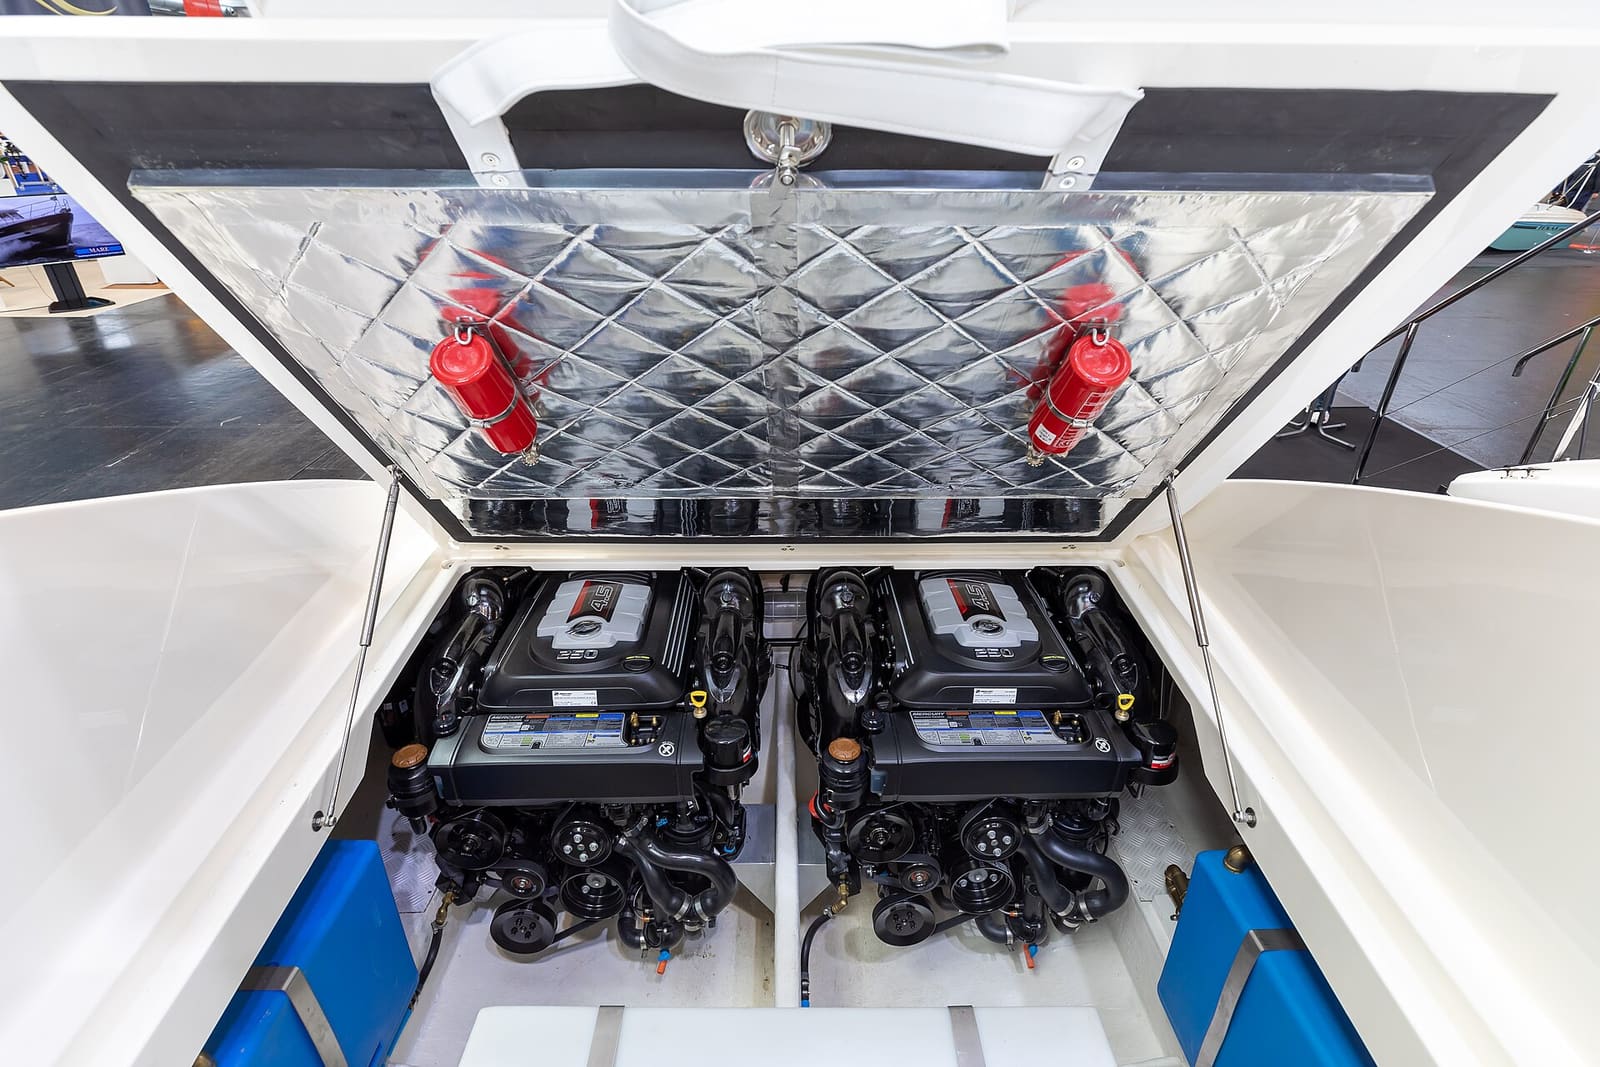
Bilge Blower and Engine Compartment Ventilation on Gas Inboards and Sterndrives
Learn why gas boats have a "run the blower 4 minutes" label, how to check that the blower and vent ducts actually move air out of the engine compartment, and how to replace a blower safely with an ignition-protected marine unit.
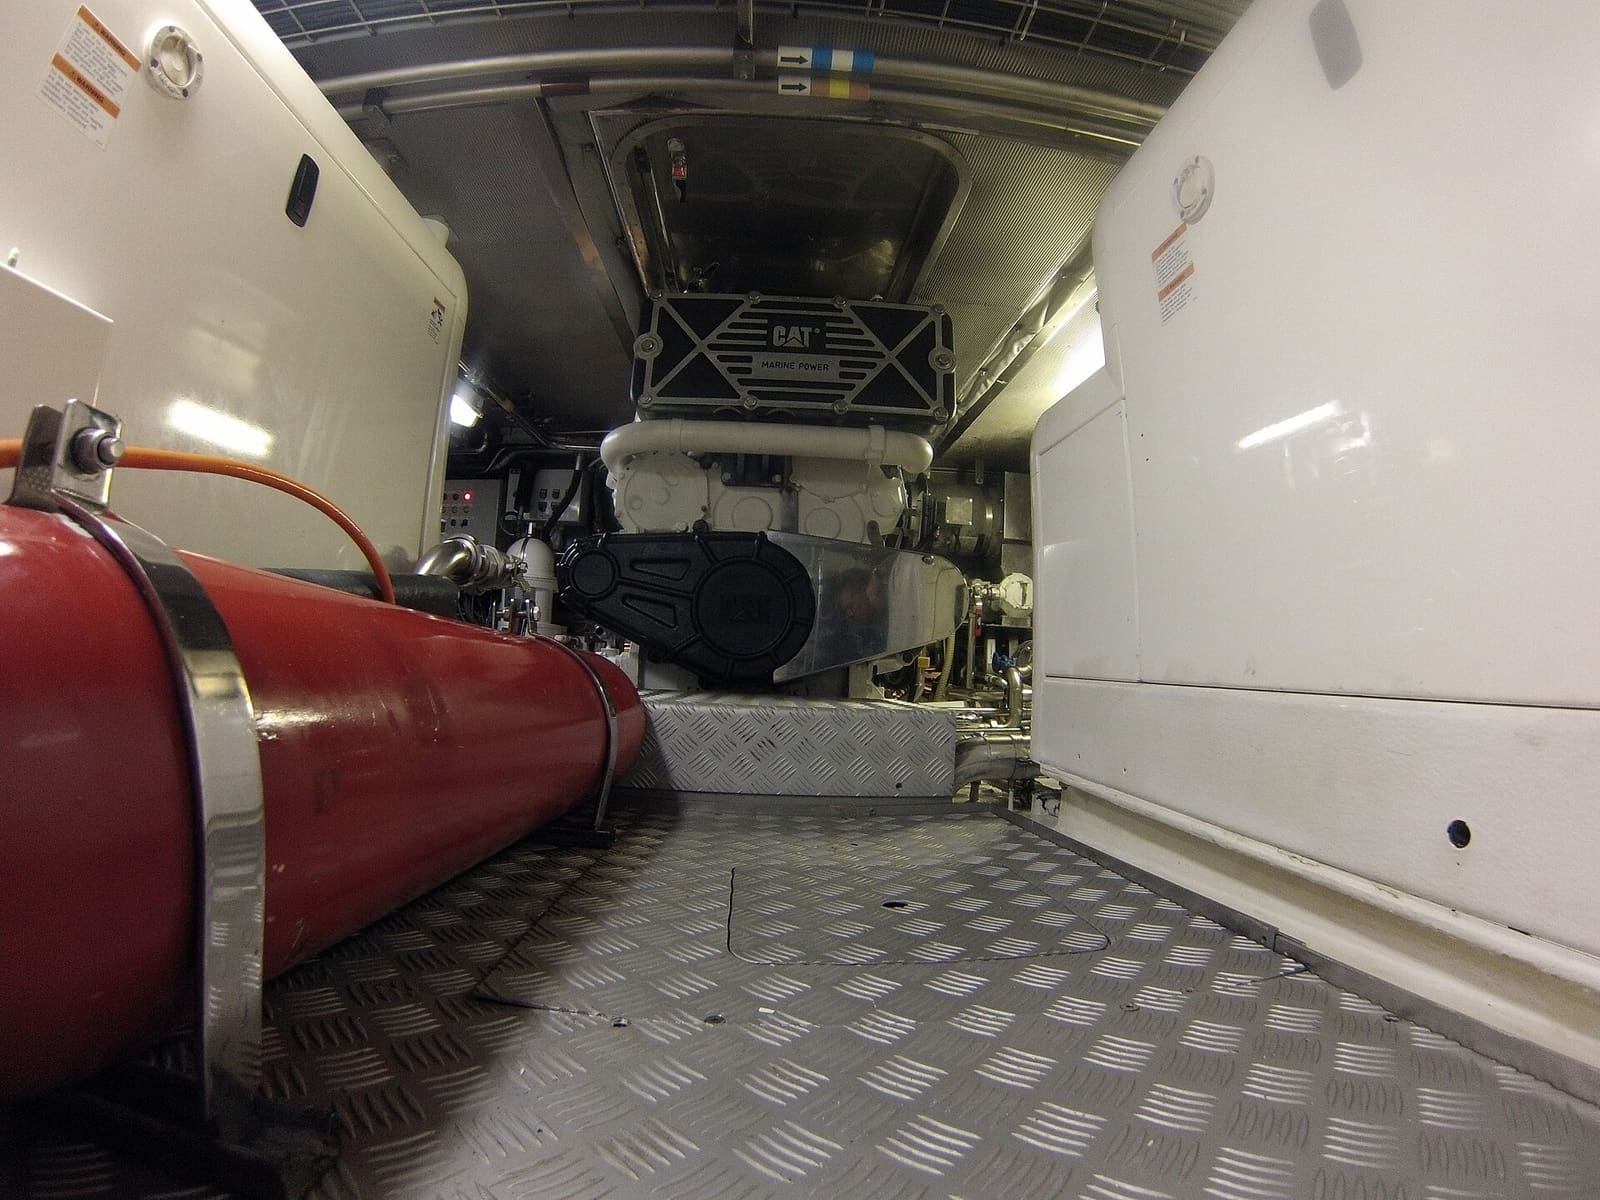
How to Keep a Dry Bilge, Including Dry Bilge Pump Systems
Standing water in the bilge causes odors, mildew and corrosion, and hides new leaks. Learn why your main pump leaves water behind and how to get rid of the last inch: cut the sources, clear limber holes, route AC condensate and showers to a sump, and add a small self-priming diaphragm pump if needed.
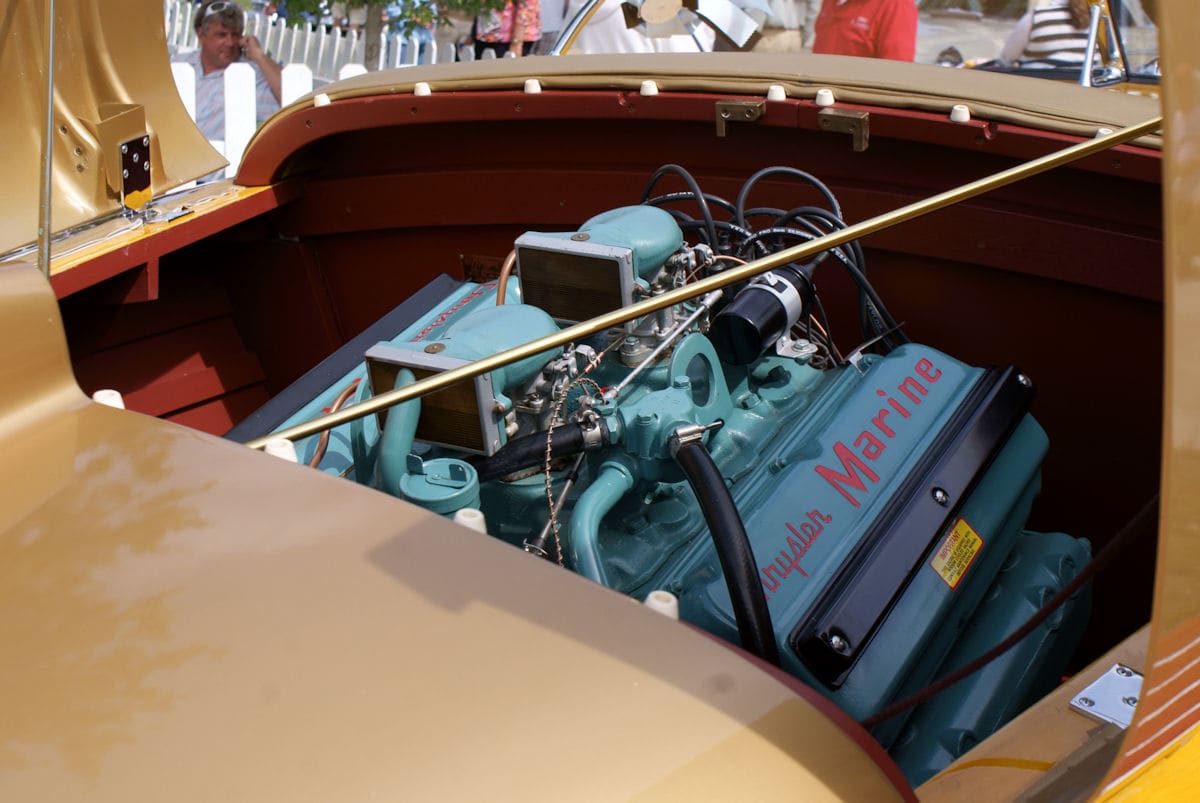
How to Check and Test a Gasoline Vapor (Fume) Detector
A gasoline vapor detector sniffs the bilge all the time and sounds an alarm long before fumes can explode. Learn how these detectors work, where the sensor belongs, how to test the system the way its maker says, what causes false alarms, what to do when it goes off, and why it never replaces the blower and your own sniff test.
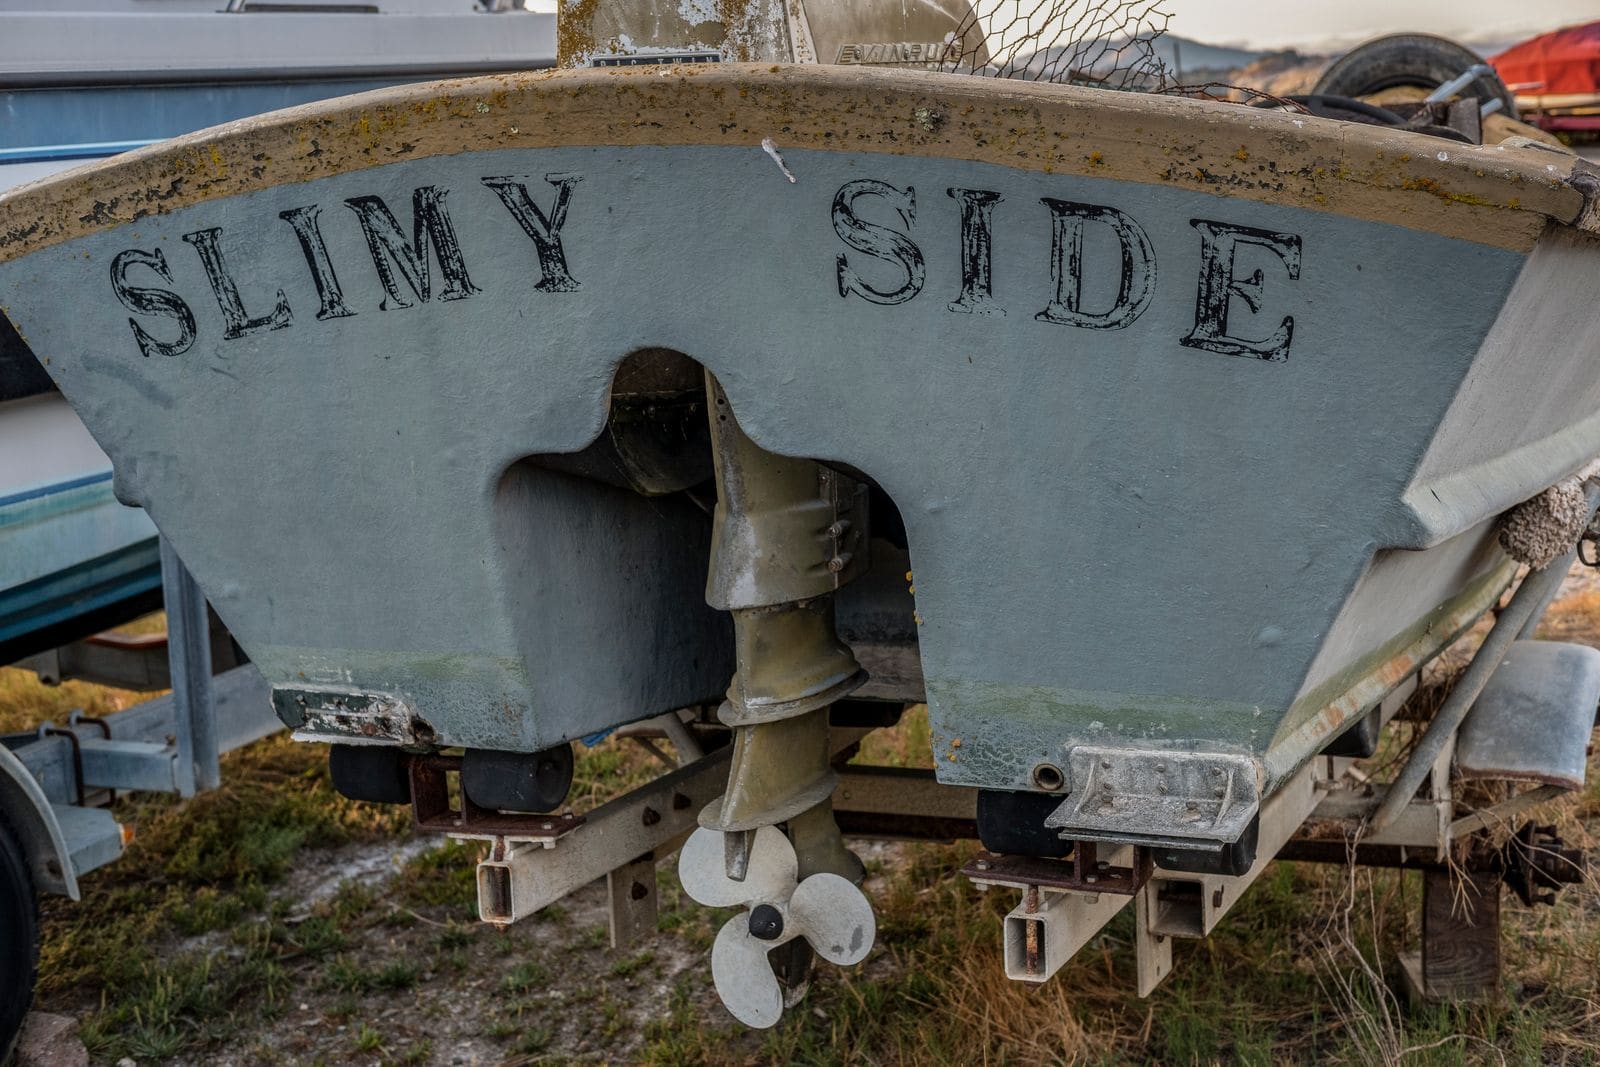
How to Check a Boat for Transom and Stringer Rot
Many older fiberglass boats have wood inside the transom, stringers and deck, and water that gets in slowly rots it. Learn the tap test, the flex test, how to read a moisture meter and the other warning signs, and why a rotten transom or stringer is a structural job for a pro, not a weekend patch.