Autopilot Care: Calibration, Drive Maintenance and Common Faults
Keep your autopilot steering straight and safe, whether it is a tiller pilot, a below-deck linear drive or a hydraulic pump on a center console. Check the drive and rudder feedback, fix voltage drop, calibrate the compass, run a proper sea trial, and work out what common alarms and wandering courses really mean.
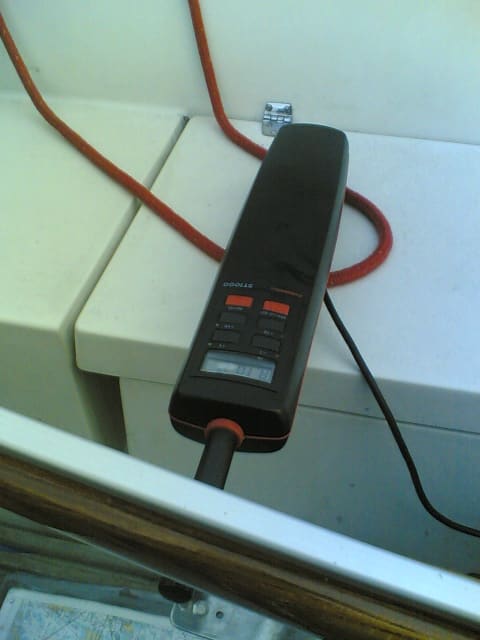
Time
2 h
Shop would charge
$200-600
Applies to
All engines · Sailboat, Cabin cruiser, Yacht, Center console
Safety first: An autopilot steers; it does not look out. The Rules of the Road require a proper lookout at all times, so someone must watch the water whenever the pilot is on. Make sure everyone aboard knows how to switch to standby and take the wheel or tiller. Keep hands and feet clear of the rudder quadrant, ram, wheel and tiller while the pilot can move them, and switch off the autopilot breaker before working on the drive. If you lose steering underway, slow down, call for help (USCG on VHF 16, TowBoatUS or Sea Tow) and do not try to fix hydraulic leaks in rough water.
Owners often ask
- Why does my autopilot zigzag or hunt back and forth instead of holding a straight course?
- My tiller pilot keeps dropping out and the boat rounds up. What's wrong?
This guide walks you through it. Still stuck? Ask the AI Mechanic about your engine.
Tools
- Digital multimeter
- Flashlight and inspection mirror
- Wrench and socket set
- Screwdrivers
- Your autopilot's installation and operation manuals
Parts & supplies
- Steering fluid specified by your steering system maker (hydraulic systems)
- Dielectric grease (for plugs and sockets, if the maker allows)
- Replacement tiller pin socket or plug (tiller pilots, if worn)
Before you start
Know which type you have.
- Tiller pilot: a self-contained arm that pushes and pulls a sailboat's tiller. Simple, but exposed to spray and knocks.
- Wheel pilot: a motor and belt or drum that turns the steering wheel on smaller sailboats.
- Below-deck mechanical (linear or rotary) drive: a motor and ram bolted to the rudder quadrant or tiller arm, common on larger sailboats and cruisers with cable or rod steering.
- Hydraulic pump: a pump plumbed into the hydraulic steering lines. Common on center consoles, outboard boats and powerboats.
- Steer-by-wire integration: on some newer boats the autopilot talks directly to the electronic steering system. Most of that work is for dealers.
Know the parts. Besides the drive, a typical system has a control head at the helm, a course computer, a heading sensor (an electronic compass), and on many systems a rudder feedback (rudder reference) sensor. Many newer pumps and drives estimate rudder position without a separate sensor. Most connect to the chartplotter through NMEA 2000 or the maker's version of it.
Get the manuals. Calibration menus differ a lot between brands and models. Download the installation and operation manuals from the maker's website and keep them aboard.
Steps
Switch on the autopilot breaker and the control head. Note any alarm messages and the software version. Confirm the heading on the autopilot display roughly matches your ship's compass and the chartplotter. Check that the control head buttons respond and the screen is not fogged inside. Water inside a control head usually means a cracked seal or case.
With the breaker off, look at the drive with a flashlight. The mounting bolts and bracket must be tight with no cracks in the fiberglass or wood around them. Then have a helper turn the wheel (or move the tiller) from side to side while you watch:
- The drive should not shift or flex on its mount.
- The ram or pushrod should move smoothly without clunks.
- There should be no play at the tiller arm, quadrant or rudder stock. A loose connection here makes the pilot wander and can fail completely.
On hydraulic steering, the autopilot pump shares fluid with the helm. Check the fluid level at the highest helm pump as your steering maker describes, and look for wet spots or drips at the autopilot pump fittings, hoses, and the steering cylinder. Signs of air in the system include spongy steering, extra turns lock to lock, a pump that runs but the rudder barely moves, or the pilot constantly hunting. Bleeding procedures depend on your steering system and pump, so follow the steering maker's instructions (see our hydraulic steering guide) and use only the fluid they specify.
Wipe salt and dirt off the ram and look at any rubber boot or seal for splits. Many below-deck drives have an electric clutch that connects the motor only when the pilot is engaged. With the pilot in standby, the wheel should turn freely; when engaged, the drive should take hold. Listen for grinding, clicking or a motor that labors. Only lubricate the points your manual lists; many drives are sealed and should not be greased.
Tiller pilots fail most often at the simplest spots:
- The power plug and socket. A split second of lost power makes the pilot drop to standby and the boat starts turning. Practical Sailor points to worn plugs as the usual culprit. Clean the pins, replace a loose or corroded plug, protect it from being kicked, and give the cable some strain relief.
- The tiller pin and socket. A worn socket lets the pushrod pop off the pin in waves. Replace a sloppy socket.
- The pushrod. Rinse it with fresh water and wipe it dry; salt and grit wear the seal.
Store the unit out of the sun and spray when you are not using it, and never leave it where it can sit in standing water.
If your system has a rudder feedback sensor, find it near the rudder quadrant, tiller arm or outboard steering. Check that the linkage rod is straight, the ball joints are snug, and nothing rubs or binds through full lock. On outboard boats an exposed feedback arm is easy to damage; look for bends and cracks.
Then compare the display with reality. With the rudder or engines centered, the autopilot should show about zero. Turn to full lock each way and check the display shows the full range in the correct direction. If not, run the rudder calibration in the setup or dockside wizard. Garmin, for example, warns that you must recalibrate the rudder after any steering maintenance or adjustment.
Autopilot drives pull a lot of current, especially hydraulic pumps and big linear drives. Low voltage at the drive makes the pilot weak, slow or prone to dropping out. Practical Sailor notes that battery voltage below roughly 12.1 volts can make autopilots and other electronics cut out, and that engine starting or a windlass can pull voltage down. To check:
- Look at the connections at the battery, breaker, course computer and drive for corrosion, heat discoloration, or loose terminals.
- With a helper steering the pilot hard over at the dock, measure voltage at the battery and then at the drive or course computer power terminals.
- A difference of more than a few tenths of a volt points to undersized wire or a bad connection. The installation manual lists the cable size for your run length.
Fix corrosion and loose connections first. Rewiring a high-current drive circuit is a job for a marine electrician if you are not comfortable with it.
The heading sensor is an electronic compass, so steel, magnets and current-carrying wires near it ruin its accuracy. Common culprits are stereo speakers, tool boxes, anchors and chain, steel fuel tanks, batteries and heavy DC cables. Check nothing new has been mounted or stowed near the sensor since it was installed. Many sensors have an arrow that must point forward, parallel to the boat's centerline; confirm it has not been knocked out of line.
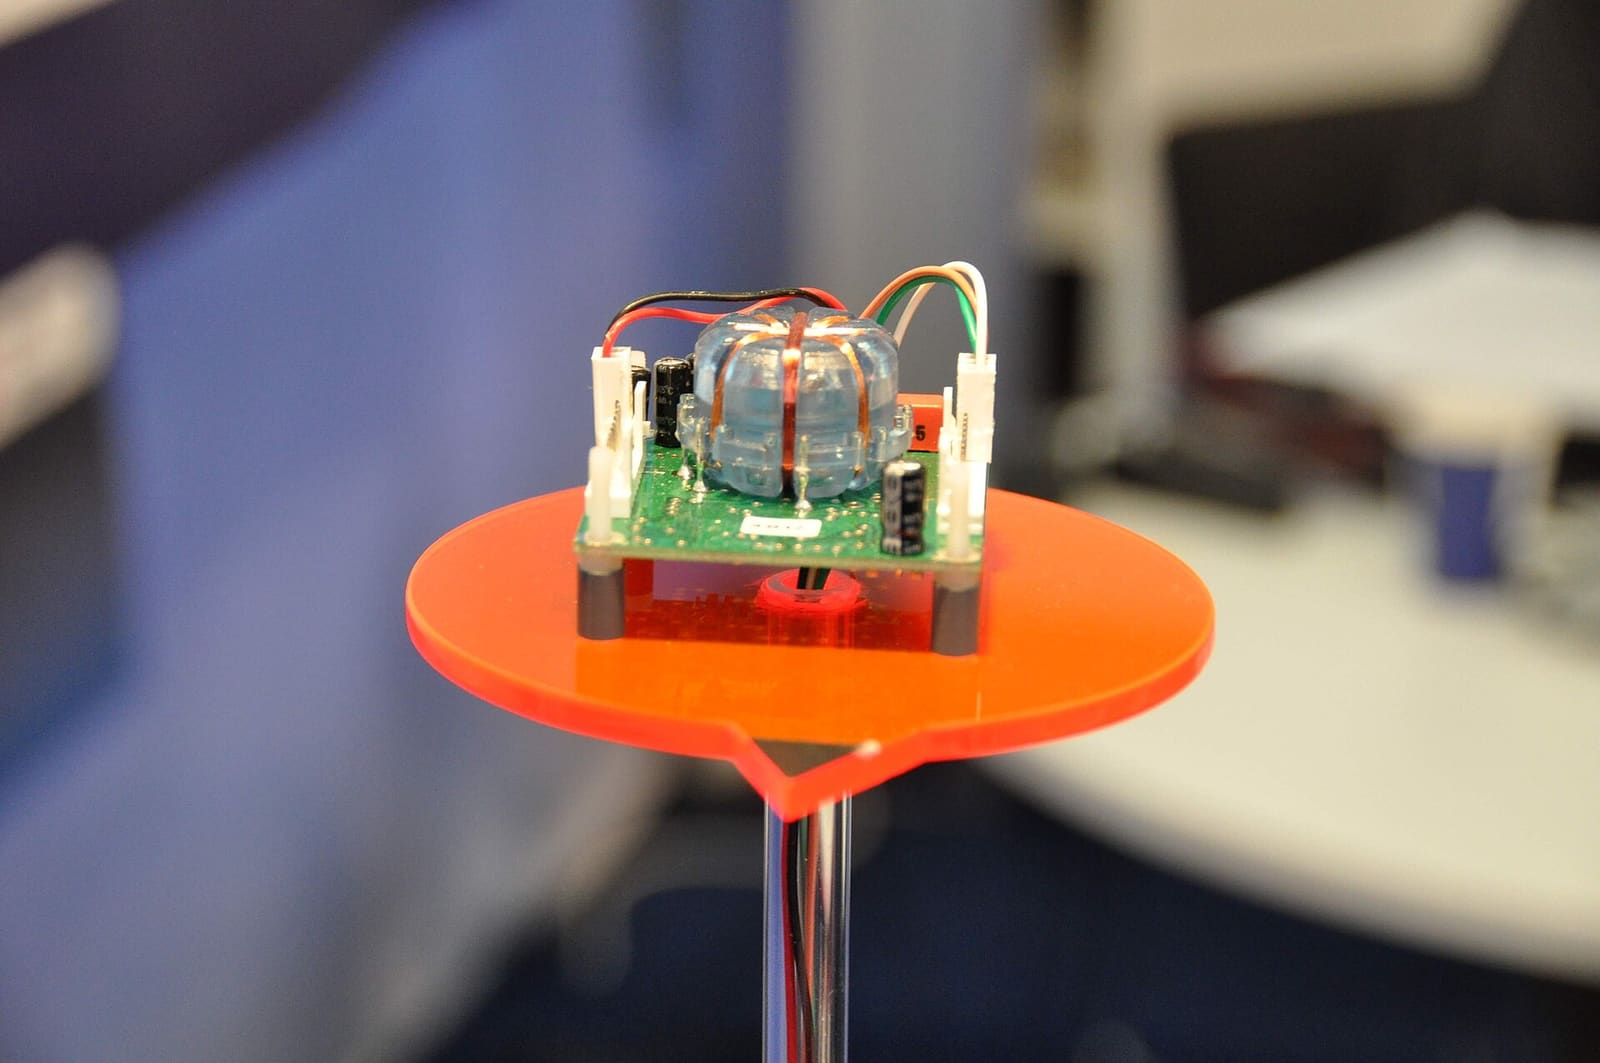
Photo: S.J. de Waard / Wikimedia Commons · CC BY 2.5 Calibration teaches the heading sensor about the boat's own magnetic field. Do it after installing a sensor, moving it, adding big electronics or metal nearby, or a factory reset. Methods vary:
- Automatic (for example Raymarine Evolution): the sensor calibrates itself as you motor through turns. Raymarine's manuals say linearization starts after about a 100-degree turn at 3 to 15 knots and needs at least a 270-degree turn to finish; a full slow 360 speeds it up. If it reports deviation of 45 degrees or more, the sensor should be moved.
- Slow circles ("compass swing"): older systems ask you to motor in slow, even circles below about 2 knots, each taking at least two minutes. If the final deviation is more than about 15 degrees, the compass needs to be moved away from metal.
- Wizard-based: Garmin and others use a dockside setup wizard and a sea trial wizard that include compass calibration.
Pick a calm day with open water and no traffic, and do not rely on the heading until calibration and alignment are complete.
After calibration, compare the autopilot heading to a trusted reference on a few headings: a well-adjusted ship's compass, or the GPS course over ground on a calm day with no current or wind. Most systems let you enter a small offset to line them up. If the error is different on every heading, calibration did not work; if it is the same everywhere, alignment will fix it.
In open water, at normal cruising speed:
- Engage the pilot on a straight course and watch for 5 to 10 minutes. The boat should hold a steady line without S-curves.
- Try small course changes (1 and 10 degrees) each way, then a larger turn. The boat should turn smoothly and settle without overshooting.
- Try a slower and a faster speed. Many pilots adjust their response with speed.
- If connected to the chartplotter, test following a short route.
If the boat zigzags, the response (gain) or rudder setting may be too high or there may be slack in the steering. If it is sluggish and drifts before correcting, the setting may be too low. Change settings one step at a time as your manual explains, or let a self-learning pilot finish its learning period.
- Holds a course but always off to one side: heading alignment, rudder centering offset, or (on sailboats) a boat that is badly out of balance with too much weather helm.
- Zigzags or hunts back and forth: too much gain, loose rudder feedback, worn steering links, or air in hydraulic steering.
- Drops to standby by itself: voltage dips, a loose plug, or (on tiller pilots) the pushrod jumping off the pin.
- "No drive," "drive stopped" or "current limit" alarm: jammed or overloaded steering, a slipping clutch, low voltage, or a wiring fault at the drive.
- "Rudder feedback" alarm: damaged sensor, loose linkage, or wiring.
- Pilot lets go when someone just brushes the wheel, or will not let go when you grab it: many hydraulic systems have a helm-override sensor (Garmin calls it Shadow Drive) that drops the pilot to standby when you steer by hand. Its sensitivity is usually adjustable in the autopilot setup menu; check your manual. If you switch the override off, you must press Standby before you can steer.
- "No heading" or "compass" alarm: sensor disconnected or a network problem; check the NMEA 2000 network.
- Wanders badly downwind in waves (sailboats): the boat is out of balance. Reef the main earlier, use compass mode rather than wind mode, and trim for balance.
Practical Sailor points out a common trap: the pilot averages the last few seconds of heading, so if you press Auto while still turning, it can lock a course 10 to 30 degrees off. Steer steady on your new course for 5 to 15 seconds, then engage. Keep watch, check your position often, and be ready for the pilot to drop out if power hiccups.
Show everyone how to put the pilot in standby and steer by hand, including any helm override feature. Log the date of your calibration, sea trial and any settings you changed in BoatMend, and check the maker's website or chartplotter for software updates once a season.
Common mistakes
- Treating the pilot as a lookout and going below or reading for long stretches. Rule 5 of the Navigation Rules requires every vessel to keep a proper lookout by sight and hearing at all times; an autopilot steers, it does not watch. Keep someone at the helm and set an alarm timer if you are short-handed.
- Stowing tools, a portable speaker or the anchor next to the heading sensor, then wondering why the heading drifts.
- Skipping rudder recalibration after steering work or replacing a cylinder.
- Pressing Auto in the middle of a turn.
- Ignoring a worn tiller pilot plug that has been "a bit loose" for seasons.
- Cranking up the gain to fix wandering that is really caused by loose steering or air in the hydraulics.
- Running a big drive on thin wire, so voltage sags whenever it works hard.
When to call a pro
- Hydraulic steering leaks, needs bleeding and you have never done it, or steering feels spongy after any work
- Steering linkage, rudder stock, quadrant or drive mounting is loose, cracked or worn
- The pilot cannot complete calibration, or the compass deviation stays too high wherever you move the sensor
- Steer-by-wire, joystick or pod-drive systems, which usually need dealer software
- Burnt, melted or hot wiring, or a breaker that trips when the drive works
Tips
- Keep a printout of your autopilot settings (or a photo of each settings screen) so you can restore them after a reset.
- On sailboats, a well-balanced boat makes any autopilot work less, use less power and last longer.
- Carry a spare tiller pin socket or plug for a tiller pilot; they are cheap and fail at sea.
- Do a short autopilot check on the first trip of each season, before you need it on a long run.
Official references
We read these to write this guide. Your engine's own manual always wins.
- Raymarine – Compass linearization, Evolution autopilots (p70/p70s commissioning)
- Raymarine – EV-1 heading sensor calibration
- Raymarine – Compass swing (p70/p70s commissioning)
- Practical Sailor – Tillerpilot Tips and Safety Cautions
- Salt Water Sportsman – Boat Autopilot Electronics
- Garmin – What autopilot system to choose for your boat
- eCFR – 33 CFR 83.05, Look-out (Rule 5)
Safety: BoatMend is for information only and does not replace a certified marine technician. You are responsible for your safety and your boat. Read the full disclaimer.
Last updated 2026-10-24
Related guides
Hydraulic Steering: Check Fluid, Bleed Air and Fix Stiff or Loose Steering
Check the fluid in your hydraulic steering helm, bleed out the air that makes steering spongy, and track down the usual causes of stiff, loose or noisy steering. Includes notes for boats with mechanical cable steering.
NMEA 2000 Network Basics and Troubleshooting (Plus Chartplotter Updates)
Understand the backbone, terminators, power tap and drop cables that tie your chartplotter, engine data, GPS, depth and autopilot together, then track down why a device keeps dropping off. Finish by updating chartplotter and device software the safe way.

How to Find and Fix Corroded Electrical Connections on a Boat
Track down the green crust and loose terminals behind flickering lights, dead gauges and slow cranking with a simple voltage-drop test, then remake the connection the marine way: tinned wire, a proper crimp, adhesive-lined heat shrink and a protective coating.

Marine Battery Care: Test, Charge and Store for Winter
Check your boat battery's health, charge it the right way for its type (flooded, AGM or lithium), and store it so it is ready in spring. Most "boat won't start" calls start with a neglected battery.
Stiff or Seized Mechanical Steering - Lubricate, Inspect and Replace the Steering Cable
Fix hard, notchy or loose cable steering on an outboard boat. Find out whether the engine, the tilt tube, the cable or the helm is the problem, clean and grease what can be serviced, and measure and install a new cable correctly when the old one is done.