How to Add and Read an Outboard Water Pressure Gauge
A water pressure gauge shows how hard your outboard's water pump is working, so you can spot a tired impeller or a clogged intake long before the overheat alarm sounds. Learn why it's worth having, how readings change with RPM and brand, how a gauge is plumbed in, and what to do when the number drops.

Time
2 h
Shop would charge
$150-400
Applies to
Outboard · Fishing boat, Center console, Bowrider / runabout, Pontoon
Safety first: Never run an outboard out of the water unless it is on external flush muffs or in a test tank, and never put it in gear or rev it up on muffs. The built-in flush port on many engines is for use with the engine off unless your owner's manual says otherwise. Disconnect the battery and remove the kill cord before drilling the dash or working on wiring.
Owners often ask
- My outboard water pressure gauge reads zero at idle. Is my water pump bad?
- Can I just tee a water pressure gauge into my telltale hose?
This guide walks you through it. Still stuck? Ask the AI Mechanic about your engine.
Tools
- Screwdrivers and a socket set
- Hole saw sized for the gauge (if adding a dash gauge)
- Drill and step bit
- Sharp hose cutter or utility knife
- Zip ties and cable clamps
- Multimeter (for electric gauges)
- Flush muffs ("ear muffs") and a garden hose for testing
Parts & supplies
- Water pressure gauge kit with the range your engine maker recommends
- Adapter or tee fitting specified for your engine model
- Pressure hose and fittings from the kit (mechanical gauges)
- Pressure sender and marine-grade tinned wire, connectors and heat shrink (electric gauges)
Before you start
Why bother with a water pressure gauge? The telltale (the little "pee" stream) only tells you that some water is flowing. An overheat alarm only tells you after the engine is already hot. A water pressure gauge shows how strongly the water pump is pushing water through the powerhead while you run. BoatUS makes the point that gauges are about watching trends, not just numbers, and this is the perfect example: a reading that slowly creeps lower over a season is your early warning of a worn impeller or a partly blocked intake.
How readings behave. Water pressure rises with RPM. It is normal to see very little, or even zero, at idle and the highest reading at wide open throttle (WOT). Readings also differ a lot between brands and models because cooling systems are designed differently. Some engines have pressure relief ("poppet" or "dump") valves that release extra water at higher RPM, which caps the reading.
What the makers publish. Yamaha, for example, states that all of its outboards have a minimum water pressure of 11 psi at WOT, with no specification for low or mid-range, and that seeing zero at idle can be normal because most sensors only start reading at about 3 psi. Other makers publish their own figures in the service manual, and some do not publish one for owners at all. Use the number for your exact engine, from your manual or dealer, and never borrow another brand's figure.
Your options.
- Factory digital gauges or a multifunction display: many modern outboards already have a water pressure sensor, and the reading shows up on the brand's digital gauges or through an NMEA 2000 network. Check your engine's display menus before you buy anything. Mercury, for example, lists water pressure among the data shown on its MercMonitor display and its SC100 and SC1000 digital gauges, and its SmartCraft Connect module can stream engine data, including fluid pressures, to the Mercury phone app on compatible engines. Whether your particular engine actually has the water pressure sensor fitted depends on the model, so confirm with your dealer.
- Analog electric gauge: a pressure sender at the engine sends an electric signal to a dash gauge. Water stays at the engine.
- Analog mechanical gauge: a small hose carries engine water pressure all the way to the gauge at the helm. Simple and needs no power, but it puts a water line behind your dash.
Steps
Look up your engine model in the owner's manual or ask your dealer whether it has a water pressure fitting or port (often a small plugged or capped fitting on the powerhead), a factory water pressure sensor, or an accessory kit. Some engines need a specific adapter. Get the engine model and serial number before ordering parts.
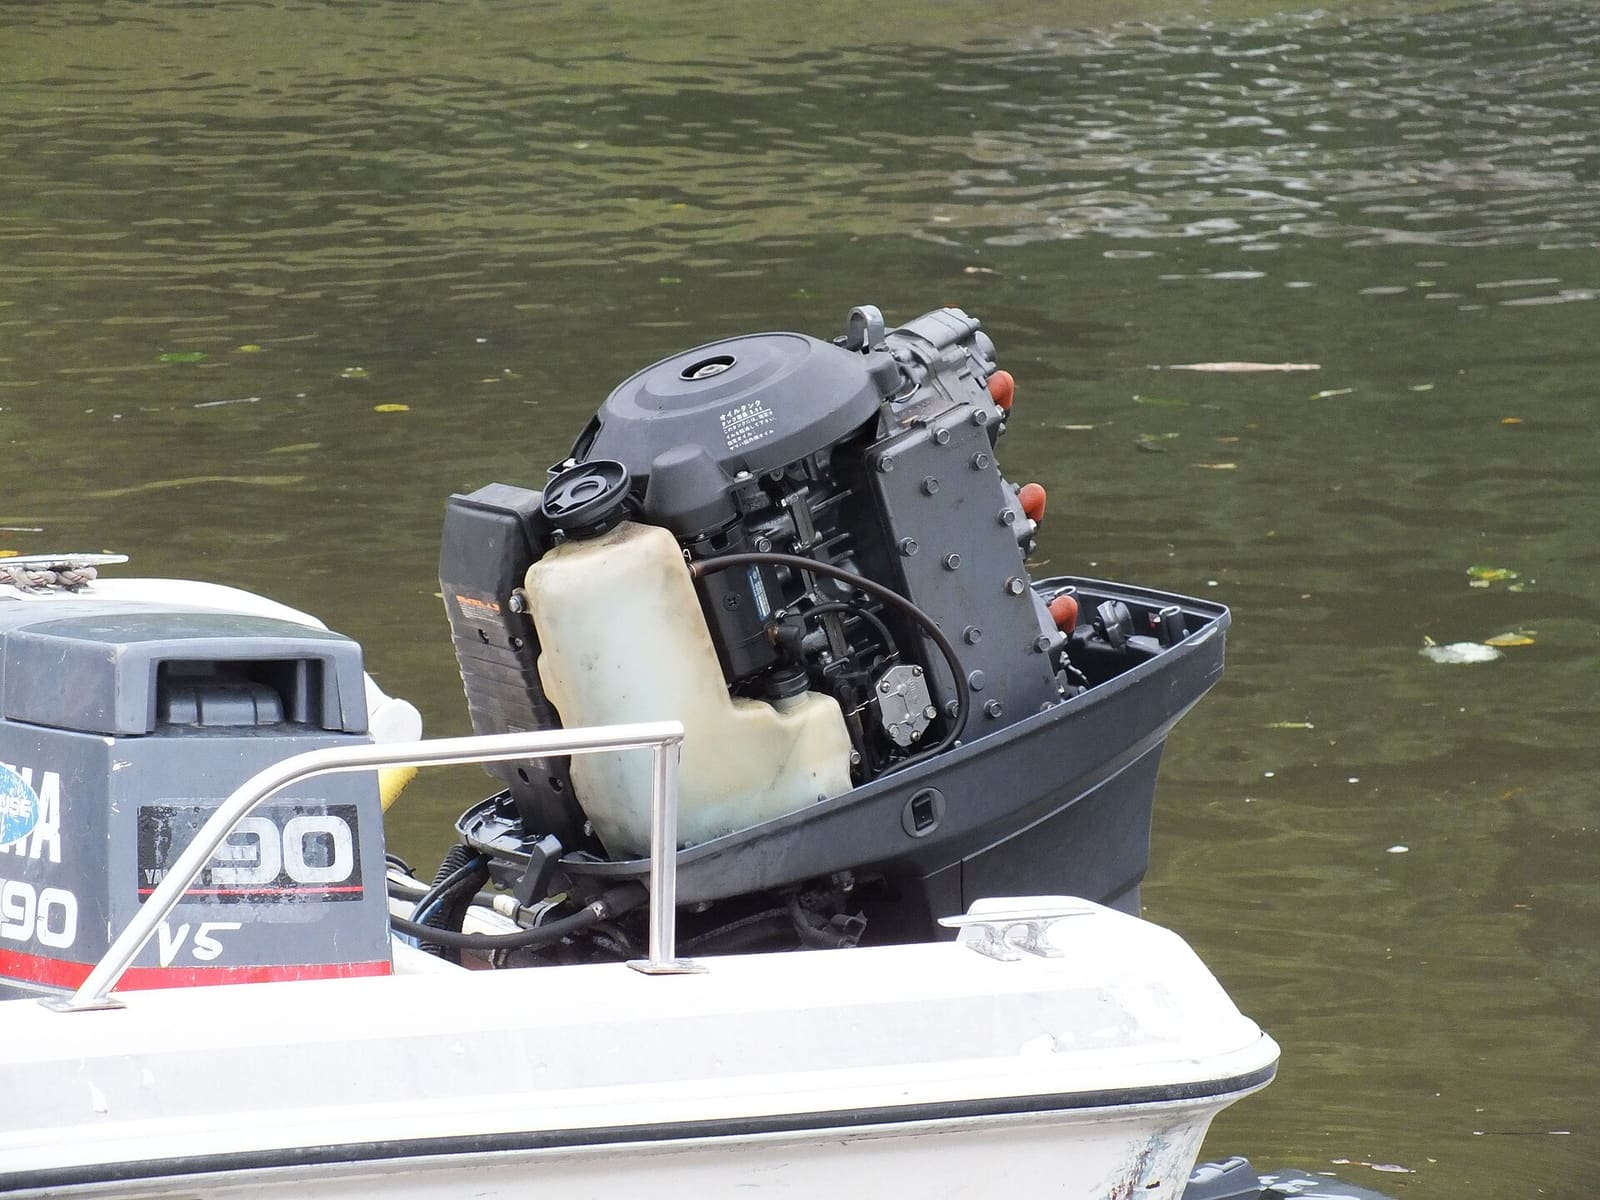
With the cowling off you can see the powerhead's hoses and fittings. Where the water pressure fitting sits varies by model, so use your manual to find it. Photo: Andshel / Wikimedia Commons · CC BY-SA 4.0 Pick a gauge kit made for outboards, in the pressure range your engine maker recommends. A gauge with too wide a scale makes small changes hard to see; one with too narrow a scale may peg at high RPM. If your engine already has a digital network, a factory sensor that feeds your existing display is often the cleanest solution.
Pick a spot on the dash you can see while driving, with room behind it. Plan the route from the engine to the helm along the existing rigging tube or cable run, away from the steering, throttle cables and anything hot or sharp. For a mechanical gauge, keep the hose away from electronics in case it ever leaks.
With the engine off, cool and out of gear, remove the plug or cap from the water pressure fitting and install the adapter or tee your kit and manual call for, then attach the hose or sender. Use thread sealant only if the instructions say so, and tighten by hand plus the amount the instructions specify; these fittings are small and easy to strip.
About teeing into the telltale hose: some owners tee a gauge into the telltale line because it is easy. It can show a trend, but the telltale outlet is open to the air, so the reading is usually lower than the true pressure and can be misleading. A dedicated pressure fitting gives a much more useful reading.
Route the line through the rigging, leaving a gentle loop at the engine so it can tilt and steer without pulling. Secure it every foot or so with clamps or zip ties, but do not crush a mechanical hose. For an electric gauge, use marine-grade tinned wire, sealed connectors and heat shrink, and take power from a switched, fused circuit as the gauge instructions describe.
Cut the dash opening with a hole saw, mount the gauge with its bracket, and connect the hose or wires. Lighting wires usually go to the dash light circuit. Reconnect the battery and check that the gauge needle or display wakes up correctly with the key on.
Put flush muffs on the water intakes, turn the hose on fully, then start the engine and run it at idle only, in neutral, never unattended. Look for drips at every fitting. Note that on muffs the reading mostly reflects your garden hose pressure, not the engine's pump, so do not judge the pump by it. It is just a leak and function check.
On your next outing, once the engine is warm, note the reading at idle, at a few cruise RPMs and at WOT if conditions allow. The Texas Saltwater Fishing article recommends doing this while the pump is fresh so you know what "normal" looks like. Write the numbers in your BoatMend maintenance log.
Glance at the gauge as you change speed. What matters is a change from your own baseline at the same RPM:
- Steady, normal readings: the pump and intakes are doing their job.
- Gradually lower over weeks or months: a sign the impeller is wearing. Plan an impeller change.
- Sudden drop or no pressure at speed: stop and check right away (next step).
- Readings that jump around: often air in the line, a weed or bag partly over the intake, or a loose fitting.
- Slow down, check the telltale and the temperature. If the telltale is weak or the alarm sounds, shut down and let it cool.
- Check the water intakes on the gearcase for weeds, plastic bags or mud. Tilting up and clearing them fixes a surprising number of low readings.
- Check the gauge line and fittings for kinks, leaks or a cracked hose. On a mechanical gauge, a line plugged with salt, sand or debris can read zero even when the pump is fine: with the engine off, disconnect the line at both ends and blow or flush it through, then reconnect. For electric gauges, check the sender wiring and connections.
- Look at the telltale outlet and passages for salt, sand or mineral buildup.
- Replace the water pump impeller if it is due or readings have been falling. A pump that ran dry, or pumped sand, wears fast.
- Call a pro if pressure stays low with a new impeller and clear intakes. A stuck pressure relief valve, a blocked passage, a faulty thermostat or a damaged pump housing may be involved.
A good water pressure reading with an overheat alarm means the problem is likely somewhere else, such as a sensor, a thermostat or a blockage after the pressure fitting. Follow your overheat alarm response steps and do not run the engine hot.
Common mistakes
- Comparing your reading to a friend's engine or a number from a forum. Only your engine's spec and your own baseline matter.
- Panicking over zero at idle. On many engines that is normal.
- Judging the water pump by the reading on flush muffs.
- Running a mechanical gauge hose behind the dash with cheap fittings, then finding water on the electronics.
- Ignoring a slow downward trend until the overheat alarm finally sounds.
- Revving the engine on muffs to "see what it reads."
When to call a pro
- Low pressure that does not improve after clearing intakes and checking the line
- Overheating with good pressure, or pressure that drops suddenly at speed
- You are not comfortable cutting the dash or working on boat wiring
- Your engine needs a special adapter or the fitting is damaged or seized
- You are on the water with an overheating engine and cannot get back safely: call TowBoatUS or Sea Tow (VHF 16 or 911 in an emergency)
Tips
- Note your water pressure at the same RPM every trip. A quick photo of the gauges at cruise works as a log.
- Write the date of the last impeller change on a piece of tape near the gauge.
- If you boat in shallow, sandy or muddy water, expect impellers to wear faster and check the trend more often.
- A good gauge does not replace pump service. Yamaha's general rule is to inspect the impeller and water pump every year, in fresh or salt water, while still following the interval in your own manual.
Official references
We read these to write this guide. Your engine's own manual always wins.
- Yamaha Outboards – Maintenance FAQs (minimum water pressure)
- Yamaha Outboards – Rigging Gauges
- Texas Saltwater Fishing Magazine – Does Your Boat Have a Water Pressure Gauge?
- BoatUS – Troubleshooting Boat Gauges, Instruments and Meters
- Mercury Marine Dockline – All About Mercury Gauges & Displays
- Yamaha Outboards Maintenance Matters – Additional Outboard Maintenance Tasks
Safety: BoatMend is for information only and does not replace a certified marine technician. You are responsible for your safety and your boat. Read the full disclaimer.
Last updated 2026-10-25
Related guides
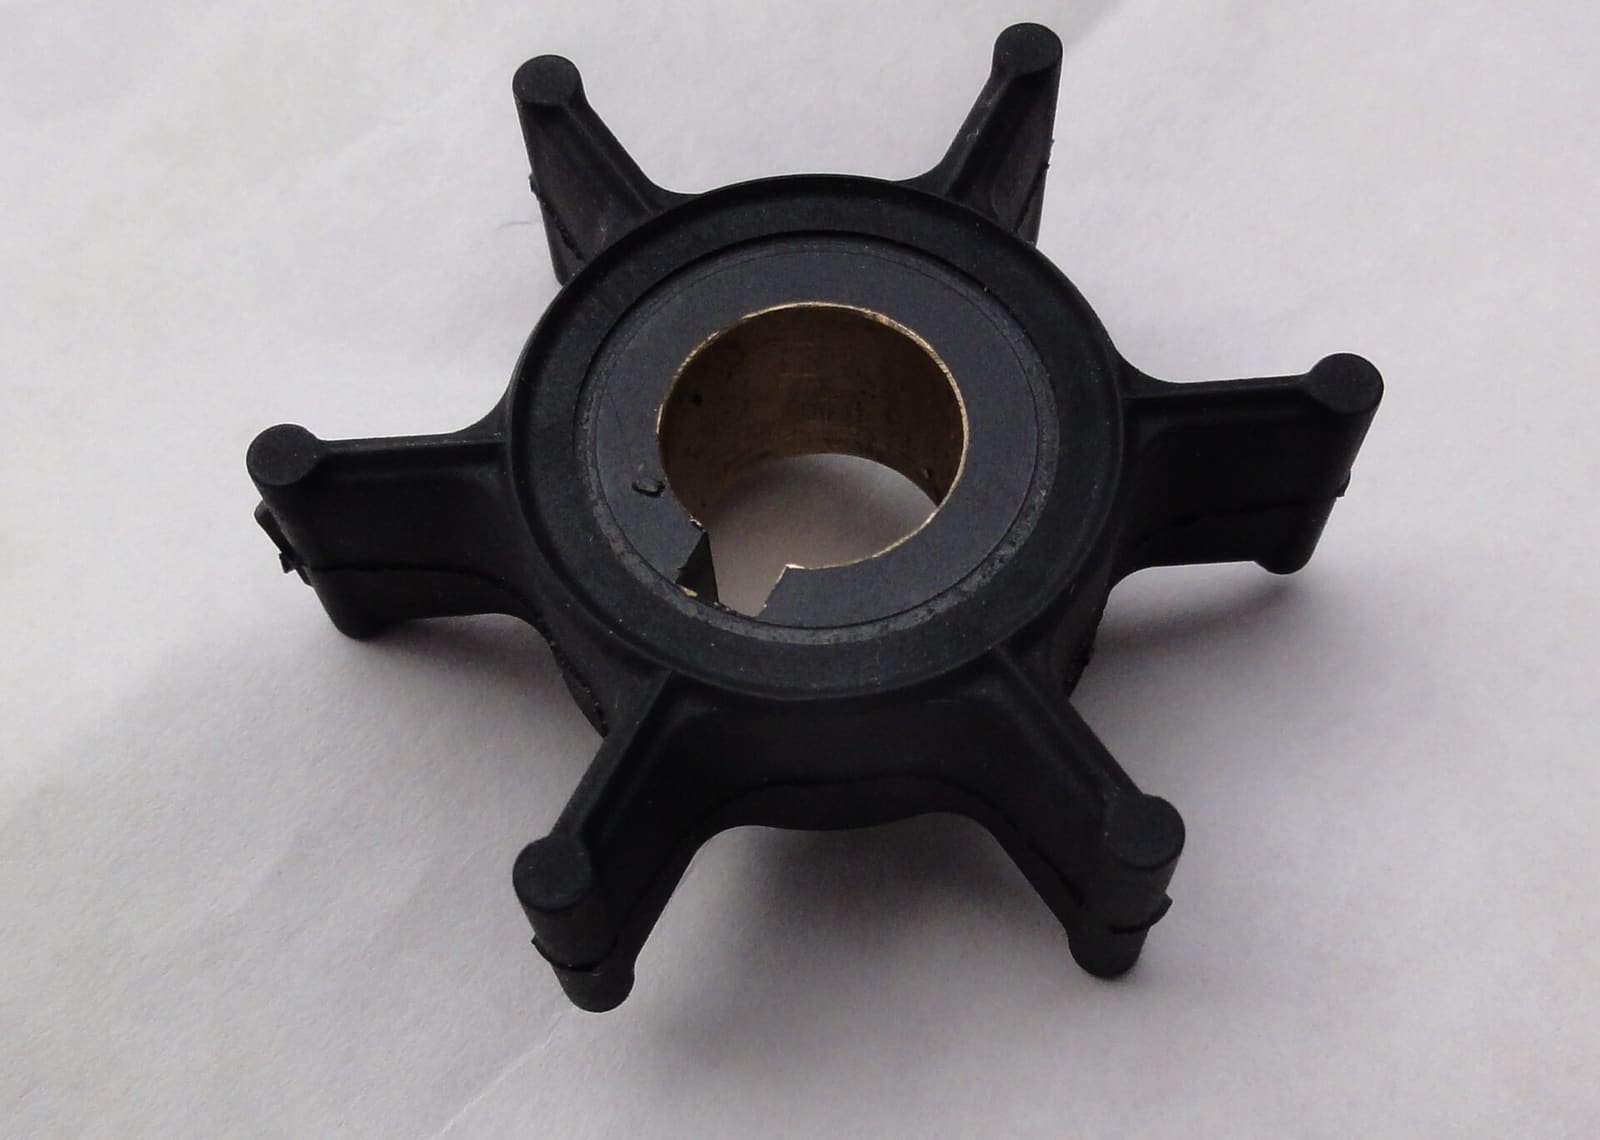
How to Replace the Water Pump Impeller
Replace the rubber impeller that pumps cooling water through your engine, the part most often behind overheating. On many outboards it is a two-hour driveway job that saves a shop bill of several hundred dollars and prevents far costlier heat damage.
Engine Overheating - Troubleshooting Guide
Work through the most likely causes of a hot engine or overheat alarm, from a blocked water intake to a worn impeller or stuck thermostat. Acting fast and in the right order can save your engine and often gets you home without a tow.
Overheat Alarm: What to Do in the First 60 Seconds
A short, practiced routine for the moment the temperature alarm goes off: take the load off, look for cooling water, shut down if it isn't there, and check every space the exhaust runs through for heat or fire. Based on a June 2026 Coast Guard safety alert about a fatal fire that started with an overheat alarm.
How to Flush Your Engine With Fresh Water
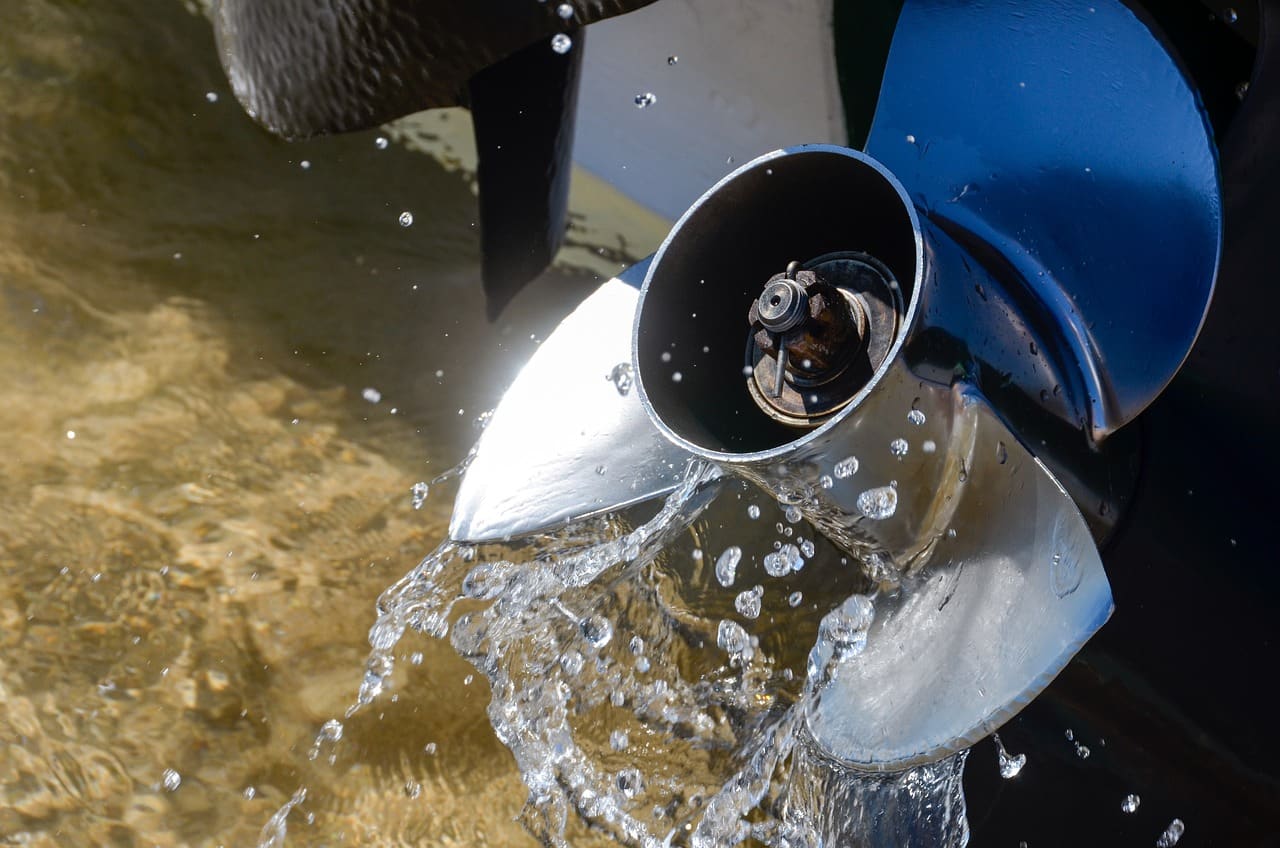
Rinse salt, silt and sand out of your outboard or sterndrive cooling system using the built-in flush port, flush muffs or a flush bag. Flushing after every saltwater trip is one of the easiest ways to prevent corrosion and overheating.
How to Troubleshoot Dash Gauges, a Dead Tachometer or a Wrong Fuel Gauge
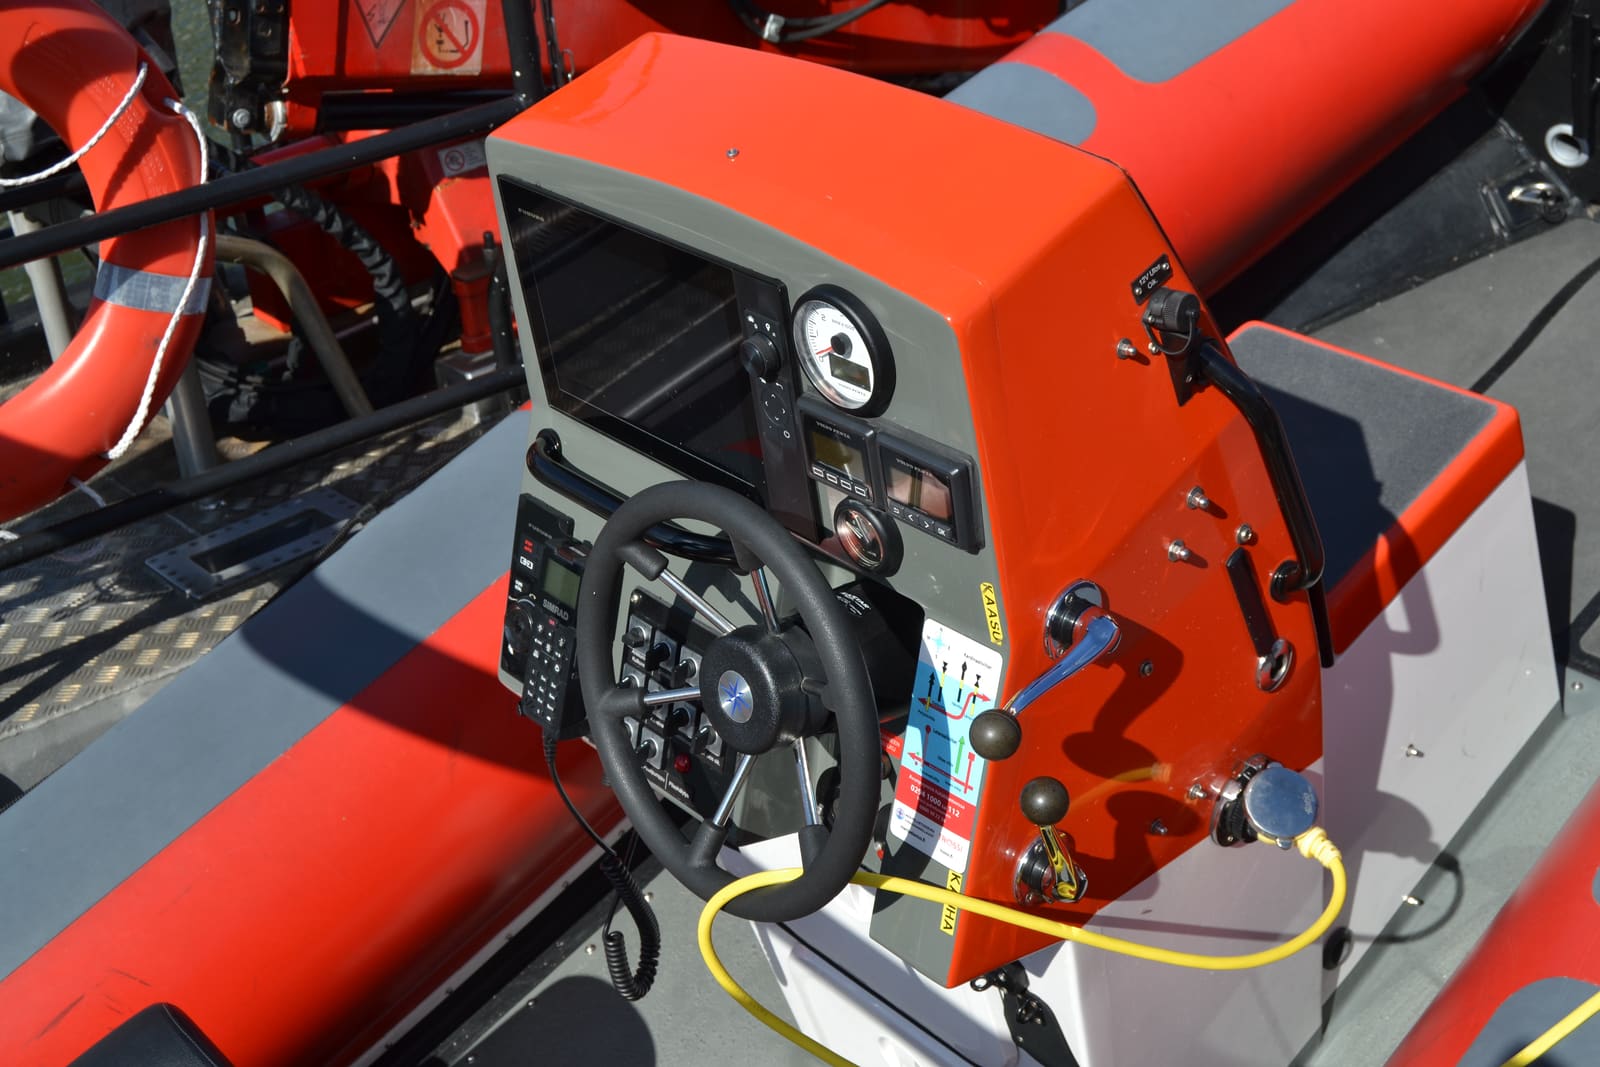
Work through dead or wrong dash gauges from the cheapest check to the most involved: fuses and breakers, power and ground, the gauge-versus-sender test, the tachometer's pulse setting and the extra checks for digital network gauges. Most gauge problems turn out to be a bad connection, not a bad gauge.
Salt and Scale in Raw-Water Cooling: Flushing Habits, Descaling and When It's a Shop Job
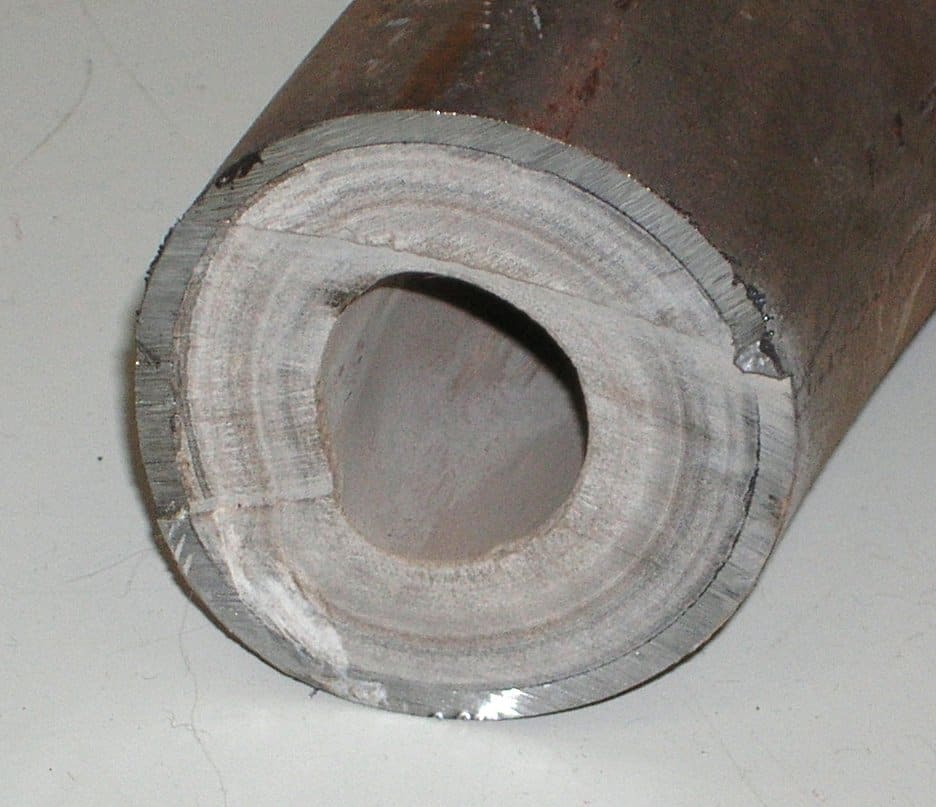
Learn how salt and scale slowly narrow your engine's cooling passages, how to spot the warning signs (a temperature that creeps up over seasons, a weak telltale, thermostats sticking), the flushing habits that prevent it, which descaling products and methods engine makers accept, what never to pour through an engine, and when to hand the job to a shop.
Engine Warning Horn and Dash Lights: What They Usually Mean and What to Do
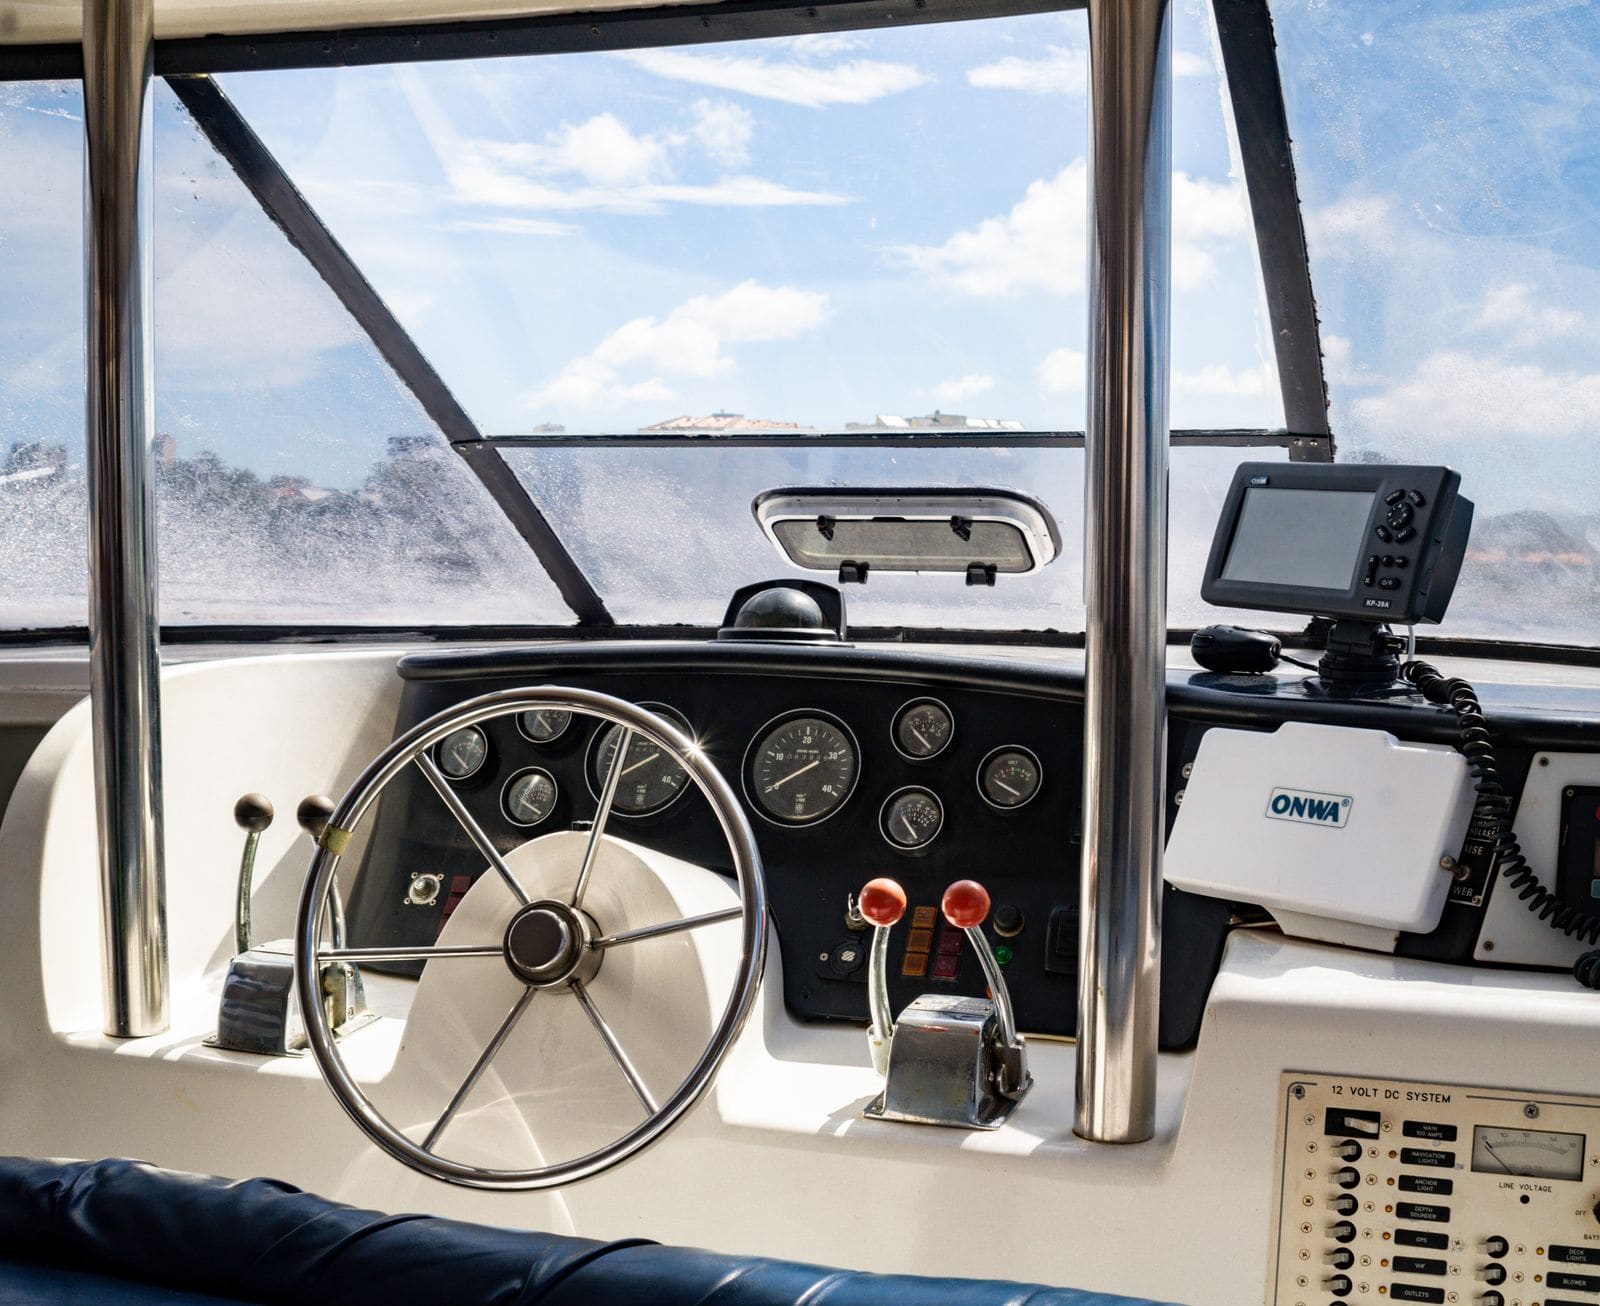
Learn what a warning horn, beeps or a dash light usually mean on a boat engine, from overheating and low oil pressure to water in the fuel and reduced-power (limp) mode. Find out what to do right away and when to stop the engine. Patterns differ by brand, so match what you hear and see to your owner's manual.