Winter Boat Cover vs Shrink Wrap: Support, Ventilation, Safety and Spring Removal
Choose between a reusable winter cover and shrink wrap, build a support frame that sheds snow, vent it so the boat doesn't mildew, and know the fire risks before you try DIY shrink wrap. Includes spring removal and recycling.

Time
4 h
Shop would charge
$300-1200
Applies to
All engines
Safety first: Shrink wrap film burns, and most DIY heat tools are open-flame propane guns. A moment of inattention can set the wrap, the boat and the boats next to it on fire, and a fire inside the wrap may not be visible at first. Don't shrink wrap near fuel vapors, with a fuel leak, in wind, indoors or in a closed space, or without a charged fire extinguisher in reach. If anything ignites and you can't put it out in seconds, get clear and call 911. Many yards don't allow DIY heat shrinking at all; ask first. Never climb onto a covered boat or stand on the frame.
Owners often ask
- Is it worth shrink wrapping my boat myself or should I buy a winter cover?
- My boat cover keeps filling with water and sagging. How do I stop it?
This guide walks you through it. Still stuck? Ask the AI Mechanic about your engine.
Tools
- Tape measure and notepad
- Ladder or sturdy platform (never stand on the cover)
- Lumber, PVC or aluminum poles for a support frame, or the cover maker's support poles
- Pool noodles, foam, old towels or carpet squares for padding
- Utility or safety hook knife
- For DIY shrink wrap only: a shrink wrap heat tool made for the job, its hose and regulator, leather gloves, safety glasses and a charged fire extinguisher within reach
Parts & supplies
- Reusable winter cover (custom, semi-custom or generic) with straps, or
- Shrink wrap film of a thickness suited to your snow load, strapping, buckles, shrink wrap tape, self-adhesive vents and an optional zippered access door
- Moisture absorbers or odor control products (optional)
Before you start
Cover or shrink wrap? Both work if they're supported and vented. The trade-offs:
- Reusable cover (custom, semi-custom, generic or a heavy tarp): costs more up front but lasts several seasons, breathes better, and can be lifted to check the boat during winter. Needs a support frame and regular checks for pooling water. Custom covers usually need a wood or metal frame.
- Shrink wrap: a tight, one-season seal against rain, snow, dirt and pests that fits any shape. It traps moisture unless it's vented, has to be cut open to get inside (unless you add a zippered door), and becomes a pile of plastic in spring. Most owners have it installed by a yard.
Check your storage contract first. BoatUS notes some yards require shrink wrap for rack storage, and some ban DIY wrapping, heaters or open flames. Find out before you buy anything.
Do this first: finish winterizing (engine, water systems, head), take off batteries or put them on a maintainer, remove food, wet gear and electronics you can take home, and clean and dry the interior. West Marine stresses drying the boat out before it's covered: whatever moisture is aboard when you wrap stays aboard.
Steps
Measure centerline length from the bow to the farthest point aft you'll cover, and the widest beam, as BoatUS describes. Go over windshields, consoles, T-tops, rails and outboards if the cover isn't made for your exact boat. Note anything that sticks up or out (antennas, rod holders, radar). Write it all in BoatMend so next year is easy.
Snow and rain are heavy. A flat cover pools water, stretches, rips at seams and can load the boat, trailer or lift beyond what they're built for. Build a ridge that runs bow to stern, high enough that the cover slopes clearly down and over the sides, with cross-supports so there are no flat or low spots.
- Use lumber, PVC or aluminum poles, or the cover maker's support system. In BoatUS Foundation tests the poles that came with covers often weren't strong enough and needed extra strapping and poles.
- Pad the top and bottom of every pole (carpet squares work) so it doesn't punch through the cover or dent the deck, and put non-skid under the pole bases.
- In heavy snow areas, make the pitch steeper and the frame stronger.
Cover windshield frames, rail ends, cleats, antenna mounts, rod holders and the outboard's corners with pool noodles, foam or towels. Covers and shrink film chafe through at these points over a winter, and the padding also protects your gelcoat.
Boats need to breathe under a cover. Without airflow you get condensation, mildew and odor by spring.
- Fabric covers: choose one with vents, or add them, and position them high and at opposite ends so air can move through.
- Shrink wrap: add several self-adhesive vents, high on the sides and at both ends. More is better than fewer.
- Leave locker lids and hatches cracked open inside the boat where weather protection allows.
Start at the bow and roll the cover aft, as the BoatUS Foundation team did. Hook the bow first, then work out wrinkles as you go back, cinching side straps to pull out low spots. Run straps under the hull or trailer, never to jack stands: BoatUS warns that in wind or under snow load the tension can pull the stands out from under the boat. Label the bow and stern on the cover and mark the centerline for next year.
If your yard allows it and you decide to DIY:
- Get a heat tool made for shrink wrap, read its manual, and practice on a small piece first. Use flame-retardant film if you can get it.
- Work only on a calm day, outdoors, with a helper whose only job is to watch for fire and hold the extinguisher.
- Make sure there's no fuel smell anywhere in or near the boat, portable fuel tanks are off the boat, and nothing flammable is stored under the cover. Keep the propane tank and hose away from the heat.
- Keep the heat moving and well back from the film. Never hold it on one spot, and never aim it at people, hoses, fuel fills or wiring.
- Don't reach under or inside the wrap while heating.
- After you finish, walk around the boat for a while and look for smoke or glowing spots before you leave.
Typical sequence: install the frame and padding, run a perimeter band (strapping) around the hull below the rub rail, drape the film, tuck and heat-weld it to the band, then shrink the top and sides evenly. Add vents and a zippered door after shrinking, on film that is already warm. Tape any holes with shrink wrap tape.
Thicker film handles more snow and wind. Ask your supplier which thickness they recommend for your snow load and boat size, and use film made for boat wrapping. Don't use thin plastic sheeting or painter's plastic.
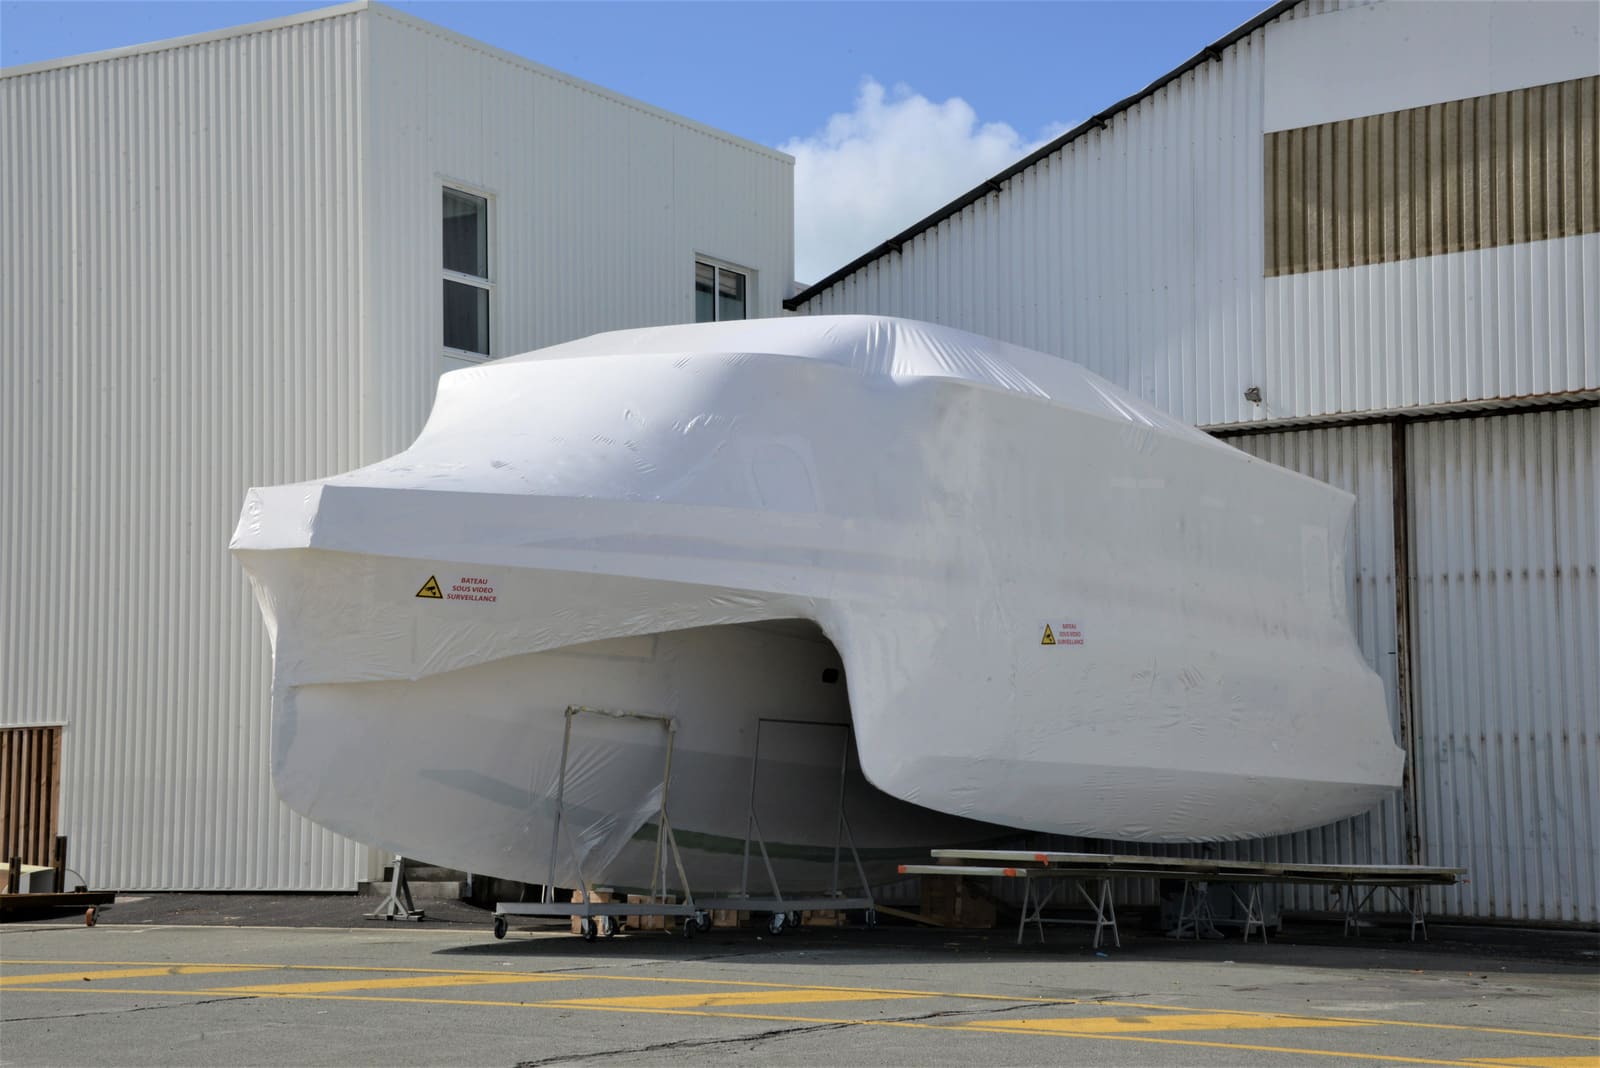
Photo: Jean-Pierre Bazard / Wikimedia Commons · CC BY-SA 4.0 BoatUS suggests checking at least once a month and after every heavy snow or rain. Look for:
- Pooled water or snow building up (knock snow off gently from the ground with a soft broom; don't climb on)
- Straps that loosened or are now carrying the weight of pooled water
- Chafe spots, tears and rips (tape shrink wrap holes right away)
- Signs of animals getting in
- Mildew smell when you open the door or lift the cover
Wait for a dry day. For a fabric cover, sweep or hose off dirt first, remove it bow first, clean it as the maker says and let it dry completely before folding.
For shrink wrap:
- Cut the bands under the hull first (the straps under the keel).
- Cut the film into pieces you can handle, cutting away from the boat and with a safety hook knife so you don't scratch the gelcoat.
- Remove all strapping, buckles, vents, zipper doors and tape. Keep the film clean, dry and free of dirt and stones.
- Roll or fold the film loosely.
Shrink wrap is low-density polyethylene and doesn't break down in a landfill. Many marinas collect it in spring. If yours doesn't, check your county or state's clean marina program, or use a mail-back bag from a shrink wrap supplier (BoatUS Foundation points to this option). Recyclers want it clean, dry and stripped of all straps, vents and zippers.
Open every hatch and locker and let the boat air out. Look for mildew, water stains, rodent signs and chafe marks on gelcoat where the frame or straps rested. Clean anything you find before it spreads. Then move on to your spring recommissioning.
Number or label frame pieces and take photos of how they went together. BoatUS has a reader story on reusing the same shrink wrap for several years by careful removal; it takes care and space, but it's possible. Store covers dry and away from rodents.
Common mistakes
- No frame, or a frame that's too flat. Water pools, the cover sags into the cockpit, and the weight can damage the boat, trailer or lift.
- Wrapping a wet boat. The moisture has nowhere to go and the boat mildews.
- Too few vents (or none) on shrink wrap.
- Tying cover straps to jack stands.
- Using a heat gun with the fuel system open, near fuel vapors, or alone with no extinguisher ready.
- Not checking the boat until spring.
- Putting the vents on before the film is shrunk, so they don't stick.
- Buying a "water-resistant" cover for winter storage. BoatUS testers say waterproof and water-resistant aren't the same; get waterproof.
When to call a pro
- Your yard requires professional installation or bans DIY heat tools
- The boat is large, tall, has a tower or T-top, or is stored in the water or on a lift
- You've never used a propane heat tool, or the boat has any fuel smell or leak (fix that first)
- You need a custom cover and frame built
- You live in heavy-snow country and aren't sure your frame will carry the load
Tips
- Add a zippered access door to shrink wrap so you can check the bilge, run dehumidifier products or top up a battery maintainer without cutting the film.
- Write the boat's name on the cover. Covered boats in a yard all look alike.
- Wintering in the water under wrap? The automatic bilge pump still needs a charged battery (or a shore-powered charger installed by a marine electrician), the cockpit drains must stay clear, and someone should check the boat after every storm. A cover hides a slowly sinking boat well. Ask your marina about its winter rules, ice protection and who checks on boats.
- Ask the yard for a quote early in the fall. Prices and availability tighten when the first cold snap hits.
- Boats on a lift also need a supported, shedding cover; snow and rainwater weight is a common cause of lift collapses. See the boat lift guide.
Official references
We read these to write this guide. Your engine's own manual always wins.
- BoatUS Foundation – Boat Covers for Winter Storage (cover tests)
- BoatUS – How to Measure Your Boat for a Properly Fitted Cover
- West Marine – Boat Storage Options, Wet, Dry, Covers and Wrap
- BoatUS – Reusing Shrinkwrap
- BoatUS Foundation – Other Waste Disposal (shrink wrap recycling)
- Connecticut DEEP – Clean Marina, Reduce and Recycle
Safety: BoatMend is for information only and does not replace a certified marine technician. You are responsible for your safety and your boat. Read the full disclaimer.
Last updated 2026-10-23
Related guides
How to Winterize an Outboard Engine
Protect your outboard from freeze damage, stale fuel and internal corrosion over the off-season. Most owners can do it in an afternoon with basic tools, compared with a shop bill that often runs several hundred dollars.
How to Winterize a Sterndrive (MerCruiser, Volvo Penta and Similar)
Get the water out of your sterndrive engine, protect it with antifreeze, and service the drive before storage. A cracked block or manifold from one missed drain plug can cost thousands, and doing it yourself saves a shop bill of several hundred dollars.
How to Winterize (and Recommission) Your Boat's Freshwater System
Protect the tank, pump, water heater, faucets and showers from freeze damage with non-toxic antifreeze, then flush and sanitize everything in the spring so the water is clean again. A cracked pump or split fitting is a common, avoidable winter repair bill.

Marine Battery Care: Test, Charge and Store for Winter
Check your boat battery's health, charge it the right way for its type (flooded, AGM or lithium), and store it so it is ready in spring. Most "boat won't start" calls start with a neglected battery.
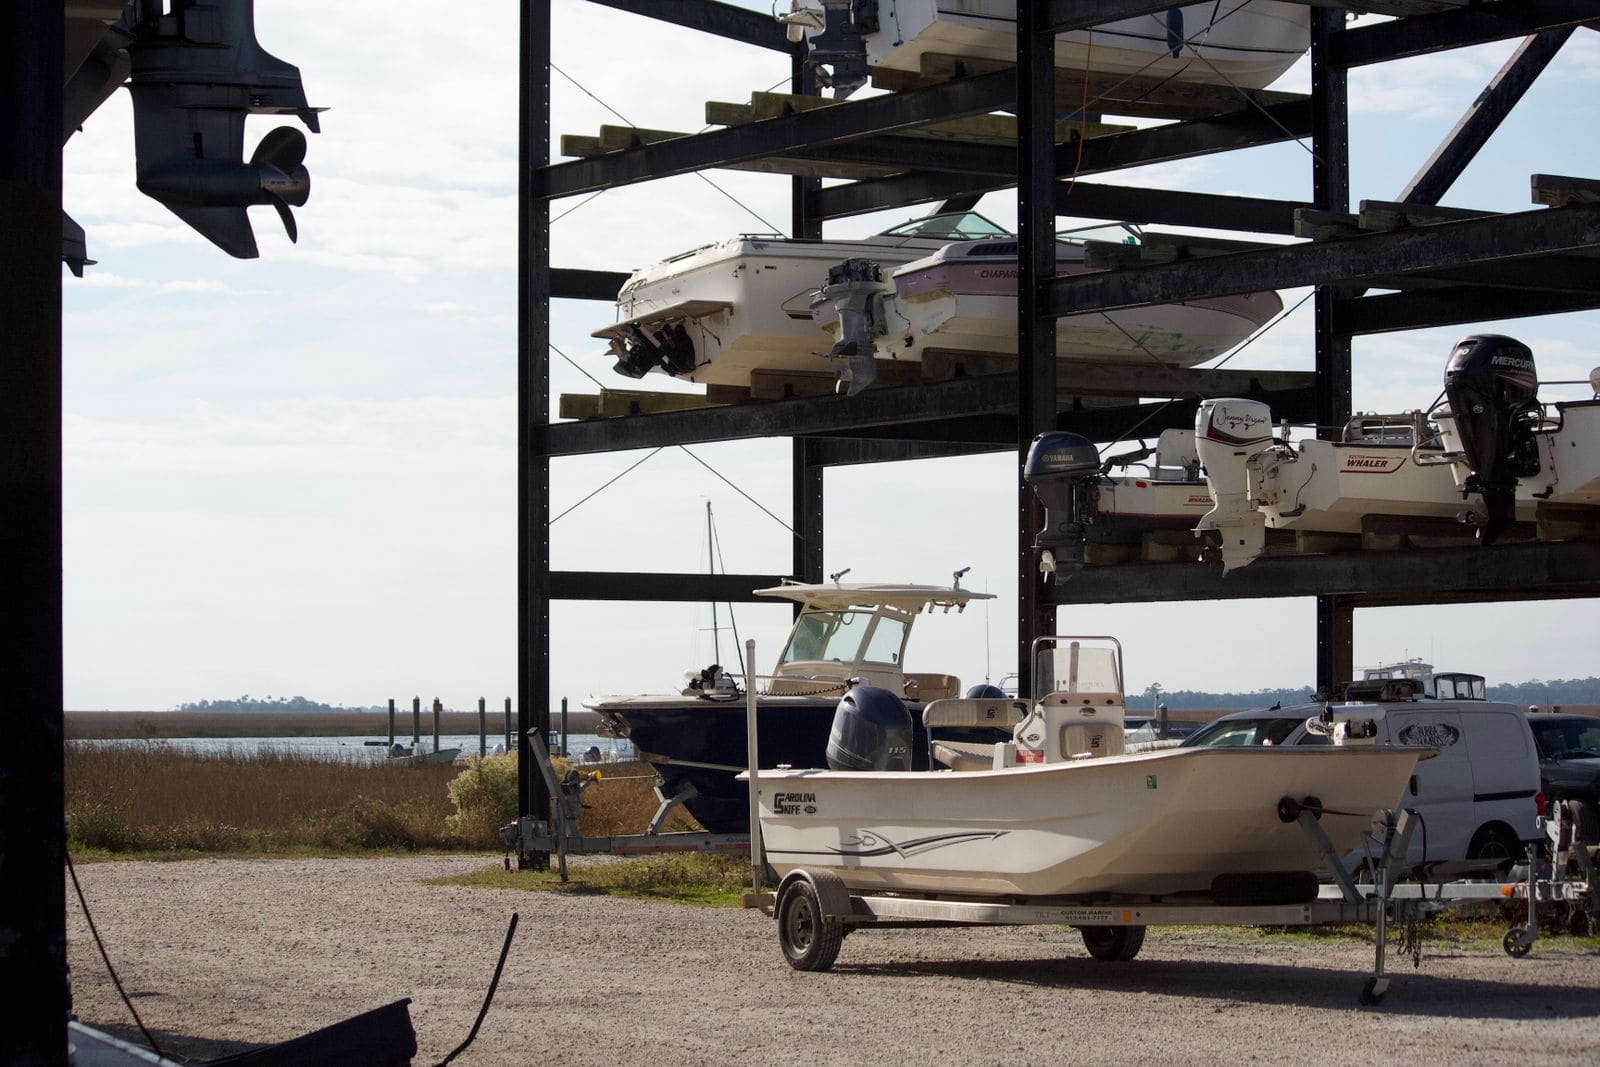
Spring Commissioning - Getting Your Boat Ready for the Season
Wake your boat up after storage with a step-by-step check of the battery, fuel system, engine, drive and safety gear. Catching a cracked hose or dead battery in the driveway beats a tow on opening weekend, and saves a typical shop commissioning fee.
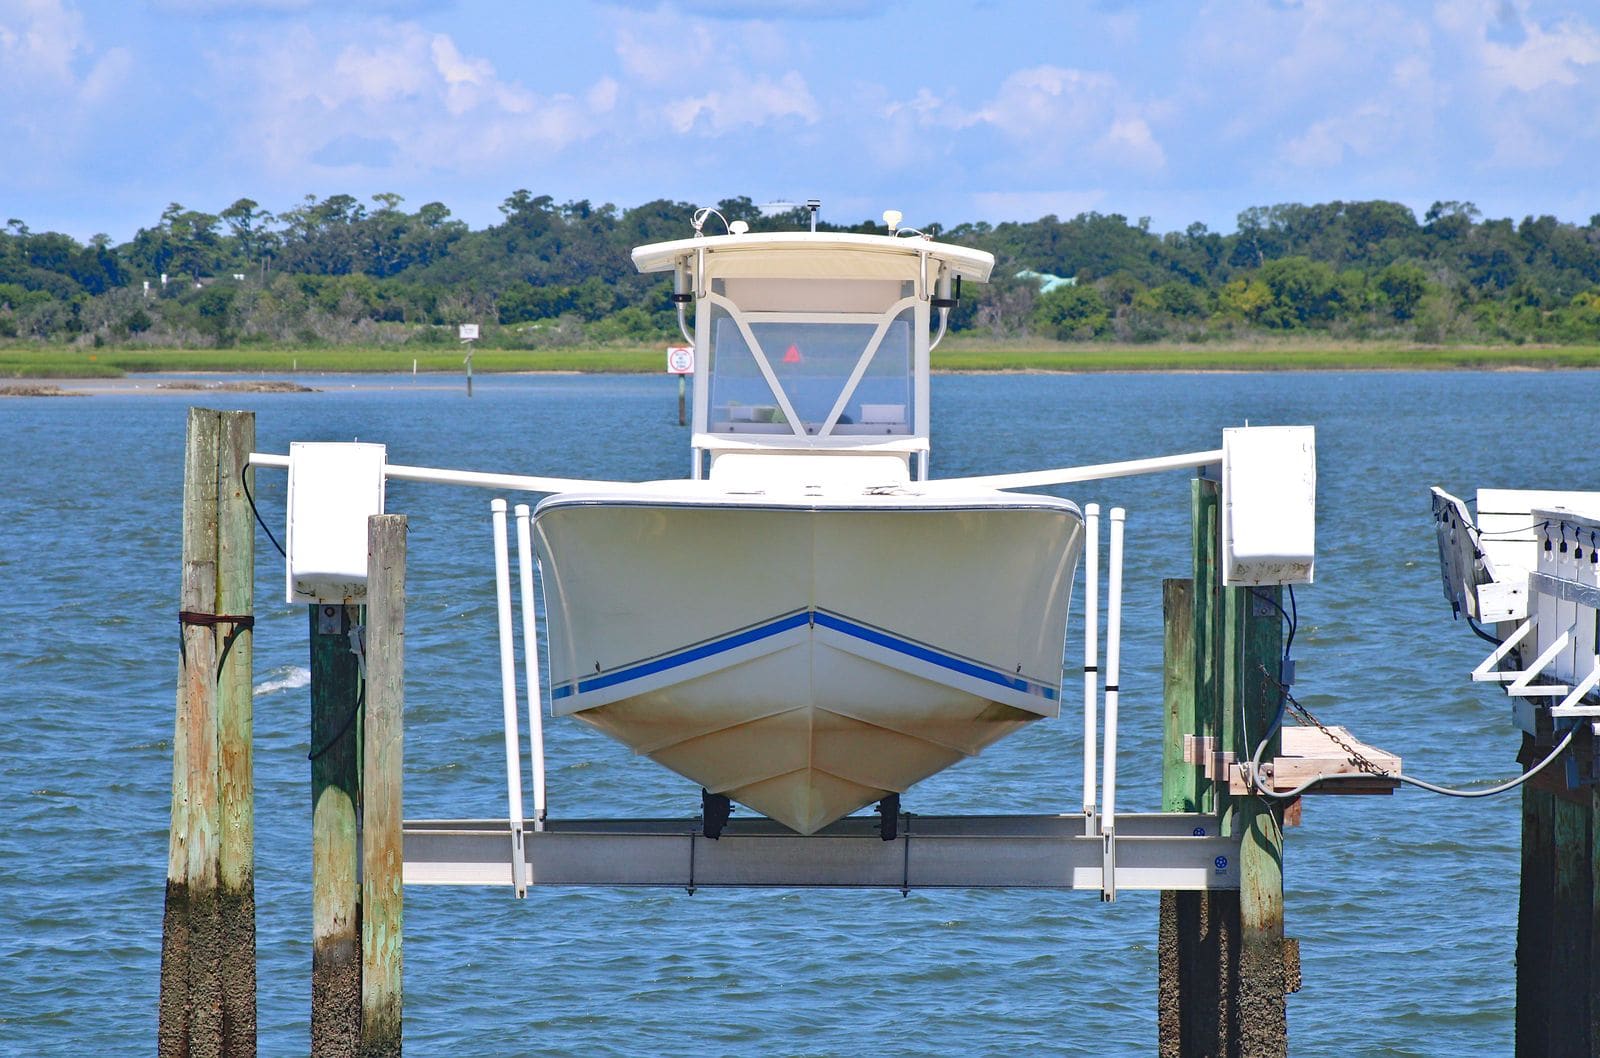
How to Inspect and Maintain a Boat Lift (Cables, Pulleys, Motor, Bunks and Storm Prep)
Inspect the cables, pulleys, motor, wiring and bunks on your boat lift, center the boat correctly, and prepare the lift and boat for storms and winter. Cable failures and overloading from rainwater or snow are the most common ways lifts drop boats.