Saildrive Care: Leg Oil, Hull Seal, Anodes and Prop
Keep a Volvo Penta or Yanmar saildrive healthy with simple owner checks (leg oil level and color, anodes, paint, fishing line) and plan the big items, like the rubber hull diaphragm, before they become an emergency. The saildrive seal is one of the largest holes in a sailboat's hull, so it deserves attention.
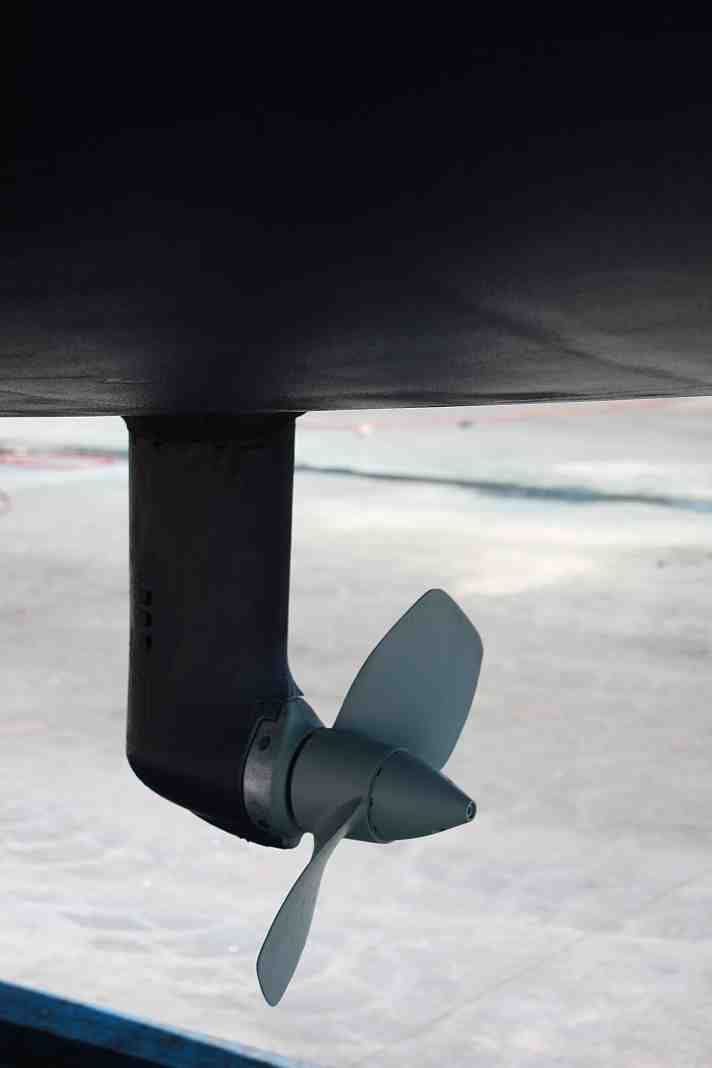
Time
1 h
Shop would charge
$300-3000
Applies to
Marine diesel · Sailboat
Safety first: The rubber diaphragm where the saildrive passes through the hull is the only thing keeping the sea out of a large opening. If you ever find water around the base of the saildrive inside the boat while afloat, check the bilge level, get your crew into life jackets, and call TowBoatUS, Sea Tow or the Coast Guard (VHF channel 16) to arrange an immediate haul-out. Never work on the diaphragm, drain plug or leg seals with the boat in the water.
Owners often ask
- The oil on my saildrive dipstick looks milky. What does that mean?
- How often does the rubber hull seal on a saildrive really need replacing?
This guide walks you through it. Still stuck? Ask the AI Mechanic about your engine.
Tools
- Flashlight
- Clean white rag or paper towel (to read the dipstick)
- Oil extraction pump (if your drive allows changing oil through the dipstick tube)
- Drain pan, rags and a funnel
- Socket set and screwdriver for the prop cone and anodes (at haul-out)
- Wire brush or abrasive pad for anode contact surfaces (not on painted aluminum)
Parts & supplies
- Saildrive oil of the exact type your owner's manual specifies
- New drain plug O-ring or sealing washer
- Saildrive anodes of the correct metal and shape for your drive and water
- Aluminum-safe primer, epoxy touch-up paint and antifouling (copper-free, for aluminum drives)
- Grease recommended by your folding prop's maker
Before you start
What a saildrive is: the engine bolts straight onto an aluminum leg that drops through a hole in the bottom of the hull, with the propeller on the end. There is no long prop shaft, no shaft seal and no alignment to fuss over. In exchange you get three things to watch: the oil inside the leg, the rubber hull diaphragm around it, and corrosion of the aluminum leg.
Know your drive: find the saildrive model and serial number (on a plate on the upper part of the drive inside the boat) and get the matching owner's manual. Volvo Penta and Yanmar drives differ in oil type, how the oil is changed, anode layout and service intervals, and even different models from the same maker differ.
Which jobs are yours: checking oil, changing oil (on many drives), anodes, paint touch-ups and folding prop care are owner jobs. Replacing the hull diaphragm or the propeller shaft seals is a haul-out job for a dealer or experienced mechanic.
Steps
Yachting Monthly calls checking the saildrive oil before every engine start, along with the engine oil, best practice. A saildrive holds a small amount of oil, so even a small leak matters. The dipstick is usually on top of the leg inside the boat, near the back of the engine. Read it the way your manual describes (some are read screwed in, some resting on the threads).
Wipe the dipstick on a white rag:
- Clear, normal color: good.
- Milky, creamy or "like mayonnaise," or the level has risen: water is getting in. The usual cause is worn lip seals on the propeller shaft (often damaged by fishing line) or a bad drain plug seal.
- Dark with a burnt smell or metal glitter: internal wear. Get it checked.
Milky oil does not mean the drive is ruined. Practical Boat Owner's engine expert notes the gears and shafts usually survive, but the bearings may be pitted and the seals need replacing. Do not keep motoring on milky oil; plan a haul-out soon.
Most makers call for an annual oil change, or by hours if you motor a lot; your manual gives the interval and the exact oil. Some drives use gear oil and some use engine oil, so never guess. Yanmar's FAQ says plainly that oils vary by engine model and by drive or gear model, and points owners to the Operation Manual or a Yanmar dealer for the right one.
- Afloat (some models): the oil can be pumped out through the dipstick tube with an extraction pump and refilled from the top.
- Ashore: remove the dipstick first so air can get in, then remove the drain plug at the bottom of the leg and let it drain into a pan.
Fit a new O-ring or washer on the drain plug every time; a tiny crack lets water in. Refill slowly to the mark and recheck after running the engine. Save a sample in a clean jar if you want to compare color next year, or send it for an oil analysis.
Inside the boat, look around the base of the saildrive where it meets the hull. You can usually see only a small part of the diaphragm and its clamp ring. Check for:
- Water or a damp ring around the base (any water here is serious; see the safety note)
- Cracks, splits or swelling in the visible rubber
- Corrosion or loose bolts on the clamp ring
Some saildrives have a water sensor built into the seal area that triggers an alarm at the helm. If yours does, find out from the manual how to test it and test it each season.
The hull diaphragm is a rubber part with a fixed life. Practical Boat Owner reports Volvo Penta's recommendation as an annual inspection and replacement every seven years, sooner if an inspection shows deterioration. Yanmar's interval depends on the model; published figures vary, so read the maintenance table in your own manual. Yachting Monthly gives 5 to 10 years depending on care.
Many owners say seals look fine much longer than that, but PBO also published a case where a seal that had looked new was found split nearly through at the next replacement. Long periods ashore in heat may have contributed. Replacing it means hauling out, disconnecting the engine and lifting or sliding it so the leg can come out, which is why it is a dealer job. Keep the date of the last replacement in your log; buyers, surveyors and insurers often ask for it.
When the boat is lifted, make sure the travel-lift slings sit well away from the saildrive leg and the prop. A sling pressing on the leg can strain the diaphragm. Most boats have sling marks on the hull; point them out to the lift crew.
The leg is aluminum, which corrodes fast in salt water wherever bare metal shows. Look for blistered paint, white powdery corrosion and scratches down to metal. Small spots can be cleaned back and touched up with aluminum-safe primer and epoxy paint. Bottom paint on the leg must be one formulated for aluminum drives. Copper-based antifouling on an aluminum leg speeds up corrosion. Deep pits or corrosion around the seal area need a pro's opinion.
A saildrive can have anodes in up to three places: on the leg, around the propeller (a ring or a cone) and, on some models, inside the boat on the upper gear housing. Yachting Monthly's rule: replace each one when it is about half eaten away, or will be before the next haul-out.
- Use the right metal: magnesium only in fresh water, zinc in salt or brackish water, aluminum in either.
- Use the exact shape made for your drive so it makes good electrical contact. Never paint anodes.
- If you fitted a bronze folding or feathering prop, expect the anodes to wear faster; the original anodes were sized for the original prop.
Anodes that look untouched after a season are a warning too: they may not be making contact.
Anodes that disappear much faster than last year point the other way: stray current or a neighbor's boat. Cruising World's saildrive article, drawing on a Yanmar service bulletin, makes three points worth knowing:
- The anodes on the drive protect the drive only. A bronze prop, through-hulls or other underwater metal may need their own protection.
- If the boat is plugged into shore power most of the time, have a galvanic isolator installed, or your anodes may end up protecting the boats around you.
- Yanmar's bulletin says to avoid copper-based antifouling not only on the leg but on the whole bottom. Check your own drive maker's paint advice before you repaint.
A marine electrician can measure the drive's protection level (hull potential) with a reference electrode; some saildrive owners fit a permanent meter.
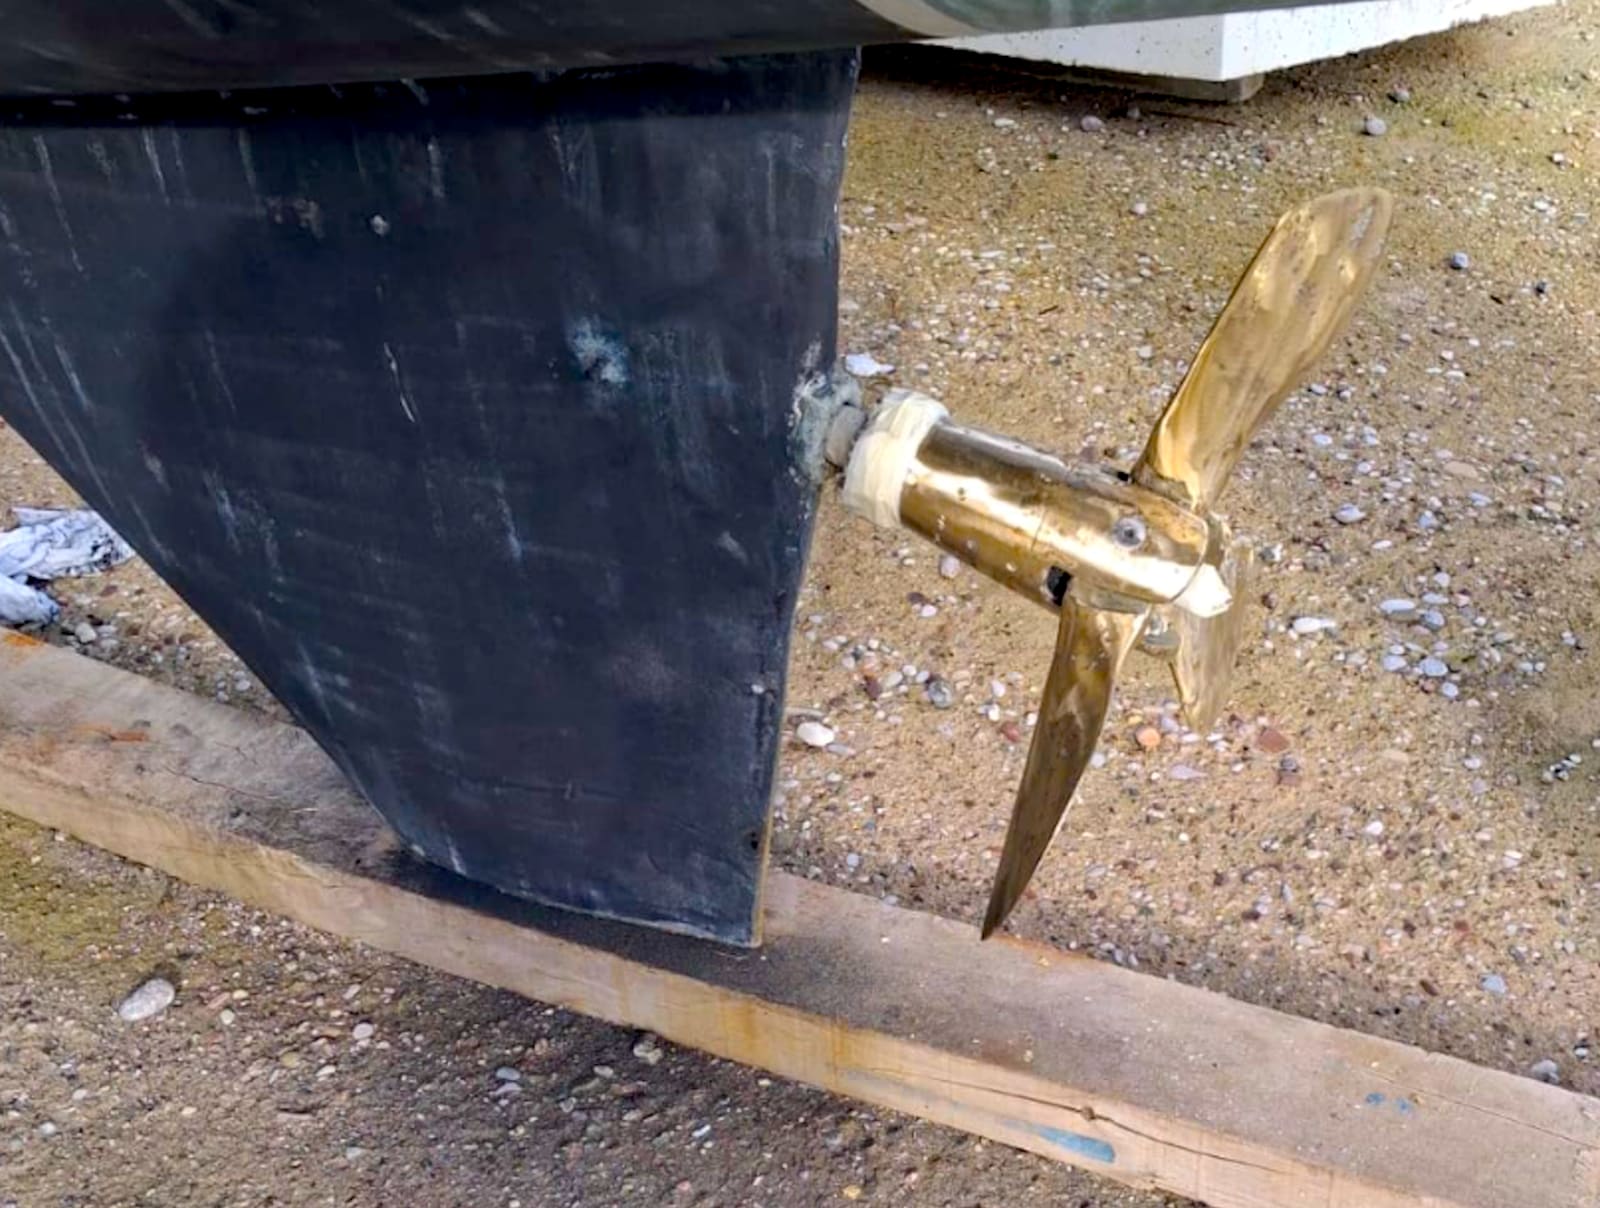
A folding propeller with the blades open. Clean and grease the hinges as the maker directs, and check that the blades open and fold freely. Photo: Arrivisto / Wikimedia Commons · CC0 With the prop removed, or by looking closely at the gap between the prop hub and the leg, check for fishing line, net or rope wrapped around the shaft. Line works its way into the shaft lip seals and lets water into the oil. Picking out line at every haul-out is cheap insurance.
- Fixed prop: check blades for dings and the rubber drive hub for slipping (the engine revs but the boat is slow).
- Folding or feathering prop: clean out barnacles and old grease, lubricate the hinges or gears with the grease the prop maker specifies, and check that blades open and close freely and evenly.
- Reinstall the prop, washers and cone in the right order with the locking hardware your manual specifies, and fit new anodes while it is off.
Around the outside of the hull opening there is usually a separate rubber fairing (sometimes called the outer seal or gaiter). It smooths water flow and protects the diaphragm, but it is not the watertight seal. If it is loose, torn or lifting, reglue or replace it at haul-out. Water between the fairing and hull is normal; it has drain holes.
- The engine's raw water usually comes in through a grille on the leg and up to a valve on top of the drive. Clear any growth from the grille at haul-out, and make sure the valve opens and closes.
- Look at the shift cable where it connects to the drive. Check that the linkage is secure, the neutral position is correct, and the parts move freely. Grease them if the manual calls for it.
Before winter storage, change the oil so the leg sits with clean oil, and follow your winterizing routine for the engine and raw water side. In spring, check the oil level and color again after launch, look around the base of the drive inside the boat for any water in the first hours afloat, and check again after the first run.
Common mistakes
- Never checking the saildrive dipstick because "it's not the engine." A low or milky reading is the earliest warning you will get.
- Topping up milky oil and carrying on. The water keeps coming in until the seals are replaced.
- Using copper antifouling on the aluminum leg.
- Painting over anodes, or fitting a cheaper anode of the wrong metal or shape.
- Treating the outer fairing gaiter as the hull seal (or panicking about water behind it, which is normal).
- Not knowing the age of the diaphragm on a used boat. Ask for records before you buy.
- Letting the yard put a lift sling on the saildrive leg.
When to call a pro
- Any water around the base of the saildrive inside the boat
- The diaphragm is due by age, cracked or damaged, or you do not know its age
- Milky oil (the propeller shaft seals and possibly bearings need replacing)
- Corrosion pits on the leg, especially near the hull seal
- Gear shifting is rough, the drive clunks, or the oil shows metal
- The seal water alarm goes off
Tips
- Write the oil change date, the diaphragm replacement date and anode changes in your BoatMend log.
- Buy a spare drain plug O-ring and a set of anodes for your drive and keep them aboard.
- When buying a used saildrive boat, budget for a diaphragm change if there is no record of the last one.
- Photograph the anodes at each haul-out. Comparing photos year to year shows whether wear is speeding up.
Official references
We read these to write this guide. Your engine's own manual always wins.
- Yachting Monthly – Essential saildrive checks for your boat
- Cruising World – Saildrive Maintenance
- Practical Boat Owner – Saildrive maintenance, a boat owner's guide
- Practical Boat Owner – Milky oil in my saildrive. What do I do?
- Practical Boat Owner – Volvo saildrive seal replacement, how often?
- Practical Boat Owner – Replacing a saildrive gaiter, step by step
- Safe Skipper – Saildrive maintenance
- Yanmar Marine – FAQ (oils by engine and drive model)
Safety: BoatMend is for information only and does not replace a certified marine technician. You are responsible for your safety and your boat. Read the full disclaimer.
Last updated 2026-10-24
Related guides
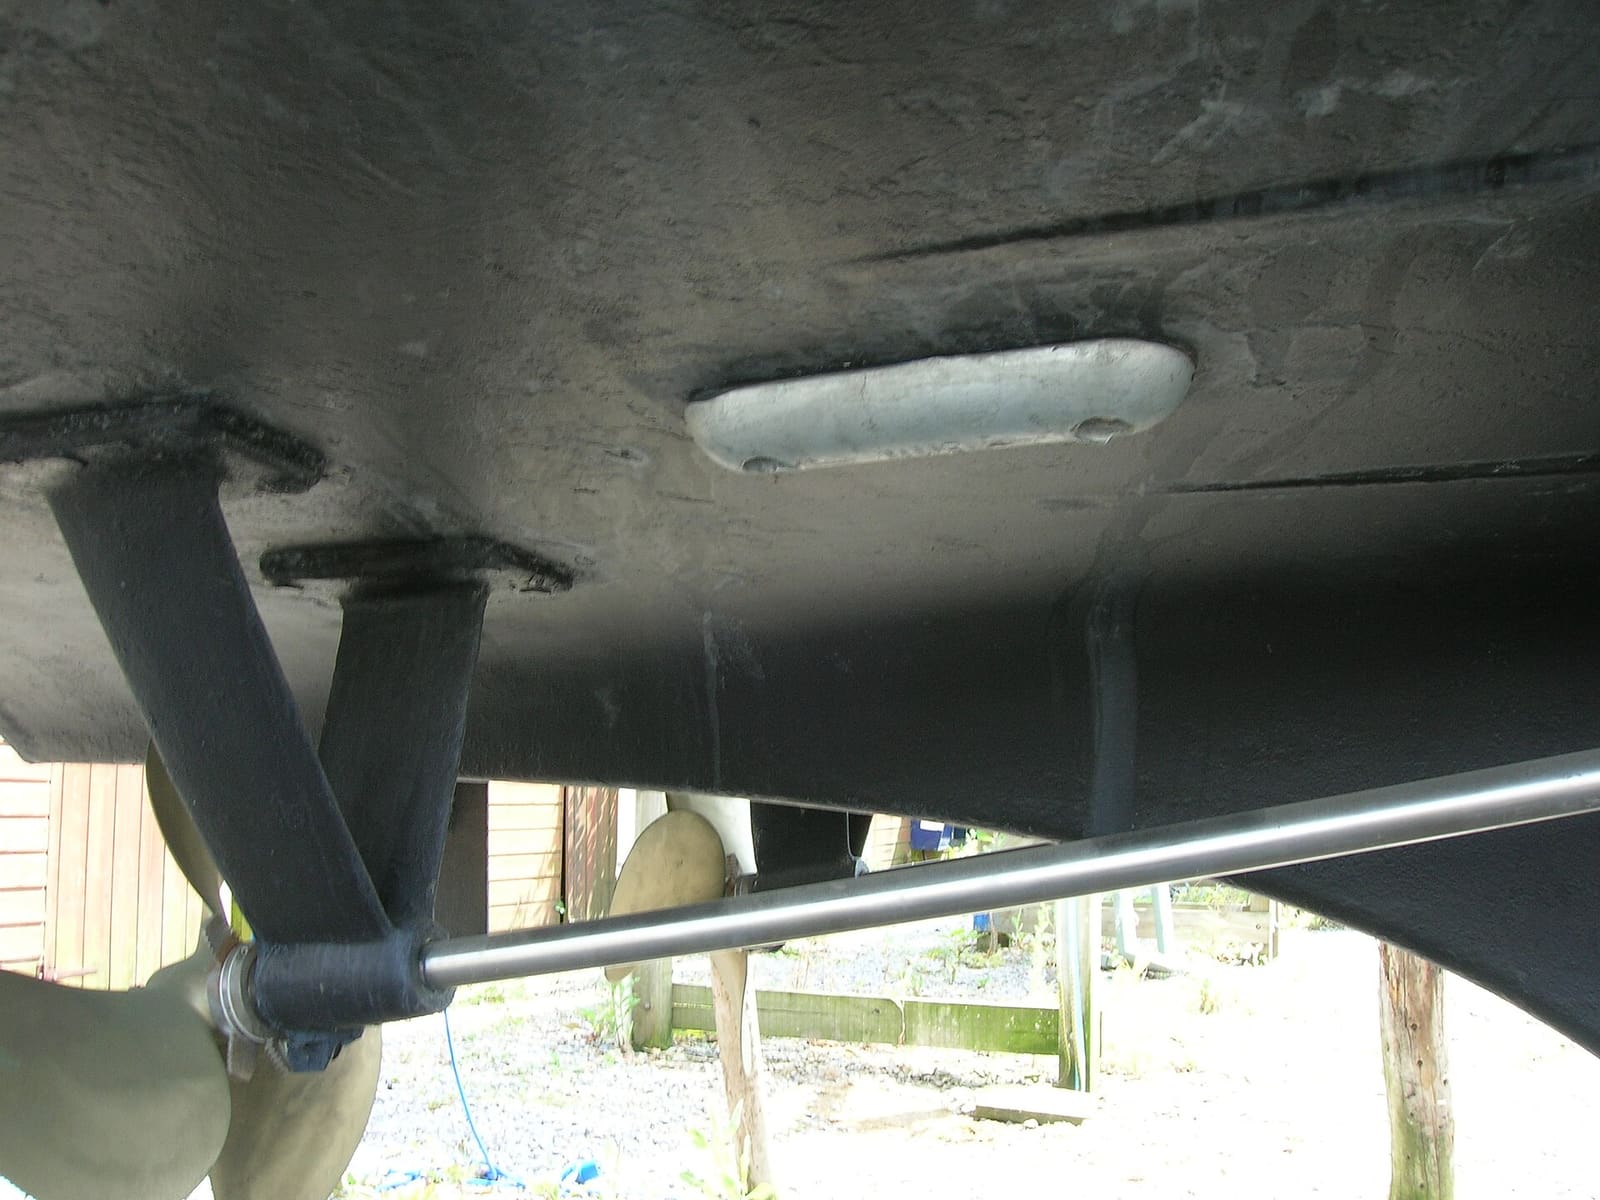
How to Inspect and Replace Sacrificial Anodes (Zincs)
Check the anodes on your outboard, sterndrive or inboard running gear, replace them when they are half gone, and choose the right metal for the water you boat in. Fresh anodes are cheap insurance against expensive corrosion damage to your lower unit, drive and prop.
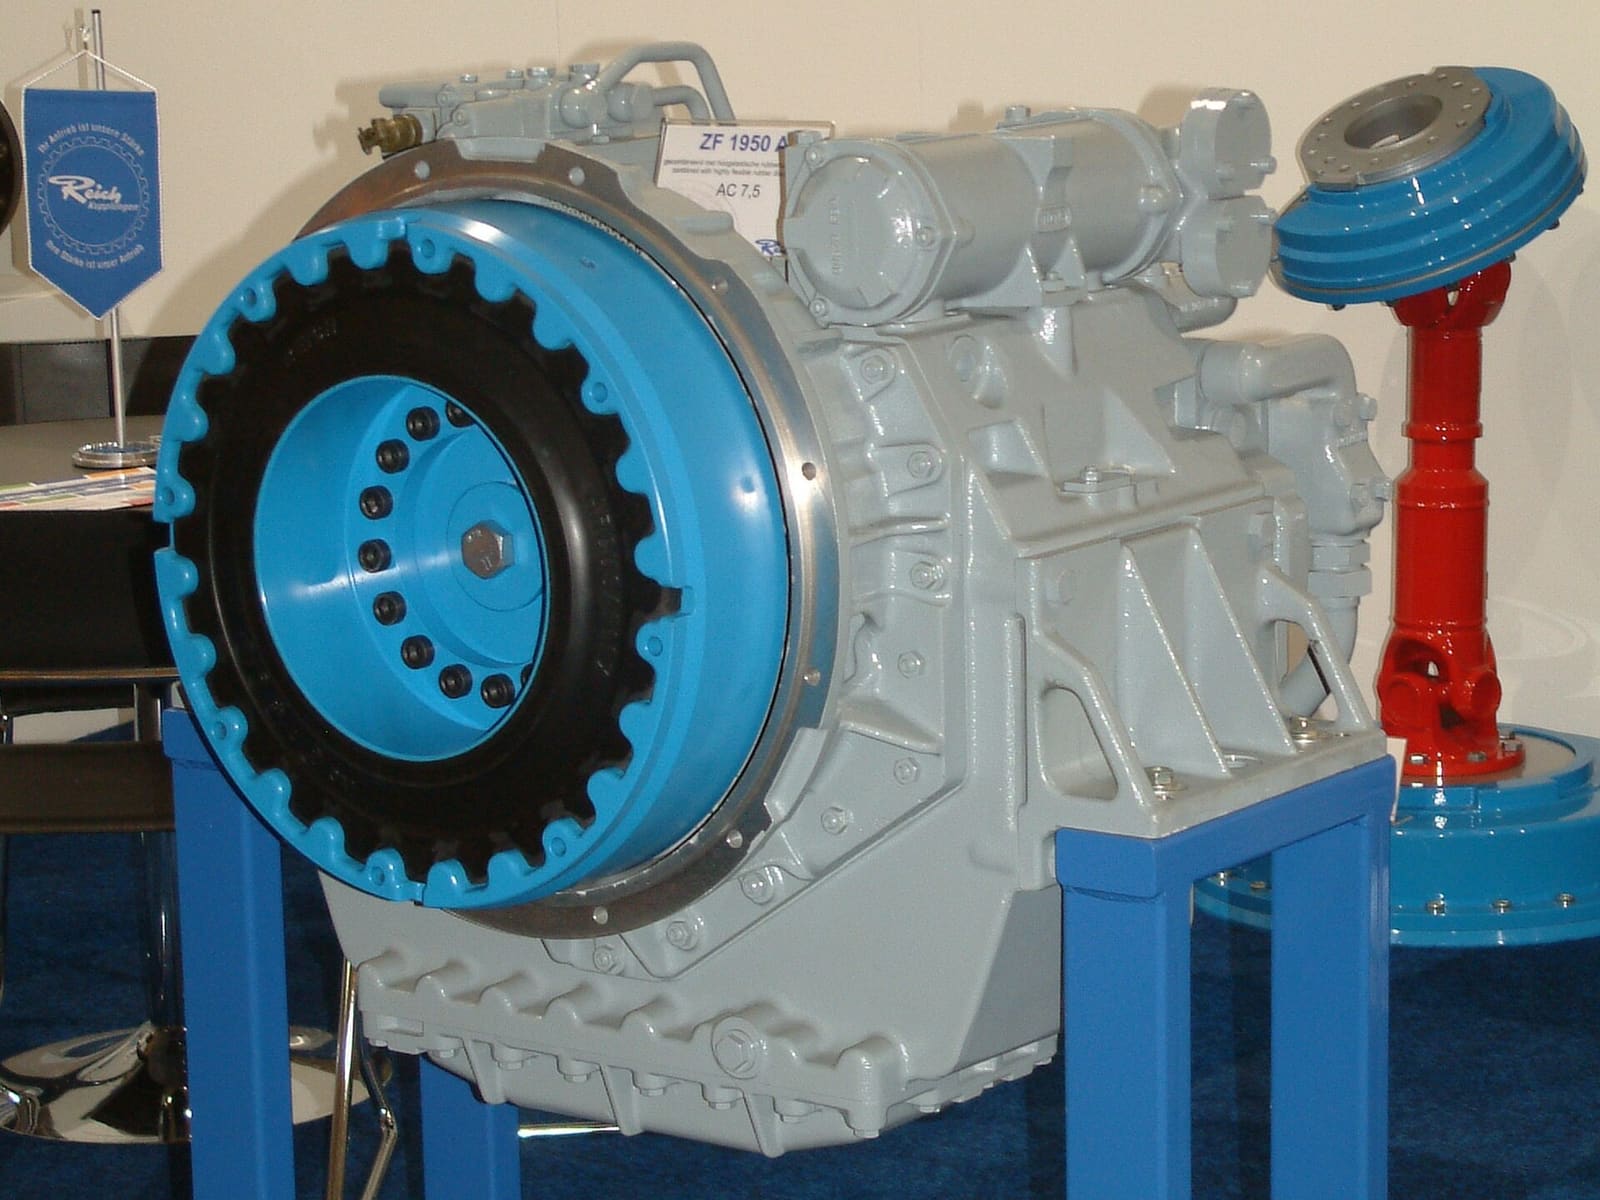
How to Check and Change Marine Transmission (Gearbox) Oil
Check, read and change the oil in the reverse gear behind your inboard diesel (ZF/Hurth, Kanzaki, Yanmar KM, Volvo Penta MS and similar). Learn what milky, burnt or gritty oil means, and why the oil cooler and its zinc matter.
How to Winterize a Marine Diesel Inboard (Sailboat or Trawler)
Lay up a marine diesel for winter the way the engine makers describe it, covering fresh oil, a full and treated fuel tank, antifreeze through the raw-water side, the impeller out, the coolant checked, openings plugged and the battery cared for. Freeze damage to a diesel's raw-water circuit is one of the most expensive and most avoidable winter repairs.

Bottom Paint (Antifouling): Do You Need It, Which Type, and How to Repaint
Learn whether your boat needs antifouling bottom paint, how ablative and hard paints differ, and how to prep and roll on a fresh coat safely, without poisoning yourself or the water and without ruining an aluminum hull.
Propeller Care: Inspect, Remove, Replace and Choose the Right Pitch
Check your prop for damage, pull it to clear fishing line and grease the shaft, reinstall it correctly, and learn how pitch affects your engine's wide-open-throttle RPM. The right prop in good shape protects your engine and often makes the boat run better and use less fuel.
What to Do When Your Boat Is Taking On Water: Emergency Steps and Prevention
A step-by-step emergency plan for water coming into the boat - life jackets on, call for help early on VHF 16, find and slow the leak, pump, and head for shallow water if needed - plus the maintenance checklist that prevents most sinkings.