How to Replace a Fuel/Water Separating Filter (and Check for Water in Your Fuel)
Swap the spin-on fuel/water separator on your gas boat and learn to spot water and ethanol phase separation before it stalls the engine. It is one of the cheapest jobs on the boat and one of the best protections for a fuel-injected engine.
Time
30 min
Shop would charge
$75-150
Applies to
Outboard, Sterndrive (I/O), Gas inboard
Safety first: Gasoline vapor can explode. Work with the engine off and cool, no smoking, no sparks, the blower running (inboard/sterndrive) and a fire extinguisher within reach. If you smell fuel after the job, see fuel in the bilge, or find a leak you cannot stop, do not start the engine: get off the boat and call a marine mechanic, or Sea Tow / TowBoatUS if you are on the water (USCG on VHF 16 or 911 in an emergency).
Owners often ask
- My primer bulb gets sucked flat while running. What does that mean?
- My primer bulb never gets firm when I squeeze it. Why?
- How often should I change the fuel/water separator filter?
This guide walks you through it. Still stuck? Ask the AI Mechanic about your engine.
Tools
- Filter wrench (strap or cap type) sized for your canister
- Drain pan or clear container (glass jar works well)
- Rags and oil-absorbent pads
- Nitrile gloves and safety glasses
- Flashlight
- Small funnel
Parts & supplies
- Water-separating fuel filter that matches your housing (check your manual or the old filter's part number; micron rating matters)
- Fresh, stabilized gasoline to pre-fill the new filter
- Water-in-fuel sensor O-ring (only if your filter has a sensor; often supplied with the filter)
Before you start
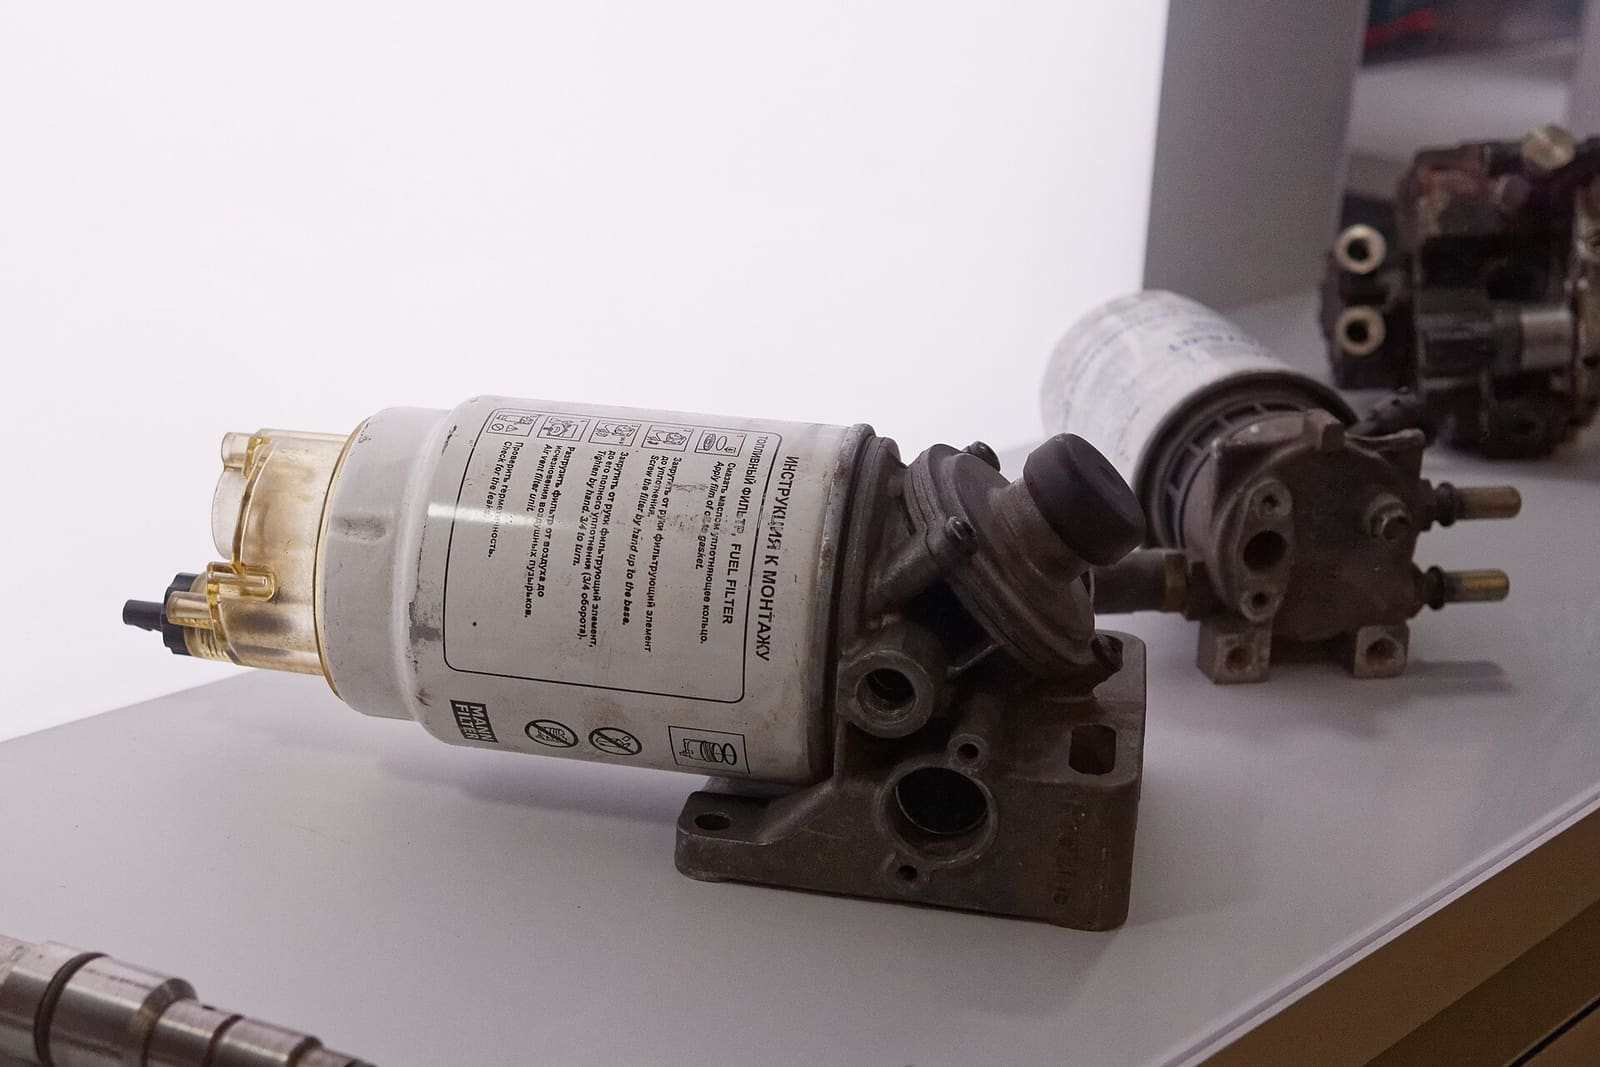
Most gas boats have a spin-on fuel/water separating filter mounted in the bilge, transom well or under a hatch, between the tank and the engine. It is separate from the small filters on the engine itself. Its job is to catch dirt and water before they reach the fuel pump and injectors.
How often: many manufacturers call for a new separator every season or about every 100 hours, and some (Yamaha, for example) say every 50 hours. Change it sooner after a bad tank of fuel. Check your owner's manual for your engine's interval.
Why water gets in: most pump gas is E10 (10% ethanol). Ethanol pulls moisture from humid air through the tank vent. Once the fuel holds enough water, the water and ethanol drop out together and sink to the bottom of the tank, right where the pickup is. This is called phase separation. The engine then runs rough, will not rev, or quits.
Why boats suffer more than cars from the same E10 gas: Yamaha points out that a boat's fuel tank is vented to damp outside air, is usually much bigger, and is refilled far less often, so the fuel sits longer and breathes in more moisture. Mercury's simple fix for condensation is to keep the tank close to full when the boat is not in use, so there is less air space to breathe in and out (never plug the vent, and leave room for expansion).
Buy the right filter before you start. Match the old filter's part number or your manual. Micron rating matters: many outboard makers specify a 10-micron element. Some filters have a water sensor in the bottom that you must move to the new canister.
Steps
Turn the key off and remove it. On inboards and sterndrives, run the bilge blower for at least 4 minutes. Open hatches for airflow. Put on gloves and safety glasses.
Trace the fuel line from the tank toward the engine to find the canister. On a portable-tank outboard, disconnect the fuel line at the engine or tank. On a permanent tank, close the fuel shutoff valve if the boat has one.
Lay absorbent pads under the filter and set a drain pan below it.
If your filter has a drain plug or clear bowl, drain a little fuel into a clear glass jar. Let it settle (up to half an hour gives the clearest result) and look:
- Clear, one layer: good.
- Beads or a layer of water at the bottom: water contamination.
- A cloudy or milky layer at the bottom: likely phase-separated ethanol and water.
If you see more than a few drops of water, keep reading Step 11 before you run the boat again.
If there is a wire going to the bottom of the canister, unplug it. You will move the sensor to the new filter.
Turn the canister counterclockwise (looking up at it from below) by hand. If it is stuck, use the filter wrench. Keep it upright as it comes off so it does not dump fuel.
Do not empty the old filter and reinstall it. Dirt and water trapped inside can get pushed into the clean side.
Pour the old filter's contents into your clear jar and look for water, rust or debris. Make sure the old rubber gasket came off with the canister and is not still stuck to the mounting head. Wipe the head's sealing surface clean.
Unscrew the sensor from the old canister and fit it to the new one with a new O-ring if one came in the box. Hand-tight only, unless the filter's instructions say otherwise.
Smear a thin film of clean engine oil on the new filter's gasket. Then fill the new canister about three-quarters full with fresh, clean, stabilized gasoline. Pre-filling makes priming much easier.
Spin it onto the head by hand until the gasket touches, then snug it the extra amount printed on the filter (usually a fraction of a turn). Hand-tight is the norm. Over-tightening can crack an aluminum head or make the next change a fight. Reconnect the sensor wire.
Open the fuel valve or reconnect the fuel line. On an outboard with a primer bulb, squeeze it until firm. A bulb that never firms up points to an air or fuel leak, or a bulb with worn internal valves; find it before starting.
Later, if the bulb sucks flat while the engine is running, the engine is fighting a restriction between the tank and the motor: a closed tank vent, a kinked or internally collapsed hose, a sticking anti-siphon valve, or a clogged or wrong filter. A new filter should never restrict flow. On engines with an electric pump, turn the key to "on" (not start) a few times to let the pump fill the system, per your manual.
Look and sniff around the filter and every fitting you touched. Any drip or fuel smell means stop and fix it.
- A few drops in a new-season filter is common. Replace the filter and keep an eye on it.
- A lot of water, or a milky layer, means the tank has a problem. Additives will not turn bad fuel back into good fuel. Have the tank pumped out and refilled with fresh gas by a shop or fuel polisher. Running the engine on phase-separated fuel can damage it.
With cooling water supplied (in the water, in a test tank or on flush muffs; the built-in flush port on most outboards is for engine-off flushing only, unless your manual allows running on it), start the engine and let it idle a few minutes. Check the filter again for leaks while it runs.
Put fuel-soaked rags and the old filter in a sealed bag and take them to a hazardous waste drop-off or a marina that accepts them. Log the date and engine hours in BoatMend so the next change reminds you on time.
Common mistakes
- Emptying the old filter and screwing it back on. Water and dirt can end up on the clean side and go straight to the engine.
- Cranking the new filter down with a wrench, or leaving the old gasket stuck to the head so two gaskets seal badly.
- Forgetting to move the water sensor, or reusing its old O-ring, and then chasing a fuel weep.
- Buying any filter that fits the threads. The wrong micron rating or a too-small filter can restrict flow or let dirt through.
- Adding fuel treatment after the fuel has already phase-separated. At that point the tank has to be drained.
- Never looking at the bowl or the primer bulb between changes. A cracked bulb or a hose collapsing inside causes the same symptoms as a clogged filter.
- Adding a second, finer filter in the line "to be safe". Mercury warns the extra restriction can starve the engine of fuel.
When to call a pro
- You smell fuel in the bilge or see a leak you cannot stop by snugging the filter
- The filter head is cracked, or the fittings or hoses are leaking or soft and spongy
- You found a lot of water or phase-separated fuel (the tank needs pumping, not just a filter)
- The engine still runs rough or will not rev after a new filter and fresh fuel
- There is no water-separating filter at all and you want one added (it should be placed above the bilge water line and, with a plastic sight bowl, outside the engine space per ABYC)
Tips
- Carry a spare filter and a filter wrench on board. A bad fill-up far from home is a common reason boats need a tow.
- Buy fuel at busy stations that sell a lot of gas, and treat every fill-up with a marine stabilizer.
- Use ethanol-free (REC-90) gas if it is available near you.
- Fuel hoses from before about 2009 may not be ethanol-resistant. If yours are old, cracked or soft, plan to replace them.
- Clear "sight bowl" filters let you check for water at a glance before every trip.
- Many outboards also have a small see-through filter on the engine. Yamaha notes that some of theirs have a red ring inside: never remove it, and if it is floating there is water in the fuel, so change the separator.
Official references
We read these to write this guide. Your engine's own manual always wins.
- Yamaha Outboards – Maintenance Matters, Fuel & Fuel System
- Yamaha Outboards – Gasoline Basics
- Mercury Marine – FourStroke Maintenance
- BoatUS – Installing A Remote Fuel Filter
- BoatUS – Upgrade Your Fuel Filter
- Mercury Marine – Maintenance Made Easy, Fuel Basics
- Yamaha Outboards – Owner FAQs (E10 fuel in boats)
- Mercury Marine – Owner FAQs (all categories)
Safety: BoatMend is for information only and does not replace a certified marine technician. You are responsible for your safety and your boat. Read the full disclaimer.
Last updated 2026-10-23
Related guides
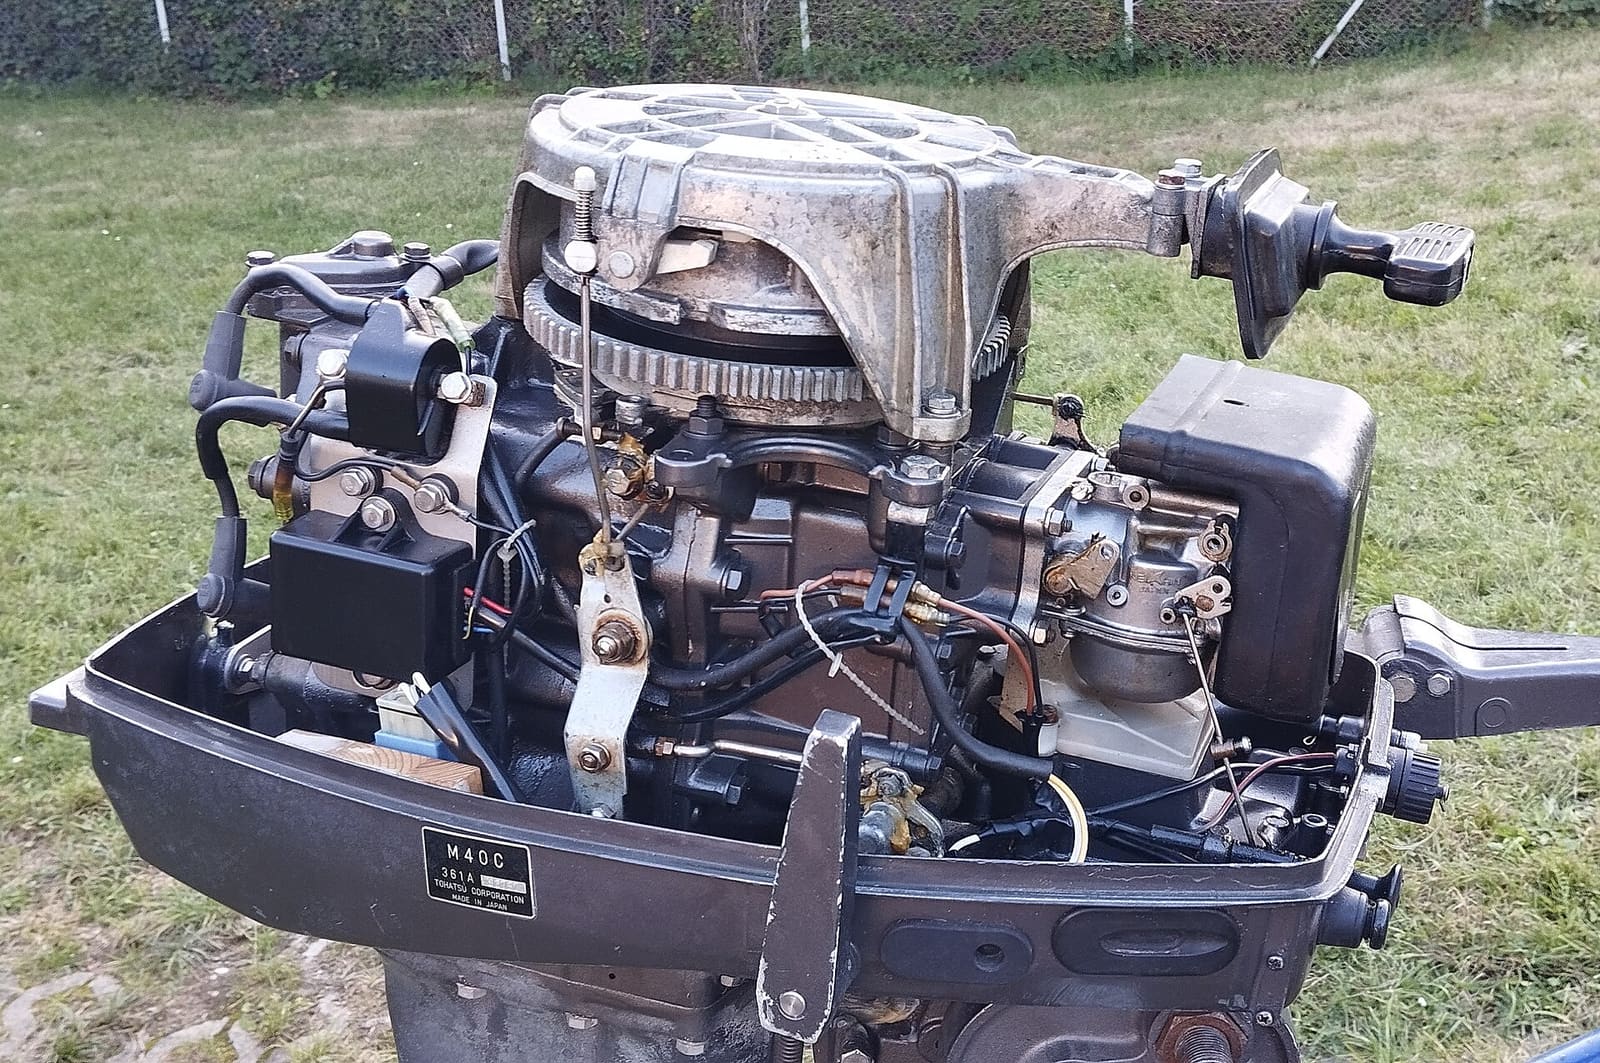
Engine Won't Start or Won't Crank - Troubleshooting Guide
Find out why your boat engine will not turn over or will not fire, starting with the simple things owners miss most, like the kill switch lanyard and battery switch. Many no-starts are fixed at the ramp in minutes without a tow.
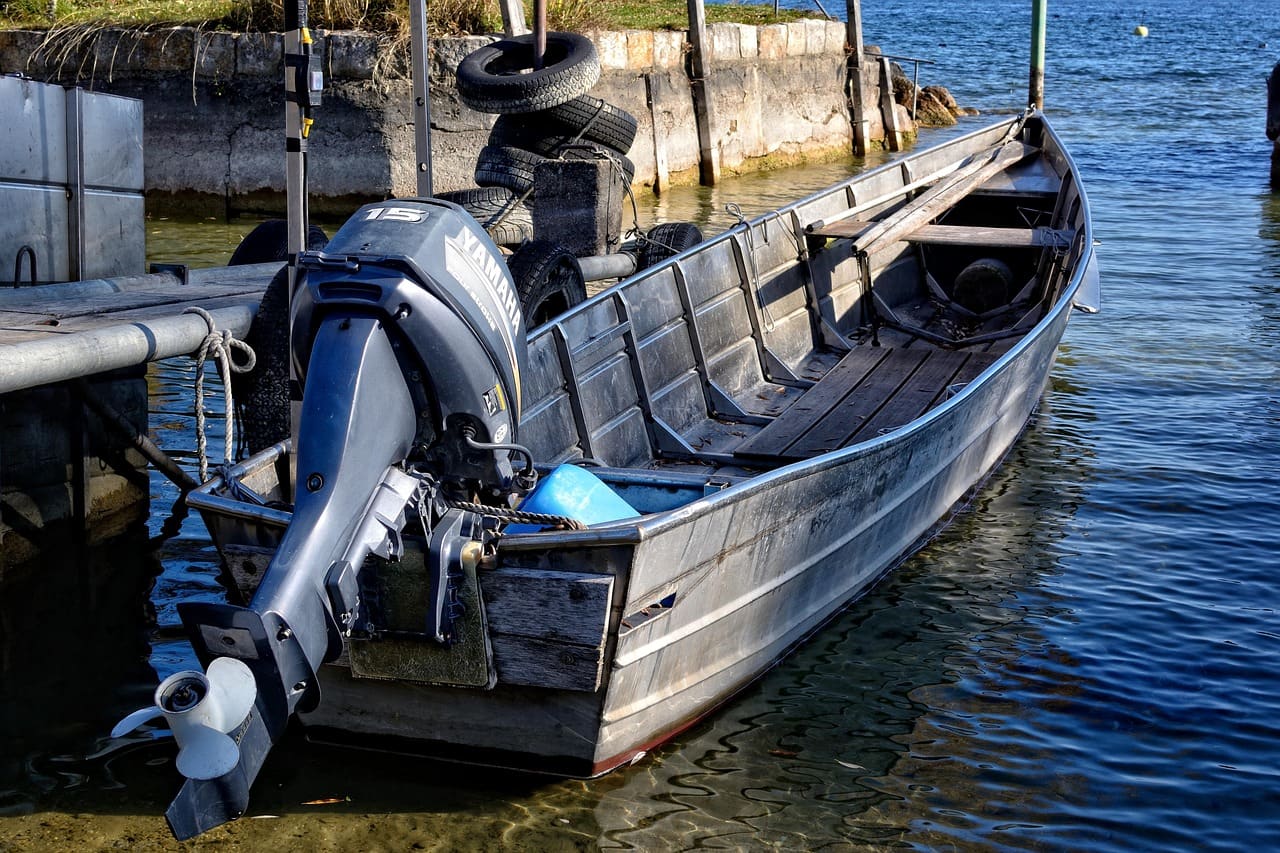
Engine Starts Then Dies - Troubleshooting Guide
Track down why your boat engine fires up and then stalls, whether at idle, when you shift into gear, or after a few minutes of running. Most causes are in the fuel supply and can be checked with no special tools.
Loss of Power, Hesitation or Misfire - Troubleshooting Guide
Figure out why your engine bogs down, stumbles, will not reach full rpm or runs rough. Work from simple checks like trim, prop and fuel filter to ignition and engine protection modes before paying for diagnostics.
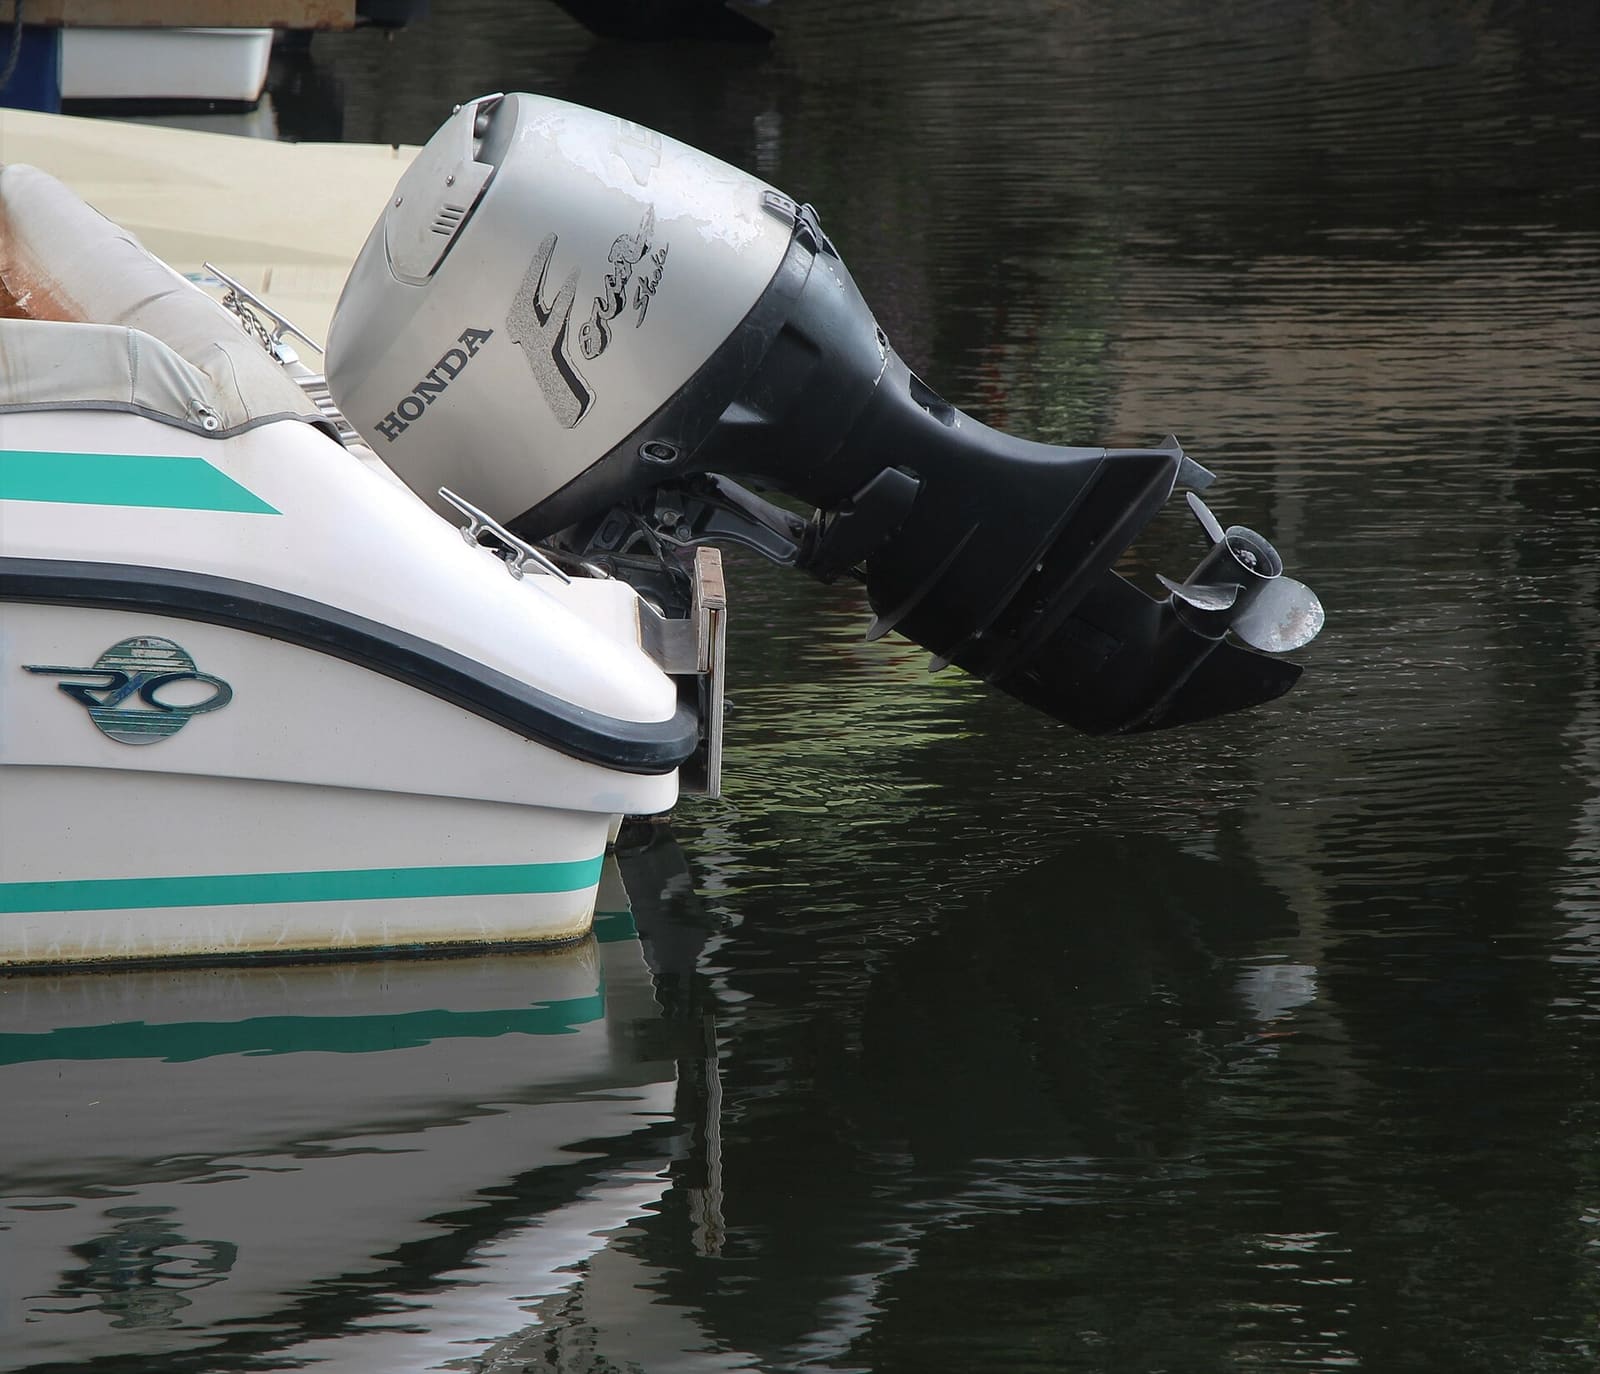
How to Winterize an Outboard Engine
Protect your outboard from freeze damage, stale fuel and internal corrosion over the off-season. Most owners can do it in an afternoon with basic tools, compared with a shop bill that often runs several hundred dollars.
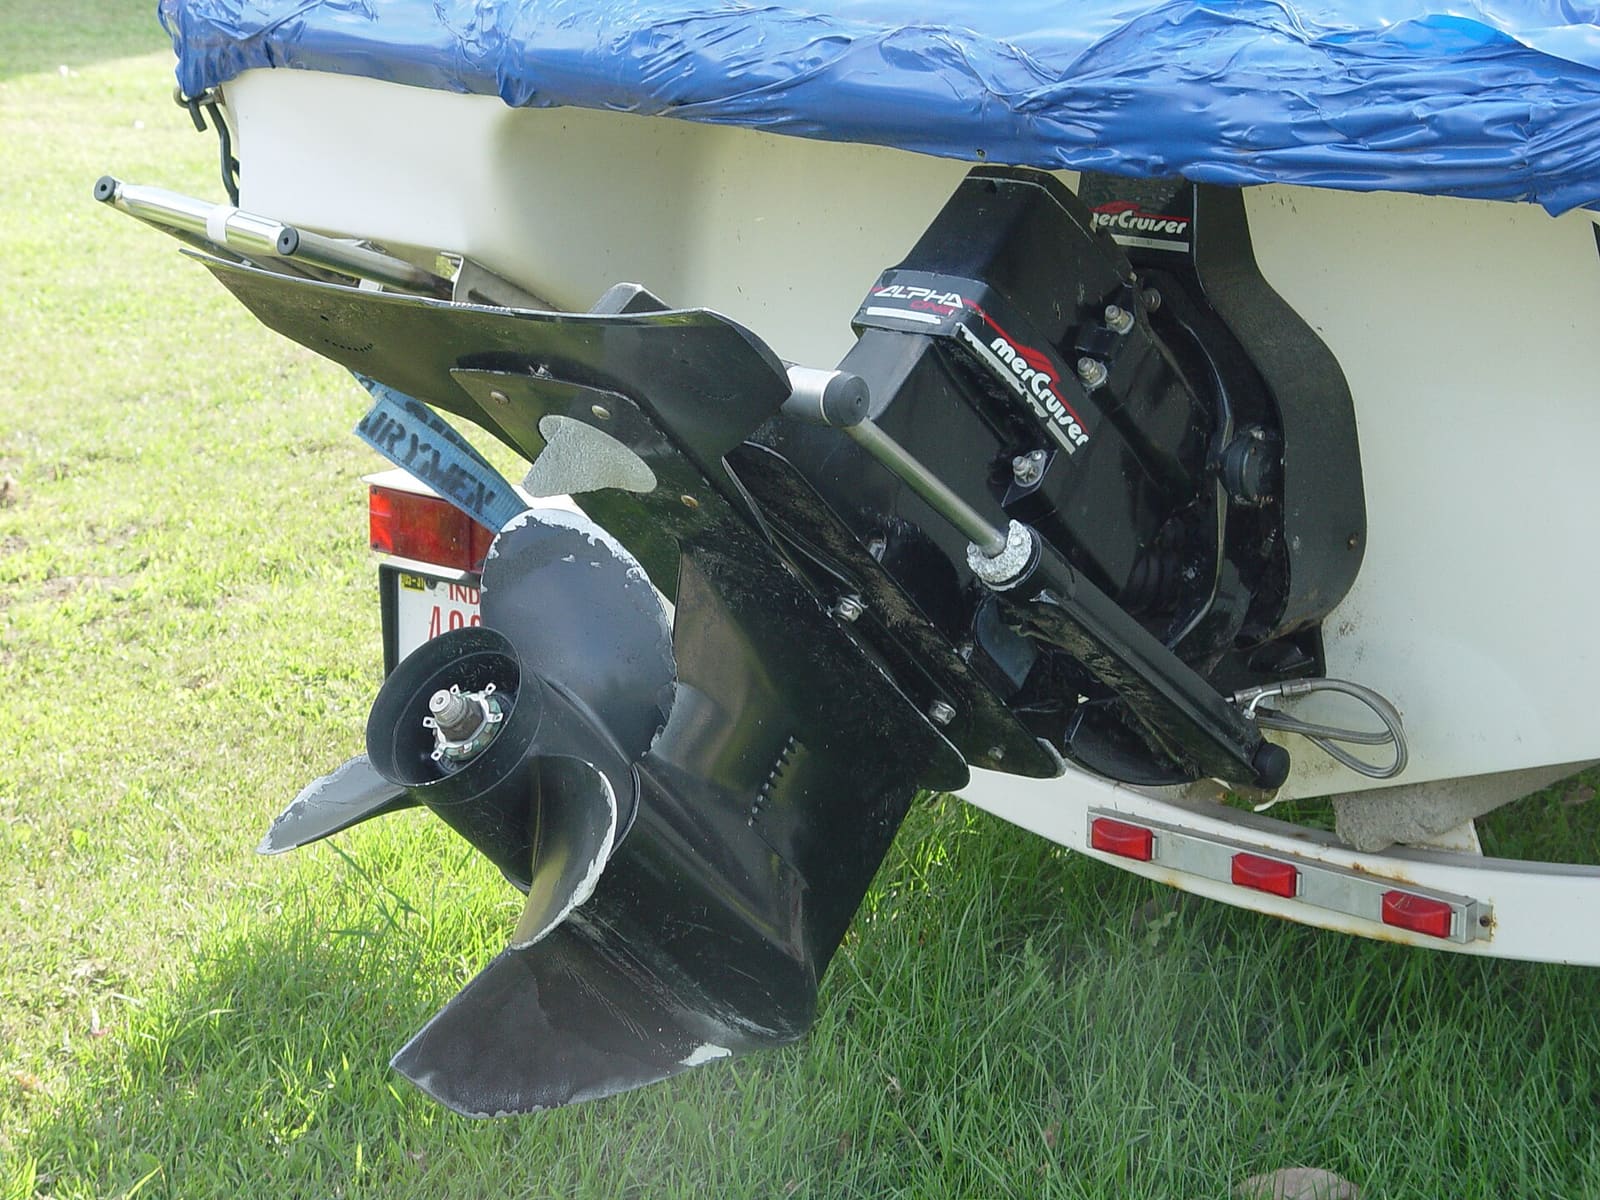
How to Winterize a Sterndrive (MerCruiser, Volvo Penta and Similar)
Get the water out of your sterndrive engine, protect it with antifreeze, and service the drive before storage. A cracked block or manifold from one missed drain plug can cost thousands, and doing it yourself saves a shop bill of several hundred dollars.