How to Replace Cleats, Eyes and Brackets on a Riveted Aluminum Boat
Swap or add cleats, tie-down eyes, rod holders and accessory brackets on an aluminum boat without starting corrosion or new leaks. The keys are isolating stainless from aluminum, picking the right rivet or bolt, and spreading the load.
Time
2 h
Shop would charge
$100-400
Applies to
Outboard, All engines · Fishing boat, Pontoon, Center console, Bowrider / runabout
Safety first: Never drill or remove fasteners below the waterline while the boat is in the water, and never drill into a hull seam or rivet line. Before you drill anywhere, look behind the spot for fuel lines, fuel tanks, wiring and hoses; on many aluminum boats the space under the gunwale or floor is tight and full of them. Wear safety glasses: aluminum chips fly and cut. If a new hole ever leaks while afloat, plug it, run the bilge pump, head in, and call TowBoatUS / Sea Tow, or USCG on VHF 16 or 911 if water comes in faster than you can pump it.
Owners often ask
- Can I bolt a stainless cleat straight onto my aluminum boat?
- Should I use pop rivets or bolts to mount a rod holder on my aluminum jon boat?
This guide walks you through it. Still stuck? Ask the AI Mechanic about your engine.
Tools
- Drill, sharp bits, and a center punch
- Hand or long-handle rivet tool sized for the rivets you use
- Wrenches or sockets and a screwdriver for through-bolts
- Countersink or deburring tool
- Masking tape, marker and a flashlight or inspection mirror
- Safety glasses and gloves
- Shop vacuum to pick up drill chips
Parts & supplies
- 300-series (marine-grade) stainless or aluminum hardware
- Nylon or plastic isolating washers, pads or a gasket for each fitting
- Sealing (closed-end) blind rivets, or stainless bolts, nylon-insert locknuts and washers
- Aluminum or non-metallic backing plates
- Marine bedding sealant (polysulfide or polyether type) and a non-metallic anti-seize or barrier paste
Before you start
Why aluminum is different: Boating Magazine calls aluminum "the wimp of the electrochemical schoolyard": almost every other metal on a boat, including stainless steel, bronze and brass, will eat it when the two touch and salt or brackish water gets between them. That's galvanic corrosion. It shows up as white powder, pits, and holes around fittings. Fresh water is gentler, but trapped moisture and road salt still do damage over time.
The four rules for any fitting on an aluminum boat:
- Use marine-grade metal: 300-series stainless or aluminum hardware. Builders use stainless because aluminum fittings are hard to find.
- Keep the two metals apart: nylon or plastic washers, pads or gaskets under the fitting and under nuts, plus a bedding sealant that keeps water out of the joint.
- Keep water out of every hole: sealant on the fitting and on each fastener.
- Spread the load: a backing plate or large washers behind anything that gets pulled on.
What not to use: brass or bronze fittings screwed straight into aluminum (Boating Magazine singles out brass fuel fittings on aluminum tanks), zinc-plated or plain steel hardware-store bolts, copper wire or copper-based anything touching the hull, and graphite-based lubricants (see /guides/aluminum-hull-corrosion).
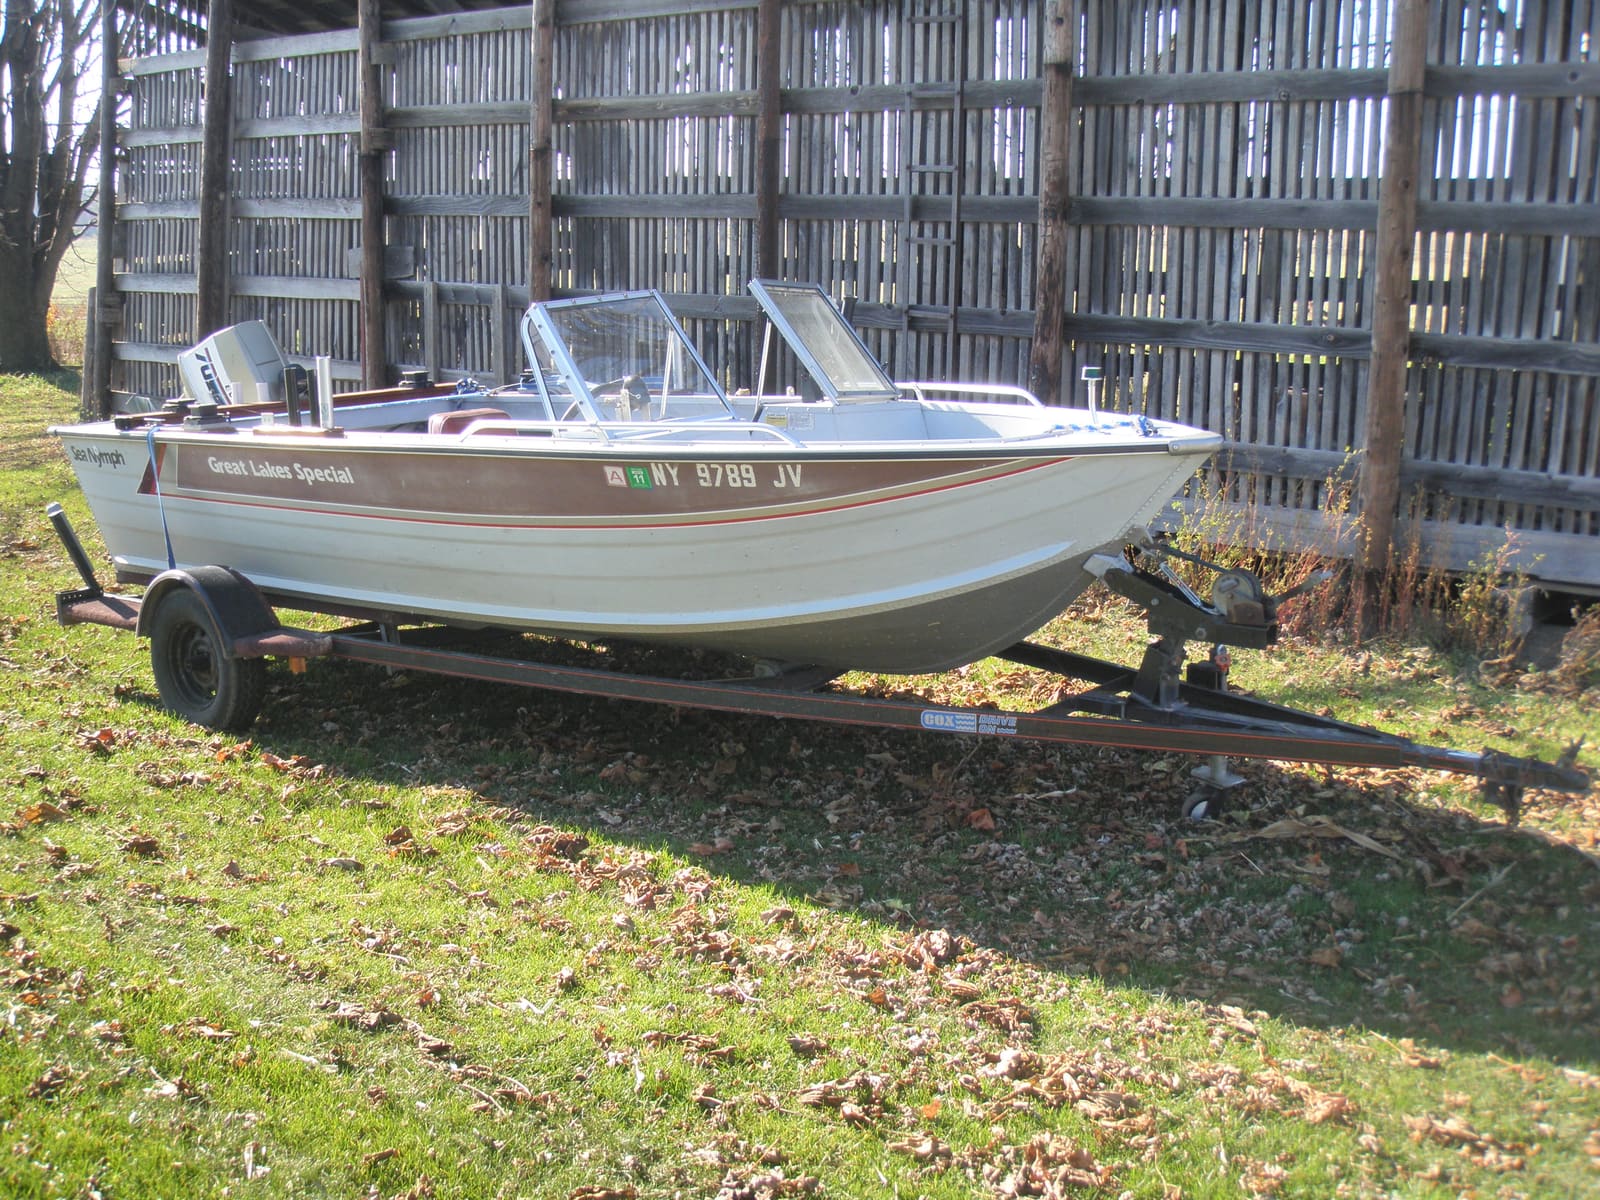
Know your hull: most aluminum fishing boats and jon boats are riveted sheets on ribs and stringers; the gunwale is usually an extruded rail or a cap. Welded boats are similar for hardware, but cracks and broken welds are a job for a welder.
Steps
Look closely at the old fitting and the aluminum around it. White crust, bubbling paint and pits around the base or the fasteners mean the metals have been touching wet. Check underneath with a flashlight and mirror if you can reach. Wiggle the fitting: movement means loose fasteners or worn, elongated holes. Photograph everything before you take it apart.
If the old holes are round, clean and the right size for the new fitting, reuse them. If they're wallowed out, cracked, or in the wrong place for the new part, plan new holes at least a couple of fastener widths away and fill the old ones (step 11). Never put a new hole in a seam, a rivet line, or through a rib flange you can't see.
For bolts, hold the nut from below and turn it off. For rivets, center-punch the head and drill just through the head with a bit about the size of the rivet shank, then pop the rest out with a punch. Go slowly so the hole doesn't grow. Vacuum up every chip: steel drill debris or stainless chips left in the bilge rust and start corrosion spots of their own.
Scrape off old sealant and corrosion. Use a stainless or nylon brush kept only for aluminum, never a steel brush that leaves particles behind. Wipe with the cleaner your sealant maker recommends and let it dry completely. Touch up any bare aluminum that won't be under the fitting (see /guides/aluminum-hull-corrosion).
- Through-bolts with nuts are the strongest choice wherever you can reach the back: cleats, tow eyes, ski tow points, anything a rope or person pulls on. Use stainless bolts, isolating washers on both sides, and nylon-insert locknuts.
- Sealing (closed-end) blind rivets work where you can't reach the back, for light and medium loads such as rod holders, small brackets and trim. Practical Sailor found blind rivets grip thin metal very well, but open-end rivets have a hollow center that can let water through, so use sealing rivets anywhere water must be kept out.
- Rivet material for fittings: in Practical Sailor's fastener test, done on a sailboat mast rather than a hull, aluminum blind rivets were the weakest fasteners tried, and the testers saw them corrode more readily than stainless or Monel in salt air. That's a useful hint for fittings that carry load, but it isn't a hull test. Many owners use stainless or Monel blind rivets for brackets and holders, bedded in sealant or barrier paste, and save aluminum ones for light trim. Stainless rivets usually need a heavy-duty rivet tool.
- Hull seams are different: the rivets that hold the hull sheets together are usually solid aluminum rivets set with a hammer and a heavy steel "buck" held on the other side, not pop rivets. Cottage Life notes that standard pop rivets are useless below the waterline because of the hole through their center; a closed-end pop rivet is the one-sided option, and a small stainless machine screw and acorn nut set in flexible sealant can serve as a stopgap until a proper rivet goes in. Don't swap hull-seam rivets for fitting rivets; see /guides/aluminum-rivet-leaks.
- Machine screws into tapped aluminum can work in thicker extrusions, but threads in aluminum wear and corrode. Coarse threads resist stripping better in soft metal.
- Avoid sheet-metal and self-tapping screws for anything that carries load. Practical Sailor notes they're designed for very thin material and tend to snap or strip. See /guides/blind-fasteners-no-access for other options when the back is out of reach.
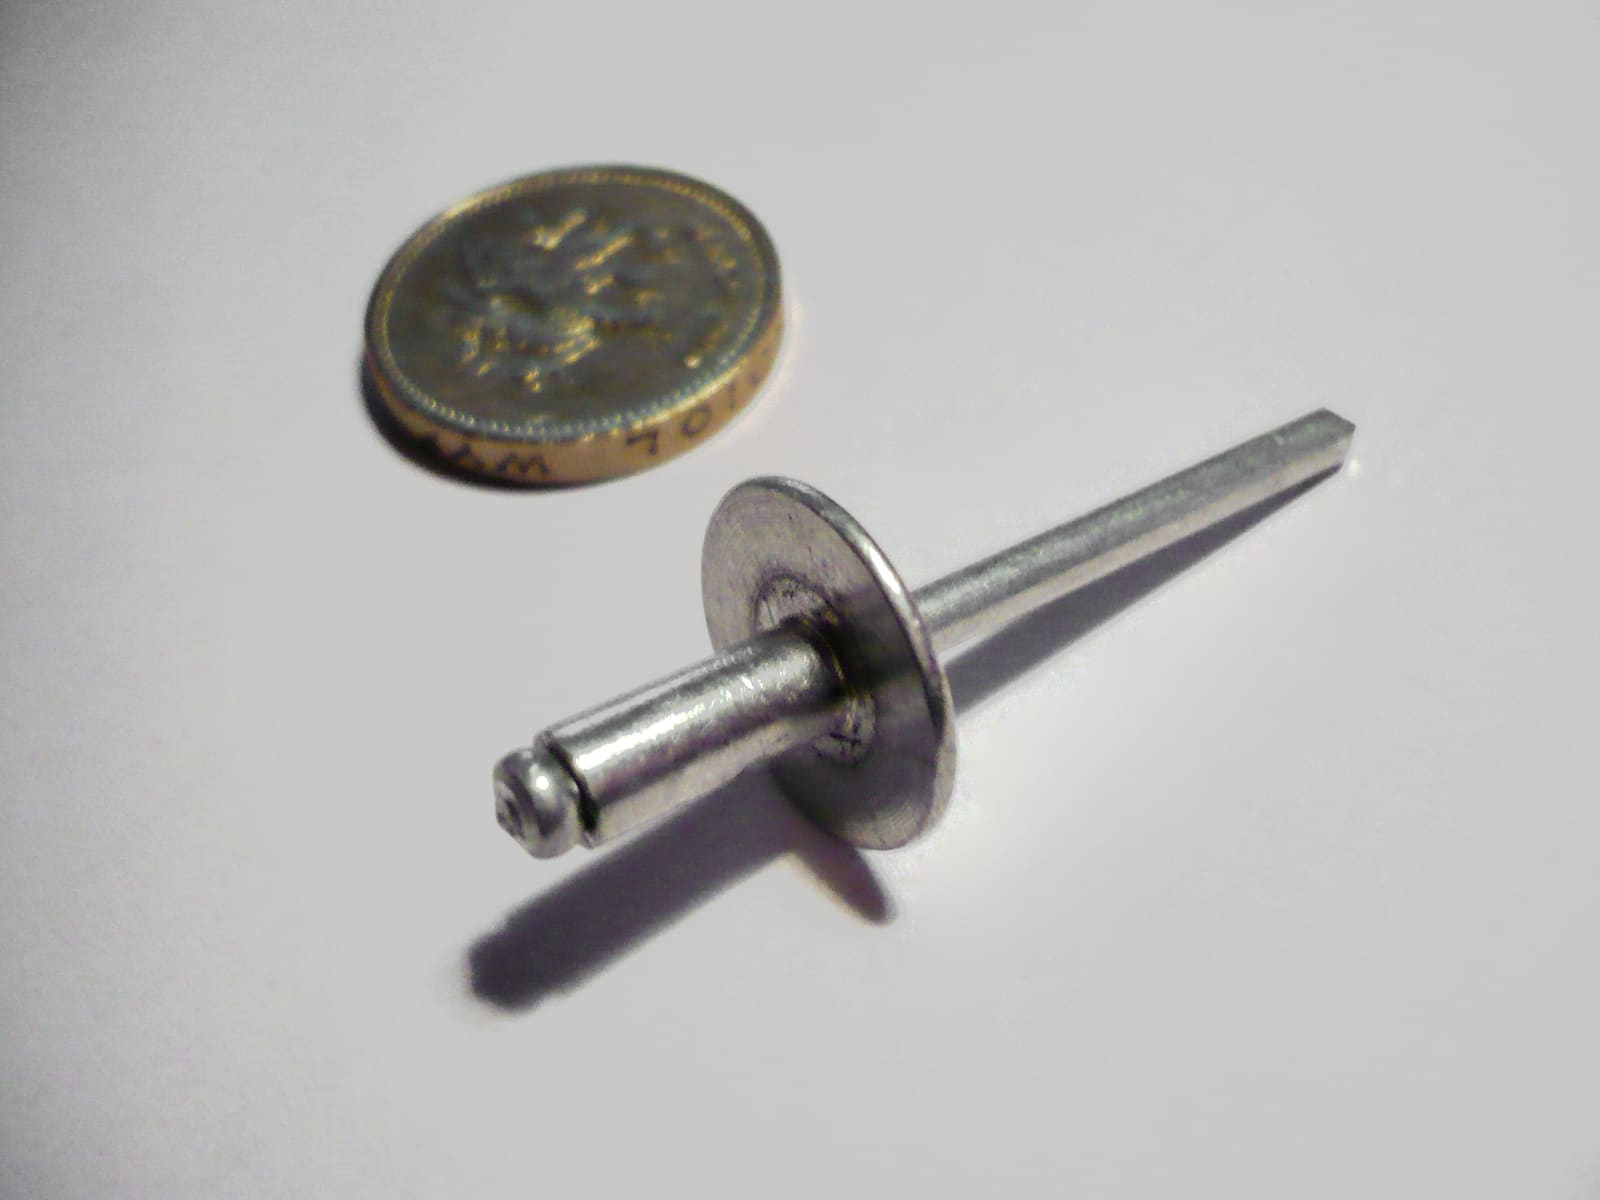
Photo: Propshaft / Wikimedia Commons · Public domain Anything that will be pulled hard needs load spread behind the skin. Practical Sailor recommends aluminum plate (about 1/8 to 1/4 inch) as backing for stainless or aluminum hardware: it's light, cheap, easy to cut with a jigsaw and, on an aluminum boat, the same metal as the hull. Non-metallic plates (marine-grade polymer board or fiberglass) avoid the metal question entirely. At a minimum, use large fender washers. Round the corners and drill the holes slightly oversize so bolts don't bind.
Hold the fitting in place and check that nuts and the backing plate fit behind, that nothing is in the way, and that ropes will lead fairly. Mark holes on masking tape. Center-punch each mark so the drill doesn't wander on smooth aluminum.
Drill the exact size the fastener or rivet maker specifies, with a sharp bit and steady pressure. Lightly deburr both sides so sealant and washers sit flat. Vacuum the chips right away, inside and out.
Put a nylon or plastic pad or washer under the base of the fitting, and isolating washers under bolt heads and nuts where stainless would otherwise touch aluminum. Coat bolt threads and shanks with a metal-free anti-seize or barrier paste; Sport Fishing suggests a lanolin-based thread lubricant to keep dissimilar metals from seizing and slow galvanic action. For rivets, dip each one in sealant so a little squeezes out when it's set.
Coat the base and each hole with marine bedding sealant. BoatUS (Don Casey) advises snugging fasteners just enough to squeeze sealant out all around, then waiting for the sealant to partly cure before the final tightening, turning the nuts rather than the bolts so you don't break the seal. Tighten evenly and stop when the fitting is firmly seated; don't crush the isolating washers or dimple the aluminum. Set rivets fully so the head pulls down tight and the stem breaks cleanly. Wipe off the squeeze-out.
Don't leave empty holes in an aluminum hull. Above the waterline, a small hole can be closed with a sealing rivet set in sealant, or with a flexible epoxy made for aluminum: Epoxyworks describes cleaning to shiny metal, then working thickened G/flex epoxy into gaps and around rivets. Anything below the waterline, cracked, or bigger than a rivet hole is a job for a welder or aluminum boat shop (see /guides/aluminum-rivet-leaks).
After the sealant has cured as long as the label says, give the fitting a firm, steady pull in the direction it will be loaded. On anything below the gunwale, fill the area with a hose or check the bilge after the first trip. Look again after a few outings for loosening, weeping or white powder. Log the hardware, fasteners and sealant used in BoatMend.
Common mistakes
- Bolting stainless straight onto bare aluminum with no washer, pad or sealant. It looks fine for a season, then the aluminum around it turns to white powder.
- Using zinc-plated or plain steel hardware-store bolts. They rust fast and stain the hull.
- Self-tapping screws in the thin hull or gunwale for cleats or tow points. They strip or snap under load.
- Open-end pop rivets where water gets in. The hollow center is a leak path.
- Leaving drill chips in the bilge. Small bits of stainless or steel start corrosion spots.
- Drilling into a rivet line or through a hidden fuel line or wire because nobody looked behind the panel first.
- Brass or bronze fittings (drain plugs, fuel fittings, accessories) touching aluminum without isolation.
When to call a pro
- Any hole, fitting or rivet below the waterline, or any crack in the hull, ribs or gunwale
- Hardware that needs to be welded on, or broken welds around existing hardware
- The aluminum around a fitting is pitted deep, cracked or thin when you press on it
- Lifting eyes, transom tie-downs or the bow eye on a heavy boat, if you can't reach the back to fit a proper backing plate (see /guides/bow-eye-inspection)
- Corrosion keeps coming back even with isolation: have a marine electrician check for stray current or bonding problems
Tips
- Keep a small kit for your aluminum boat: nylon washers in your common sizes, sealing rivets, a tube of bedding sealant and barrier paste.
- When you buy accessories, ask whether the maker sells an aluminum-boat mounting kit with isolators.
- Rinse with fresh water after salt or brackish trips, especially around fittings; dry crevices corrode far more slowly than wet ones.
- Photograph each new fitting and its fasteners for your BoatMend log, so you know what to check at the next inspection.
Official references
We read these to write this guide. Your engine's own manual always wins.
- Boating Magazine – How to Protect Aluminum Boats in Saltwater
- Practical Sailor – A Riveting Report, Spar Fasteners (blind rivets vs. screws, aluminum vs. stainless rivets)
- Practical Sailor – A Better Way to Mount Hardware (backing plates)
- Sport Fishing – Combat Boat Corrosion
- Epoxyworks – Aluminum Boat Repairs with WEST SYSTEM Epoxy
- BoatUS – Bedding Deck Hardware (Don Casey)
- Cottage Life – How to Fix Leaking Rivets in a Boat (solid rivets, closed-end pop rivets)
Safety: BoatMend is for information only and does not replace a certified marine technician. You are responsible for your safety and your boat. Read the full disclaimer.
Last updated 2026-10-26
Related guides
How to Spot and Prevent Corrosion on an Aluminum Boat
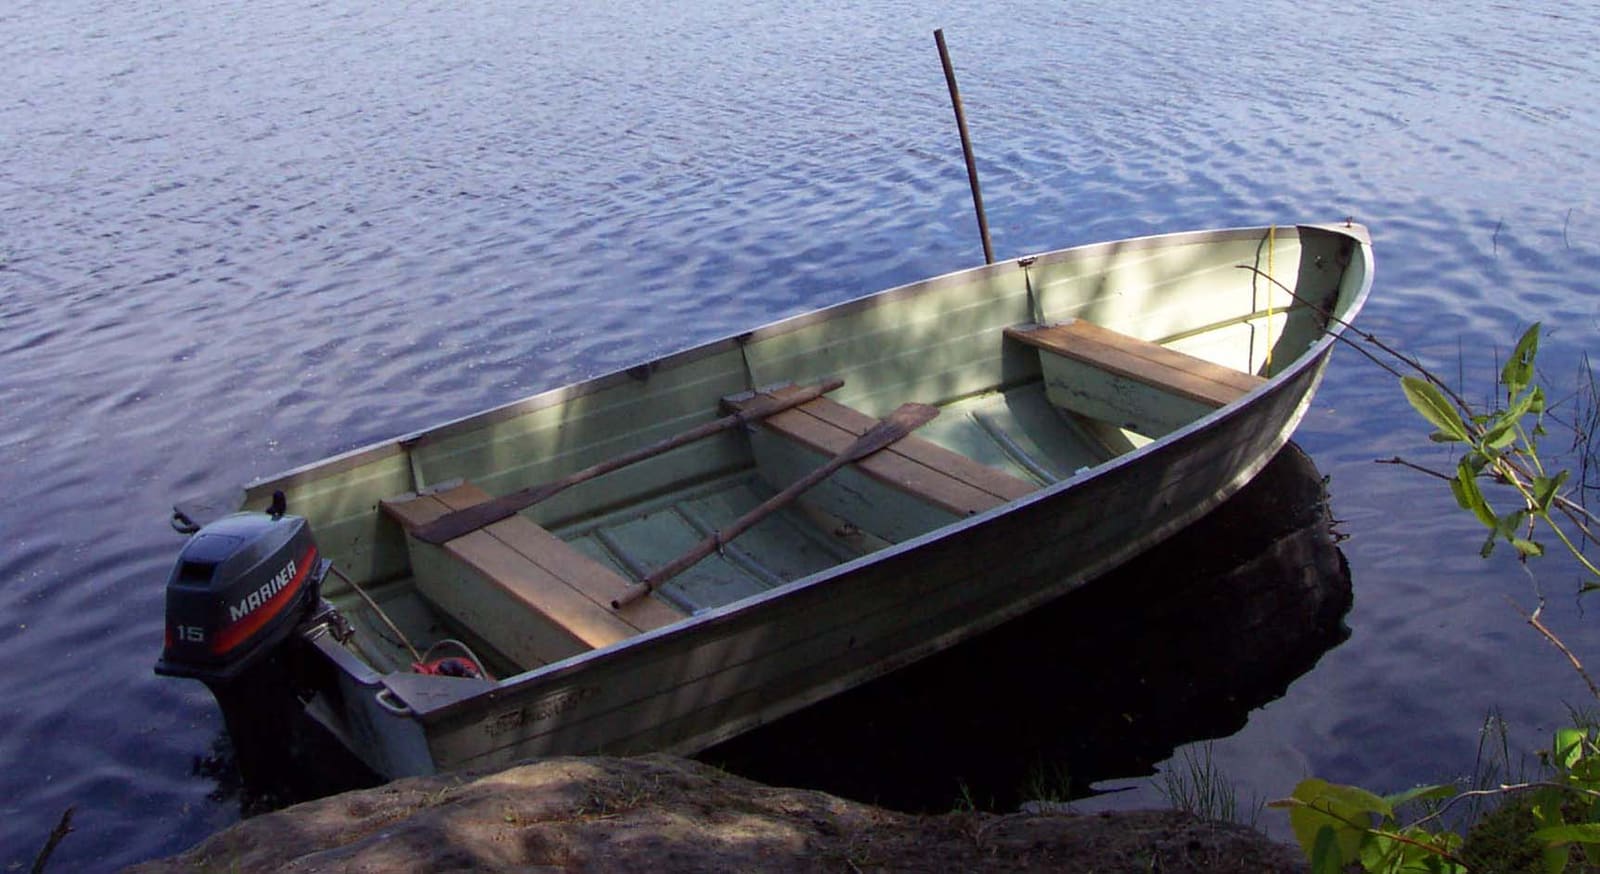
Aluminum hulls and pontoon tubes are tough, but they lose almost every fight with other metals. Learn the warning signs of galvanic and stray current corrosion, keep copper and loose metal away from the hull, choose the right anodes, touch up paint with the proper primer and know when a repair needs a welder.
How to Find and Fix Leaking Rivets on an Aluminum Boat
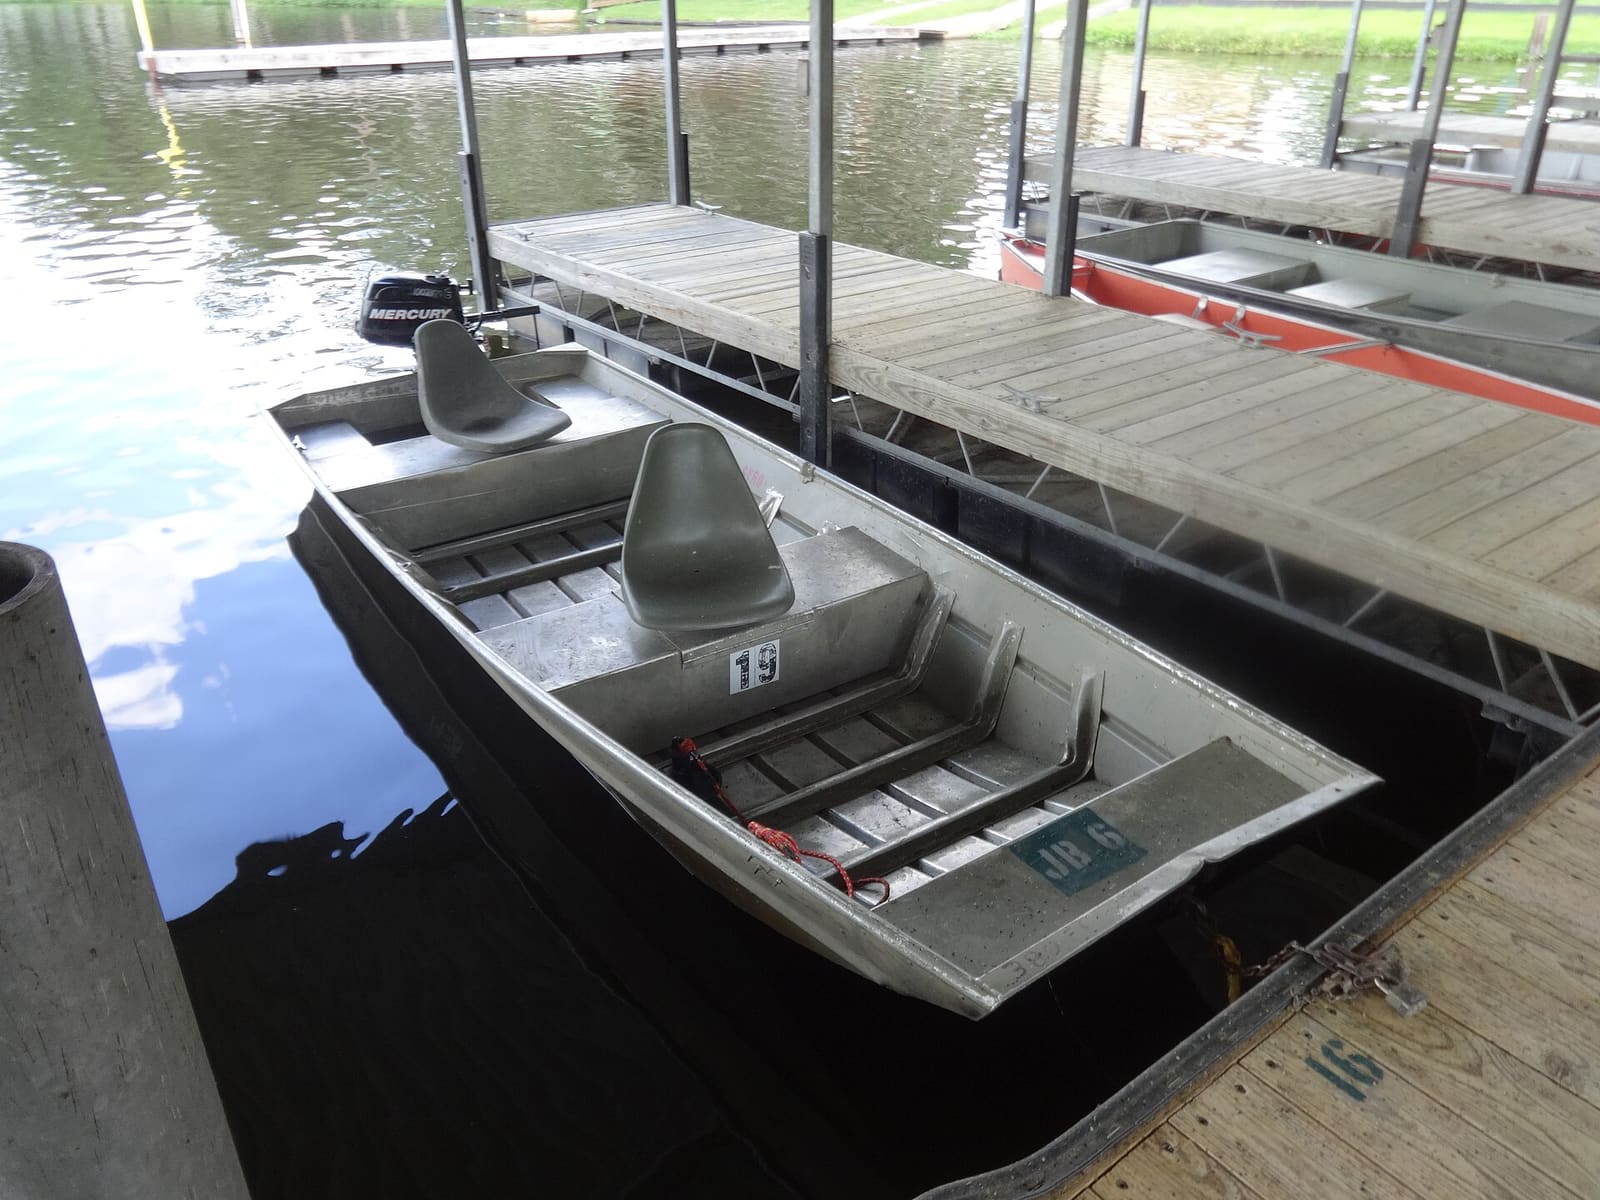
Almost every older riveted aluminum boat weeps a little water. Learn how to find the leaking rivets, tighten the ones that are loose, seal the rest with a flexible epoxy, replace the bad ones the right way, and know when a crack or corrosion needs a welder.
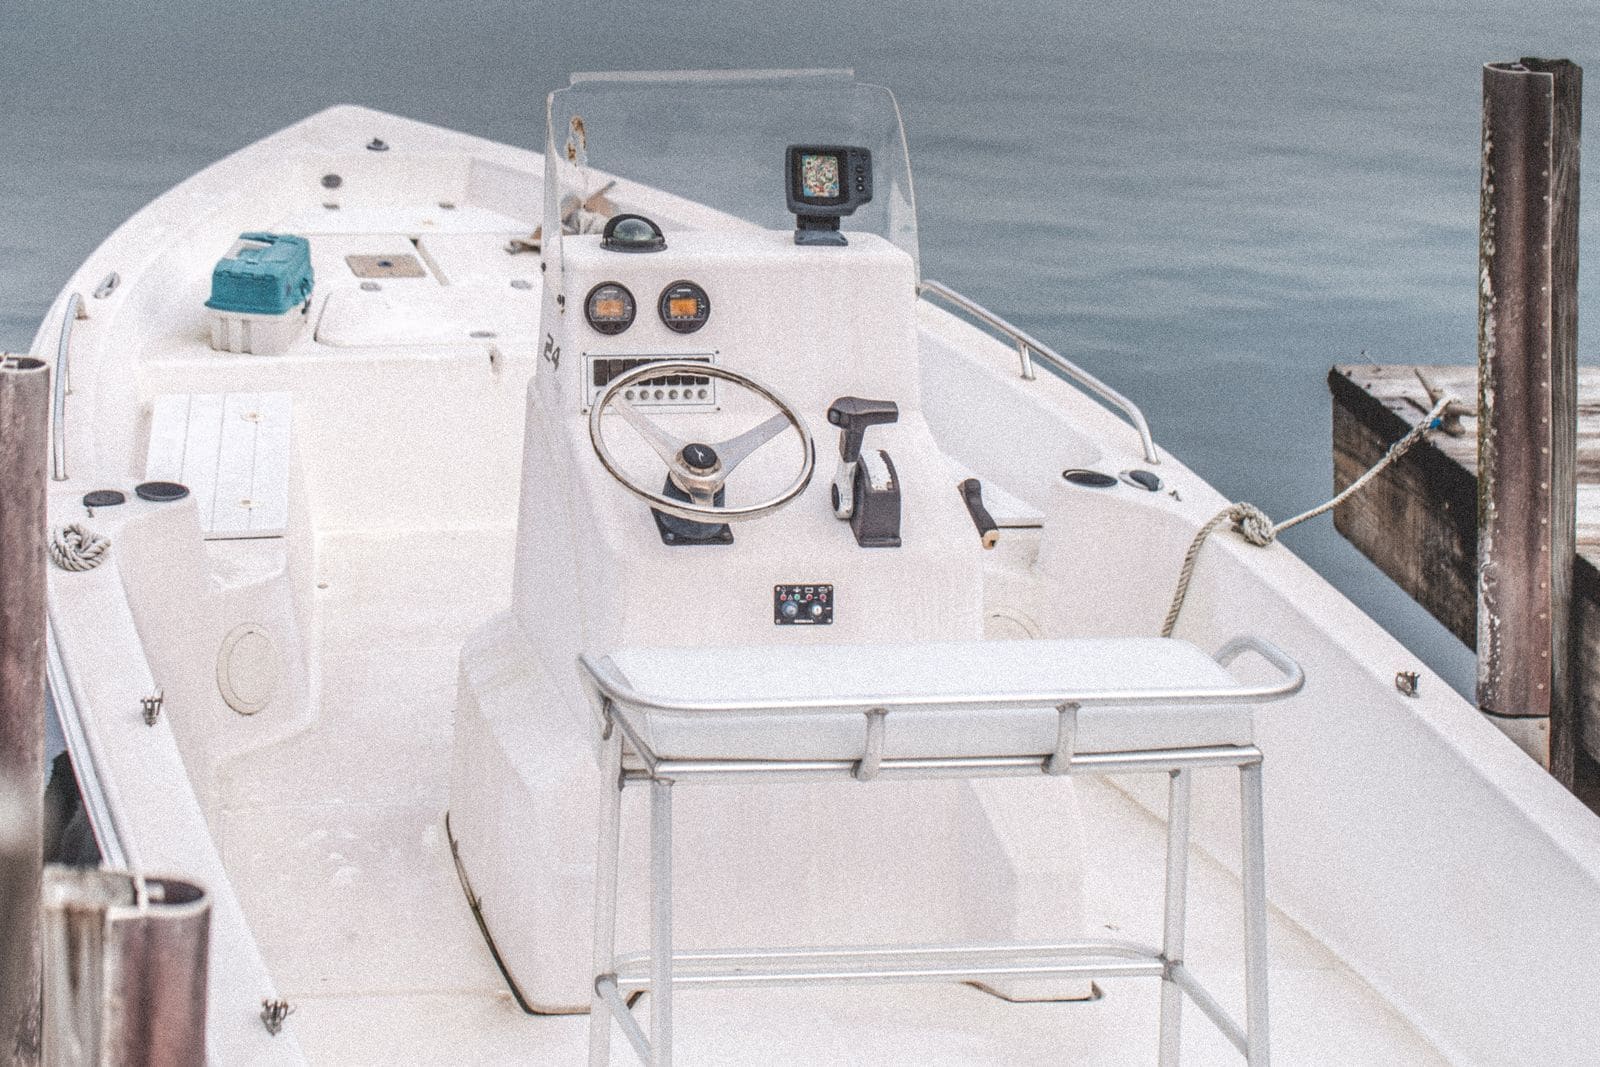
How to Mount Rod Holders, Fish Finders, Cleats and Antennas Without Causing Leaks
Add accessories to your boat the right way, with through-bolts, backing plates, sealed core and proper wire pass-throughs, so every new hole stays dry and strong. Also learn where you should never drill.
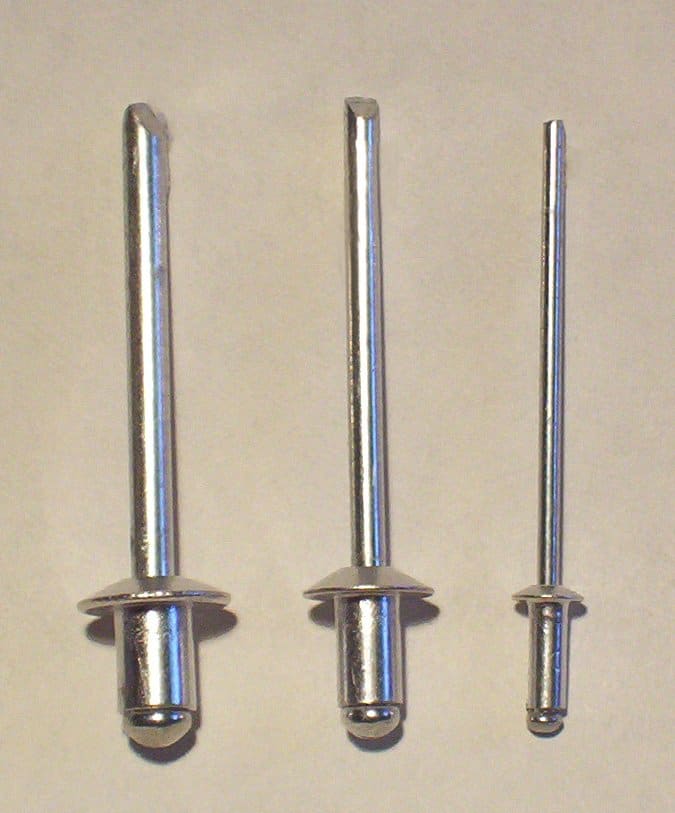
Mounting Hardware Where You Can't Reach Behind: Blind Fasteners
Learn how to mount light accessories on a boat when you can't get a hand behind the panel, using blind rivets, rivet nuts, well nuts, toggle anchors and bonded studs, when to cut an inspection port instead, and what must never be held by a blind fastener.
How to Inspect and Replace Your Bow Eye and Transom Eyes
Check the bow eye and transom tie-down eyes for rust, loose nuts and missing backing plates, and replace and reseal them properly, because a failed bow eye can let the boat slide off the trailer.
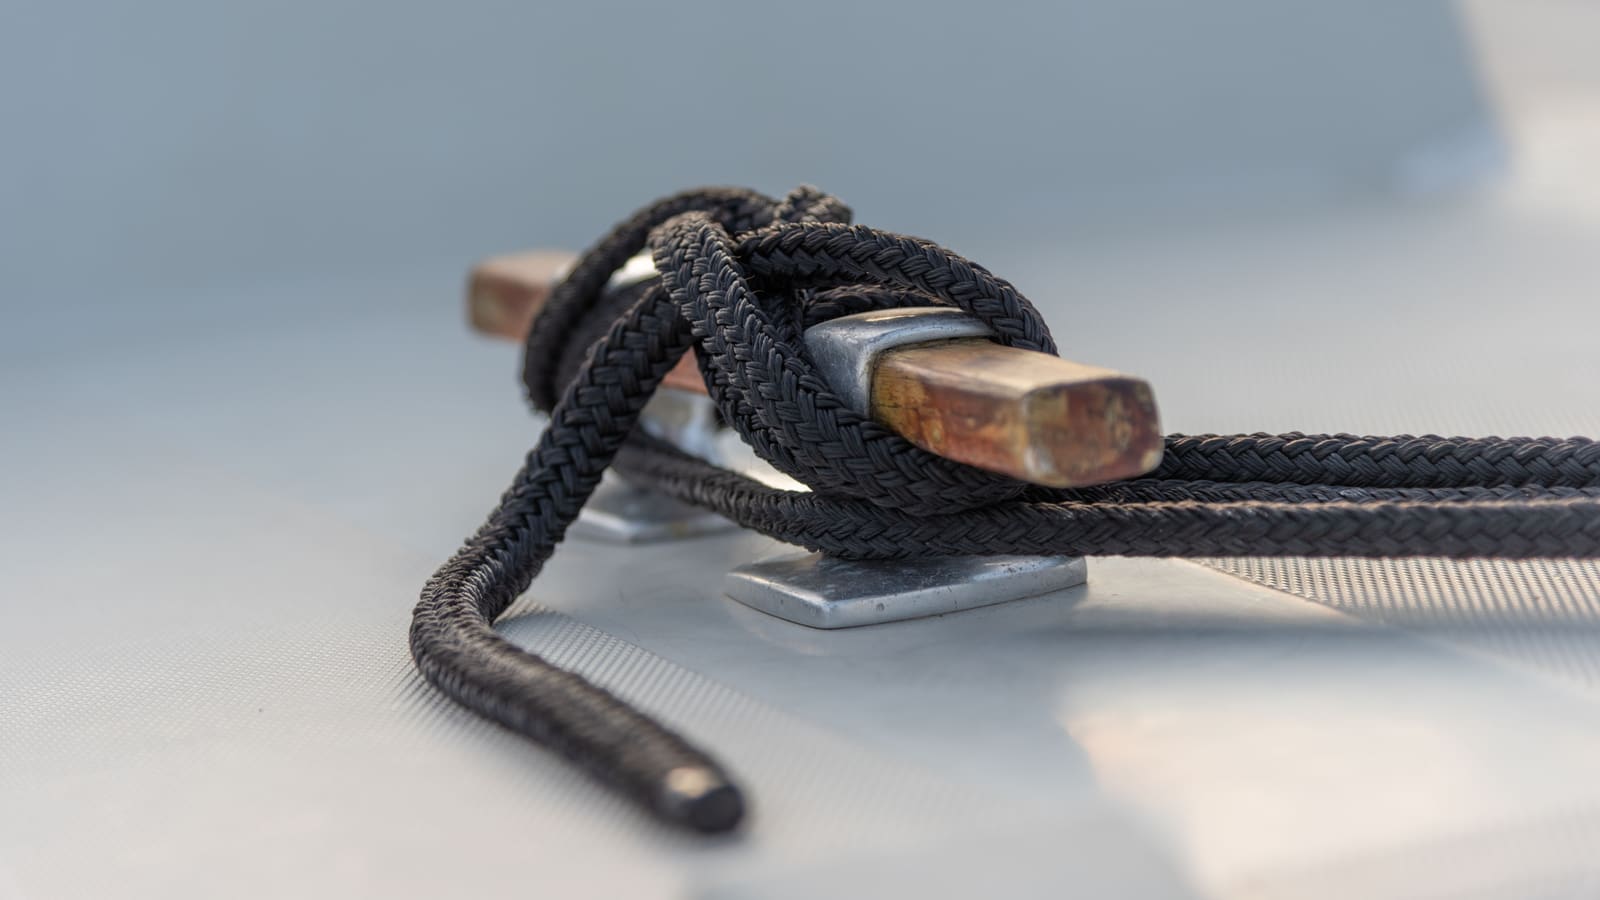
How to Add or Upgrade Boat Cleats (Sizing, Placement and Backing Plates)
Most cleats that fail don't break; they pull out of the deck. Learn how to size a cleat to your dock lines, where to put new cleats for docking and spring lines, how to through-bolt them with real backing plates, how to protect a cored deck, and what's different about pop-up and pull-up cleats.