Water Inside the Outboard Cowling - Seals, Latches, Drains and Washing
Find out how water is getting under your outboard's cowl, from simple causes like a latch that isn't fully closed, blocked drain holes or the wrong washing technique to a worn cowl seal or a cooling leak, and fix it before salt corrodes the powerhead and electrical parts.
Time
1 h
Shop would charge
$100-400
Applies to
Outboard
Safety first: Work with the engine off and the key out or the lanyard removed, unless a step tells you to run it. If you do run the engine with the cowl off to look for a leak, use flush muffs or the water as your manual allows, keep hands, hair and loose clothing away from the flywheel and belts, and never touch ignition parts. If the engine runs rough, won't turn over, or the oil looks milky after water got under the cowl, stop: water may be inside the engine (see "When to call a pro").
Owners often ask
- I keep finding water sitting under my outboard cowling after I wash the boat. Where is it coming from?
- My outboard cowl latches but the back still lifts a little. How do I adjust the latch?
This guide walks you through it. Still stuck? Ask the AI Mechanic about your engine.
Tools
- Flashlight
- Pipe cleaner, zip tie or soft wire (for clearing drain holes)
- Screwdrivers, sockets or Allen keys for the latch adjusters (check your manual)
- Garden hose with a gentle spray (no pressure nozzle) and flush muffs or the flush fitting your manual specifies
- Clean rags and a soft brush
- Phone camera
Parts & supplies
- Silicone spray or seal protectant the engine maker recommends
- Replacement cowl seal (gasket) for your model and serial number, if worn
- Replacement latch, hook, striker or spring for your model, if worn or broken
- Corrosion inhibitor spray made for under-cowl use
Before you start
Why it matters: the cowl keeps spray and rain off the powerhead, wiring, sensors, fuel parts and the alternator. A little water that drains away is normal; standing water or salt crust is not. Texas Saltwater Fishing Magazine reports engines that seized from salt corrosion after sitting a couple of weeks with salt spray inside, and notes that even when the engine doesn't lock up, salt shortens its life.
The three ways water gets in (per that article): past the cowl seals, from a leak in the engine's own cooling system, or through the air intake at the back of the cowl. Leaks past the seals usually happen when the cowl isn't seated or latched correctly. Other common triggers:
- Washing with the engine tilted. Mercury warns that rinsing the cowl with the outboard tilted lets water into the air intake at the rear.
- Pressure washing the cowl or powerhead.
- Following seas or backwash. Boats with the engine mounted low, and catamarans, can take water over the cowl when coming off plane suddenly or running in a heavy following sea.
- Spray at rest. Seas slapping the back of idling engines push mist into the intake.
What to look for: puddles in the lower cowl tray, white salt crust or rust on bolts, brackets and electrical connectors, a "tide line" on the inside of the cowl, or green and white corrosion on terminals.
Steps
Water after rain or washing, with the boat sitting, points to the seal, latches, drains or how you wash and store the engine. Water after running points to spray, a following sea, the intake, or a cooling leak. Salt crust on top of the engine means salt water. Take photos before you clean anything; the pattern tells you where it came from.
It sounds too simple, but it's the most common cause. Take the top cowl off, wipe the seal and the rim of the lower cowl, set it back on squarely, and close each latch (front, rear and sides, depending on the model). Look all the way around for any gap, and press down on each corner: it shouldn't rock or click. A cowl that "clicks" closed at the back but still lifts slightly isn't sealing.
The lower cowl has small drain holes or valves at its lowest points so water that does get in can run out. Find them (check your owner's manual) and clear them gently with a pipe cleaner, zip tie or soft wire. Don't drill them bigger. If water pools in the tray with the engine vertical, the drains are blocked or the engine sits nose-down on the trailer.
Mercury's routine is a good model for any brand: lower the engine to vertical before rinsing the cowl, rinse with a gentle flow from a garden hose, not a pressure nozzle, and keep water away from the air intake. Wash the outside with a mild boat soap and soft sponge. Honda's salt-water advice also says not to spray water into the air intake. Flushing the cooling system is a separate job: see freshwater flush, and follow your manual on whether the engine can run while flushing.
An engine left tilted up in the rain, or with the cowl's air intake facing the weather, can collect water. Store it in the position your manual suggests. Honda recommends a UV-resistant fabric engine cover when the motor can't be stored out of the sun, and a cover also keeps rain off the cowl. Make sure the cover isn't funneling rain into the intake. While you're at it, look into the air intake passages and under the cowl for nests and debris: Yamaha notes birds and insects move in fast on an engine that sits, and an engine cover helps keep those passages clear.
Run your fingers around the rubber seal (it's on the top cowl or the lower cowl, depending on the model). Look for cracks, flattened or hardened sections, tears, gaps at the joint, and spots where it has pulled away from its channel. Yamaha suggests treating the seal between the cowl and the engine pan with a silicone protectant to keep it supple; Texas Saltwater Fishing Magazine suggests removing and cleaning the lower pan gasket now and then. Clean off sand and salt, which hold the seal open.
Latches wear and drift out of adjustment, so the cowl closes without squeezing the seal. On many engines the latch hook or striker is adjustable, often with a threaded pin and a lock nut. Check your service or owner's manual for your latch type, then adjust in small steps (a half turn at a time) until the latch closes firmly and the cowl sits snug all around, without forcing it. Tighten any lock nut. If a latch lever is stiff, rinse it with fresh water (Mercury includes the latches in its rinse routine) and work it free before adjusting.
If the seal is cracked, flattened or missing pieces, replace it with the part for your model and serial number from a dealer. Remove the old seal, clean the channel completely, and install the new one exactly as the part instructions say. Some press into a channel, others are glued, and the joint position matters. Let any adhesive cure before closing the cowl. Then recheck latch adjustment, since a new, thicker seal changes how the latches close.
A cracked latch body, a bent hook, a weak spring or a stripped mounting screw won't hold no matter how you adjust it. Order the replacement by serial number and fit it with the screws and any washers or sealant the maker specifies. Take photos of the old one before removing it.
If the seal and latches are good but water still appears after running, the leak may be inside. Texas Saltwater Fishing Magazine lists the water pressure line, the cooling system's pressure relief (poppet) valve and the head gasket as sources of spray that end up under the cowl. With the top cowl off, run the engine on flush muffs or in the water as your manual allows and watch, from a safe distance, for drips, fine spray or wet spots at hoses, fittings and covers. A salt trail on the powerhead often points right at the source. Most cooling leaks are a dealer job.
If water comes over the cowl from behind, avoid chopping the throttle suddenly from planing speed, which lets the stern wave overtake the engine. Be careful in following seas. If it happens often, ask a dealer whether the engine is mounted too low on the transom for your boat; on twin-engine boats and catamarans, also ask about the intake design for your model.
Once you've found the cause, deal with the salt. Mercury's method: remove the cowl and the plastic flywheel cover and rinse salt off the powerhead with a gentle hose flow (no spray nozzle, which forces water into connectors), keeping water away from the air intake and alternator. Let it dry, then apply a light coat of a corrosion inhibitor made for under-cowl use, keeping it off the air intake, alternator, belts and pulleys. Check electrical connectors for green or white corrosion; see electrical corrosion.
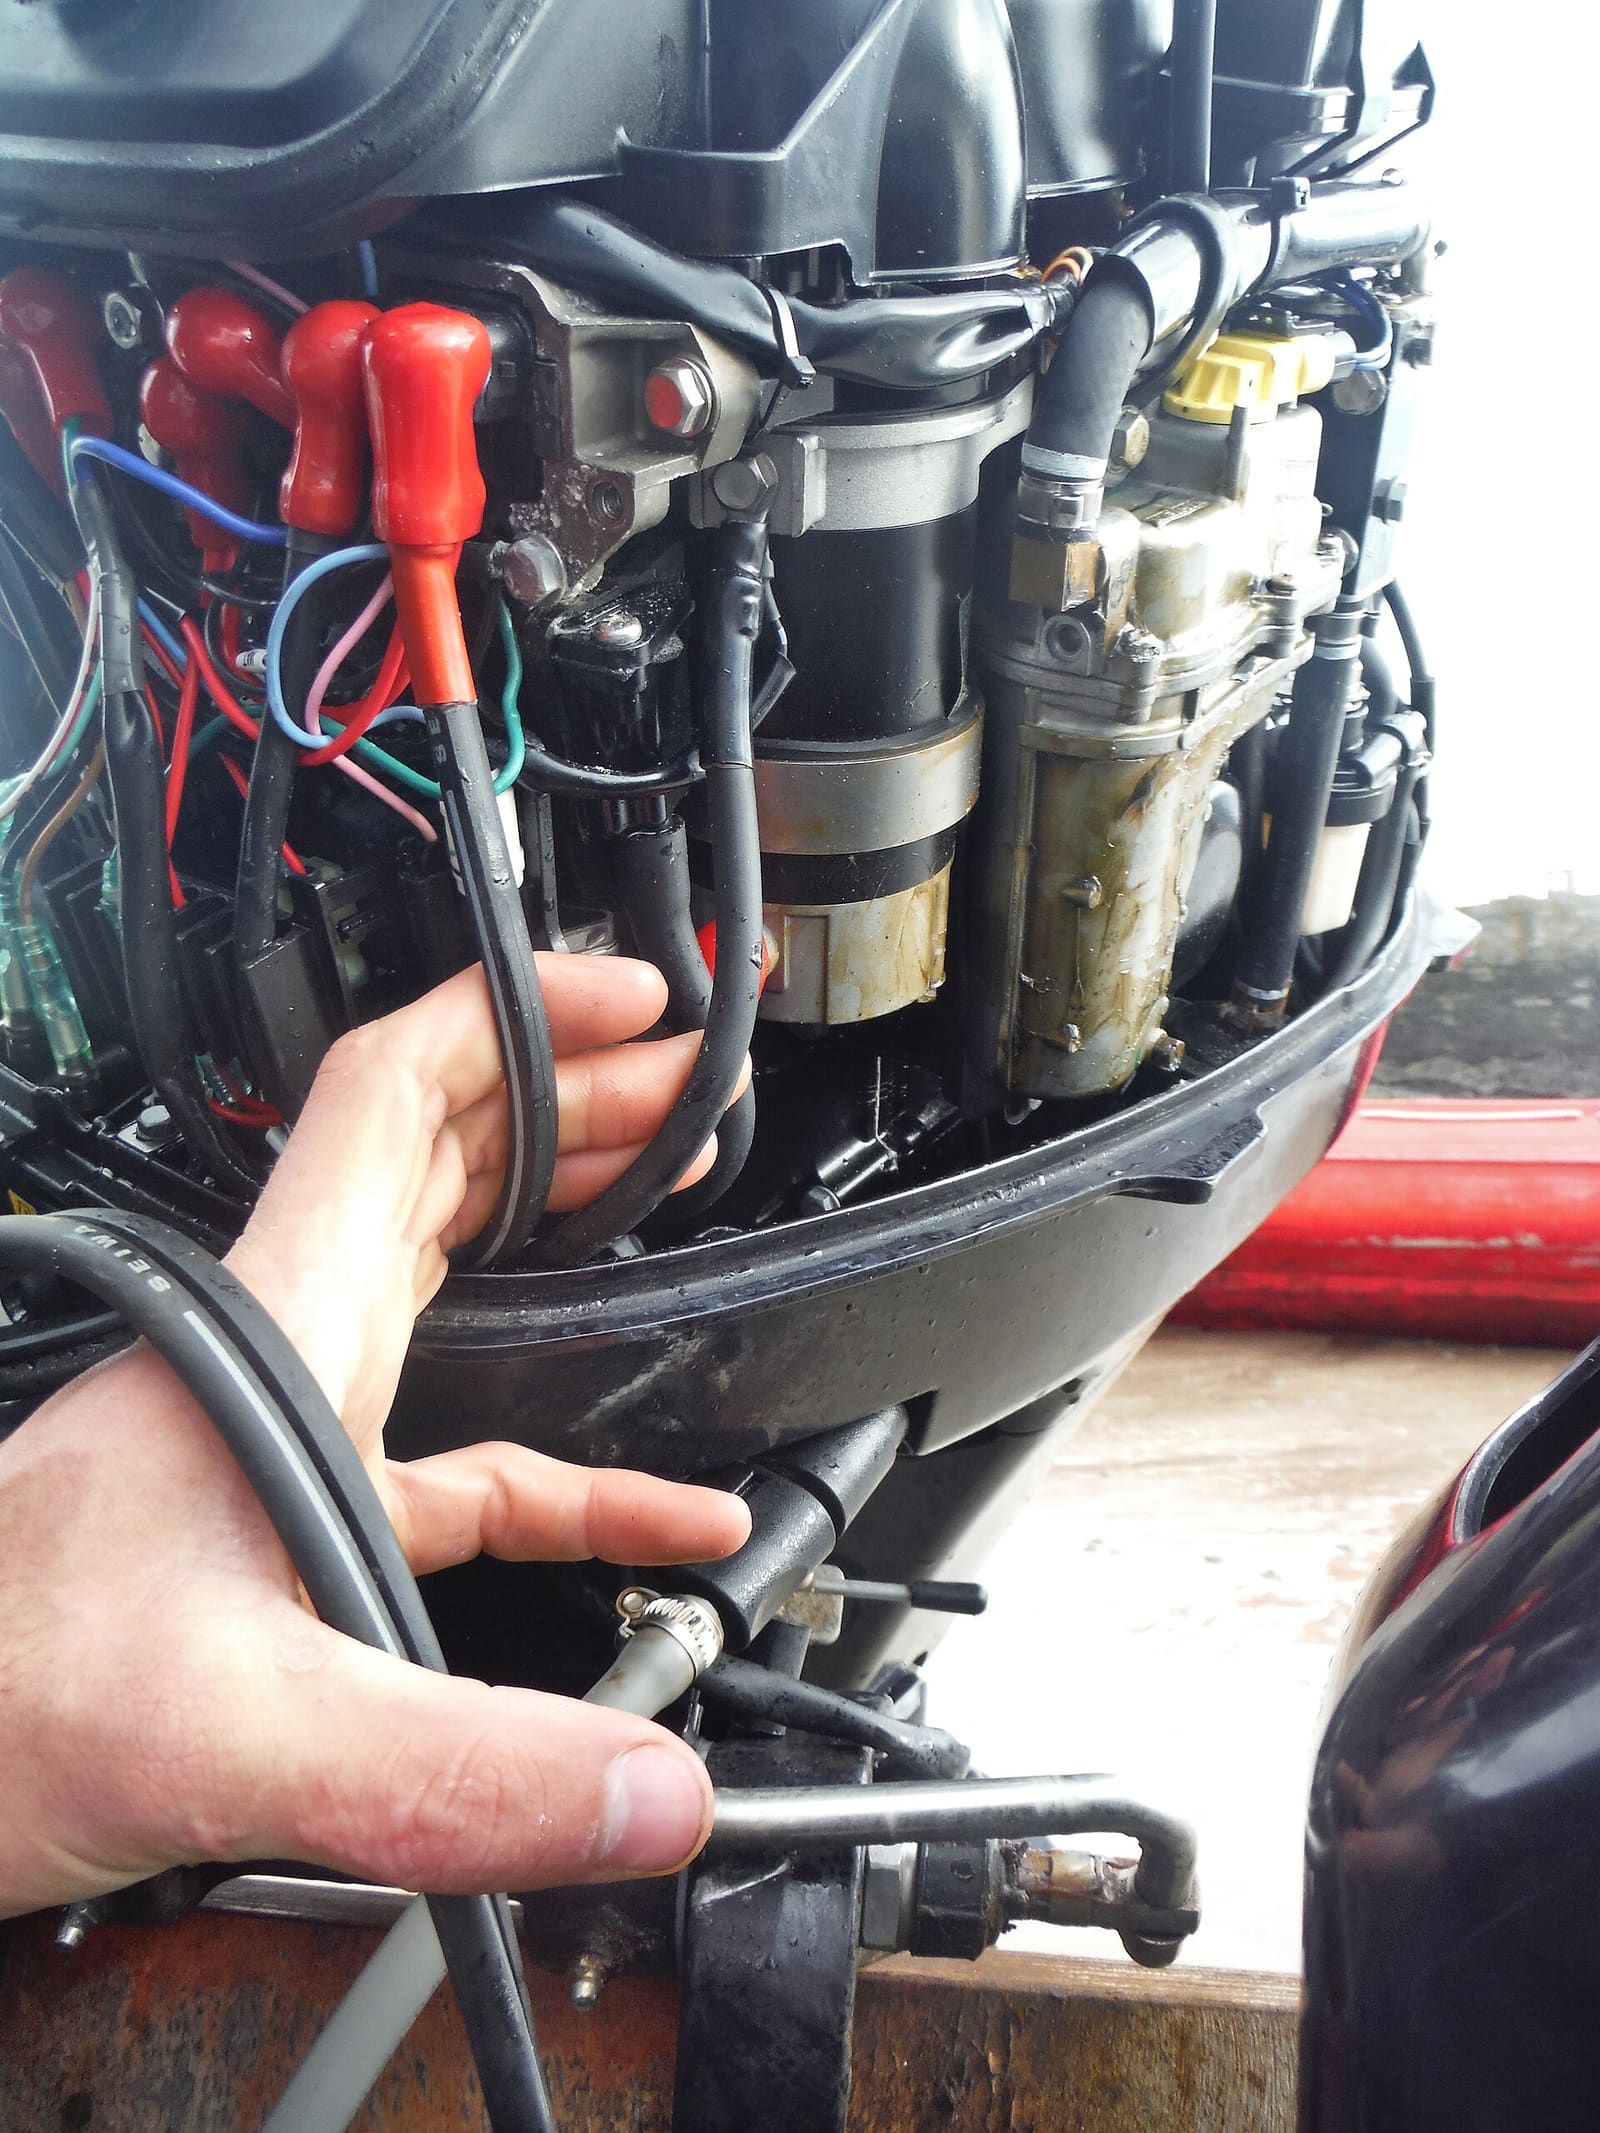
With the top cowl off you can see how close wiring, the starter and fuel parts sit to the lower cowl rim where the seal is. Dull white crust on metal housings is the kind of corrosion to look for. Photo: PtiBzh / Wikimedia Commons · CC0 Put the cowl back, latch it, and do a gentle hose test with the engine vertical (not aimed at the intake) and a short run. Pop the cowl afterward and look for new water. From then on, lift the cowl after salt-water trips and look underneath. Texas Saltwater Fishing Magazine's advice is simply to pull the cowl regularly. Log what you found in BoatMend.
Common mistakes
- Pressure washing the engine. It drives water past seals and into connectors.
- Washing with the motor tilted up. Water runs straight into the intake.
- Assuming a closed latch means a sealed cowl. Check for gaps all the way around.
- Drilling drain holes bigger or plugging them with sealant. Clear them; don't modify them.
- Gooping the seal with grease or sealant. Use the protectant the maker recommends; a sticky seal collects grit and tears.
- Spraying corrosion inhibitor into the air intake, alternator or belts. Keep it to the areas the maker says.
- Ignoring a salt trail. It's pointing at a leak.
When to call a pro
- The engine runs rough, misfires, stalls or won't crank after water got under the cowl (water may be inside the engine; don't keep trying to start it)
- The oil looks milky, or the oil level is rising (see water in engine oil)
- You find a cooling leak at a hose, fitting, relief valve or gasket
- Electrical connectors, sensors or the wiring harness are badly corroded
- The engine was swamped or submerged (see submerged engine recovery)
- The cowl itself is cracked or warped, or you suspect the engine is mounted too low
Tips
- Keep a small rag and a pipe cleaner in the boat to dry the tray and clear drains after salt-water trips.
- Treat the cowl seal when you treat other rubber parts, a few times a season.
- Wax the cowl; Honda notes waxing the exterior helps protect it. Mercury's cowl-care tip uses a bucket of water with mild detergent, the maker's cowl finishing compound and several clean, soft cloths (one each to wash, dry, polish and buff) rather than the old habit of wiping the motor with a dirty shop towel.
- When buying a used outboard, lift the cowl: salt crust and rust under there tell you how it was cared for.
Official references
We read these to write this guide. Your engine's own manual always wins.
- Mercury Marine – Maintenance Made Easy, Preventing Corrosion (rinsing the cowl, powerhead and latches)
- Yamaha Outboards – Maintenance Matters, External Appearance (cowling seal)
- Yamaha Outboards – Maintenance Matters, Additional Tasks (air intakes and under the cowling)
- Honda Marine – Salt Water Operation
- Mercury Marine – Quick Tip, Outboard Engine Cowl Care
- Texas Saltwater Fishing Magazine – Saltwater Corrosion, Under the Cowling
- Texas Saltwater Fishing Magazine – How Does Water Enter Outboard Engine Cowlings?
- Florida Sport Fishing – Cowling Clean (outboard cowling care)
Safety: BoatMend is for information only and does not replace a certified marine technician. You are responsible for your safety and your boat. Read the full disclaimer.
Last updated 2026-10-25
Related guides
Saltwater Outboard Care: The After-Every-Trip and Monthly Routine
A simple routine that keeps salt from eating your outboard, built from Honda, Yamaha, Mercury and Suzuki advice. It covers flushing after every trip, washing, where to spray anticorrosion (and where never to), monthly greasing, anodes, and tilting up or storing out of the water.
How to Flush Your Engine With Fresh Water
Rinse salt, silt and sand out of your outboard or sterndrive cooling system using the built-in flush port, flush muffs or a flush bag. Flushing after every saltwater trip is one of the easiest ways to prevent corrosion and overheating.
Milky Engine Oil or Water in the Oil - What It Means and What to Do
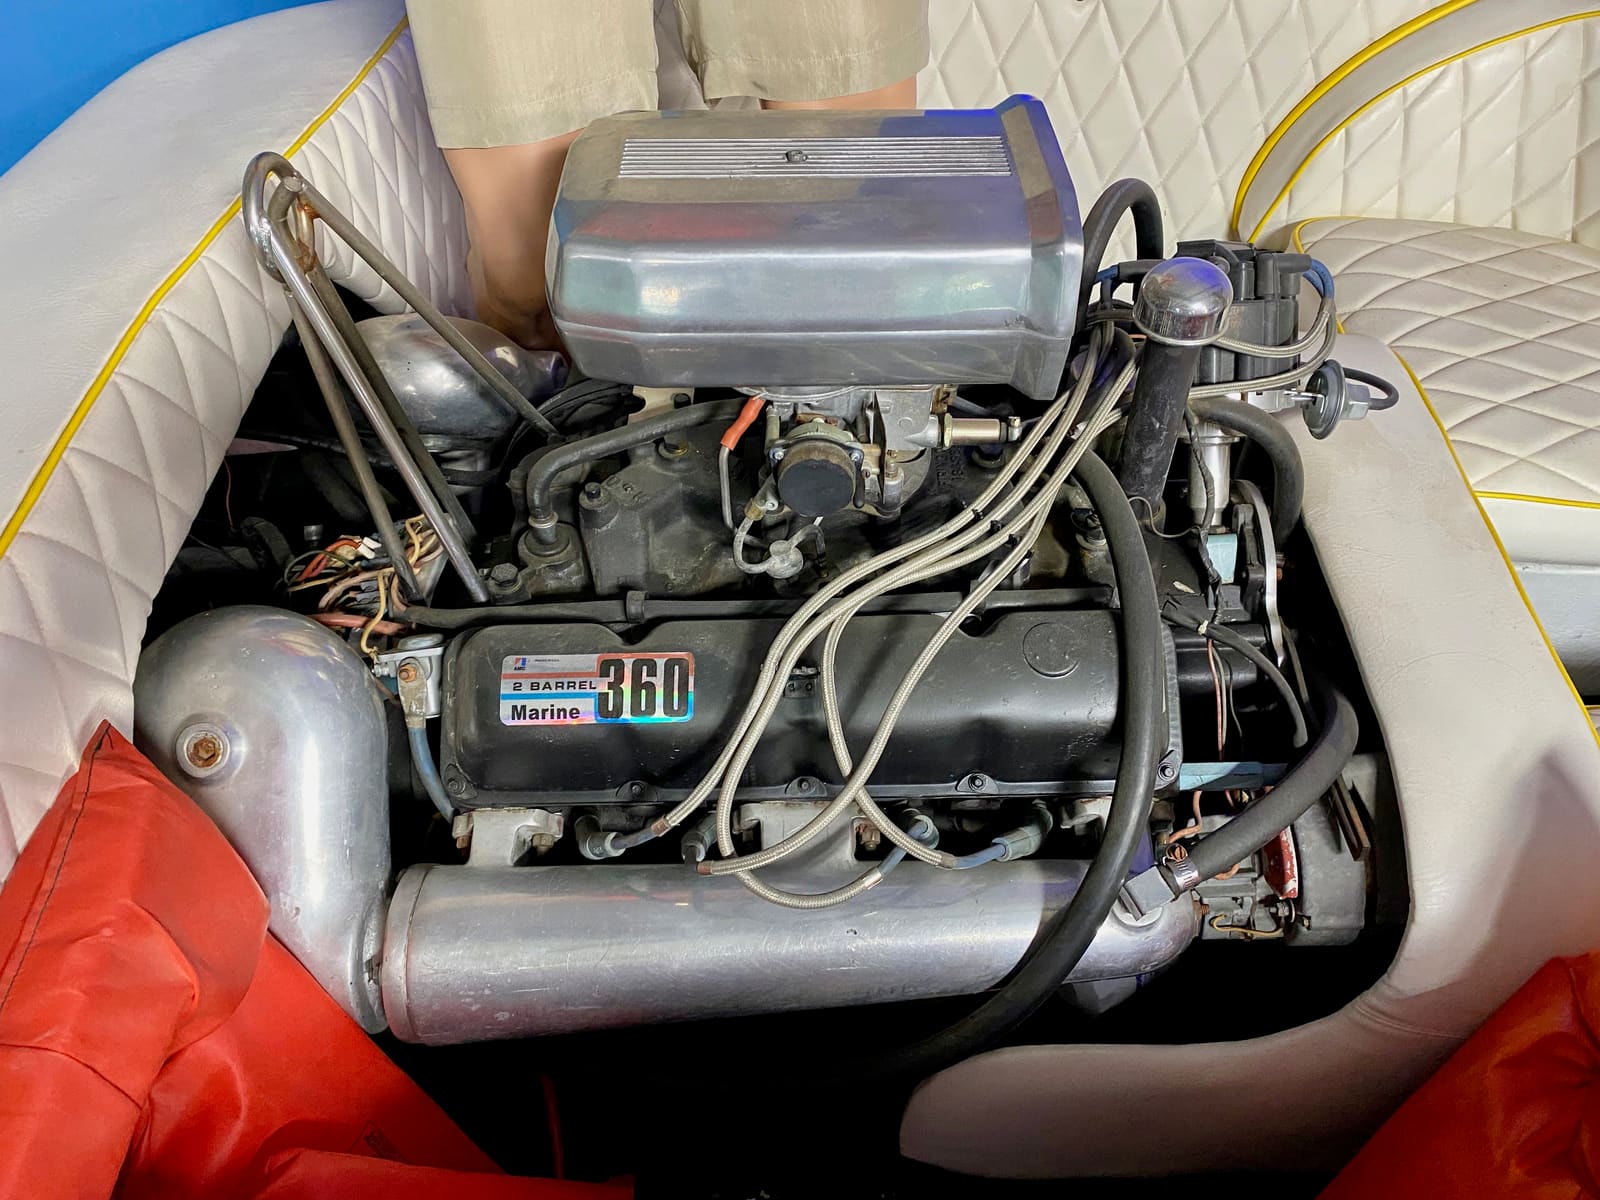
Milky, creamy or rising engine oil usually means water is getting into the engine. Learn why you should stop running it right away, how to tell harmless condensation from a real leak, and which parts are the usual suspects: head gaskets, exhaust risers and manifolds, intake manifold gaskets, oil coolers and freeze cracks.
Outboard Fell Overboard or Engine Got Submerged: What to Do in the First Hours
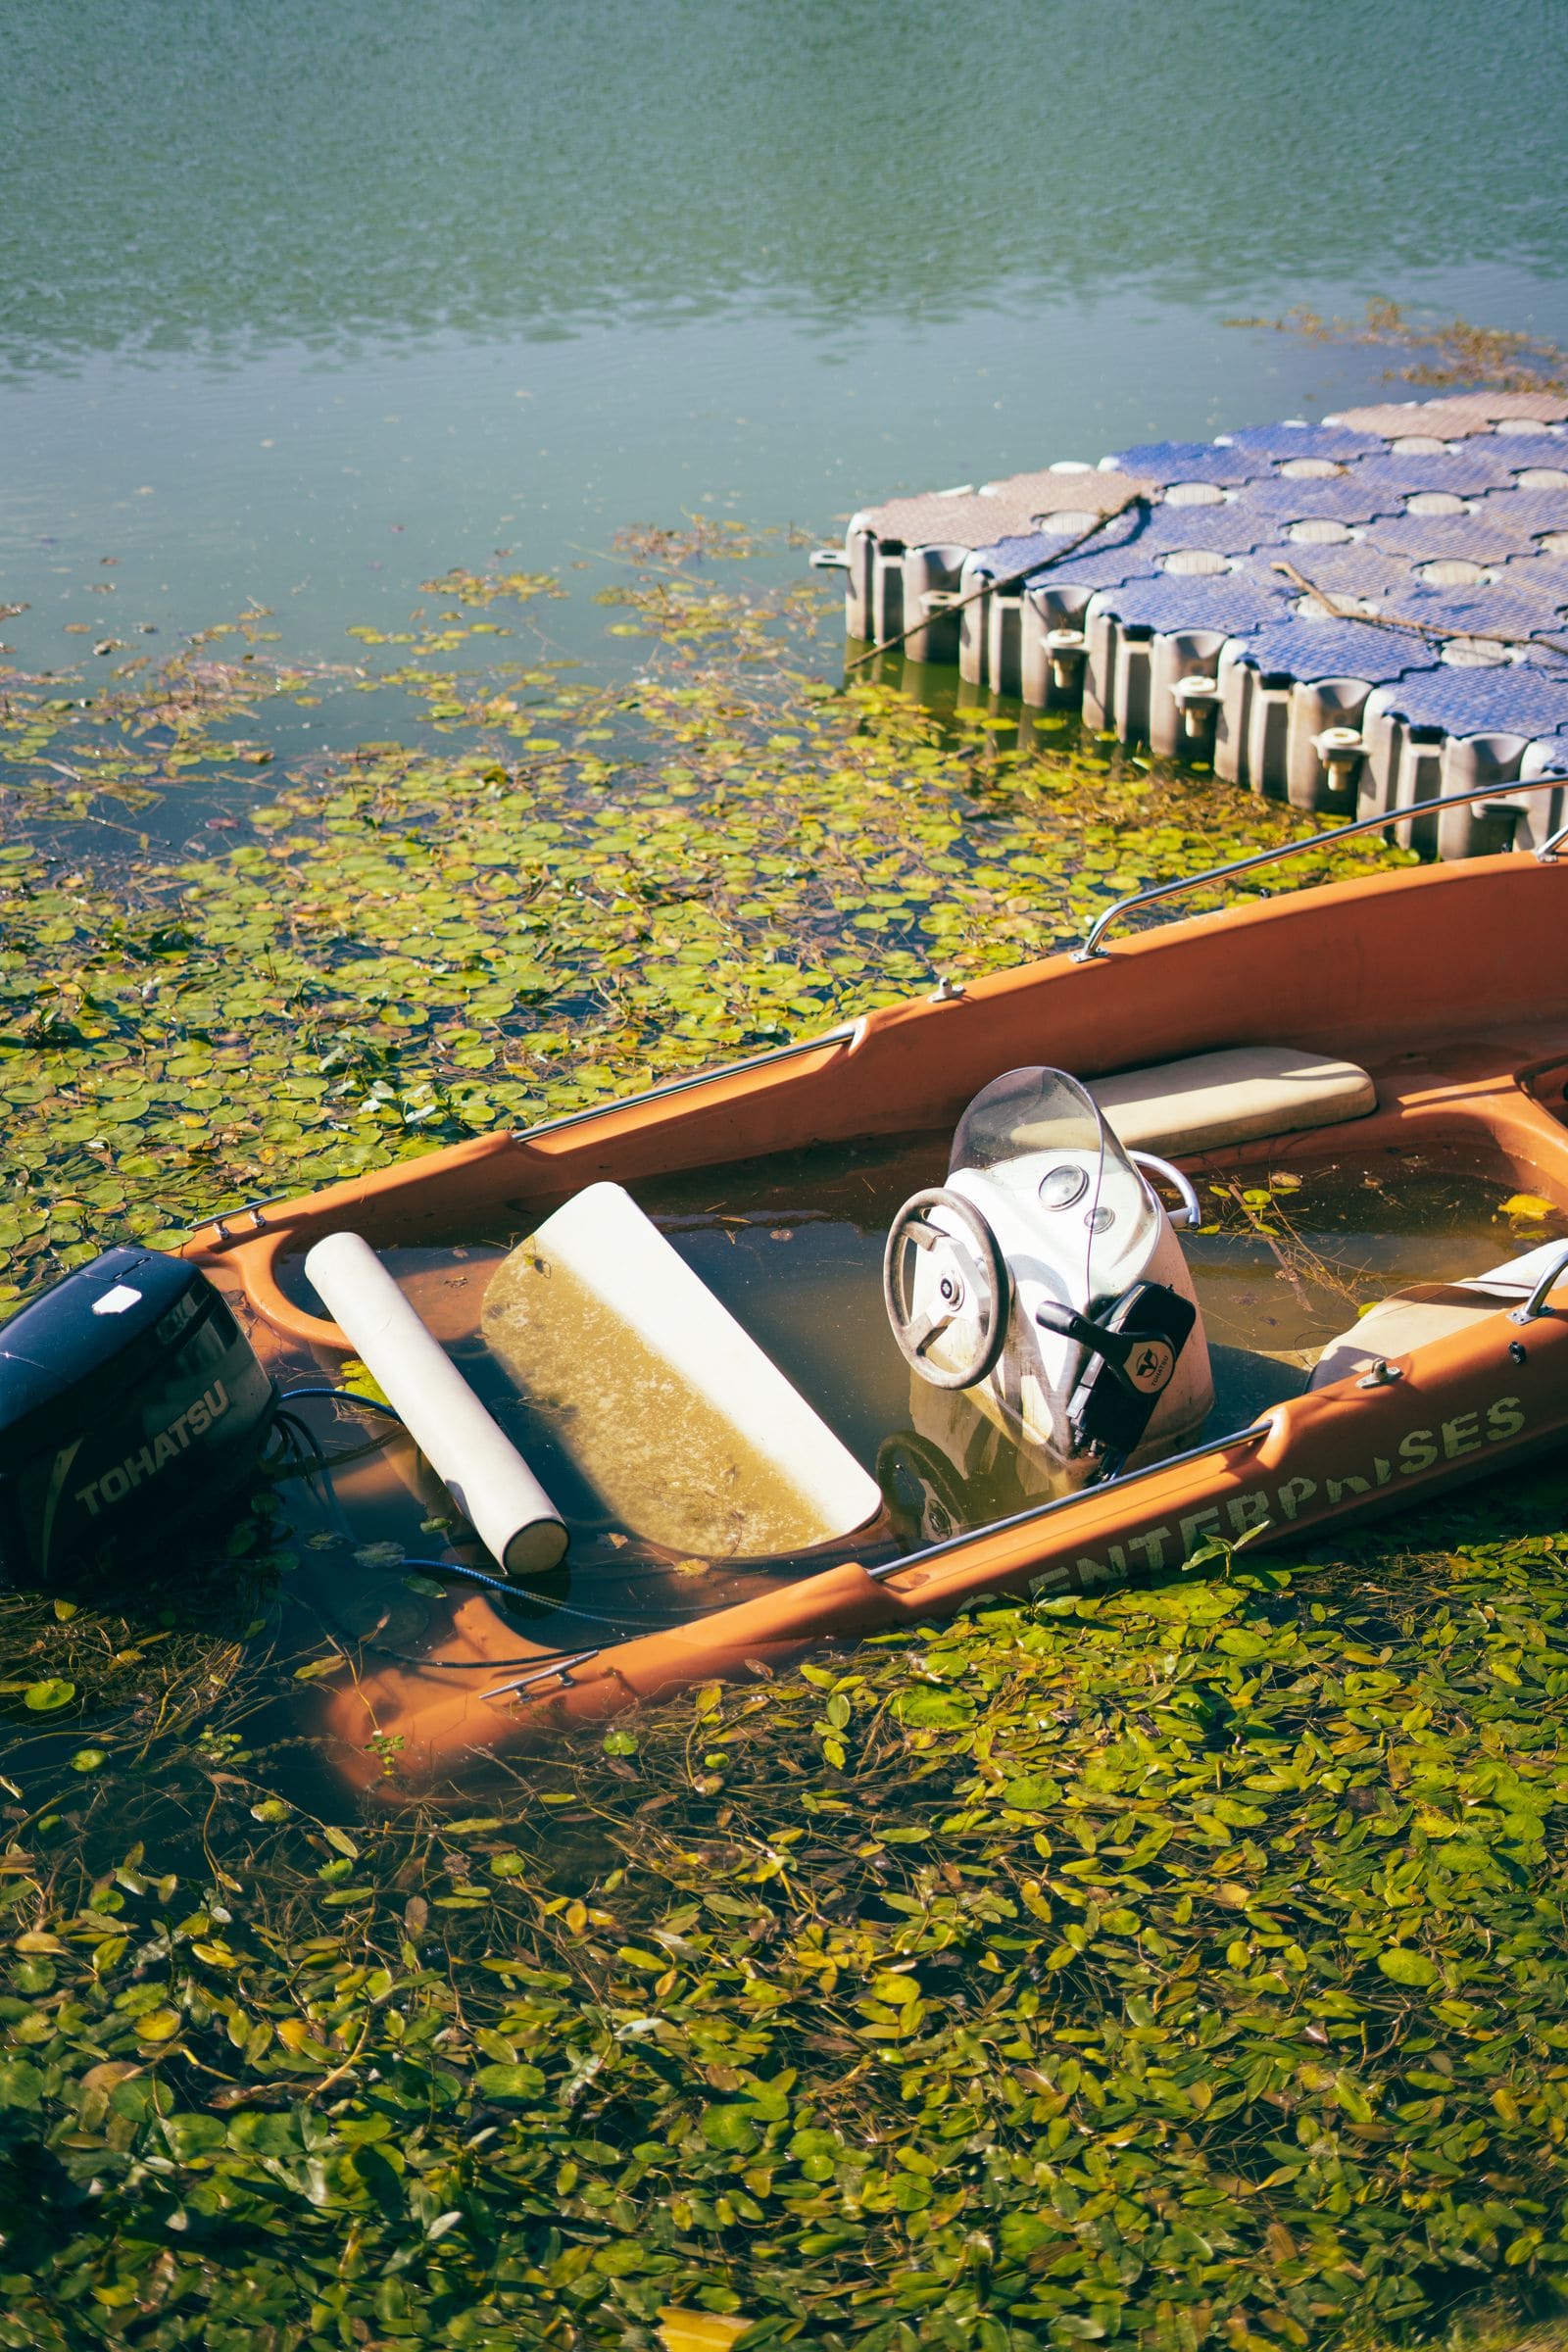
A dunked engine can often be saved, but only if you act fast and in the right order. Learn what to do (and what never to do) in the first hours after an outboard goes overboard or a boat swamps, how to buy time until a shop can take it, and when it is a loss.

How to Find and Fix Corroded Electrical Connections on a Boat
Track down the green crust and loose terminals behind flickering lights, dead gauges and slow cranking with a simple voltage-drop test, then remake the connection the marine way: tinned wire, a proper crimp, adhesive-lined heat shrink and a protective coating.
How to Touch Up Paint and Corrosion on an Outboard or Sterndrive
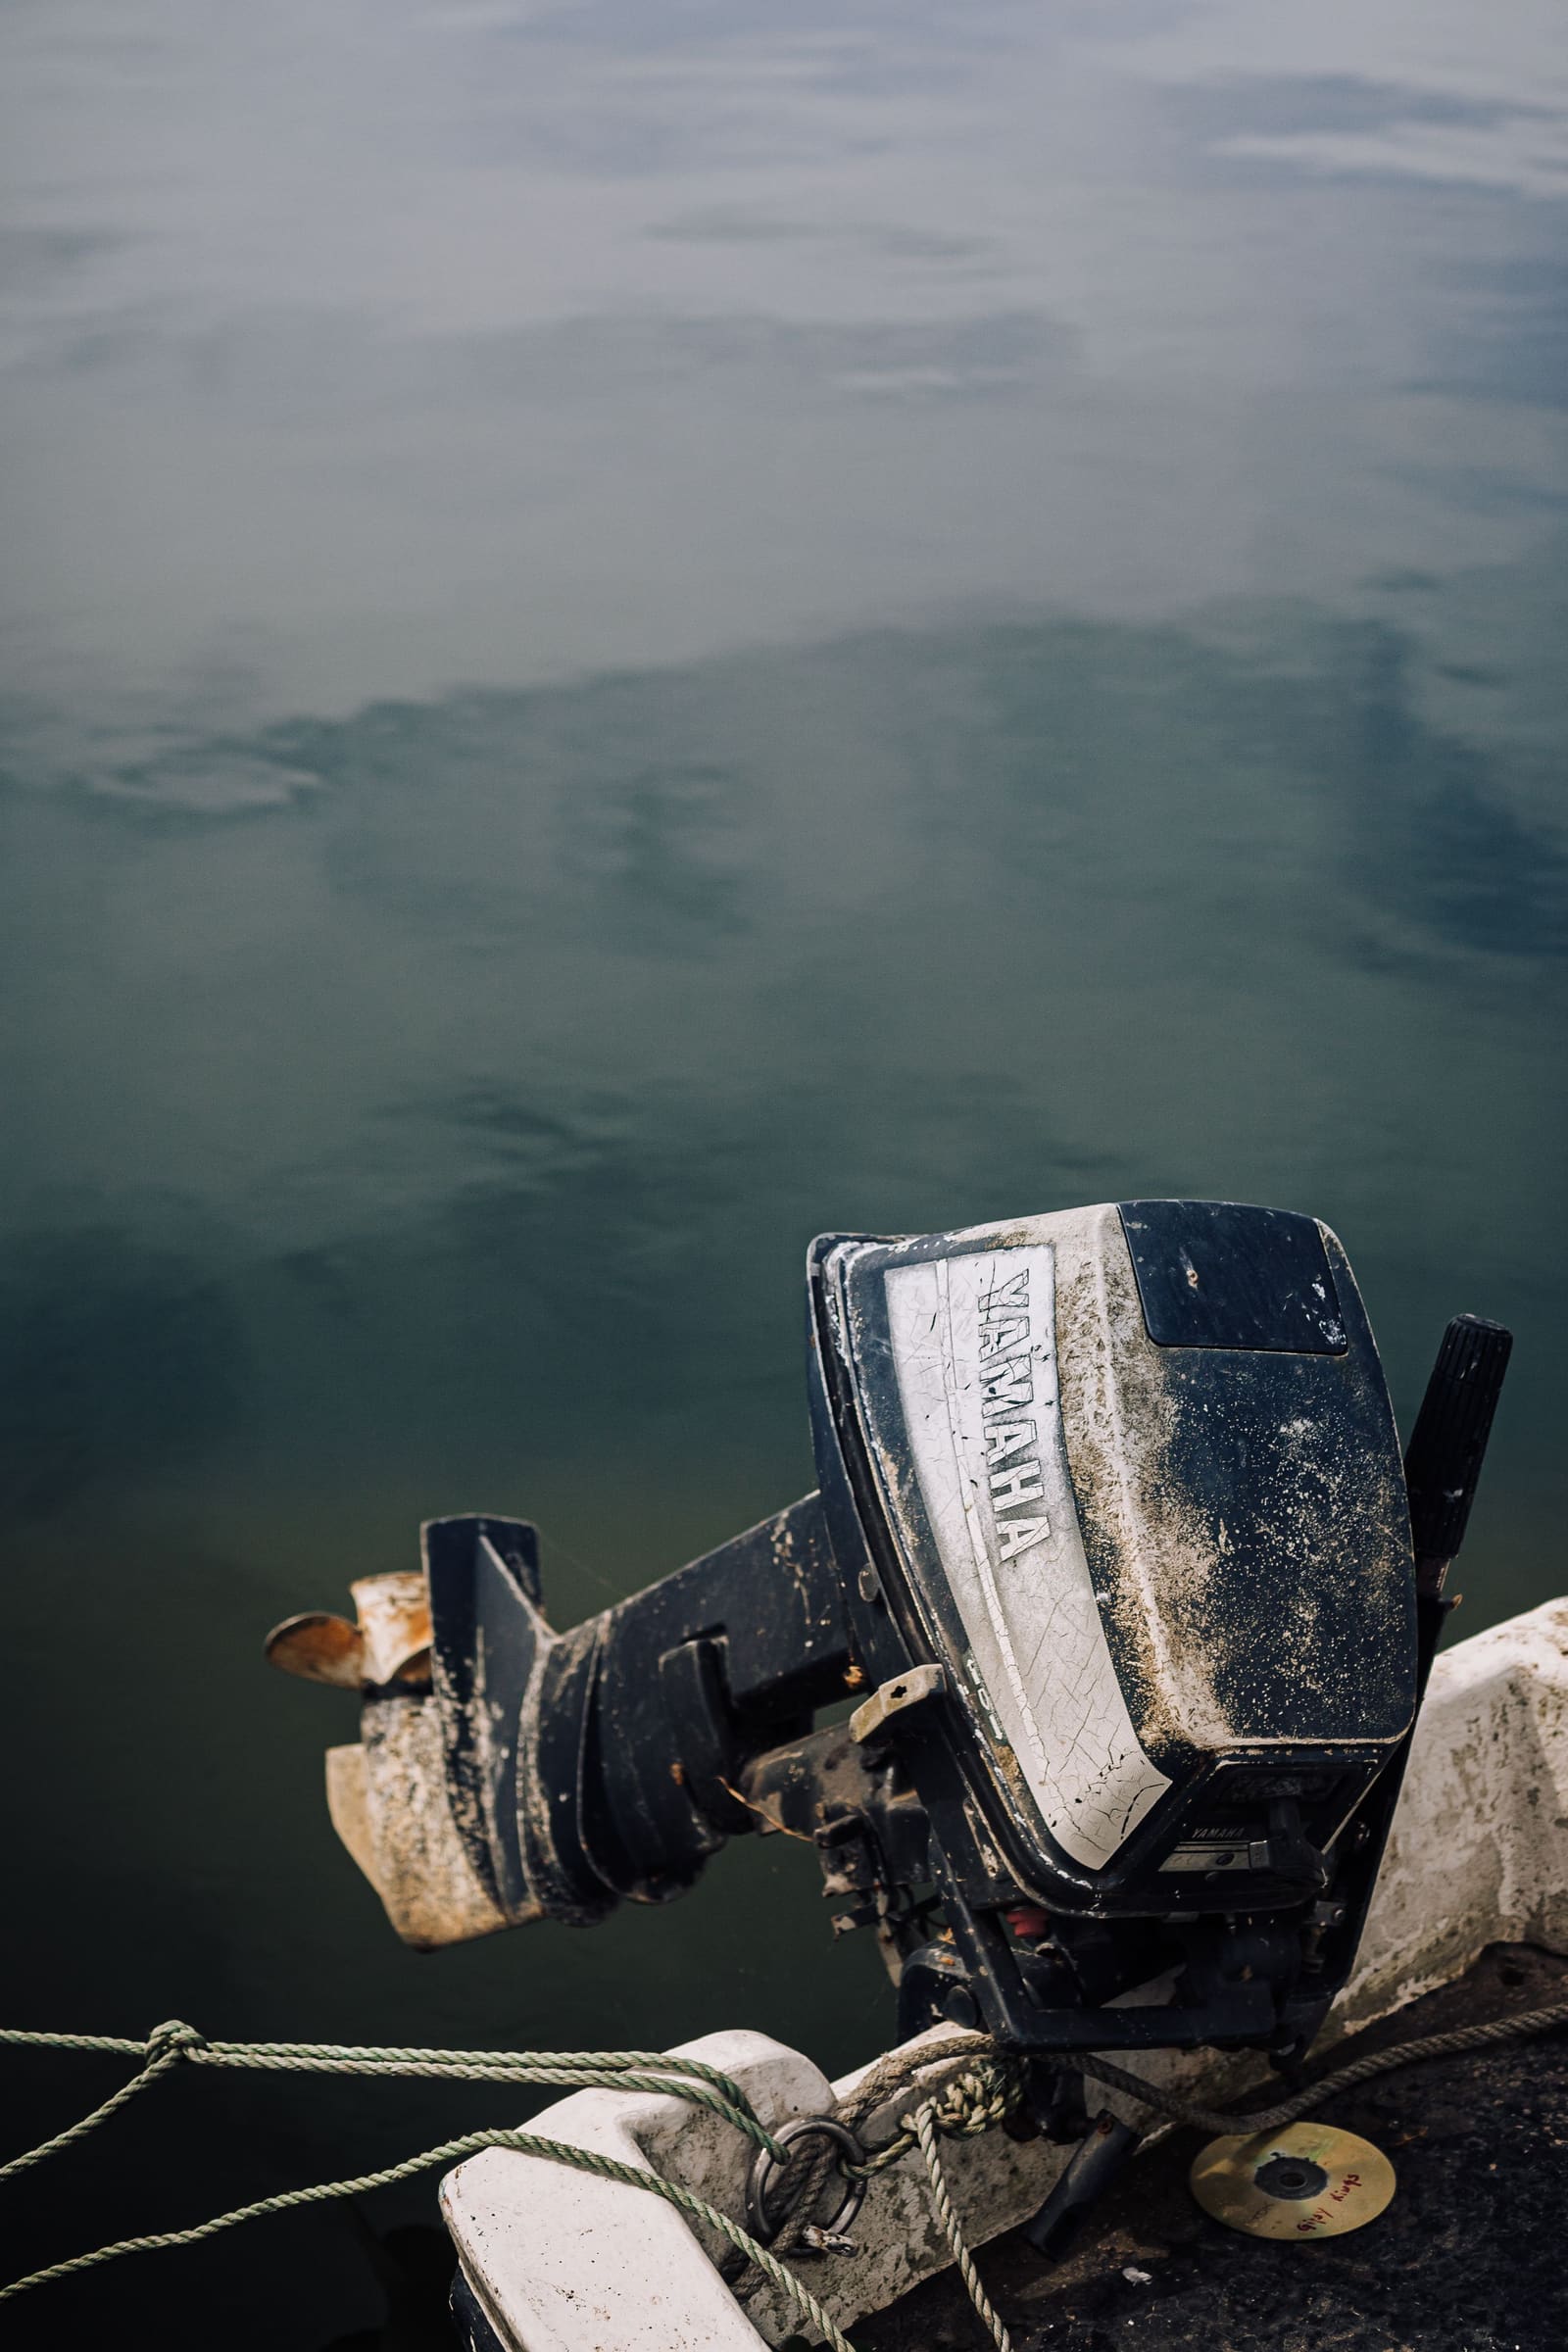
Bare aluminum on a lower unit or sterndrive corrodes fast, especially in salt water. Learn how to find the cause, clean off corrosion, prime and repaint with the right products, and what must never be painted, such as anodes and sensors.
How to Fit, Support, Clean and Store a Boat Cover
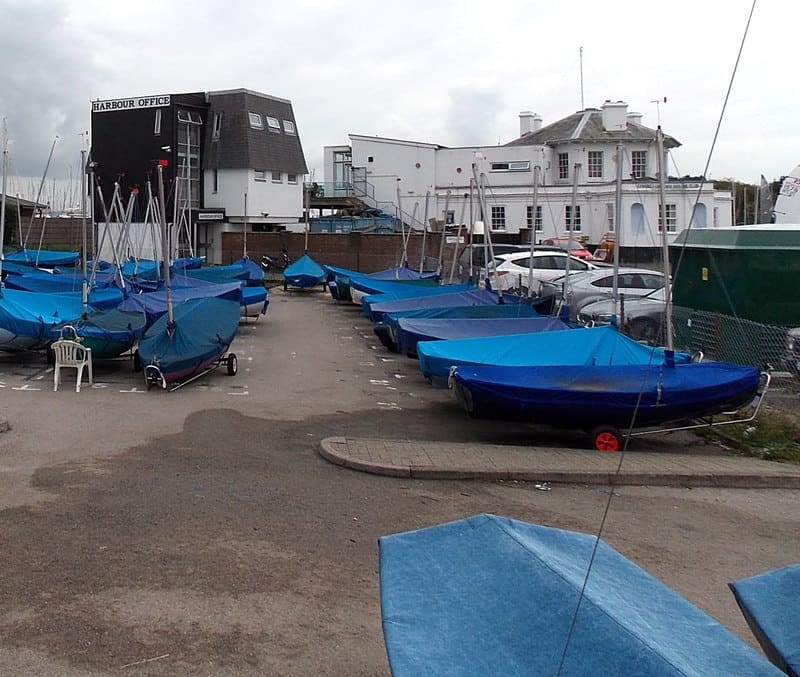
Make your mooring or storage cover last for years by getting the fit right, supporting and venting it so water never pools, using a cover that's rated for the highway, cleaning and re-waterproofing it the right way, and fixing small tears before they grow.