How to Replace Marine Speakers (Including Tower Speakers)
Pick replacement speakers that fit the cutout, match your stereo or amplifier's power and impedance, survive sun and spray, and don't throw off your compass. Then wire them with the right polarity and seal them so water can't reach the back.
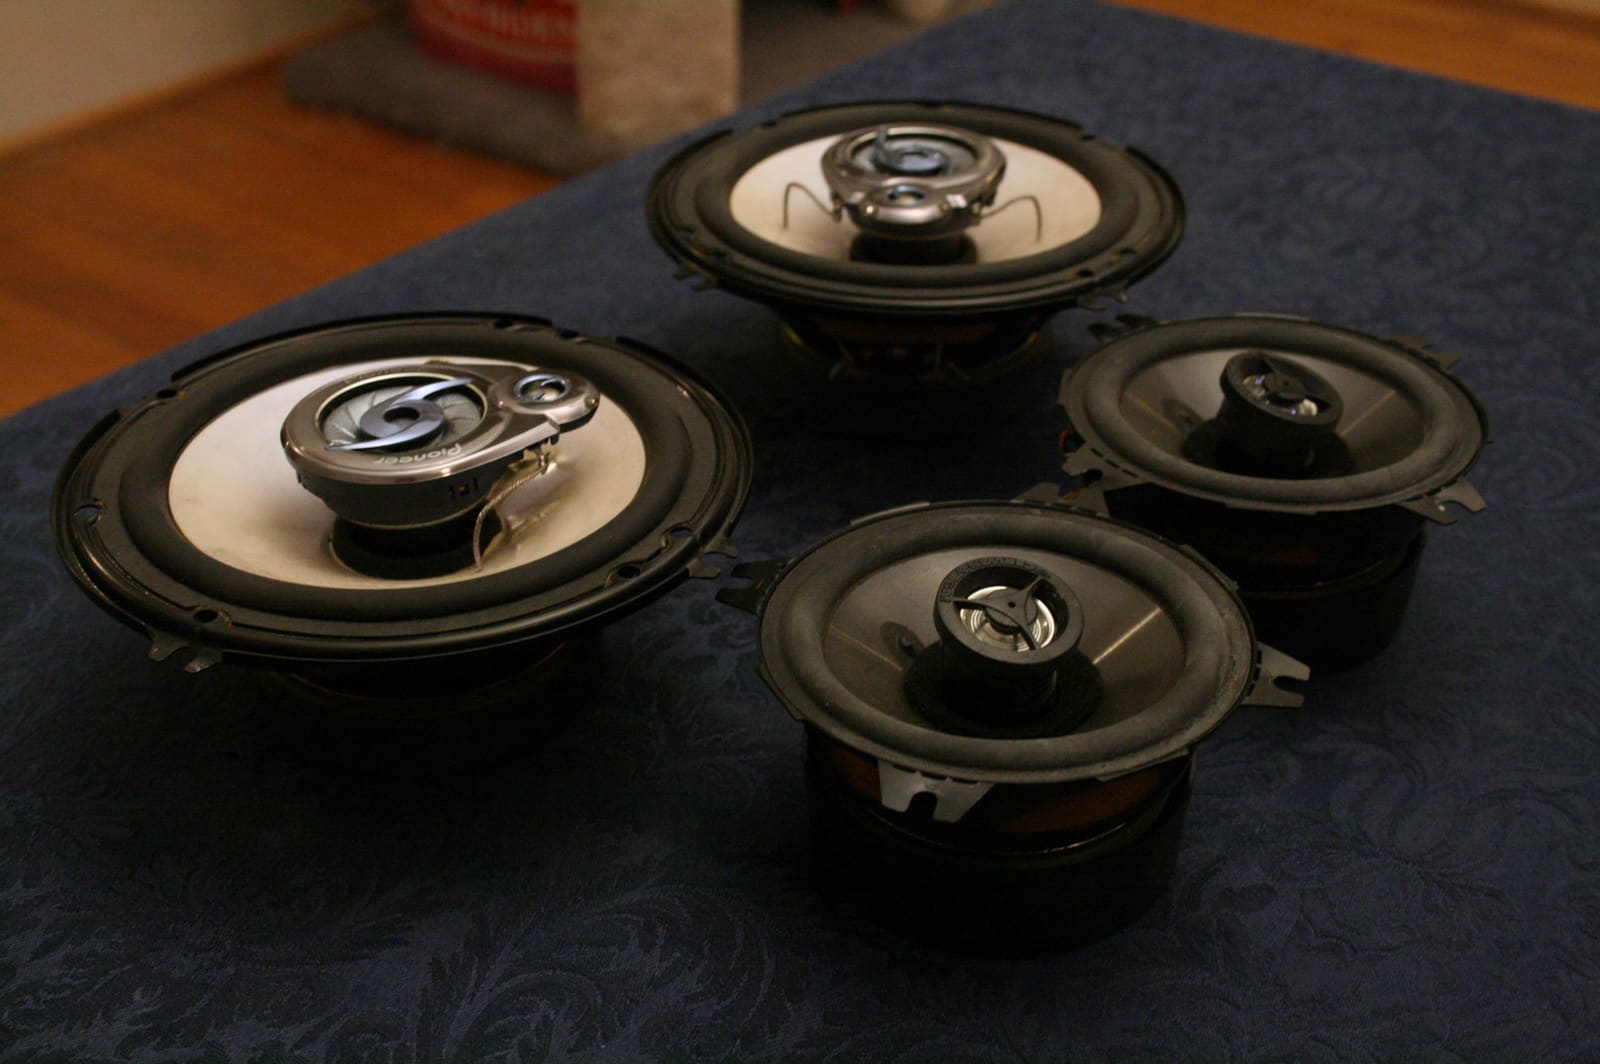
Time
2 h
Shop would charge
$150-400
Applies to
All engines
Safety first: Turn the stereo off and switch off its breaker or pull its fuse before touching speaker or amplifier wires; amplifier wiring can carry high current. Before you cut or drill, check what's behind the panel: fuel lines, wiring harnesses, hoses and steering cables often run right behind console and side panels. Speaker magnets can throw off your compass, which matters if you ever navigate by it. If you smell fuel while working, stop, ventilate and find the source before going on.
Owners often ask
- I've swapped car stereos before. Is replacing boat speakers and the head unit just as plug-and-play?
This guide walks you through it. Still stuck? Ask the AI Mechanic about your engine.
Tools
- Screwdrivers (hand, not a power driver for final tightening)
- Tape measure and a ruler or calipers
- Wire stripper and ratcheting crimper
- Heat gun for heat-shrink connectors
- Multimeter (optional, for checking impedance and polarity)
- Jigsaw or hole saw and painter's tape, only if a cutout must be enlarged
- Handheld compass (to check for interference)
- Fish tape or a pull string
Parts & supplies
- Marine-rated speakers that fit your cutout and mounting depth
- Speaker adapter rings if the new size differs
- Marine-grade tinned speaker wire (gauge per the speaker instructions)
- Heat-shrink crimp connectors or the speaker's terminal connectors
- Rubber grommets for holes in panels
- Stainless mounting screws (usually supplied)
Before you start
Why speakers fail. Sun breaks down cones, surrounds and grilles; water gets behind the speaker; and salt corrodes terminals. BoatUS notes that speakers meant for indoor use have fiber cones that won't last outside, while marine speakers use plastic cones that tolerate getting wet. Speaker makers add UV-treated cones and surrounds, sealed terminals and grilles with drain ports so water doesn't pool.
Measure before you buy. You'll need:
- Cutout diameter (the hole), outer flange size, and the screw-hole pattern. Measure the old speaker and the hole, not just the label.
- Mounting depth: how much room there is behind the panel, from the mounting surface to the nearest obstruction.
- Panel thickness, since many speakers only clamp to panels within a certain range.
- What drives them: the head unit alone or an amplifier, and its power per channel (RMS) and minimum impedance (ohms). It's printed on the unit or in its specs.
Know the specs that matter:
- RMS power is the continuous power a speaker handles. BoatUS warns that speakers too small for the system sound poor and can split their cones when cranked. Pick speakers whose RMS rating is about equal to or a bit above what the stereo or amp channel delivers; ignore "peak" numbers.
- Impedance (ohms) must suit the stereo or amp. Most marine speakers are 4 ohms. Two 4-ohm speakers wired in parallel on one channel make about 2 ohms, which some head units and amps can't handle. Check the minimum load in your stereo's specs before adding speakers to a channel.
- Compass-safe distance. Garmin's Fusion installation instructions say not to mount speakers closer to a magnetic compass than the compass-safe distance listed in the product specifications. It varies a lot from model to model, so check it before choosing a spot near the helm.
Steps
With power off, remove the grille and screws and ease the speaker out. Before disconnecting, photograph or label which wire goes to + and which to –. Look at the old terminals and wire ends: green corrosion or brittle wire means you should cut back to clean copper or replace the run.
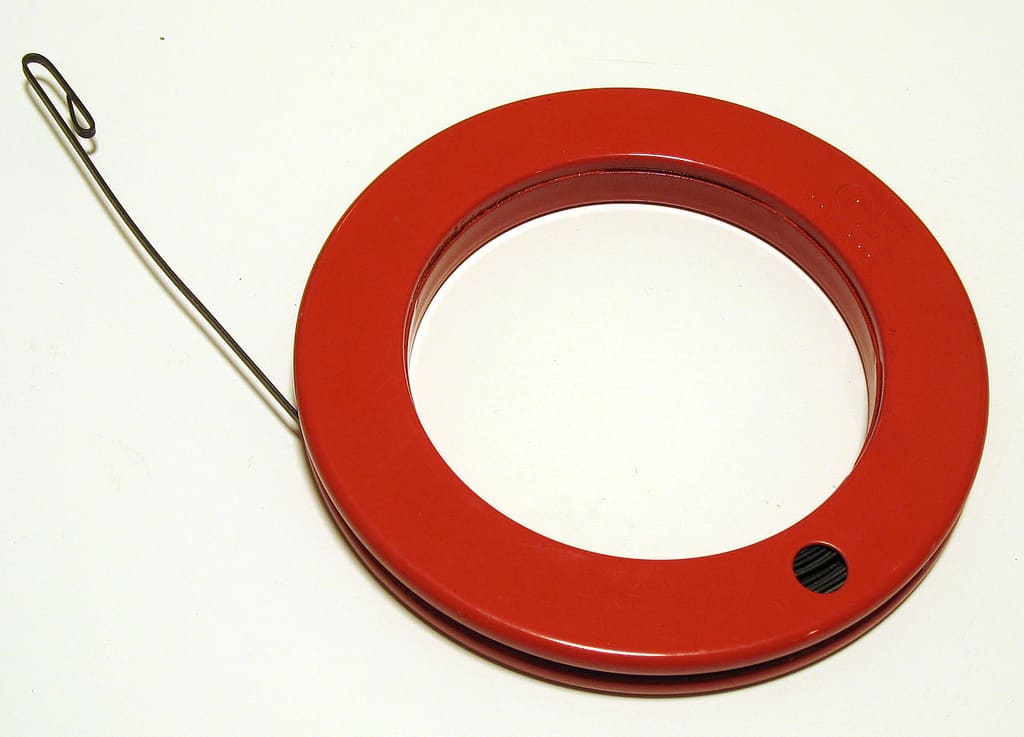
Look for chafe where the wire passes through panels, and fit rubber grommets in any bare hole. Garmin recommends 16 AWG oxygen-free copper speaker wire for typical runs, heavier wire for long ones, and warns against copper-clad aluminum. Tinned marine wire resists corrosion best. If the old wire is undersized, corroded or spliced, run new wire (see our chase tube guide).
BoatUS advises mounting speakers up high, near ear level and forward of the helm; speakers aft of the helm get their sound blown away by the wind underway. Before cutting, make sure you can actually route a wire there. For exposed spots, Garmin says to mount on a vertical surface: a speaker facing straight up collects water and gets damaged over time. Keep speakers well above the waterline and away from where docks and pilings can hit them.
Boating Magazine's installation guide (based on advice from a major speaker maker) adds a few placement rules: mount each pair opposite each other, facing the centerline, as far apart as you can; aim them toward where people's ears will be; skip deck-level spots where feet hit them and transom splashwells that get soaked; and avoid curved or upholstered surfaces, where the gasket can't seal. Speakers in a pair don't have to be the same size: a larger pair aft and a smaller pair in the bow is fine. New marine speakers are often deeper than old ones, so measure behind each spot first.
Hold a handheld compass (or watch the boat's compass) while you bring the new speaker toward its planned spot. If the needle moves, you're too close. Choose a spot beyond the speaker's listed compass-safe distance, or pick a different location.
If the new speaker matches the old hole, test-fit it. If it doesn't:
- A slightly smaller speaker can use an adapter ring.
- To enlarge a hole, tape the panel, trace the template, drill a starter hole and cut with a jigsaw or hole saw running at high speed to avoid chipping gelcoat. Check behind the panel first. Don't force a speaker into a tight hole; it can crack the frame or the panel. Boating also suggests beveling the edges of each screw hole slightly so the gelcoat doesn't crack when the screws go in.
Speakers with LED lights need their own 12-volt feed, separate from the audio wires. Boating's example wires the lights through a small inline fuse and an on/off switch; use the fuse size and wiring in the speaker's instructions (some change color depending on how the power leads are connected).
Garmin's instructions are blunt: the front of a marine speaker is water-resistant, but the rear, its wires and connections are not, and moisture getting to the rear can make the speaker fail and even catch fire. Mount it where spray and washdown water can't reach the back, and don't mount it in an enclosure with a vent open to the weather. Make sure water that does get behind the panel can drain away.
Crimp heat-shrink connectors (or the speaker's supplied connectors) onto the wire ends, then shrink them. Avoid twist-and-tape joints and bare wire pushed under a terminal. Keep each terminal from touching metal or the other terminal; Garmin warns that grounded or touching speaker terminals can damage the stereo.
Connect the stereo's + speaker wire to the speaker's + terminal (usually marked, often wider or red) and – to –, the same way on every speaker. If one speaker is reversed, the speakers work against each other and the bass sounds thin. Most speaker wire has a stripe or ridge on one conductor; use it consistently.
Use the gasket that comes with the speaker. If there is none, BoatUS suggests a bead of sealant around the edge; follow the speaker maker's instructions on what to use. Start the screws by hand or with a driver on low, and finish by hand. Garmin warns that fully tightening with a power tool can crack the speaker and void the warranty. Snug is enough.
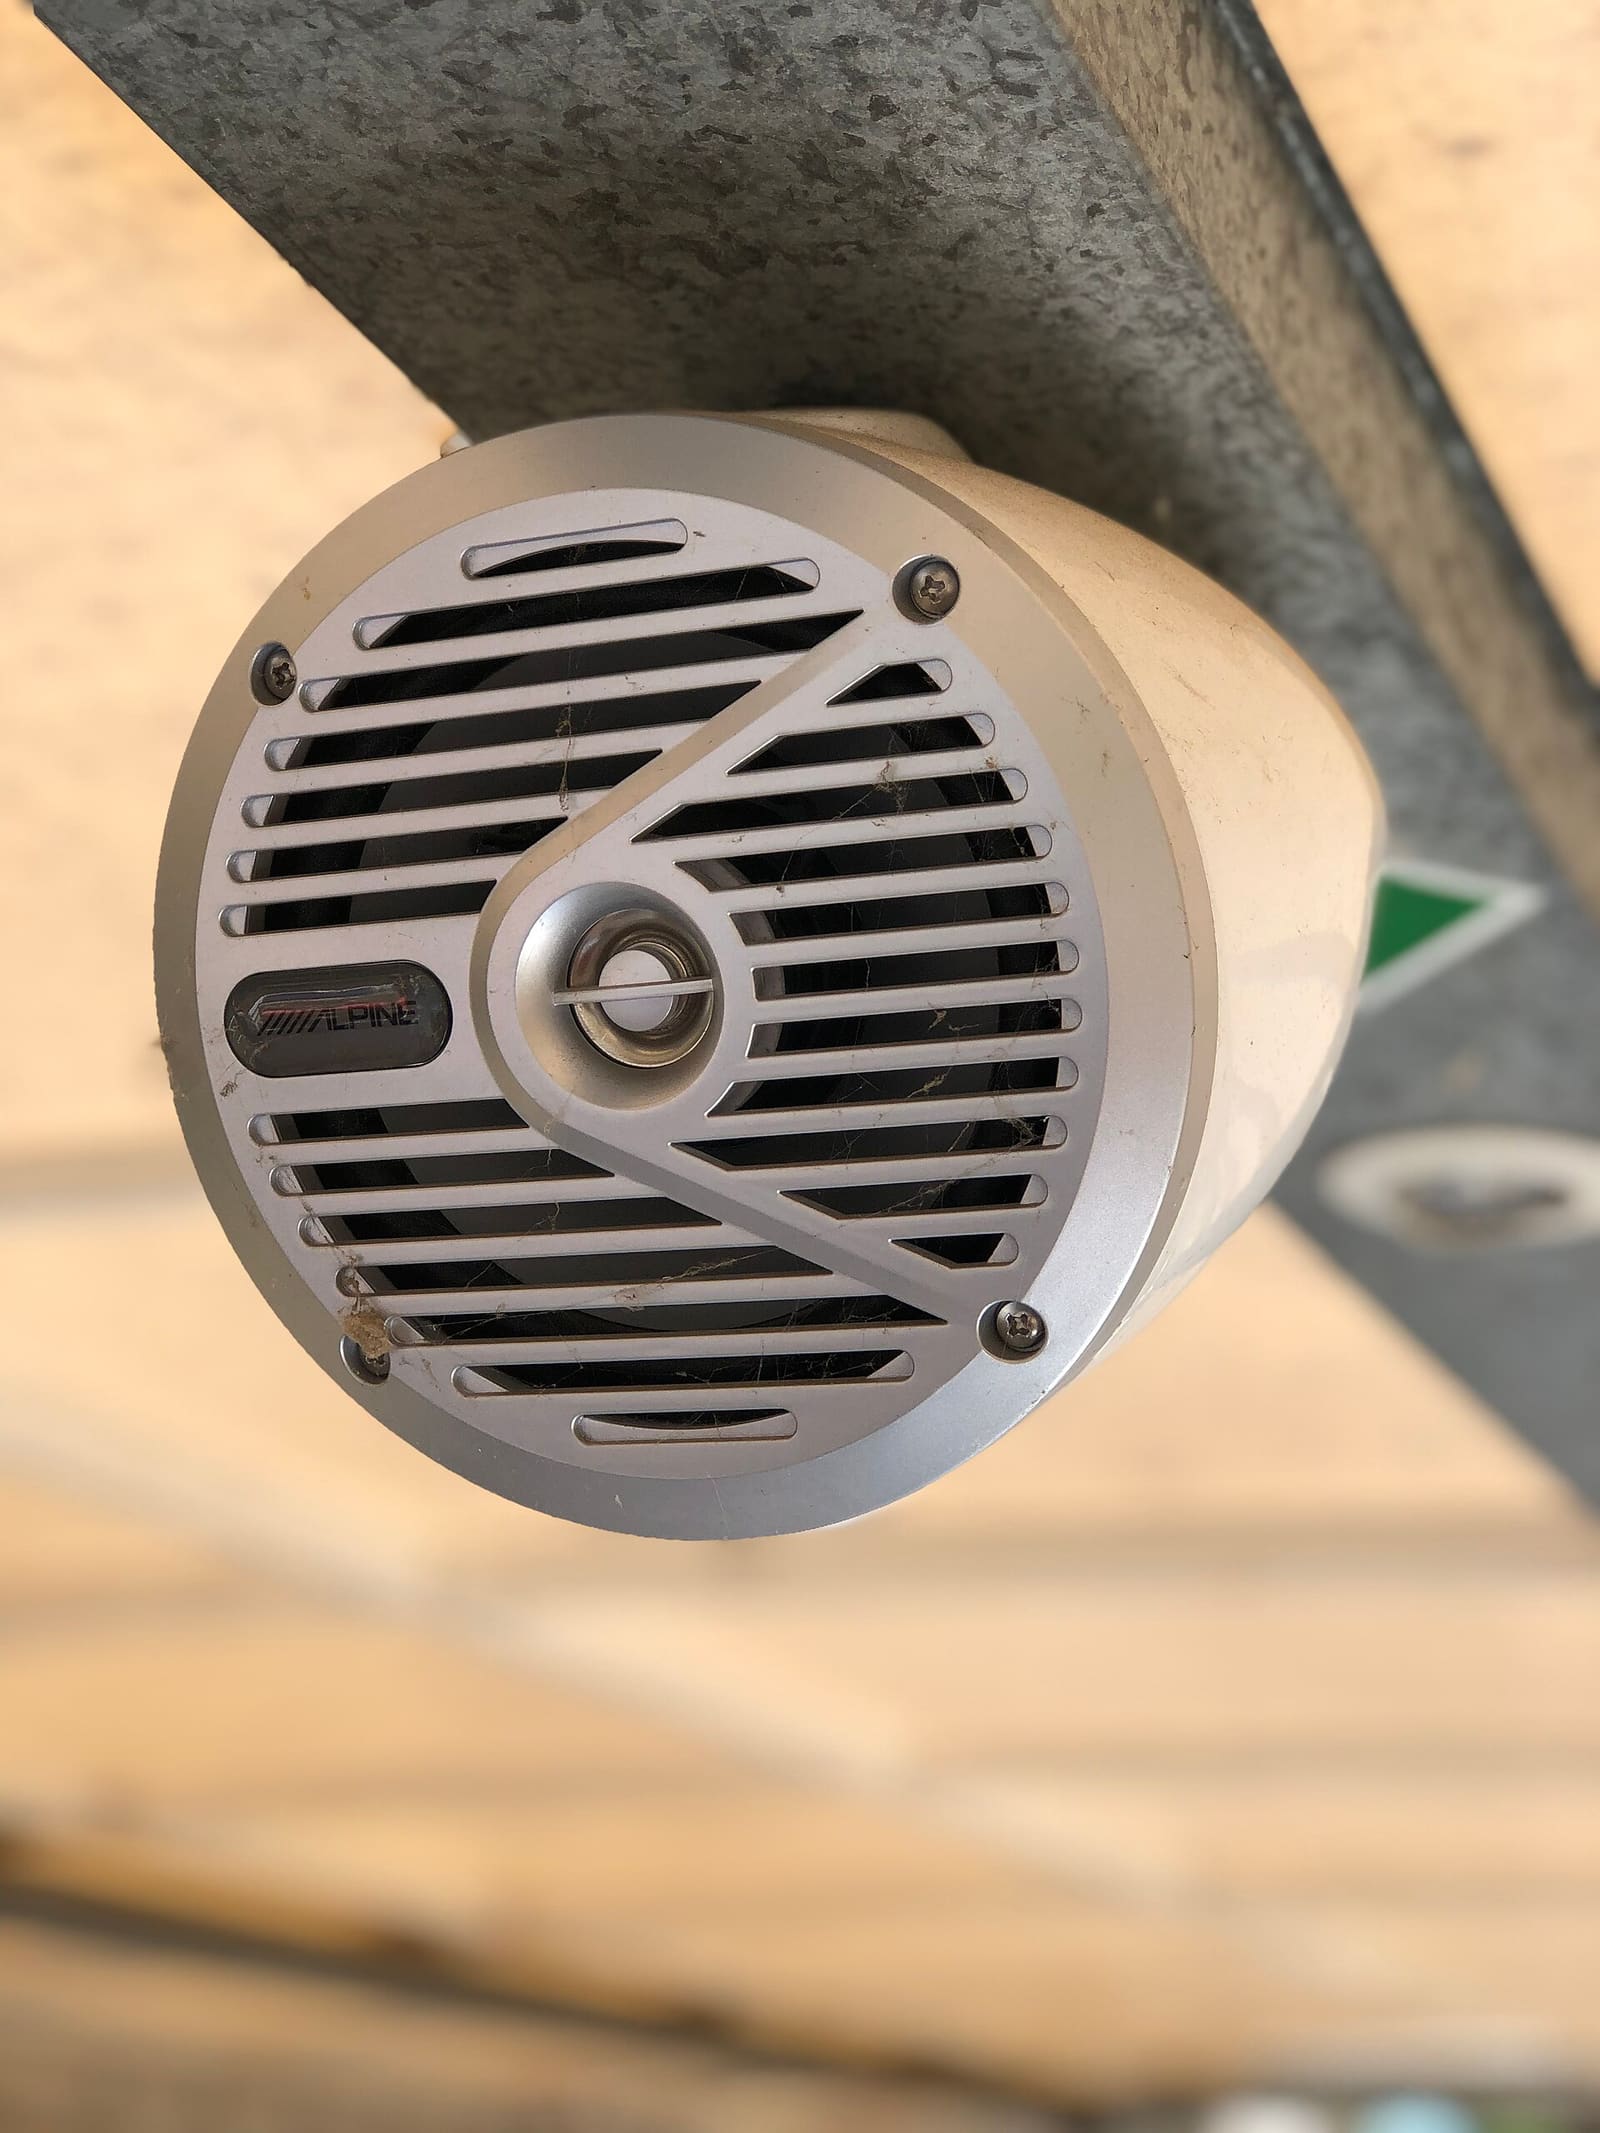
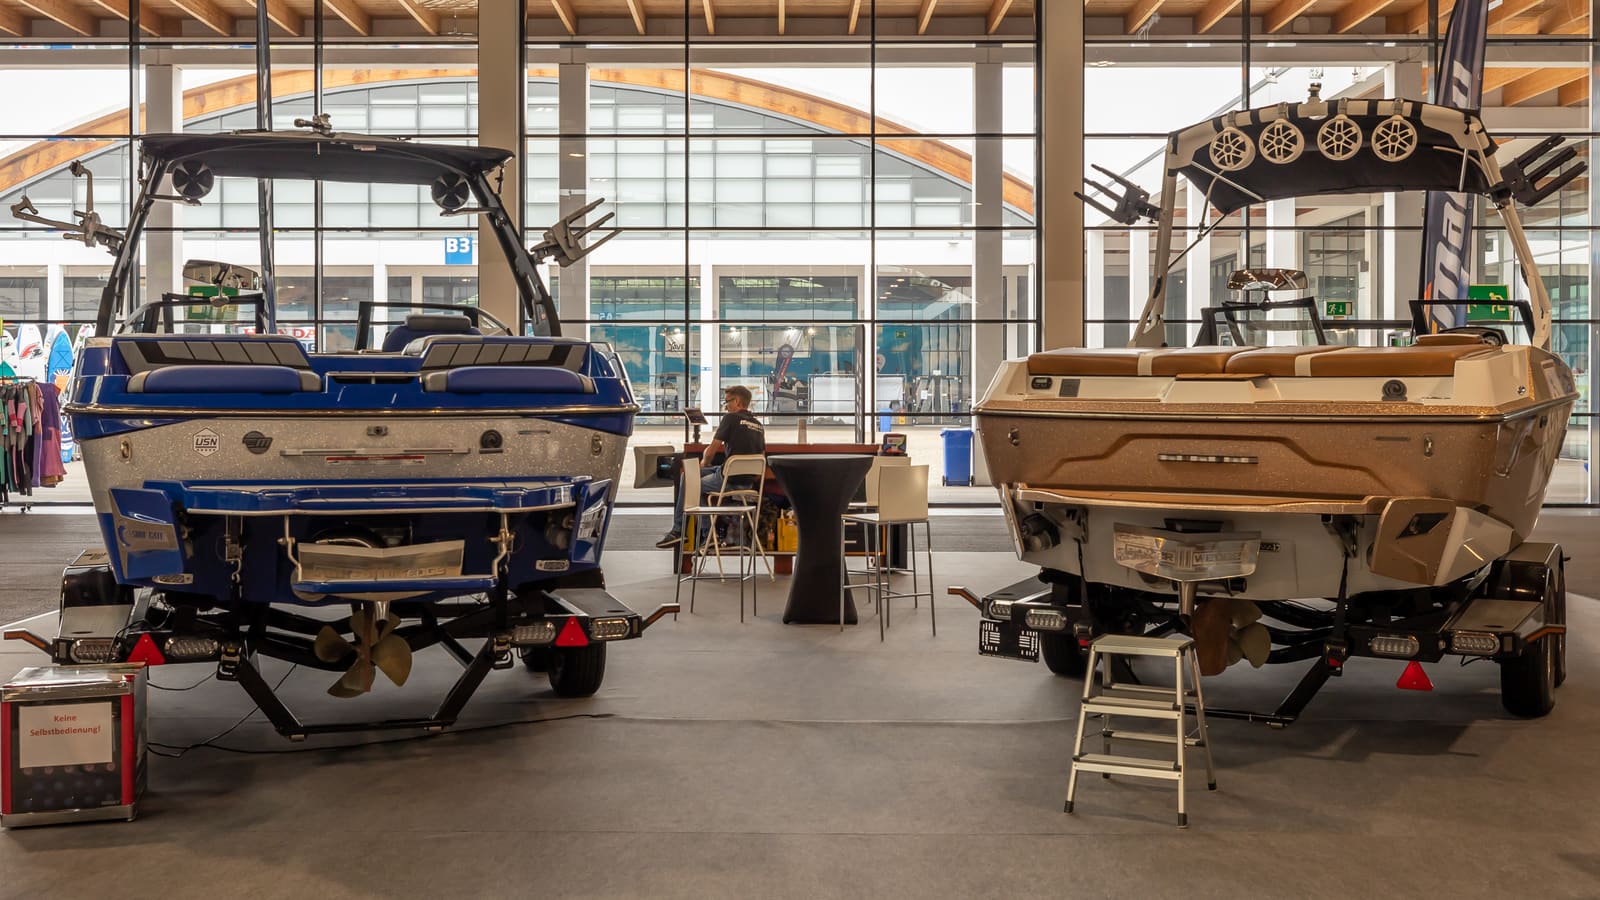
Wakeboard-tower and roll-bar speakers are larger, usually need an amplifier, and hang where wind and wake slam them:
- Use the clamps made for your tower's tube diameter, and check them and the tower fasteners regularly (see our tower hardware guide).
- Run wires through the tower tube or along it with UV-resistant ties, with a drip loop before each speaker so water runs off instead of into the connection.
- Aim them a little down and toward the listening area, and fold-down towers need enough wire slack to fold without pulling the connections. BoatUS notes that bigger systems with tower speakers may also need more battery capacity so the stereo doesn't drain the starting battery.
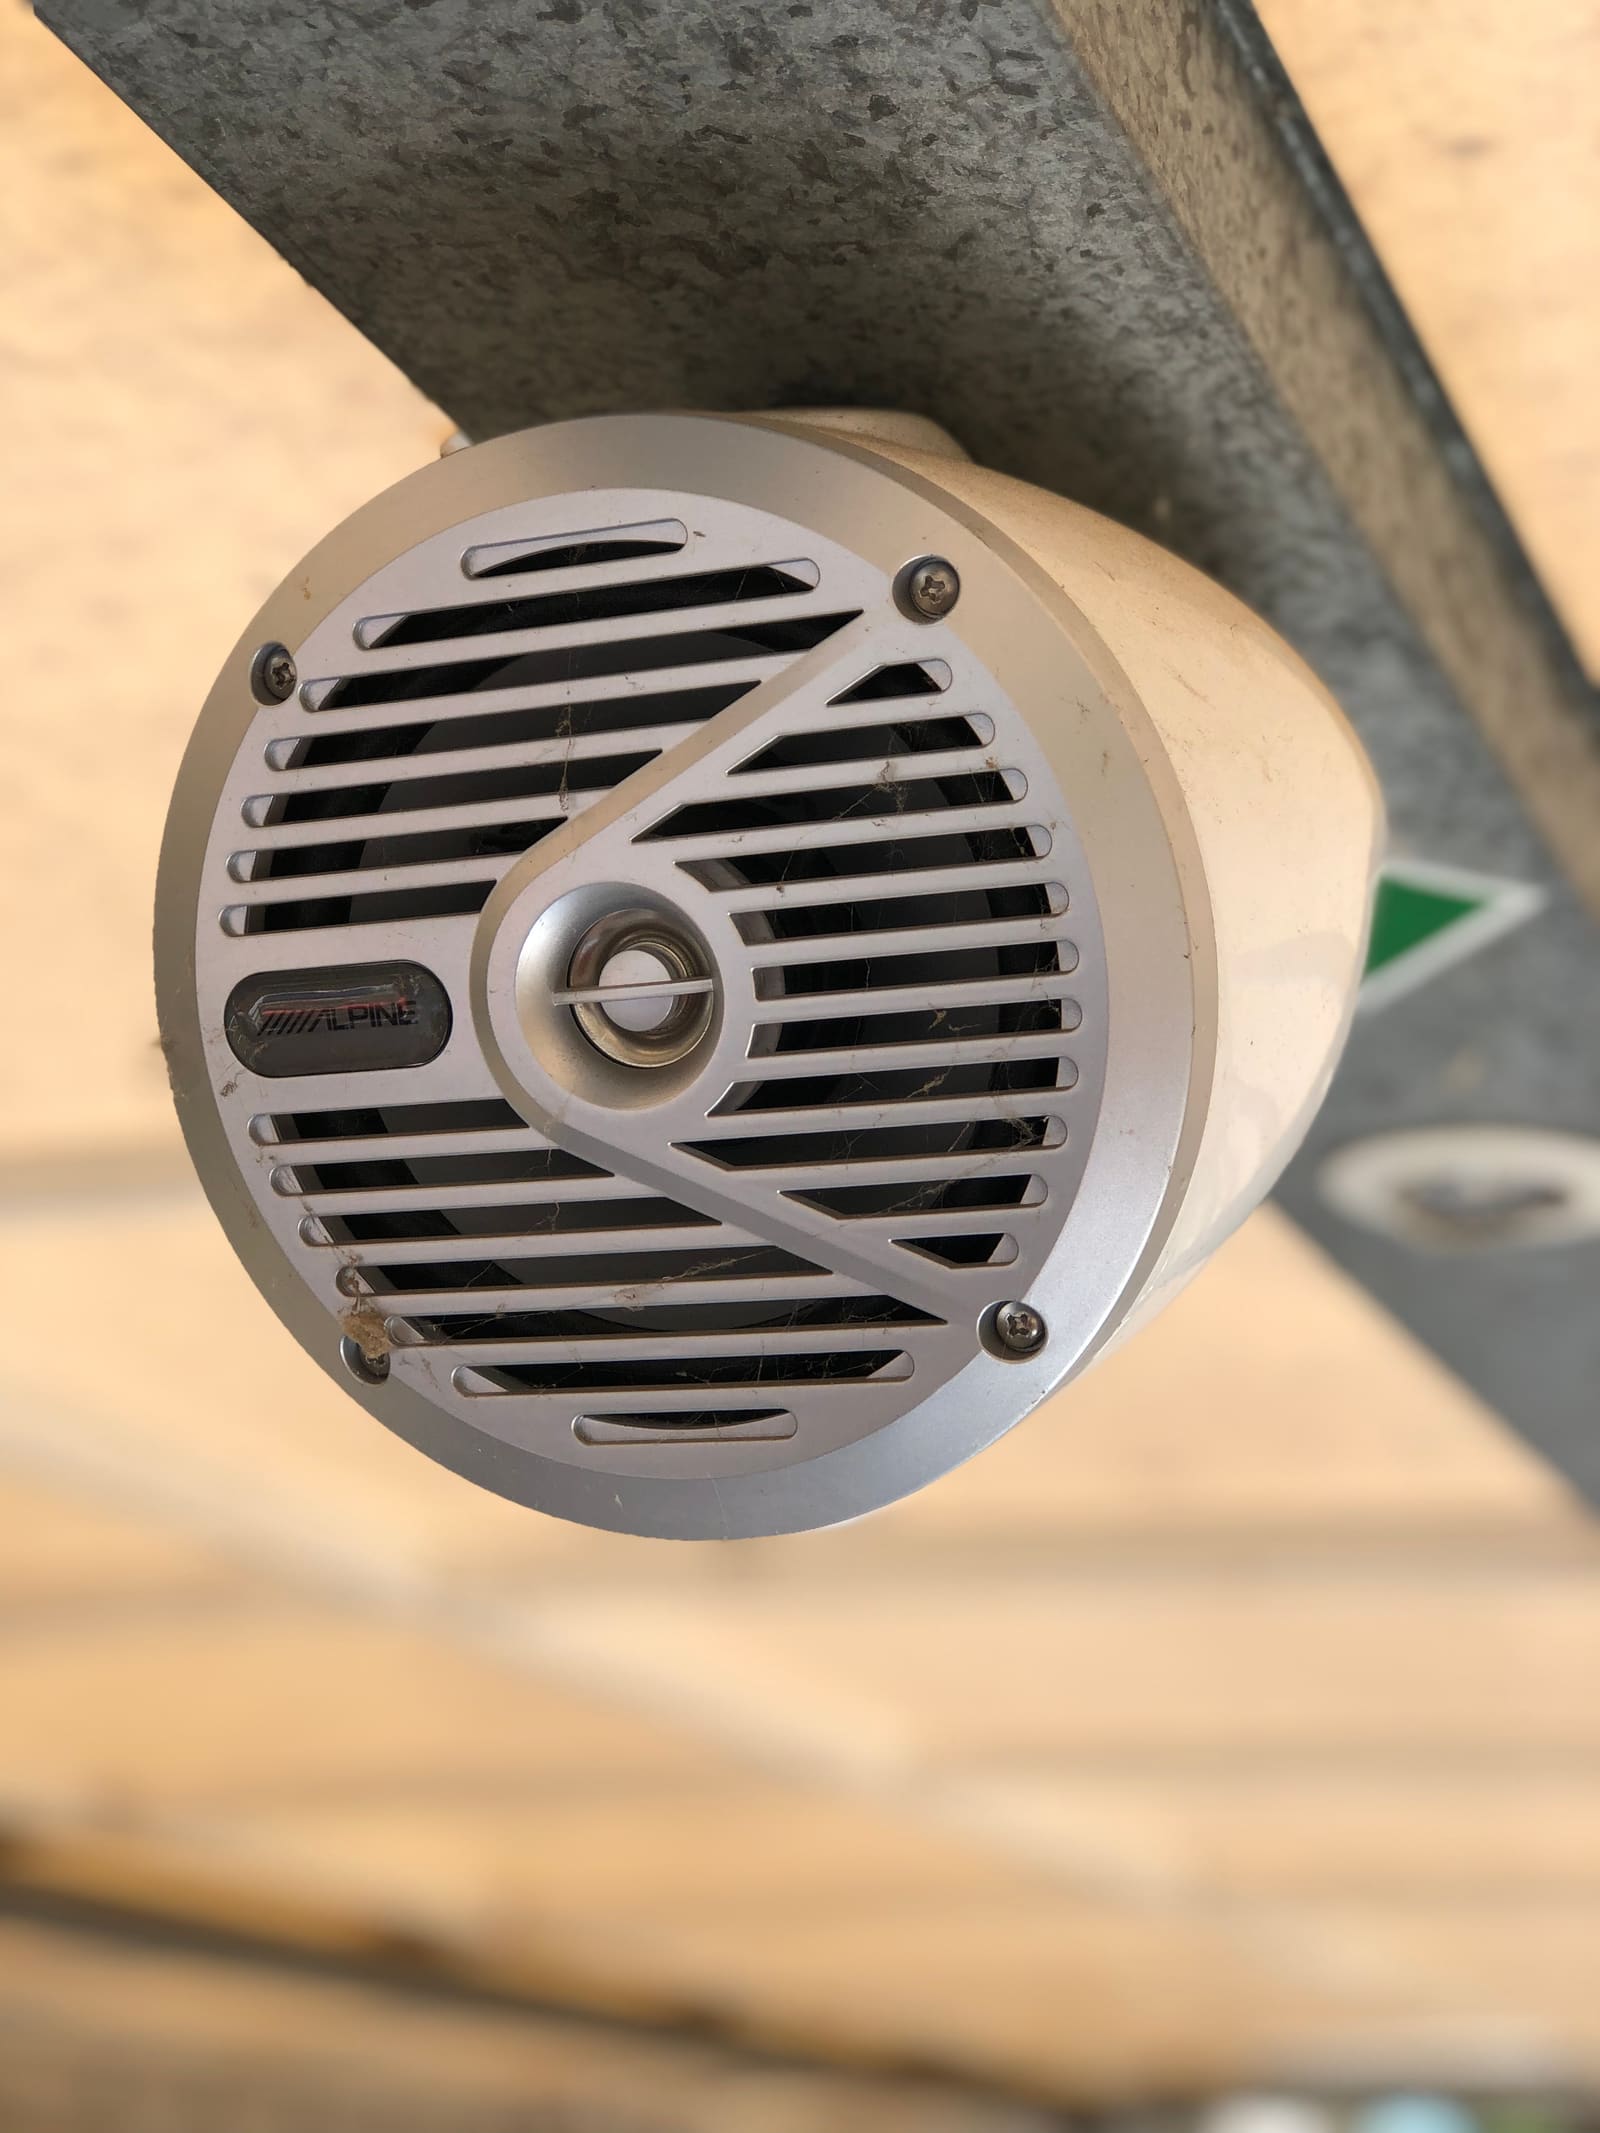
A tower speaker pod hangs where sun, spray and wake slam it. Check the clamp, the grille screws and the wire entry every season. Photo: Grandmaster Huon / Wikimedia Commons · CC0 Restore power, set the volume low, and use the stereo's balance and fader to check each speaker plays on its own. Then play music with plenty of bass: if it sounds thin with all speakers on but fuller with one off, a speaker is wired backward. Recheck the compass with the stereo playing.
Put covers on if your speakers came with them, rinse salt spray off grilles with fresh water, and keep the boat covered when possible; sun is what kills cones and grilles. Note the speaker model and install date in BoatMend.
Common mistakes
- Buying speakers by "size" alone and finding the mounting depth or screw pattern doesn't fit.
- Wiring extra speakers in parallel on one channel and overheating a head unit that can't handle the lower impedance.
- Mounting a speaker face-up on a horizontal deck surface where water sits in it.
- Mounting speakers right next to the compass at the helm.
- Using house or car speakers outside, or indoor speakers in a spot that gets spray.
- Reversing polarity on one speaker and blaming the new speakers for weak bass.
- Overtightening with a drill and cracking the frame or panel.
When to call a pro
- Adding an amplifier, subwoofer or tower system that needs heavy power cables and a new fuse at the battery
- Cutting new holes in a console or liner where you can't see what's behind it
- The compass still shows deviation after moving speakers (a compass adjuster can check it)
- Burned smells, hot amplifier wiring, or fuses that keep blowing
- A pulsing or whining noise through the speakers, or gauges and lights that flicker with the bass: that points to amplifier power, ground or turn-on wiring (or a water-damaged head unit), not the new speakers. See our stereo troubleshooting guide
Tips
- Take the old speaker and a photo of the hole to the store, or note the brand and model to find a direct-fit replacement.
- A few extra inches of slack in each speaker wire makes the next replacement much easier.
- Look for UV-resistance and salt/humidity testing claims in the speaker specs; "marine" on the box alone doesn't guarantee either.
- Label speaker wires at the stereo (front left, front right, tower) while everything is open; add them to your wiring diagram.
- Keep the volume reasonable underway: you still need to hear horns, other boats and the VHF.
Official references
We read these to write this guide. Your engine's own manual always wins.
- BoatUS – Upgrading Your Boat Stereo System (2013)
- BoatUS – How To Install A Stereo (2014)
- BoatUS – Planning A Marine Stereo System (2026)
- KICKER – KM Marine Coaxial Speakers (UV treatment, sealed terminals, drain grilles)
- Garmin/Fusion – Speaker Mounting Location and Water Resistance (installation help)
- Garmin/Fusion – Speaker Mounting Considerations (compass-safe distance, grommets)
- Boating Magazine – How to Install Flush-Mount Marine Speakers
Safety: BoatMend is for information only and does not replace a certified marine technician. You are responsible for your safety and your boat. Read the full disclaimer.
Last updated 2026-10-25
Related guides
How to Wire a Marine Stereo, Speakers and Amplifier Safely
Install or fix a boat stereo the way that keeps it working and keeps your battery alive: marine-rated gear, a fused feed from the panel, a solid ground, a plan for the always-on memory wire, UV-proof speakers, and an amplifier fused right at the battery. Plus how to stop the stereo from messing with your VHF and compass.
Powering a Big Boat Sound System: Amplifier Draw, an Audio Battery and Charging
Work out how much current your amplifiers really pull, size a dedicated audio battery, keep it charged with an automatic charging relay or isolator, and fuse and wire it so a long day of music never leaves you unable to start the engine.
Marine Stereo Troubleshooting: No Power, Lost Settings, No Sound or Bluetooth Trouble
Track down a boat stereo that won't turn on, forgets its presets, resets when the engine cranks, plays no sound or won't keep a Bluetooth connection. Work from the free checks (switches, resets, fuses) to voltage tests, speaker wiring, water damage and software updates before you buy a new unit.
How to Run New Wires Through a Boat (Chase Tubes, Pull Lines and Deck Penetrations)
Get a new transducer cable, light or power wire from the stern to the helm or up through the deck without a fight: use the chase tube and a fish tape or pull string, protect the wire from chafe and heat, support it every 18 inches, seal every penetration and label both ends.
How to Inspect Wakeboard Tower, T-Top and Bimini Hardware
Towers, T-tops and biminis carry tow ropes, speakers, boards, electronics and wind loads, all on a handful of bolts. Learn how to check the welds, bases, backing plates, bolts, folding hinges and accessory loads before a crack or a loose bolt becomes an accident.
How to Mount Rod Holders, Fish Finders, Cleats and Antennas Without Causing Leaks
Add accessories to your boat the right way, with through-bolts, backing plates, sealed core and proper wire pass-throughs, so every new hole stays dry and strong. Also learn where you should never drill.
Make Your Own Boat Wiring Diagram
Trace your boat's 12-volt circuits one wire at a time, label them so the labels last, and draw a simple diagram you keep aboard. It takes a few weekends, but it turns every future electrical problem or upgrade into a faster, cheaper job.
12-Volt Boat Wiring Basics: Circuits, Color Codes, Fuses and Wire Size
Learn how your boat's 12-volt system is laid out, what the ABYC wire colors mean, how fuses and breakers protect the wiring, why voltage drop and tinned wire matter, and how to read a wiring diagram, so you can troubleshoot smarter and know which jobs belong to a marine electrician.