Fixing a Sagging Cabin Headliner: Re-glue, Battens or Replace
Find out why cabin headliners sag, when a quick re-glue is worth trying, how wood battens make a lasting fix, and how to replace fabric, vinyl or panel liners safely with good ventilation and without drilling through the deck.
Time
8 h
Shop would charge
$500-3000
Applies to
All engines · Cabin cruiser, Yacht, Sailboat
Safety first: Solvent contact cements and spray adhesives give off flammable, harmful vapors that build up fast in a closed cabin. Open every hatch, run fans to push fumes out, wear an organic-vapor respirator, turn off the stove, heater and any pilot light, and don't run electrical gear that sparks while fumes are present. Before drilling into the overhead, find out how thick the deck is and where wires, deck hardware bolts and fuel or water lines run.
Owners often ask
- The headliner in my cabin is sagging and dropping gray dust. Can I just glue it back up?
This guide walks you through it. Still stuck? Ask the AI Mechanic about your engine.
Tools
- Shop vacuum with a brush attachment
- Plastic scrapers, stiff nylon or brass brushes
- Drill with a drill stop (or tape flag) and assorted bits
- Screwdrivers, trim panel removal tools, snap setting tool if you use snaps
- Spring-loaded rods, foam blocks or helpers to hold panels while glue sets
- Sharp utility knife, scissors, straightedge and marker
- PPE: organic-vapor respirator for solvent adhesives, nitrile gloves, safety glasses
- Box fans for cross ventilation
Parts & supplies
- High-temperature headliner or trim spray adhesive, or contact cement rated for the liner material
- Solvent or cleaner listed on the adhesive label for prep
- New foam-backed vinyl or fabric headliner material (if replacing)
- Thin wood battens, StarBoard or similar plastic strips, and stainless oval- or pan-head screws
- Marine sealant for any screw that goes into the deck's inner skin
- Threaded inserts or snaps and studs (for panel systems)
Before you start
Why headliners sag:
- Foam backing breaks down. Many boats from the 1970s and '80s used foam-backed vinyl glued straight to the underside of the deck. Over decades the foam turns to a crumbly gray dust, and the vinyl lets go. Gluing over that dust doesn't last.
- Heat cycles. Practical Sailor points out that the glue goes through thousands of hot and cold cycles, and eventually gives up.
- Moisture. Deck leaks, condensation and a closed-up humid cabin soften adhesives and grow mildew behind the liner. Find and fix leaks first, or the new liner will fail the same way.
What kind of liner do you have?
- Glued directly to the fiberglass: vinyl or fabric stuck to the overhead. Hardest to fix properly.
- Panels: fabric or vinyl wrapped around thin plywood or plastic panels, held by screws, snaps, hook-and-loop strips or trim. Much easier: panels come down, get re-covered on a bench and go back up.
- Molded fiberglass liner: no fabric at all. These don't sag, but may have loose trim or worn screw holes.
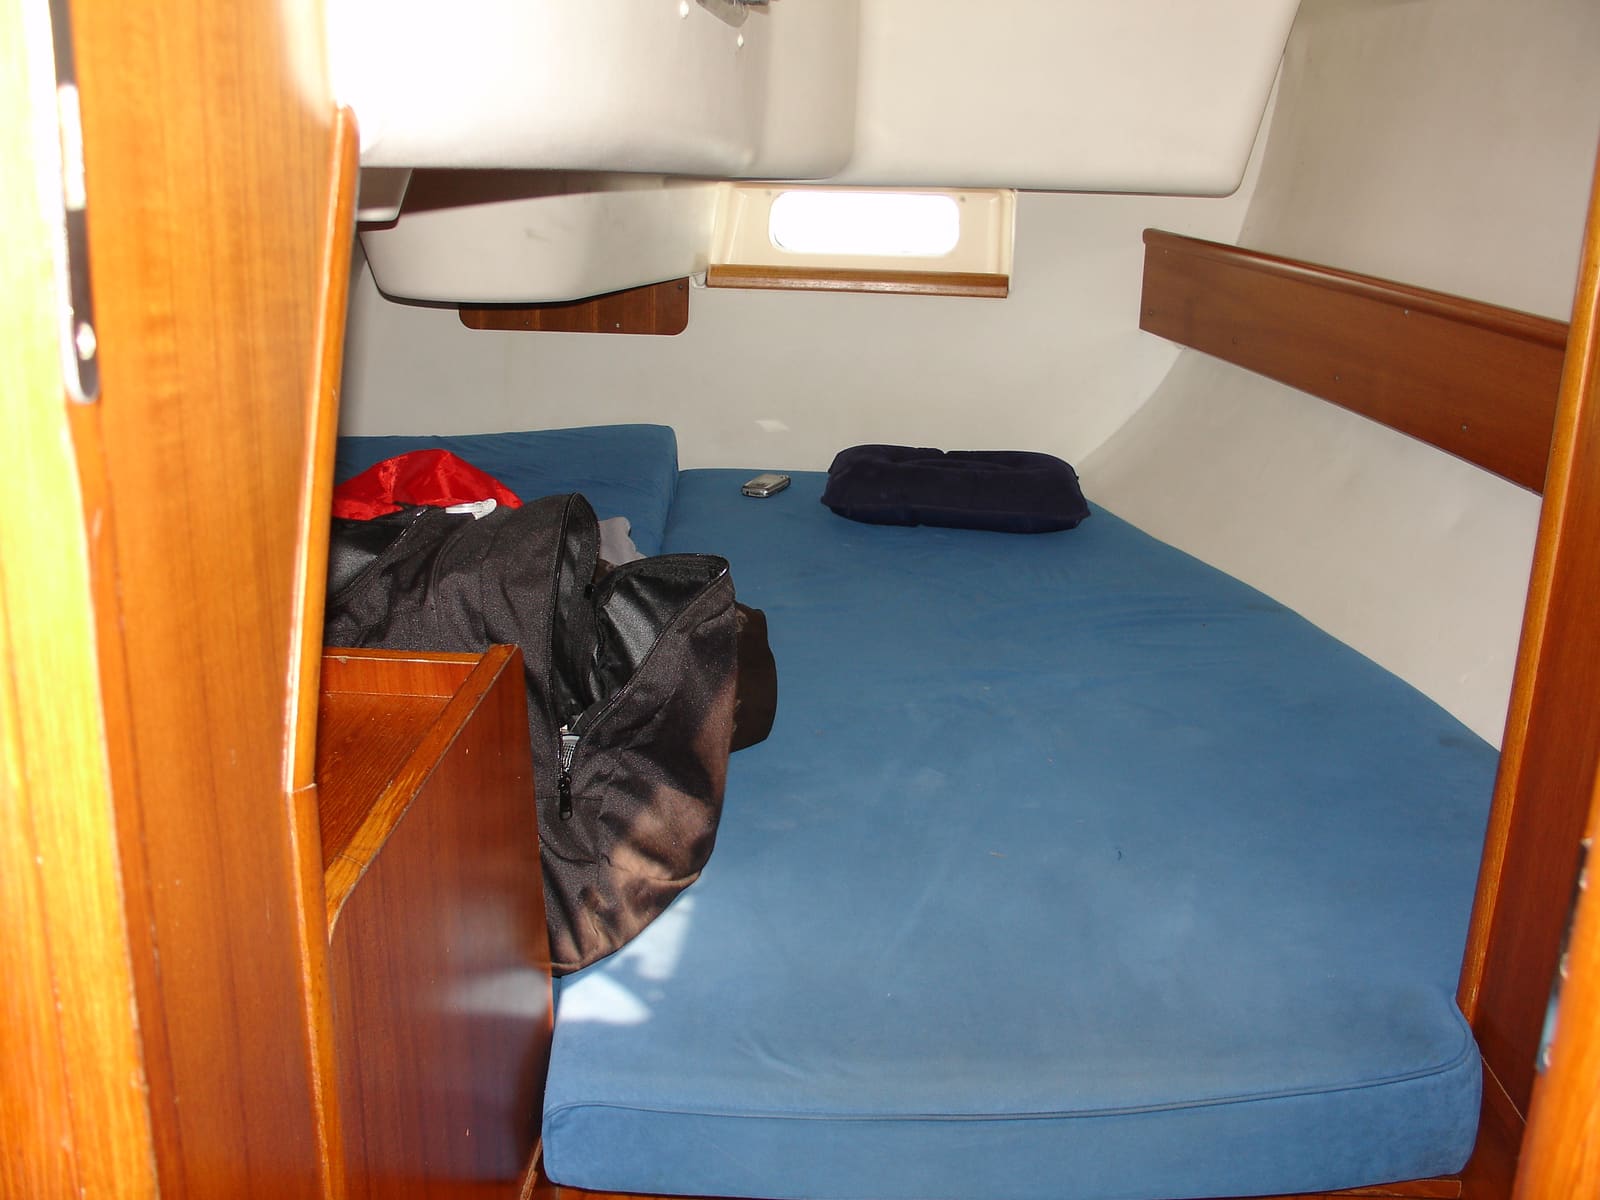
Your three options:
- Quick re-glue: cheap, but often temporary. SAIL Magazine's owner-writer got three to 12 months out of a spray-glue fix over old foam.
- Battens: thin wood strips screwed across the liner to hold it up. Practical Sailor calls it a long-lasting fix. It changes the look, often for the better.
- Replace: strip, clean and install new material. The proper fix, but a big job; the SAIL writer spent around 70 hours on one stateroom.
Steps
Look for stains, mildew, rust streaks at fittings and damp spots above the sagging area. Check deck hardware, hatches, portlights, stanchion bases and chainplates overhead (see our hatch and portlight leaks and deck hardware rebedding guides). A dry overhead is the foundation of every fix below.
Gently lift a loose edge. Gray powder means the foam has failed. Clean glue on bare fiberglass means the adhesive let go but the foam is fine. Mold or wet backing means a leak or condensation problem.
- Small sagging area, foam still sound: a careful re-glue may work.
- Large sagging area, foam turning to dust, or you want it done once: battens or replacement.
- Panel system: take the panel down and re-cover it.
Open all hatches and ports, set up a fan blowing out of one opening and fresh air coming in another. Cover berths, cushions, floors and electronics with plastic and masking tape; spray adhesive overspray goes everywhere. Remove light fixtures, grab rails and trim in the area, labeling screws as you go. Turn off the breaker for any light you remove.
Vacuum out any loose dust behind the liner. Use an adhesive rated for headliners or high-heat trim, since cabin tops get hot. Most need to be applied to both surfaces and left to get tacky before pressing together; follow the label for flash time. Press firmly with a clean roller or your palm and support the area with foam blocks or a spring rod while it cures. Injecting glue through the liner usually leaves marks, so Practical Sailor doesn't recommend it.
Cut thin strips of teak, mahogany or another wood (Practical Sailor suggests roughly 1/4 inch by 2 inches), or white plastic board, and finish them before installing. Space them evenly across the cabin or fore and aft, whichever looks best. Screws only need to bite into the inner fiberglass skin of the deck, so use a drill stop set very short. If the deck core might be wet, holes can open new leak paths: bed each screw with sealant and drill one size smaller than the self-tapping screw.
Pull down the old material in sections and keep the pieces as patterns. Before each piece comes down, write its position on the back and draw an arrow pointing to the bow, as the professional upholsterer in a Practical Boat Owner refit did; contoured forward-cabin liners are often several panels sewn together, and an intact old piece is the best template. Vacuum all the crumbled foam (wear a respirator; it is dusty and irritating). Scrub off old glue with a brush and the solvent the new adhesive's label recommends, wiping with clean rags. Glue only sticks to a clean, dry surface. Hard patches left by earlier re-glue attempts hold crumbled foam; the PBO upholsterer used a drill with a wire brush and a hot-air gun to get them off, because the smoother the overhead, the neater the new liner lies. Wear a dust mask, keep the cabin ventilated and never use a heat gun while solvent fumes are present. While the overhead is bare, check the wiring and reseal any leaking deck fitting from above before you cover it again. Bag the solvent rags and let them dry outdoors before disposal; they can be a fire risk.
Foam-backed marine vinyl is the traditional choice; marine headliner fabric and even thin carpet are other options. Ask suppliers for samples and compare color, thickness and mildew resistance. Sailrite's project boat used foam-backed vinyl in a small aft cabin because it wipes clean, is nicer to sleep next to than carpet, and the foam hides a bumpy, uneven fiberglass overhead. If you only replace part of the liner on an older boat, expect trouble matching the old color. Consider switching to removable panels: they cost more time up front but make future access to wiring and deck bolts much easier.
Cut new pieces slightly oversize using the old pieces as patterns. Test fit dry, mark the edges and where lights and fittings go. Finished edges may need binding at an upholstery shop if they will show.
Spray or brush adhesive on both surfaces in a manageable area, let it tack up, and start pressing the liner from the center outward to push out air. Support large overhead pieces with spring rods, foam blocks or a helper while they set. Work one section at a time; trying to place a whole overhead piece at once usually ends in wrinkles stuck in place.
For panel liners, re-cover each panel on a bench: glue the fabric or vinyl to the face, wrap it around the edges and staple or glue on the back. Reattach with the original screws, snaps or hook-and-loop. If screw holes in wood backing strips are worn out, threaded inserts give a stronger, reusable thread (see our blind fasteners guide). Snaps set into the backing let you pop panels down to reach wiring.
Put back trim strips, grab rails and fixtures, and check that no screw is long enough to hit a wire or come through the deck. Restore power and test the lights.
Leave hatches open until all adhesive smell is gone. Long-term, ventilation is what keeps a liner up: solar vents, a dehumidifier at the dock and fixed leaks all help (see our mold and mildew prevention and solar vents guides).
Common mistakes
- Gluing over crumbling foam dust. The glue sticks to the dust, not the boat.
- Ignoring the leak that soaked the old liner.
- Working with solvent adhesive in a closed cabin, or with the stove pilot or a heater on.
- Drilling without a stop and punching through the deck, or into wires.
- Using household spray glue that softens in a hot cabin.
- Trying to hang a huge piece at once without supports.
- Throwing solvent-soaked rags in a closed bag while they are still wet.
When to call a pro
- Large overheads where the liner covers the whole cabin and you can't access behind it
- Soft, wet or rotten deck core found above the liner, or many leaking fittings
- Wiring behind the liner that is damaged, corroded or needs rerouting
- Binding and fitting complex curved pieces you want to look factory-made
- You have breathing problems or can't ventilate the cabin well enough for solvent adhesives
Tips
- Photograph the overhead before you start, so lights and trim go back in the right place.
- Fix a torn spot without replacing everything: BoatUS describes covering a rip with a neat plastic board panel that doubles as a mount for a cabin fan.
- Do the job in mild weather, when adhesives tack up properly and you can keep hatches open.
- Log the material name and supplier in BoatMend so future patches match.
Official references
We read these to write this guide. Your engine's own manual always wins.
Safety: BoatMend is for information only and does not replace a certified marine technician. You are responsible for your safety and your boat. Read the full disclaimer.
Last updated 2026-10-25
Related guides
How to Prevent and Remove Mold and Mildew on Your Boat
Stop the musty smell and black spots before they start. Find and fix the water source, keep air moving, control humidity safely, and clean mold off gelcoat, vinyl and cabin surfaces with products that won't damage them.
How to Fix Leaking Hatches and Portlights
Find out whether a leaking deck hatch or portlight is failing at the gasket, the lens or the frame, then fix it with the right seal or sealant. Learn when crazed or cracked acrylic needs a new lens and what never to put on plastic windows.
How to Find and Fix Leaking Deck Hardware (Rebedding Cleats, Stanchions and Tracks)
Track down the cleat, stanchion base or track that is dripping into the cabin, then remove it, seal the deck core and bed it again with the right sealant so the leak stops for years instead of weeks. Catching it early protects the deck core from rot.
How to Detail Your Boat's Interior (Vinyl Seats, Carpet, Storage and Drains)
Give your cockpit and cabin a proper detail. Clean marine vinyl without stripping its UV protection, wash snap-in and glued-down carpet, clear out cup holders, storage boxes and their drains, beat mildew and pink stains, and know which household cleaners to keep off your boat.
How to Improve Cabin Ventilation with Solar Vents, Dorades and Hatches
Moving air through a closed boat is the cheapest way to stop mold, mildew and musty smells. Learn how much air your cabin needs, where to put intake and exhaust vents, how solar vents and dorade boxes work, and how to add one without letting water in.
Mounting Hardware Where You Can't Reach Behind: Blind Fasteners
Learn how to mount light accessories on a boat when you can't get a hand behind the panel, using blind rivets, rivet nuts, well nuts, toggle anchors and bonded studs, when to cut an inspection port instead, and what must never be held by a blind fastener.