How to Match Gelcoat Color for Small Repairs
Get a chip or screw-hole repair to blend in with your hull instead of standing out as a bright patch. Learn to polish first so you see the real color, find your builder's color code or a matched gelcoat, tint by tiny steps, test cured samples in daylight, and allow for sun fading.
Time
3 h
Shop would charge
$150-500
Applies to
All engines
Safety first: Gelcoat hardener (MEKP) is a strong chemical that can burn skin and badly damage eyes. Wear nitrile gloves and safety glasses, mix in fresh air away from flames, and follow the label and safety data sheet (SDS). Never put leftover catalyzed gelcoat in a closed trash can while it's still curing: it gets hot. Let it harden in the open first. If a "cosmetic" chip turns out to sit over soft or cracked fiberglass, stop and read the gelcoat repair guide first: color is the last thing to fix.
Owners often ask
- My gelcoat repair turned out whiter than the rest of the hull. Will it fade to match?
- How do I find the original gelcoat color code for my boat?
- How much pigment can I add to gelcoat before it won't cure properly?
This guide walks you through it. Still stuck? Ask the AI Mechanic about your engine.
Tools
- Rubbing compound, polishing compound and a buffing pad or clean rags
- Small mixing cups, wooden stir sticks and toothpicks
- Kitchen or digital gram scale (helps you repeat a mix)
- Masking tape, a marker and a notebook or phone for notes
- White index cards or scrap fiberglass for test samples
- Nitrile gloves and safety glasses
- Wet-sanding paper in fine grits (for blending the test spot and the repair)
Parts & supplies
- Gelcoat paste or gelcoat in a white or neutral base (or a factory-matched gelcoat if available)
- Gelcoat pigment tints (for off-white boats usually black, yellow and brown)
- Hardener (MEKP catalyst) supplied with or specified for your gelcoat
- Acetone for cleaning tools and the repair area (not your skin)
Before you start
Why it's hard: your boat was gelcoated in a mold years ago, and the sun has been fading it ever since. A brand-new "factory" color will often look whiter or brighter than your hull. On top of that, gelcoat changes color a little as it cures, so a mix that looks perfect wet can look different once hard. West Marine calls an exact match nearly impossible. The goal is a repair you can't spot from a few feet away.
White vs. colored boats: on a plain white boat, a white kit straight from the box often gets close. Off-white, beige, gray and especially strong colors (navy, red, dark green) take more trial and error. Plan a day or two for test batches to cure.
Base matters. TotalBoat explains that gelcoat comes in a white base (for whites, off-whites, beiges and pastels) and a neutral base (for bright, strong colors). Trying to make red from a white base gives you pink.
Waxed or not: finishing gelcoat contains wax (or needs an additive or a cover) so the surface can cure hard. Laminating gelcoat has no wax and stays tacky on the surface so more layers can go on. For a small one-coat repair you usually want the finishing type, or you seal the repair from air as the kit says. In Practical Boat Owner's quick method, for example, the pigment goes into clear gelcoat first and a small dose of "wax in styrene" additive is stirred in before the hardener, so the surface cures tack-free. Use the additive and ratio your gelcoat maker specifies.
Do the structural repair first. Fill holes and gouges per gelcoat-repair or filling-old-screw-holes. Color matching is about the top layer only.
Steps
Wash with boat soap and water, rinse and let it dry. Then use rubbing compound and polish on a patch about a hand's width around the damage. West Marine and Practical Boat Owner both make the same point: oxidized, chalky gelcoat hides the true color. If you match to the chalky surface and then buff the repair, it won't match anymore. See hull-cleaning-waxing for how to remove oxidation without burning through.
Many builders record a gelcoat color name or code for each model year. Try these, in order:
- Your owner's manual, build sheet or a sticker inside a locker or console.
- The builder's customer service or owners club. Have your hull identification number (HIN) ready.
- Gelcoat suppliers that sell colors matched to builders and years. Some ask you to confirm the code with the builder yourself.
- A fiberglass supply house that matches a sample: some will match a paint-store color chip or a small chip of your old gelcoat (Fiberglass Warehouse, for example, asks for a piece at least the size of a quarter, and says it can also match a paint-store color chip you pick to match the hull).
A factory-matched gelcoat is the best starting point, but it matches the new color. On an older boat you will usually still need to adjust it.
Compare colors in daylight, outside, not under shop lights or a yellow garage bulb. Look from several angles and distances. Overcast daylight is easier to judge than harsh midday sun. Note that gelcoat on a sunny side of the boat may have faded more than on the shady side, so compare right next to the repair.
Shake or stir the gelcoat can well first so the solids are mixed. Pour out a small, measured amount into a clean cup. Write down how much. TotalBoat suggests mixing more than you think you need (it suggests at least a pint even for small jobs) so you have the same color later for touch-ups. Untinted, uncatalyzed gelcoat keeps for a while if sealed and stored cool; check the label for shelf life.
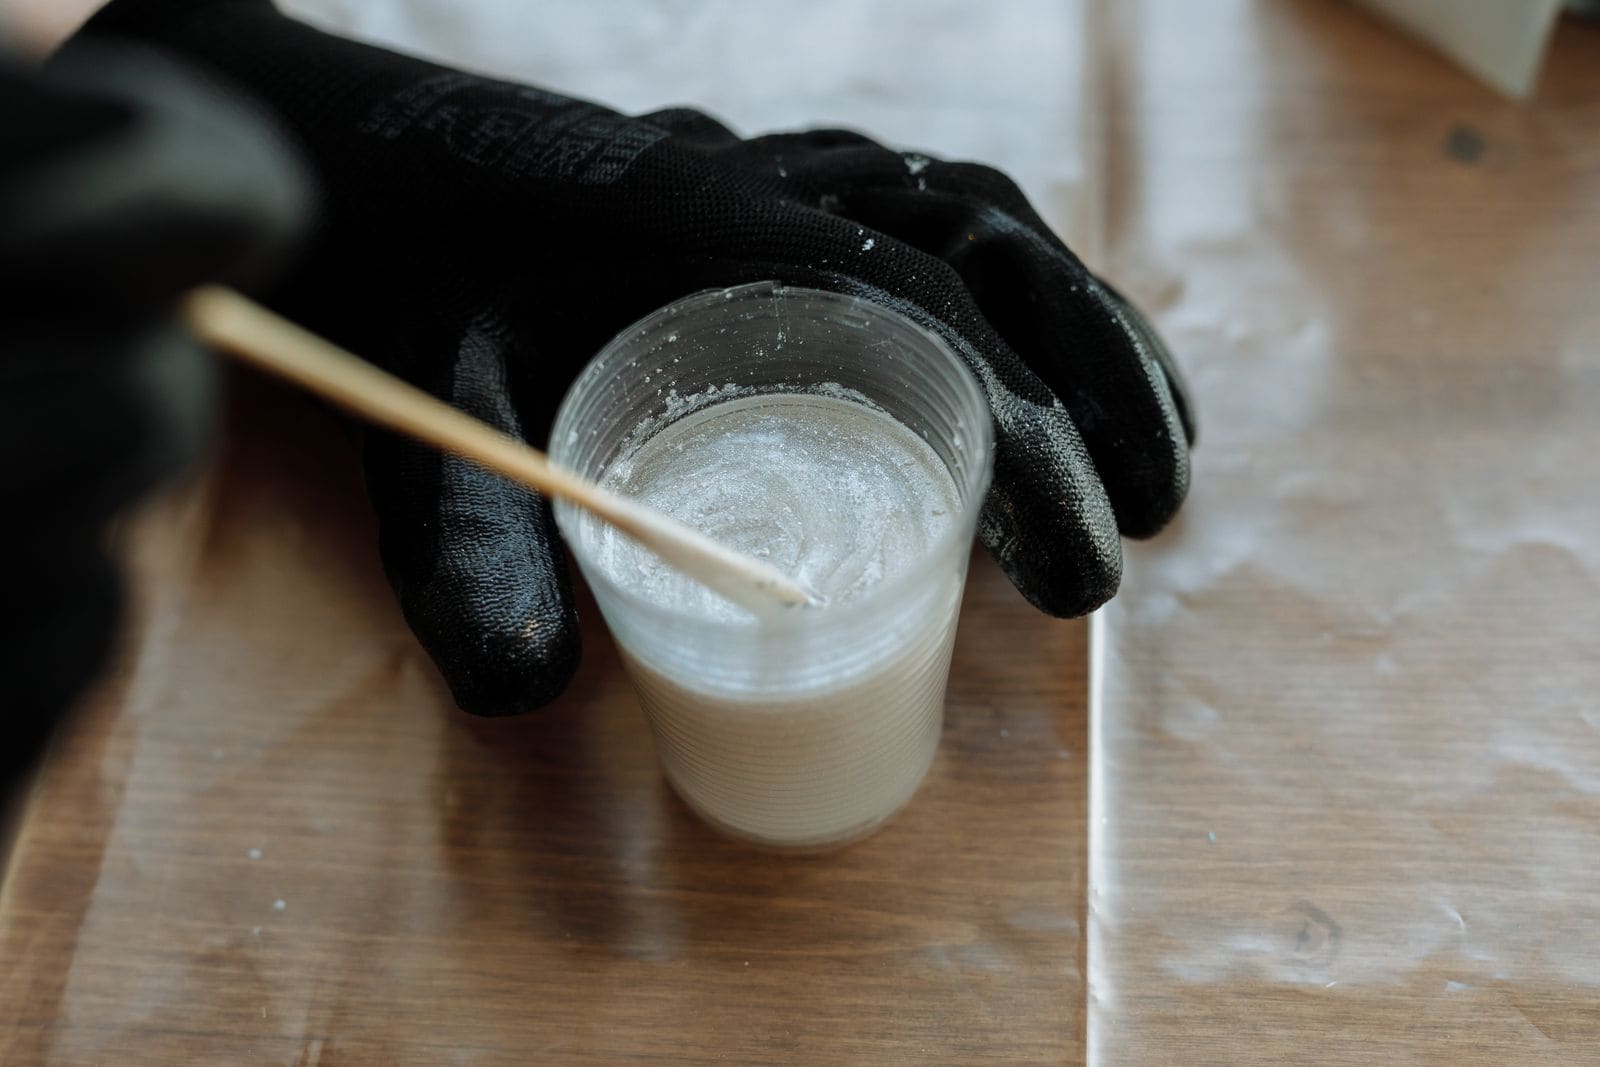
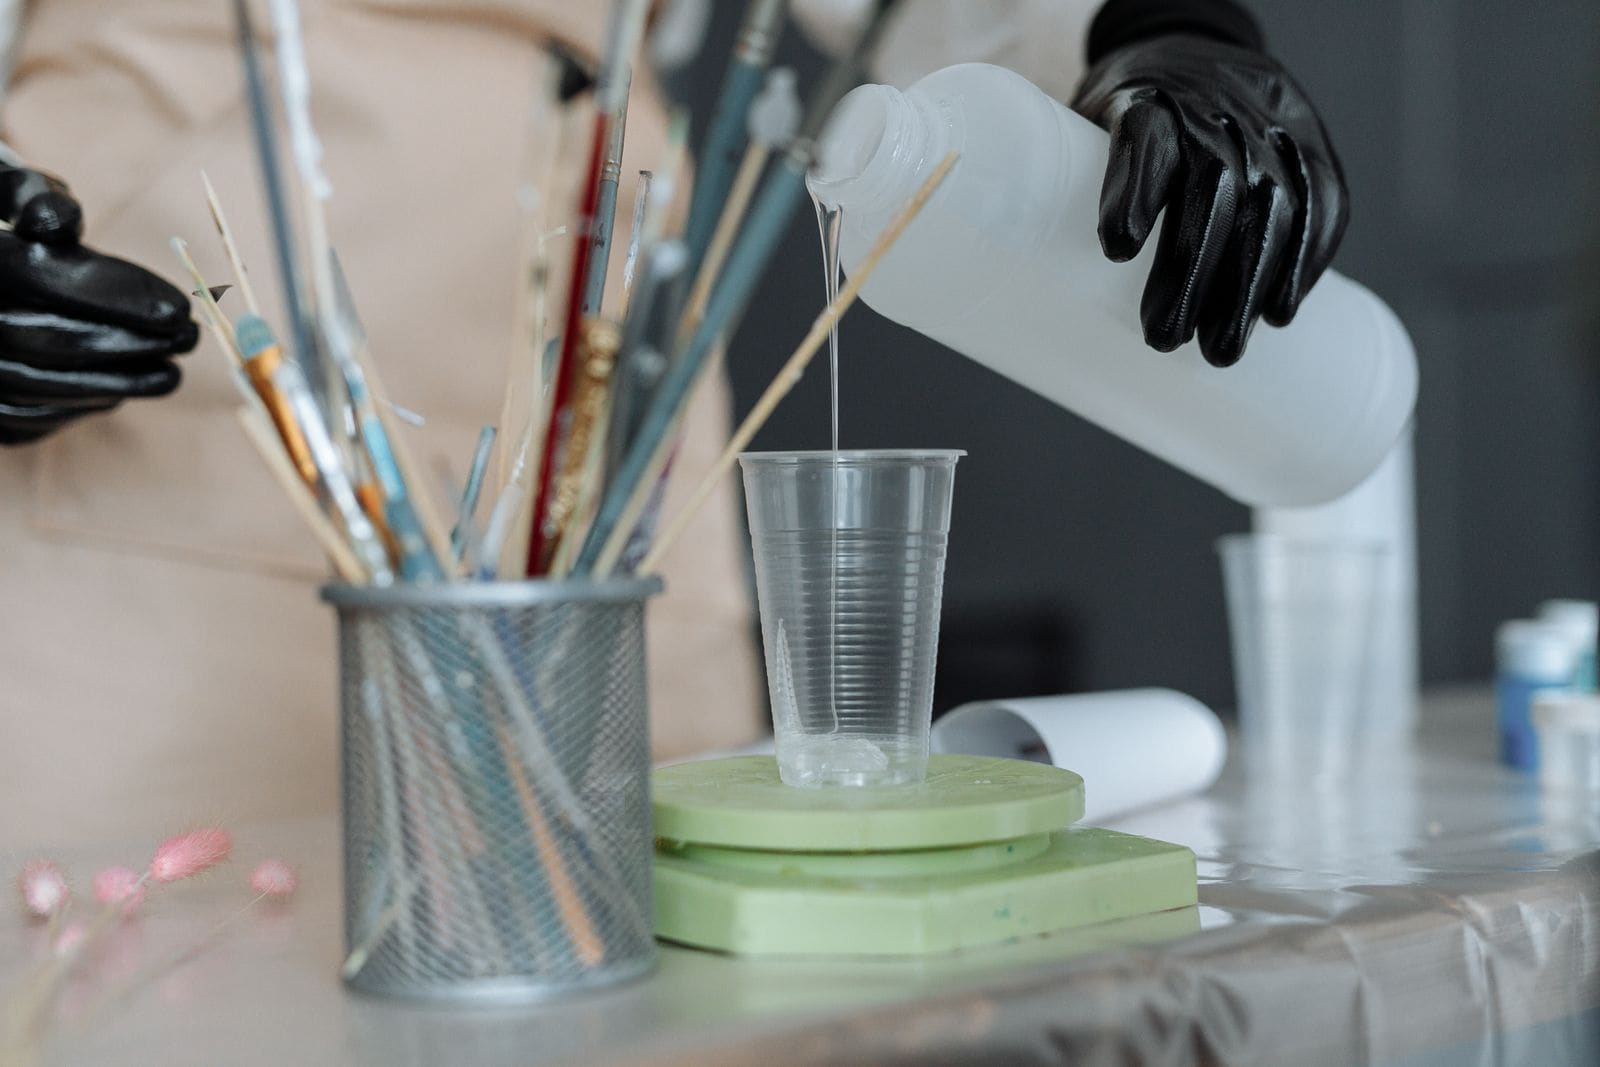
Photo: Thirdman / Pexels · Pexels License Dip the tip of a toothpick or stir stick in pigment and add only a small smear at a time, then stir completely. For off-white, cream and beige hulls, the usual tints are black (to take off the stark brightness), yellow and brown. Practical Boat Owner's quick method keeps pigment to a small share of the mix, no more than about 10% by weight or volume, measured in a graduated cup; check your pigment maker's limit, since too much pigment can stop gelcoat from curing properly. It's easy to add more and impossible to take it out.
Write down every addition (number of drops or grams). Without notes, you can't repeat a good match.
Put a small dab of uncatalyzed gelcoat on a strip of masking tape stuck right beside the repair, or smear it on a white card and hold it against the hull. Judge in daylight. Wipe it off with a rag (and a little acetone on the rag, not your hands) when you're done. Adjust and compare again.
Once the wet mix is close, split off two or three small samples with slightly different tint amounts. Add hardener to each at the ratio on the label, spread them on index cards or scrap fiberglass, and let them cure fully. West Marine stresses this step: gelcoat changes color as it cures, so only cured samples tell you the truth. If you can, wet-sand and polish a sample the way you'll finish the real repair, because sanding and buffing changes how it looks too.
Hold the cured samples against the polished hull in daylight. Pick the closest one. Make the real batch using exactly the same pigment-to-gelcoat ratio from your notes. Only then add hardener, and only to the amount you can use within the working time on the label.
Apply and cure the gelcoat as described in gelcoat-repair: fill slightly proud, seal it from air if your gelcoat needs it, sand flush with fine paper, then compound and polish. Blend the polishing a little beyond the repair so the shine matches.
Look at the repair again a few days later in daylight. A slight mismatch is normal. A small spot of slightly different white is far less noticeable on a busy hull side than on a flat, smooth panel. If it's clearly off, you can sand it back and redo just the top layer with an adjusted mix.
The new gelcoat hasn't had years of sun. Some owners find a slightly-too-bright patch fades closer over time; others see it stay different. Don't count on it. Keeping the whole hull waxed slows further fading of both old and new gelcoat. Over the next season, check the repair along with the rest of the hull.
Put a strip of tape on the can with your boat name, date, base and exact pigment recipe. Store it sealed, cool and away from heat and flames. Keep a cured sample chip with it. Log the recipe in your BoatMend boat profile so the next repair takes minutes instead of days.
Common mistakes
- Matching to dirty or chalky gelcoat. Polish first or the repair will look wrong once everything is buffed.
- Judging the color under shop lights. A match made indoors can be far off in sunlight.
- Judging wet gelcoat only. It shifts as it cures. Always make a cured test sample.
- Dumping in pigment. Overshooting is the most common way to waste a batch. Add a smear, stir, compare.
- Not writing down the recipe. You'll never get the same color twice by eye.
- Buying "factory color" for a 15-year-old boat and expecting a perfect match. It matches the boat when new, not your faded hull.
- Using a white base for a strong color. Bright colors need a neutral base.
- Using clear or tinted epoxy as a cosmetic top layer in the sun without protection. Most epoxies yellow and break down in UV and need paint or gelcoat over them.
When to call a pro
- The hull is a strong or metallic color, or the repair is on a large, flat, highly visible panel
- The damage is under the waterline, near a through-hull, or the fiberglass under it is soft, cracked or wet
- You see spider cracks around hardware or a star pattern of cracks: the cause is flex or impact, not just a cosmetic chip (see stress-cracks-fiberglass)
- The boat is new or under warranty: a dealer repair may be covered, and a bad DIY match can lower resale value
- You've tried several batches and still can't get close: a gelcoat shop can match by eye or with a color meter
Tips
- Start with less hardener-ready gelcoat than you think and practice your mixing on a scrap first.
- On off-white boats, a tiny touch of black usually does more than yellow. Go slowly.
- Some repairs are less visible if you end them at a natural line, such as a stripe, a molded edge or the rub rail.
- For hairline scratches on a polished hull, sometimes compound and polish alone make them disappear; try that first.
- Ask at the marina: the yard that did your last gelcoat work may already have your color on file.
Official references
We read these to write this guide. Your engine's own manual always wins.
Safety: BoatMend is for information only and does not replace a certified marine technician. You are responsible for your safety and your boat. Read the full disclaimer.
Last updated 2026-11-06
Related guides
How to Repair Small Gelcoat Chips and Scratches
Fill and blend small chips, dings and scratches in your boat's gelcoat with a repair kit so they stop letting water into the fiberglass and look close to new. Also learn to spot damage that is structural and needs a pro.
How to Fill Old Screw Holes in Fiberglass Decks and Hulls
Close up the holes left by removed cleats, rod holders, electronics and trim so water can't reach the deck core. Covers simple epoxy fills, the overdrill-fill-redrill method for cored decks, a gelcoat finish, and why holes below the waterline are a haul-out job.

How to Clean, Remove Oxidation and Wax Your Boat's Gelcoat (Plus Pontoon Tubes)
Wash your hull the right way, bring back chalky, faded gelcoat with compound, and seal it with wax so it stays glossy and protected from the sun. Includes how to clean and protect the aluminum tubes on a pontoon boat.

Stress and Spider Cracks in Fiberglass, Cosmetic or Structural?
Learn what causes spider, stress and hairline cracks in your boat's gelcoat, how to tell cosmetic crazing from a structural problem with a simple tap and flex check, and when a gelcoat repair is enough or a pro is needed.
Epoxy and Two-Part Paint Safety: How to Avoid Becoming Allergic
Epoxy and isocyanate-cured paints can make you allergic for life, sometimes after many jobs with no problem at all. Learn how sensitization happens, which gloves and clothing to wear, how to get epoxy off skin without solvents, when you need a respirator, and how to handle sanding dust and leftovers safely.