How to Inspect and Replace Exhaust Shutters and Flapper Valves
The rubber shutters inside a sterndrive's exhaust and the flappers at an inboard's exhaust outlet are one-way valves that keep water from washing back into the engine. Learn where they are, how they fail, how to check them every year, and why riser service is the perfect time to replace them.
Safety first: Work only on a cold engine with the key out and the battery switch off; exhaust parts stay hot long after shutdown. A sterndrive or inboard must never run without cooling water: the shutters' rubber melts within moments if the exhaust runs dry. After any work on the exhaust, check for leaks, because an exhaust leak can put carbon monoxide in the boat. If you find water in the cylinders, milky oil, or the engine will not turn over, do not keep cranking; call a marine mechanic, and if the boat is taking on water call Sea Tow / TowBoatUS or the Coast Guard on VHF 16 (911 in an emergency).
Owners often ask
? Two small metal plates fell out when I dropped my MerCruiser drive. What are they?
? Where are the exhaust flappers on my sterndrive and how do I check them?
This guide walks you through it. Still stuck? Ask the AI Mechanic about your engine.
Tools
Socket set and wrenches (check whether your engine is SAE or metric)
Flat and Phillips screwdrivers or a nut driver for hose clamps
Flashlight or headlamp and an inspection mirror
Plastic scraper or gasket scraper
Shop rags and a small parts tray
Nitrile gloves and safety glasses
Parts & supplies
Exhaust shutters (water shutters) or transom flappers that match your engine and exhaust (V6 and V8 sterndrives usually have two)
New gaskets for every joint you open (elbow, riser or exhaust pipe gaskets, as listed in your parts catalog)
Replacement hose clamps if the old ones are rusty
Before you start
What these parts do: water from the cooling system is dumped into the exhaust so it can flow out with the gases. When the engine is off or idling, a following sea, a wake, a steep launch or too much weight in the stern can push water back up the exhaust toward the engine. Water that reaches a cylinder with an open exhaust valve can cause rust or hydrolock, and water does not compress, so the next start can bend or break parts.
Two kinds of one-way valves help stop that backflow:
Exhaust shutters (also called water shutters): rubber-coated flaps on a hinge pin inside the exhaust plumbing of many sterndrives. Mercury describes its MerCruiser shutters as check valves that keep following seas from washing back through the exhaust into the engine when it is off or at low rpm. On many MerCruiser engines they sit just below the exhaust elbows, where the exhaust pipes join the Y-pipe. V6 and V8 engines usually have one per side.
Flappers: flaps fitted on or just inside the through-hull exhaust outlet of an inboard (and some generators). They do the same job from the outside end.
Shutters and flappers are a backup, not the main defense. Exhaust riser height above the waterline and good habits at the ramp matter more.
When to check: Boating Magazine recommends inspecting shutters every year and replacing them as needed. Also check them:
whenever the exhaust elbows or risers come off (the best time, because the shutters are right there)
after any overheat, a failed raw-water impeller, or any time the engine ran without water
when you remove the sterndrive and find black rubber bits or small metal plates in the exhaust passage
Get the part numbers and the removal steps for your exact engine from the owner's or service manual or your dealer. Layouts vary by engine and year, and older engines can be much harder to get into.
Steps
0/12
Look up your engine model and serial number, then check the parts catalog for "exhaust shutter" or "water shutter" and note how many your engine uses. For an inboard, look at the exhaust outlet on the transom from outside the boat to see whether there is a flapper. Some boats have both, some have neither.
Do this on the trailer or on land, with the engine cold. Turn off the battery switch and take the key. Have a parts tray ready, because hinge pins, clips and bolts are small and easy to drop into the bilge.
On many sterndrives you do not need to remove the manifolds. A common approach is to loosen the clamps on the rubber exhaust hoses or bellows, slide them down, and remove the section of exhaust pipe or elbow above the Y-pipe so you can see the shutters. On other engines you have to remove the risers or elbows first.
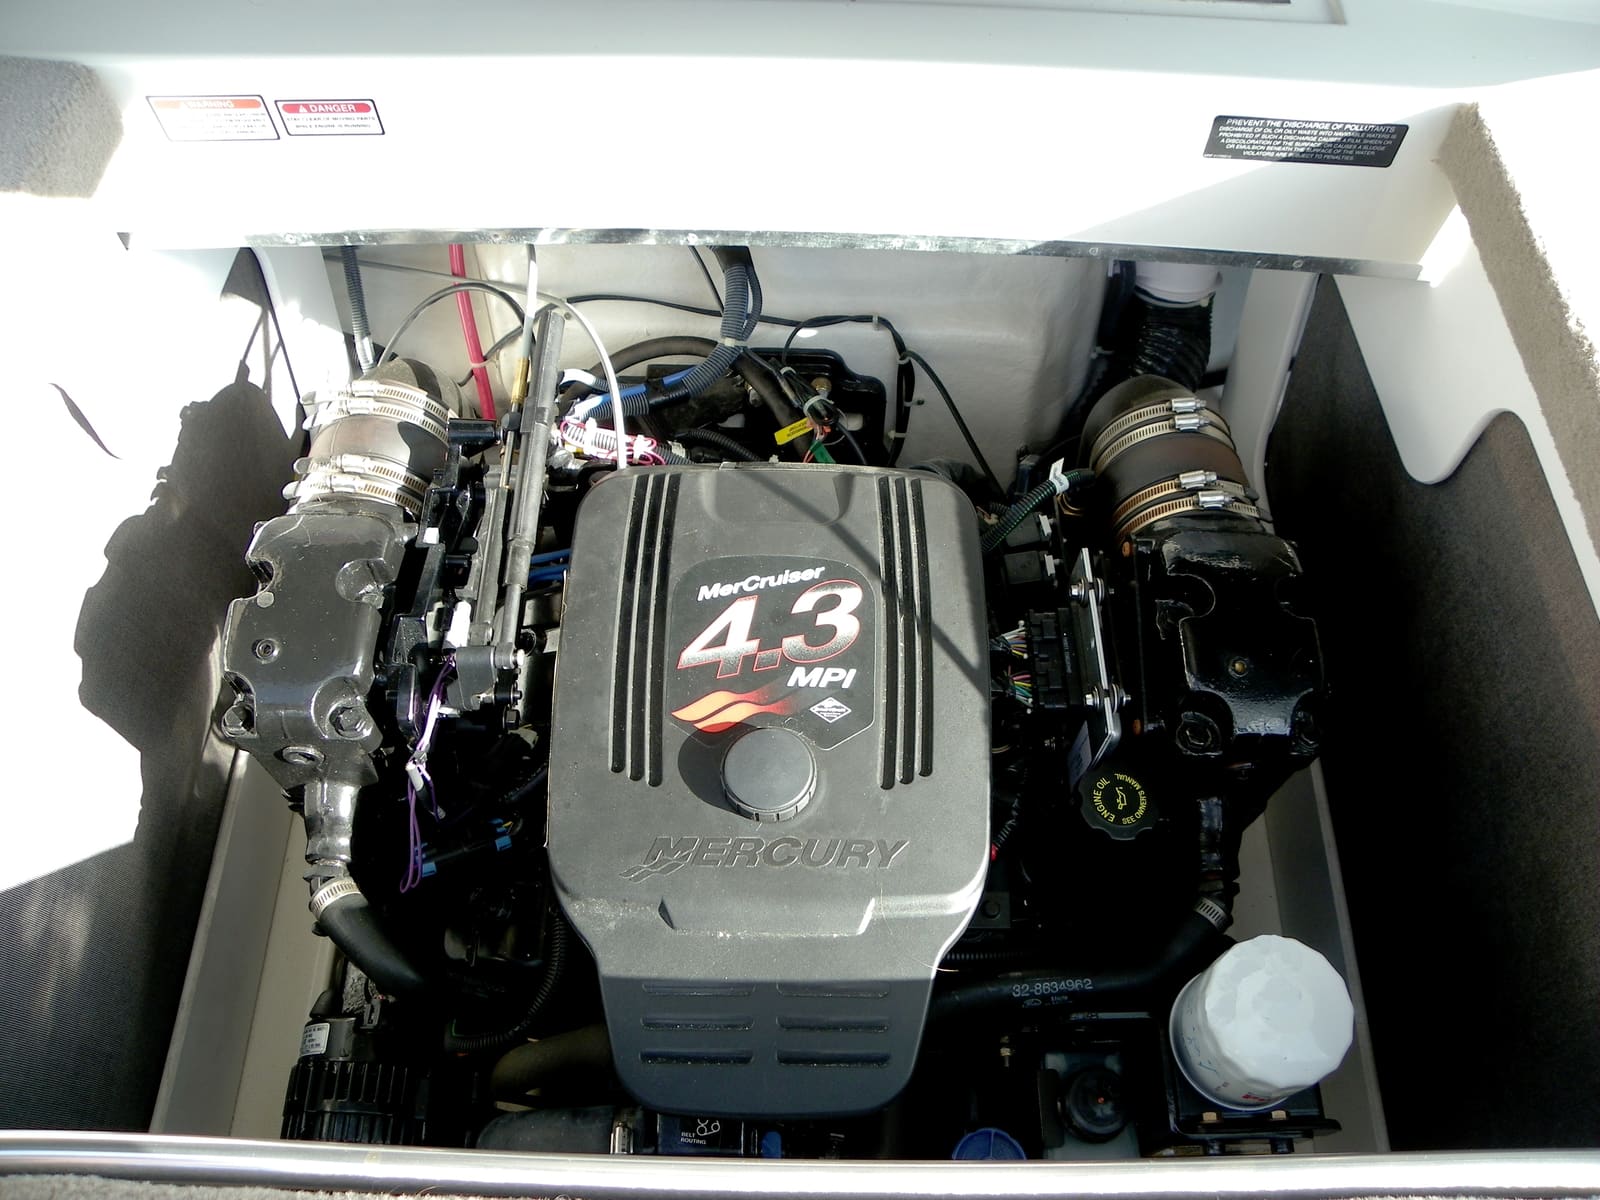
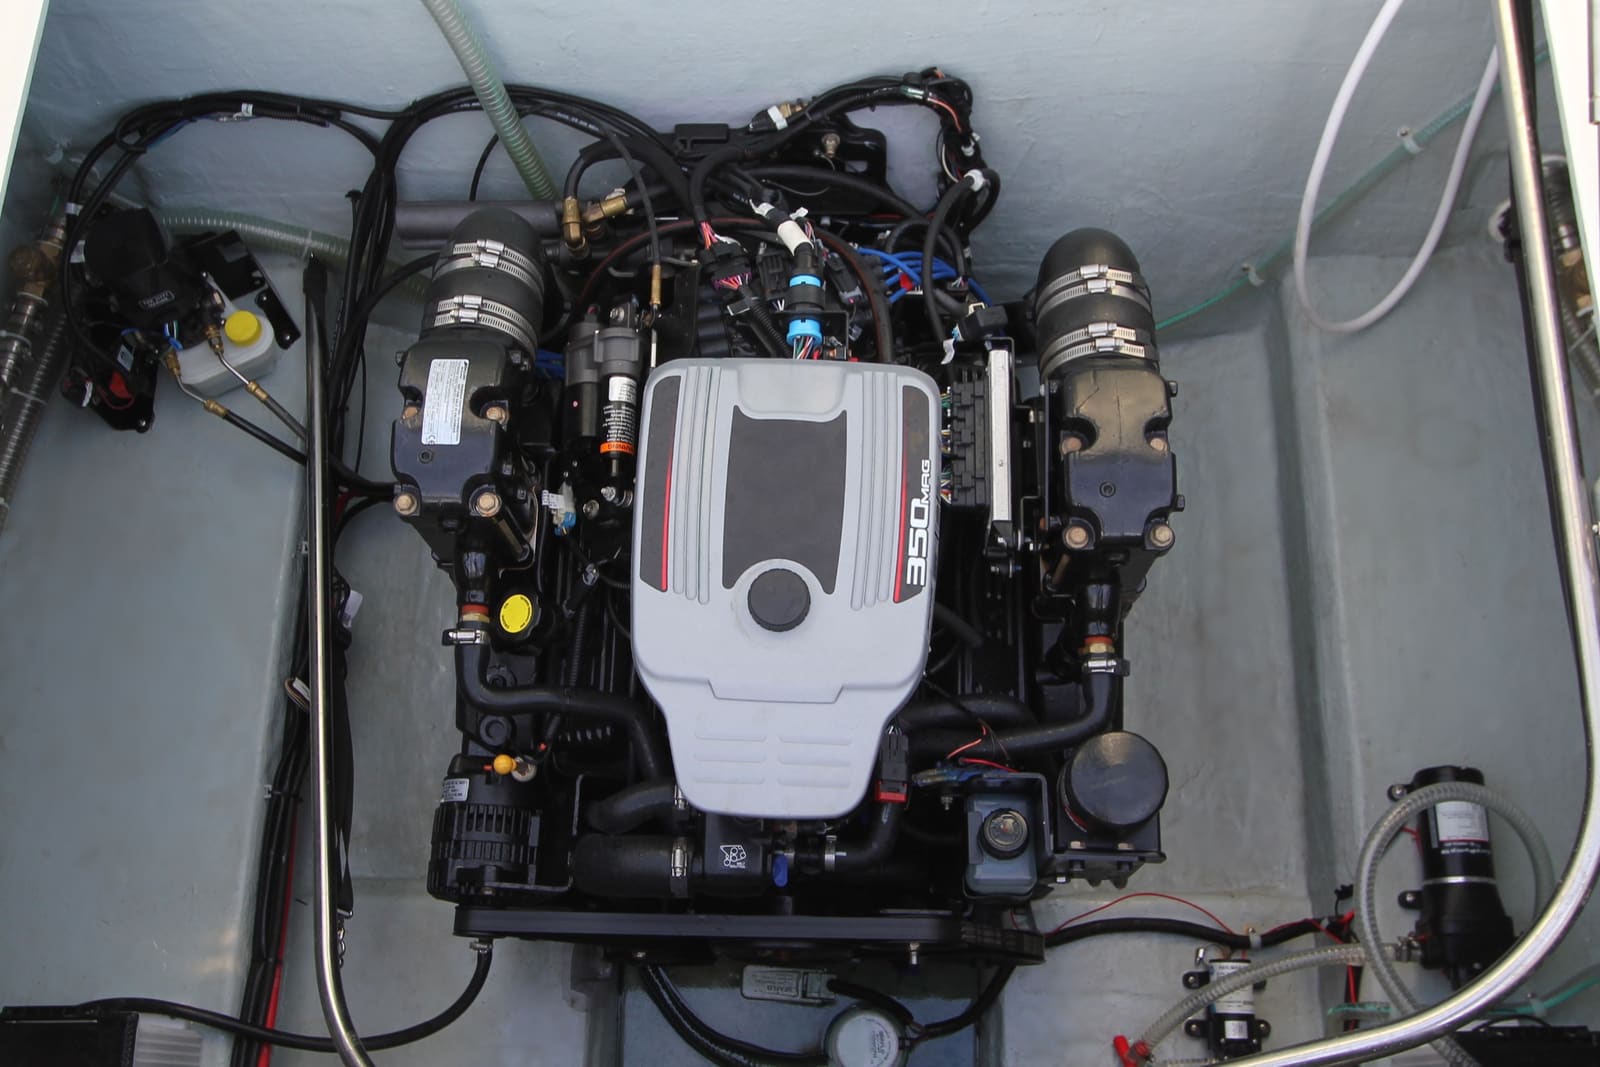
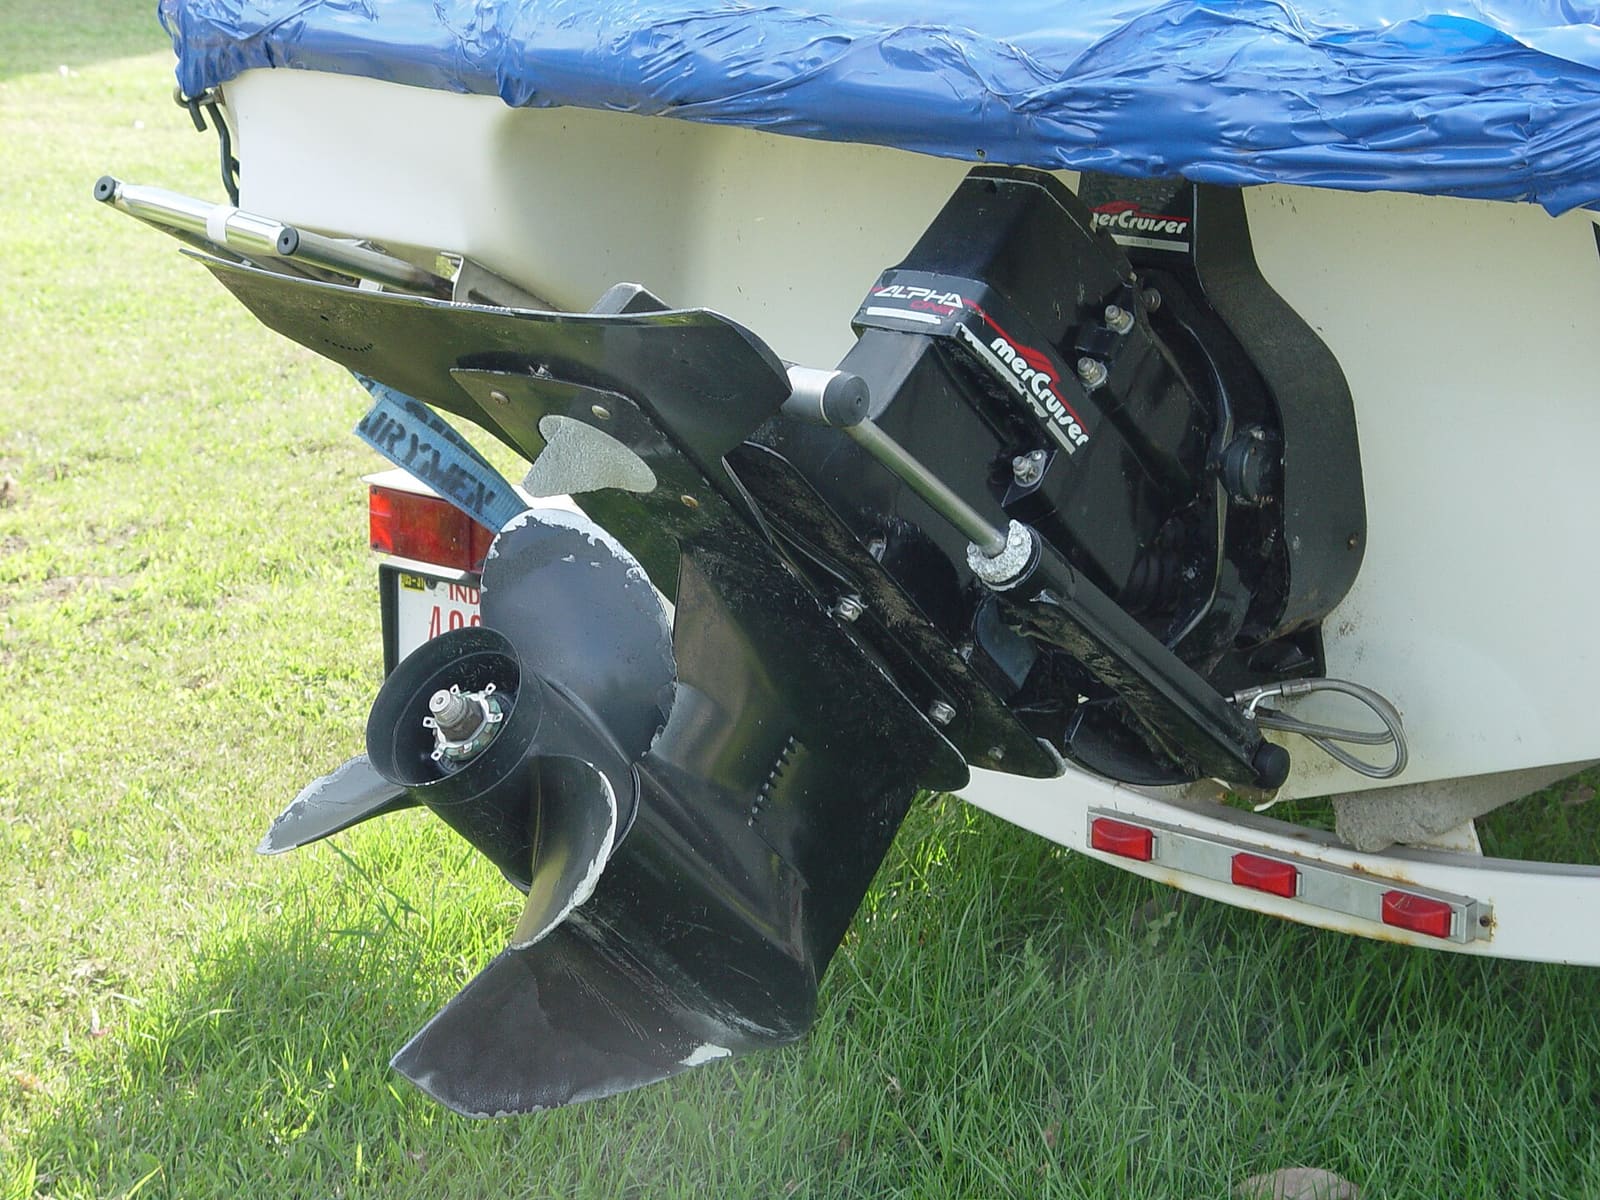
On many sterndrives the shutters sit in the exhaust below the elbows on each side, where the rubber exhaust hoses and their clamps are. Photo: Poxnar / Wikimedia Commons · Public domain Follow the order in your service manual, and note where each part, gasket and clamp goes. Taking photos helps.
A good shutter:
has rubber that is flexible, smooth and fully bonded to the metal plate, with no cracks, burnt spots or hard, shiny areas
swings freely on its hinge pin and drops closed by itself
closes flat against its seat with no gaps
has its hinge pin and retaining clips in place, with no heavy corrosion
Not every shutter has a hinge pin. Mercury also sells a one-piece flexible rubber flapper for many MerCruiser installations that works as a flexible check valve and sits inline in the exhaust, downstream of the flexible union between the elbow and the Y-pipe. On that type, check that the rubber is soft, uncracked and seated in its place, and that it lies closed by itself.
Replace it if the rubber is cracked, melted, stiff or missing, if it sticks open, or if the pin is worn. Sticking open means no protection. A missing or burnt shutter is also a clue that the engine overheated at some point, so check the cooling system too.
If rubber or metal is missing, the pieces went somewhere. Boating Magazine warns that broken shutter parts can block the flow of cooling water in the exhaust. Look down the Y-pipe and exhaust passages with a light and a mirror. If the drive is off the boat, check the exhaust passage in the bell housing as well. Make sure every piece is accounted for before you put things back together. A blocked exhaust can cause overheating and a sluggish engine.
Install the new shutters so they open toward the outlet (with exhaust flow) and close against water coming back. Make sure the hinge pin and clips are fully seated. Replace both sides at the same time, since they are the same age. Do not put an engine back in service with the shutters left out.
On older engines, owners often find the original shutters were fastened differently from today's replacements (for example, riveted in place), or that the new part looks nothing like the old one. Order by engine serial number from the parts catalog or your dealer, and if the replacement doesn't match what came out, ask before modifying anything to make it fit.
With the exhaust open, look at the gas side of the elbow or riser and at the mating faces. BoatUS notes there should be black carbon but no rust in the gas-only passage; rust there means water is getting in from the water jacket. If you see that, or deep pitting on the gasket faces, plan to replace the riser or elbow (see the exhaust manifold and riser guide).
Scrape the old gasket material off the mating faces without gouging the metal. Fit new gaskets the right way around; some elbow gaskets only fit correctly one way, so match the holes and water passages carefully. Tighten bolts evenly in steps to the torque in your service manual. Refit the exhaust hoses, using new hose clamps if the old ones are rusty.
From outside, check that the flapper hangs down and closes the outlet by itself, swings freely, and is not torn, stiff or missing. Check the hinge and fasteners for corrosion. Boating Magazine calls replacing a flapper an easy DIY job: swap it for a matching unit and seal the fasteners the way the maker specifies so you do not create a leak through the transom.
Give the engine cooling water the way your manual specifies: in the water, or with the flushing attachment Mercury or your maker recommends for your drive. Start it and confirm water is coming out with the exhaust right away. Look and listen for exhaust leaks at every joint you touched, and feel the risers and exhaust hoses after a few minutes; they should be warm, not too hot to touch. Shut down right away if you smell exhaust in the boat or see steam or water spraying from a joint. Recheck clamp tightness after the first run.
Shutters only help. Boating Magazine lists the habits that keep water out of the exhaust:
At a shallow or steep ramp, back in slowly and use the winch or a line instead of letting the boat roll off. Start the engine once the cooling intake is under water, then finish launching.
Do not chop the throttle from cruising speed. Slow down gradually so your own wake does not run up the exhaust.
Let the engine idle for at least 30 seconds before switching it off.
Do not keep cranking an engine that will not start; it cannot build enough exhaust pressure to push the cooling water out.
Avoid loading too much weight in the stern (crew, ballast, gear) while the engine is off.
Record the date, engine hours and parts used in BoatMend. Note what the old shutters looked like; if they were burnt, write down what you checked in the cooling system.
Common mistakes
Never checking the shutters at all because they are hidden. Many owners only find them when bits fall out during a drive or impeller job.
Finding a burnt shutter and replacing it without asking why it burnt. Overheating, a failed impeller or running the engine without water usually caused it.
Leaving the old rubber pieces inside the exhaust, where they block water flow.
Leaving the shutters out "because the boat runs fine without them."
Reusing old elbow or riser gaskets, or fitting a gasket the wrong way around so it blocks a water passage.
Running the engine on the trailer without cooling water "just for a second" to check something.
Mixing up flappers and shutters: a transom flapper on the outlet does not replace missing shutters inside the exhaust.
When to call a pro
The shutters are only reachable by removing manifolds or the engine sits under a deck you cannot work in
You find rust or water inside the exhaust manifold or riser, or water in the cylinders or oil
The engine is hard to turn over, knocks on starting, or the oil looks milky
Shutter pieces are missing and you cannot find them
The engine overheated and you are not sure why
Any exhaust leak or smell of exhaust in the boat after reassembly
Tips
Order shutters and gaskets before you take anything apart; you will want new gaskets even if the shutters look good.
Combine this job with riser or elbow service, impeller changes or drive removal so you only open things up once.
Keep a photo of the new shutters in your log. Next year, you will have something to compare against.
If your boat often sits stern-heavy or in a following sea, ask a mechanic whether your exhaust risers are high enough above the waterline for your setup.
Official references
We read these to write this guide. Your engine's own manual always wins.
Safety: BoatMend is for information only and does not replace a certified marine technician. You are responsible for your safety and your boat. Read the full disclaimer.