How to Repair Torn-Out Canvas Snaps, Fasteners and Zippers
Fix snaps that have pulled out of your bimini, cover or enclosure, reinforce the torn fabric, choose the right snap metal and setting tool, free stuck snaps, replace Lift-the-Dot and twist fasteners, and swap a worn zipper slider.
Time
1 h
Shop would charge
$40-200
Applies to
All engines
Safety first: Wear safety glasses when hammering snaps; small parts can fly. Never stand on gunwales or cushions to reach a high snap: take the canvas down instead. If the snap studs on the boat are loose and screwed into a deck or hull, don't just drive in bigger screws; that can let water into the core (see "When to call a pro").
Owners often ask
- How do I fix a snap that ripped out of my boat cover or bimini?
- Why won't my enclosure snaps reach in cold weather?
This guide walks you through it. Still stuck? Ask the AI Mechanic about your engine.
Tools
- Snap setting tool (hammer-set tool and anvil, a press-type tool, or a basic plier-type kit)
- 1/8-inch hole punch or drill hole cutter and a cutting block (or a scrap of hardwood)
- Mallet or hammer
- Small flat screwdriver and needle-nose pliers
- Sharp scissors and a seam ripper
- Heavy sewing needle and a thimble or sailmaker's palm
Parts & supplies
- Replacement snap parts that match your existing size (button, socket, eyelet, stud)
- Snap extenders if the canvas no longer reaches
- Patch fabric matching your canvas (scrap from a canvas shop is ideal)
- UV-resistant thread (PTFE or similar) or a fabric adhesive rated for outdoor use
- Replacement Lift-the-Dot or twist-lock parts to match the old ones
- Replacement zipper slider in the same size and type as the zipper
- Snap and zipper lubricant made for marine use (or a wax stick)
Before you start
Why snaps pull out: canvas shrinks with age and in cold weather, and wind keeps flexing it. Then someone yanks the fabric instead of the snap, and the fabric tears around the button. Boating Magazine notes it's rarely a clean pull-out; usually the fabric is torn too.
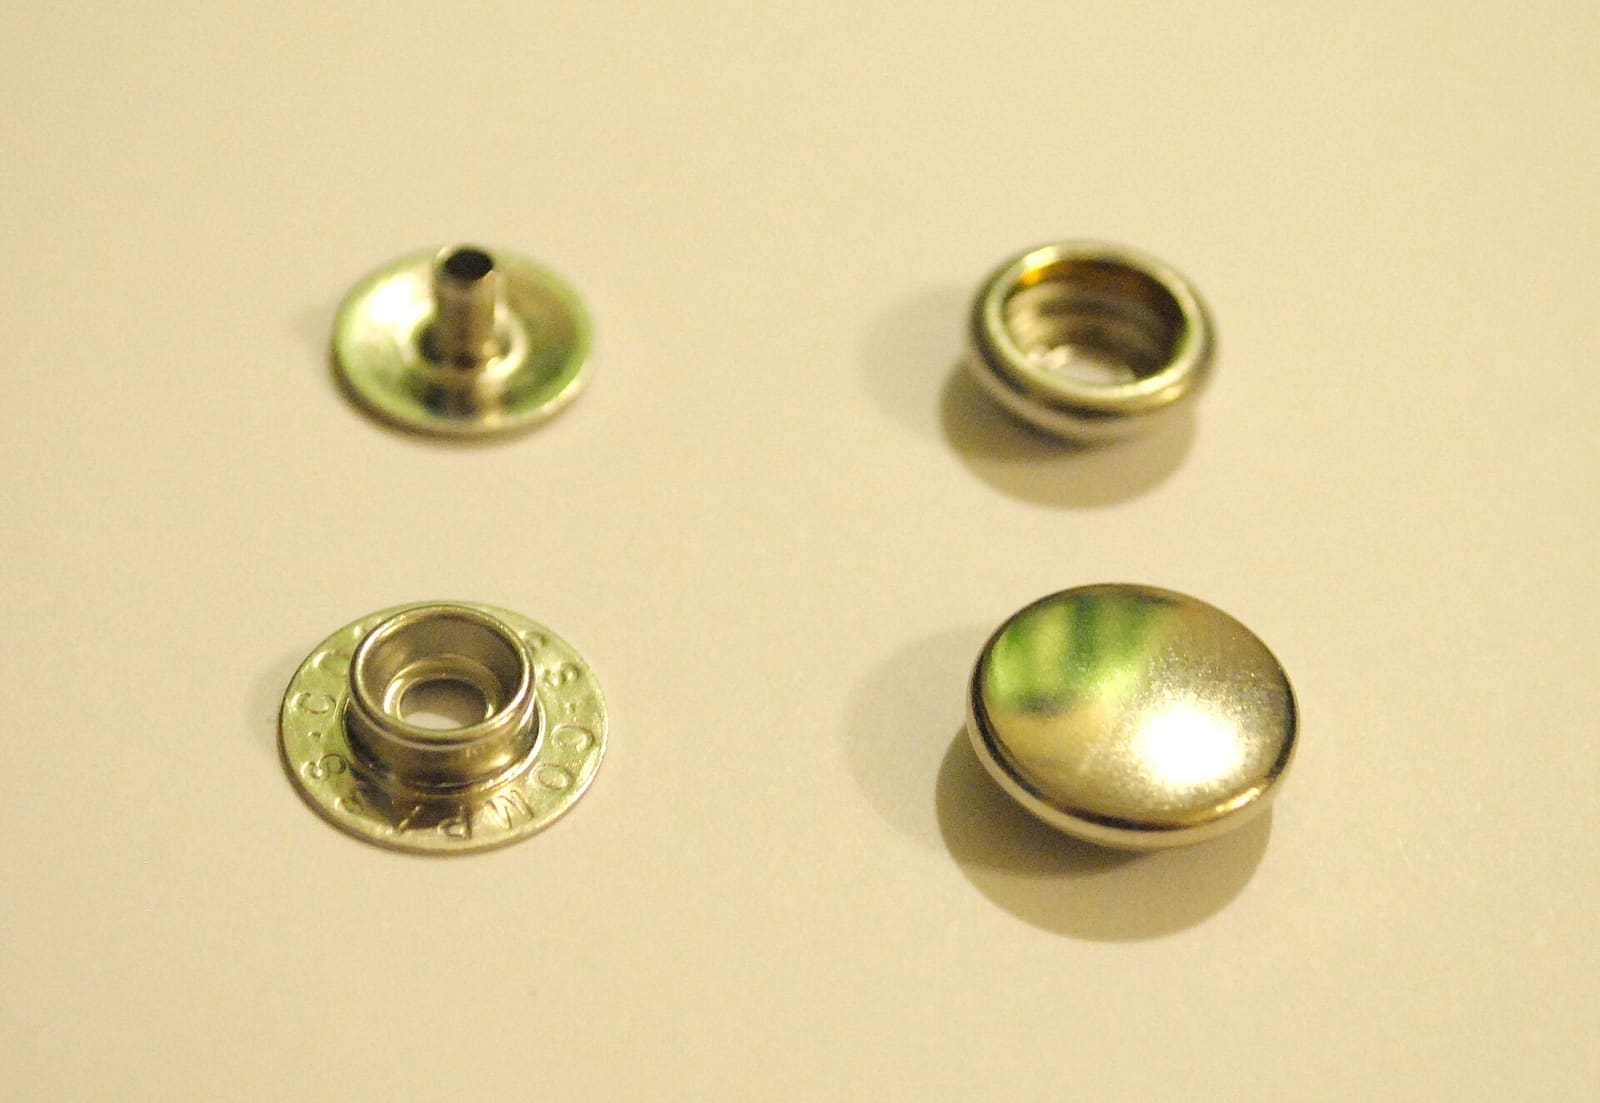
Know the parts. A standard snap has four pieces. On the canvas: a button (cap) on the outside and a socket underneath. On the boat or the mating fabric: a stud, either a screw stud in the boat or a stud with an eyelet through fabric.
Snap metals:
- Nickel-plated brass: the most common on boat canvas. Easy to set with basic tools. Over years it can corrode and stiffen, especially in salt water.
- Stainless steel: resists corrosion better but is harder to set. Sailrite says its basic hammer-set tool is for brass snaps only; stainless needs a heavier tool rated for it.
- Match the brand and size of your existing snaps. Different makes don't always mate.
Typical schedule: check snaps and zippers whenever you put canvas on or take it off, and lubricate them every few weeks in season. Typical; adjust for salt and sun.
Steps
To undo a tight snap, slide a finger under the fabric and pull straight up on the snap itself, or use a snap-release tool. Don't peel the canvas away. If a snap is crusted with salt, rinse it with fresh water, work in a snap lubricant (Boating Magazine suggests even a wax crayon or candle works), and wait a minute before trying again.
Canvas shrinks in cold. Put covers and enclosures on when they're warm (a sunny afternoon), or warm the fabric a little in the sun first. Never use a heat gun on canvas or clear vinyl. If a snap still won't reach after the canvas is warm, a snap extender (a short strap with a snap at each end) or a new stud placed slightly closer is better than forcing it.
- Clean pull-out, fabric intact: you can usually set a new snap in the same place or right next to it.
- Torn or frayed hole: you need a patch on the underside first.
- Long tear, rotten fabric or a seam failure: this is a canvas shop job.
Take the canvas off the boat if you can. It's much easier to work on a table.
If the button and socket are still riveted together but loose, cut or pry them apart with flat-nose pliers or end cutters. Work gently so you don't tear more fabric. Snip off loose threads around the hole.
A snap that won't stay closed but the fabric is fine: Sailrite explains that the socket has a small wire spring inside that grips the stud, and over years of opening and closing the spring loses its strength. The fix is a new socket, not a new stud. Sailrite's method is to drill off the old rivet from the rolled (socket) side with a drill bit slightly bigger than the rivet; it takes very little drilling before the button and socket come apart. Hold the button with pliers while you drill. Two things to check before ordering: whether it's a one-way Pull-the-DOT socket (it has a ramped inner edge and the name on the cap) or a normal one, and whether the old parts are nickel-plated brass or stainless. Sailrite says the easiest way to tell is to cut an old socket in half with tin snips (brass shows yellow inside) and warns not to mix brass and stainless parts. Standard marine snap caps are about 5/8 inch across.
Cut a patch of matching canvas. Boating Magazine recommends making it at least four times bigger than the hole; bigger is better. Round the corners so they don't peel. Attach it to the underside:
- Sew it around the edge with UV-resistant thread (PTFE thread outlasts standard polyester), or
- Glue it with an outdoor-rated fabric adhesive and weight or clamp it for several hours, as the label says.
Iron-on patches usually don't hold on marine acrylic.
Put the canvas on a cutting block or scrap of hardwood. Punch a 1/8-inch hole through the canvas and patch with a hole cutter and mallet, or a drill hole cutter. An awl works in a pinch. If the old spot is too damaged, punch the new hole close by and use a snap extender to bridge the gap to the existing stud.
- Push the button through the hole from the outside so its post sticks out the underside.
- Put the socket over the post on the underside.
- Nest the button in the matching side of the anvil.
- Line up the setting tool and give it a firm, sharp blow with the mallet (or squeeze a press or plier tool hard). You're riveting the button to the socket.
Boating Magazine found a hammer-set tool better than cheap pliers on thick, doubled seams. Press-type tools punch and set in one go and leave a hand free to hold the canvas. Test the snap: it should not spin loosely in the fabric.
If the boat-side screw stud is bent, corroded or loose, unscrew it and fit a new one in the same hole. Use the same screw type (stainless for marine use). Put a dab of marine sealant on the screw so water can't wick into the deck. A stripped hole into a cored deck or hull needs proper repair, not a bigger screw.
Adding studs for a new cover (a common question when a new cover arrives without matching snaps): BoatUS's method is to fit the cover on a calm day, line it up using its seams and corner patches, and add just one snap and stud as an anchor. Then work around the edge, pulling the canvas snug and marking each next spot with a grease pencil. Before drilling, check the screw size against the stud and drill a test hole in scrap, look behind the surface for wiring, tanks and hoses, and seal each hole as you set the stud. Practice setting a snap or two in scrap canvas first. Leave a little slack if your fabric shrinks in cold weather, or keep a few snap extenders handy.
Lift-the-Dot fasteners have a socket on the canvas held by small prongs bent over a backing plate, and a stud on the boat. They release only when lifted on one side.
- To remove: pry each prong straight, then lift off the plate and socket.
- Check the fabric. Reinforce it with a patch if it's torn (step 5).
- To install: push the new socket's prongs through the fabric, put the backing plate on, and bend each prong inward over the plate. Tap them flat with a soft mallet or a hammer and wood block. Don't hit hard enough to crush the socket.
- Line the socket up so it releases in the direction you want. The release side is usually away from the strain.
Twist fasteners use an eyelet in the canvas that slips over a turn button on the boat. Remove the old eyelet by bending its prongs back or cutting it out. Reinforce the fabric if needed, cut the slot to match the new eyelet, then fit it and bend its prongs over the backing plate. If the turn button on the boat is corroded or loose, replace it the same way as a snap stud (step 8).
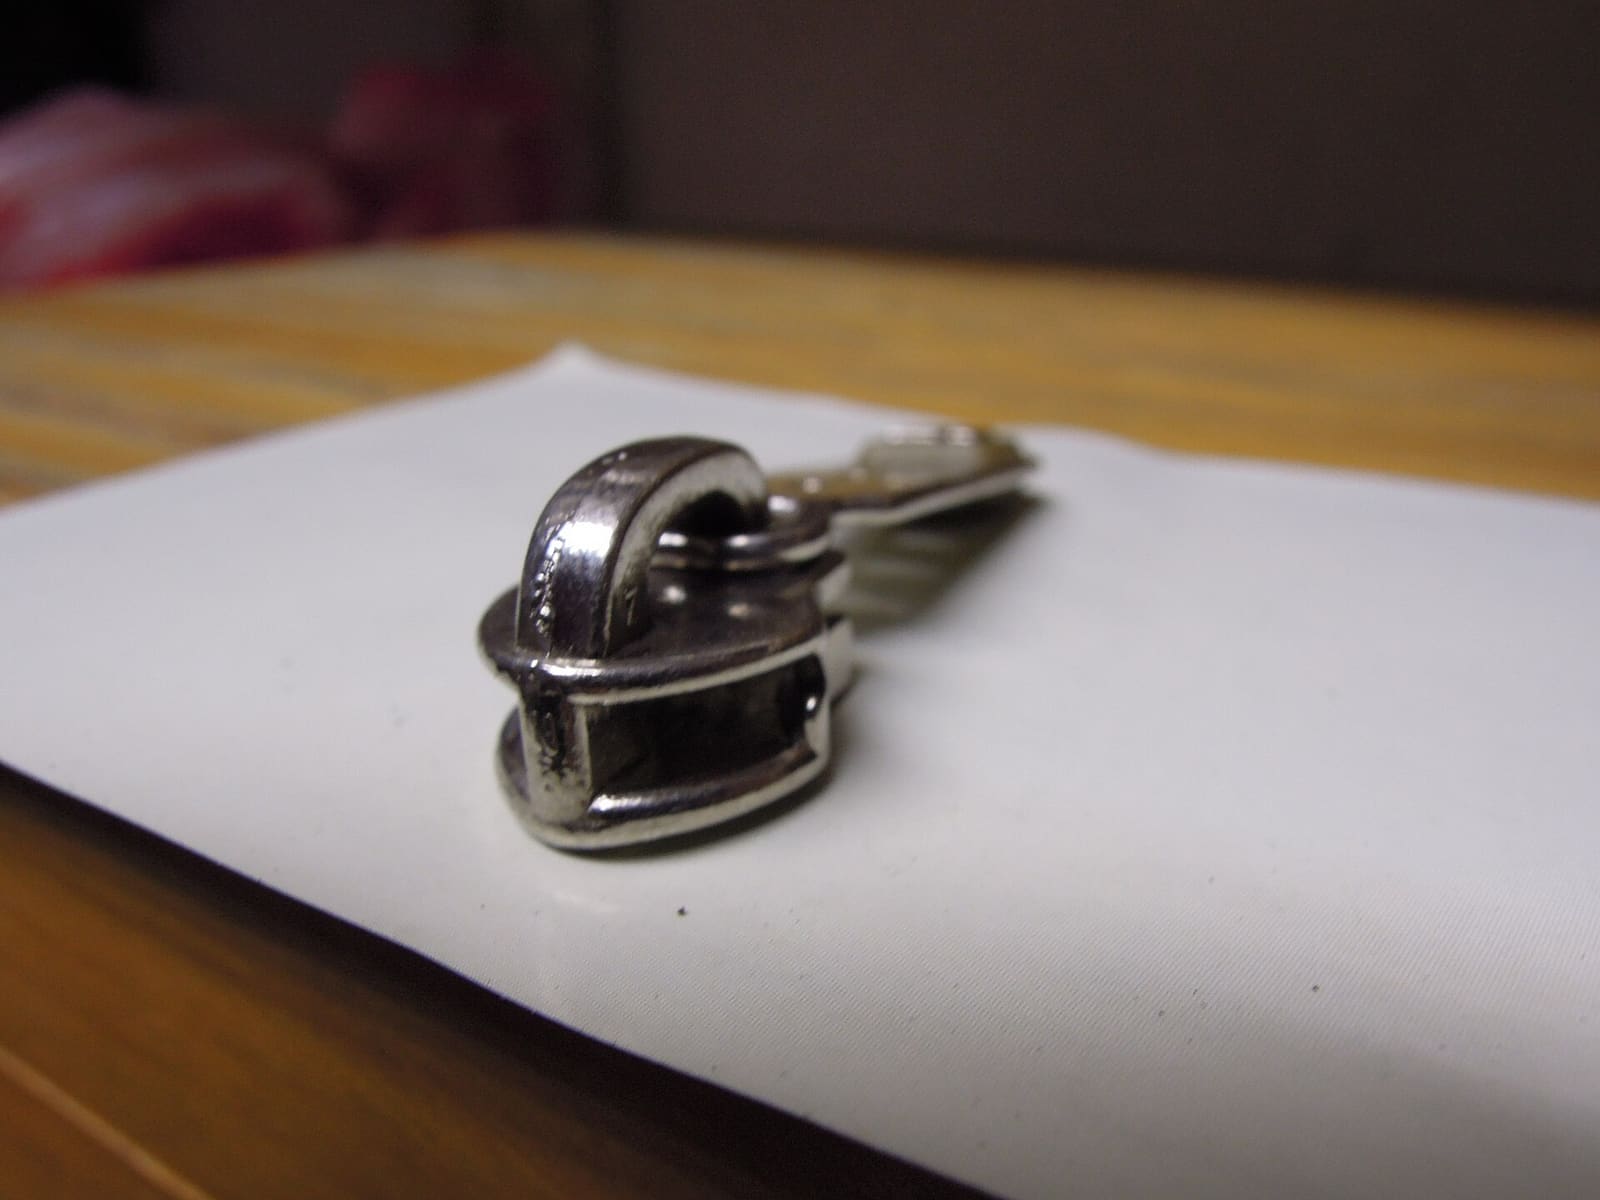
A worn or corroded slider is often the real reason a zipper won't close. Photo: Oto Zapletal / Wikimedia Commons · CC0 1.0 If the teeth look fine but the zipper splits behind the slider, the slider is usually worn or spread.
- Note the zipper size (often stamped on the back of the slider, such as #5, #8 or #10) and type: molded plastic teeth or coil. Buy a replacement slider that matches both.
- At the open end, remove the stop with pliers, or open a few stitches of the end seam if there's no stop.
- Slide the old slider off and feed the new one on the right way round, with both rows of teeth entering evenly.
- Refit the stop or re-sew the end so the slider can't come off.
Missing or broken teeth, or a zipper that's chalky and brittle from sun, needs a new zipper. That's a sewing job a canvas shop can do quickly.
Rinse snaps and zippers with fresh water after salty trips. Lubricate them every few weeks with a snap and zipper lubricant or wax. Open and close every zipper and snap now and then, even ones you rarely use, so they don't seize. Log repairs in BoatMend so you can see which spots keep failing.
Common mistakes
- Pulling on the canvas to undo a snap. That's how most tears start. Lift the snap itself.
- Forcing cold canvas. It shrinks in cold weather. Install it warm or use an extender.
- Setting stainless snaps with a light-duty brass tool. The tool can deform, and the snap won't set properly.
- No patch under a torn hole. The new snap pulls out again within weeks.
- Iron-on patches on acrylic canvas. They usually peel off.
- Mixing snap brands or sizes. They may not mate or may pop open in wind.
- Driving bigger screws into a stripped deck hole. It hides a leak that can rot the core.
When to call a pro
- Tears longer than a few inches, rotten fabric, or seams failing over long sections
- A zipper with missing teeth or brittle tape, especially a long enclosure zipper
- Snap studs pulling out of the deck, or a soft or wet-feeling deck around them
- Clear vinyl window panels torn at a snap or zipper (see
isinglass-enclosure-care) - Many snaps failing at once, which usually means the canvas has shrunk or is near the end of its life
Tips
- Keep a small snap kit, a few extenders and a lubricant stick on board.
- Ask a canvas shop for scrap fabric in your color for patches.
- Mark the inside of each panel with a number so it goes back in the same place.
- When ordering new canvas, ask about stainless or better-quality snaps for salt-water boats.
Official references
We read these to write this guide. Your engine's own manual always wins.
Safety: BoatMend is for information only and does not replace a certified marine technician. You are responsible for your safety and your boat. Read the full disclaimer.
Last updated 2026-10-25
Related guides

How to Clean and Protect Boat Canvas, Bimini Tops and Vinyl Seats
Wash your bimini, covers and enclosure the right way, beat mildew without wrecking the stitching, keep vinyl seats soft and stain-free, look after zippers and snaps, and store everything so it comes out clean next spring.
How to Replace or Re-Cover a Bimini Top
Decide whether you need new canvas or a whole new top, measure your frame the right way, pick a fabric that will last in the sun, check the frame and hardware, and swap the canvas yourself or brief a canvas shop.
How to Fit, Support, Clean and Store a Boat Cover
Make your mooring or storage cover last for years by getting the fit right, supporting and venting it so water never pools, using a cover that's rated for the highway, cleaning and re-waterproofing it the right way, and fixing small tears before they grow.
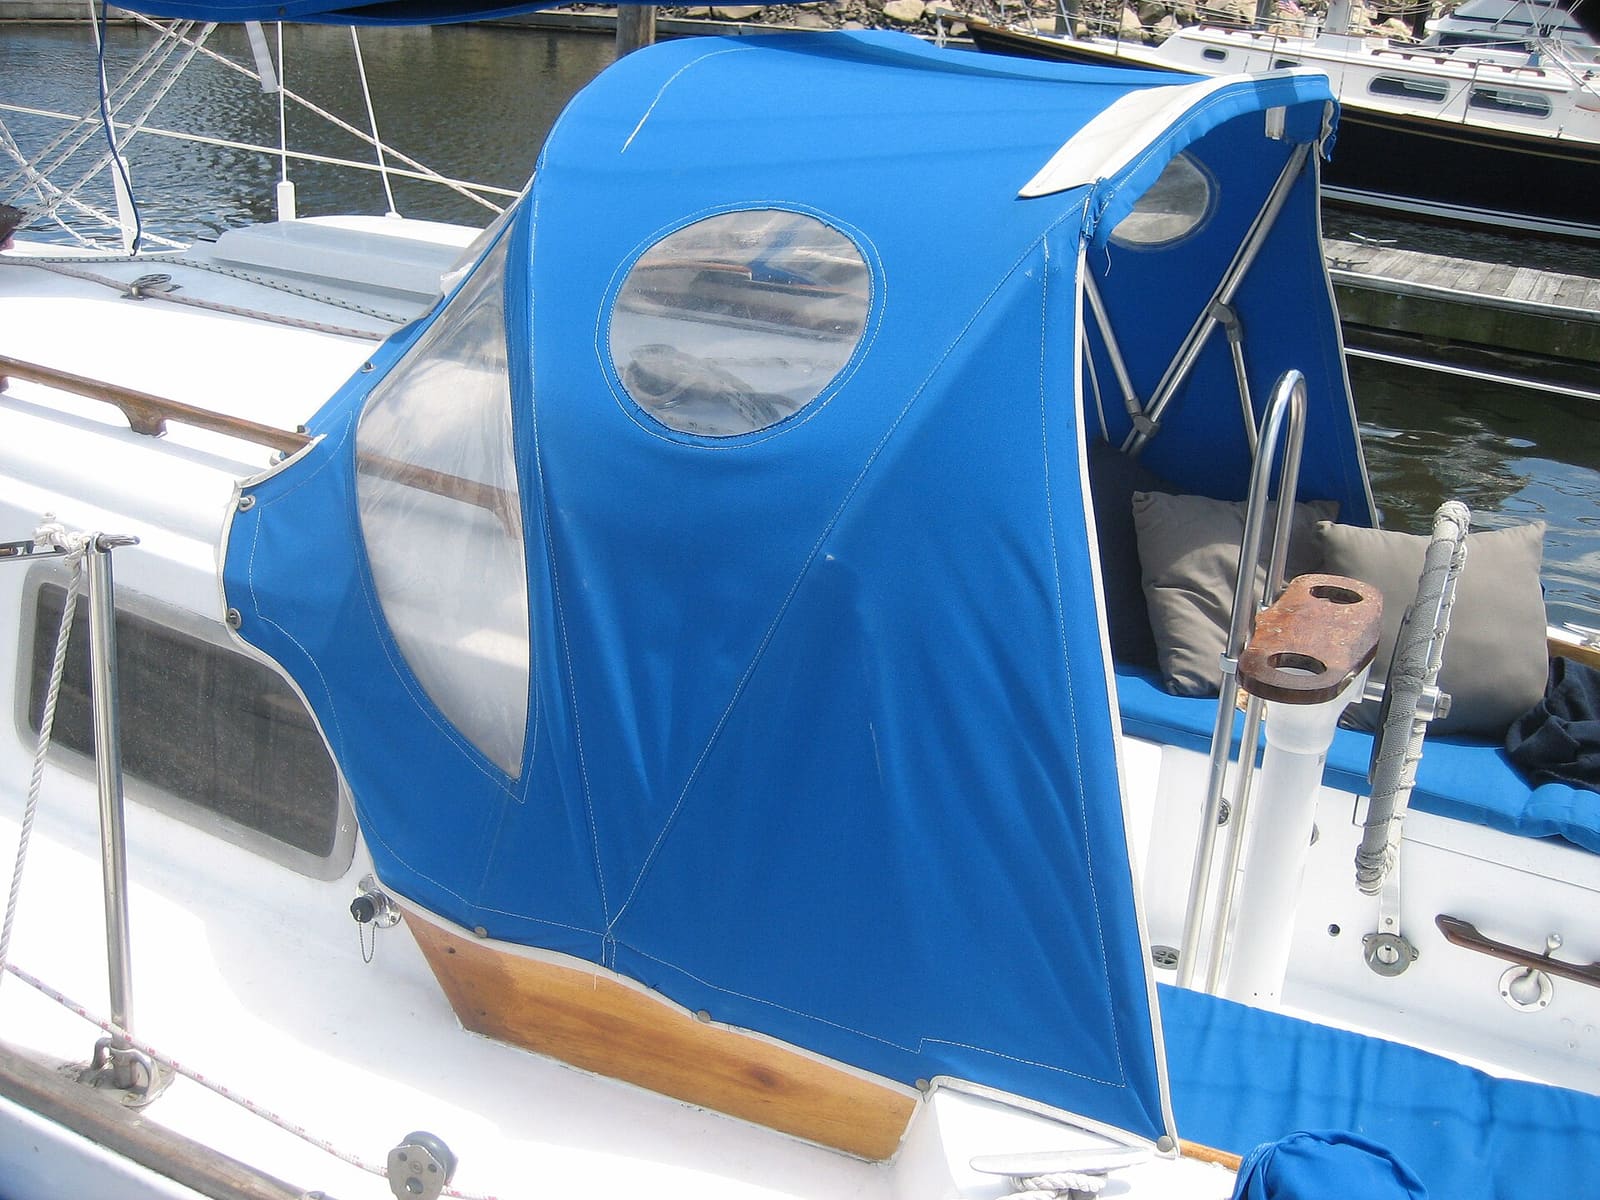
How to Clean and Care for Clear Vinyl (Isinglass) and Polycarbonate Enclosure Panels
Keep the clear windows in your dodger, bimini curtains or full enclosure clear for years by cleaning them the right way, storing them without scratches and avoiding the cold-weather and chemical mistakes that ruin them. Covers soft clear vinyl, coated vinyl like Strataglass, rigid panels and zippers.
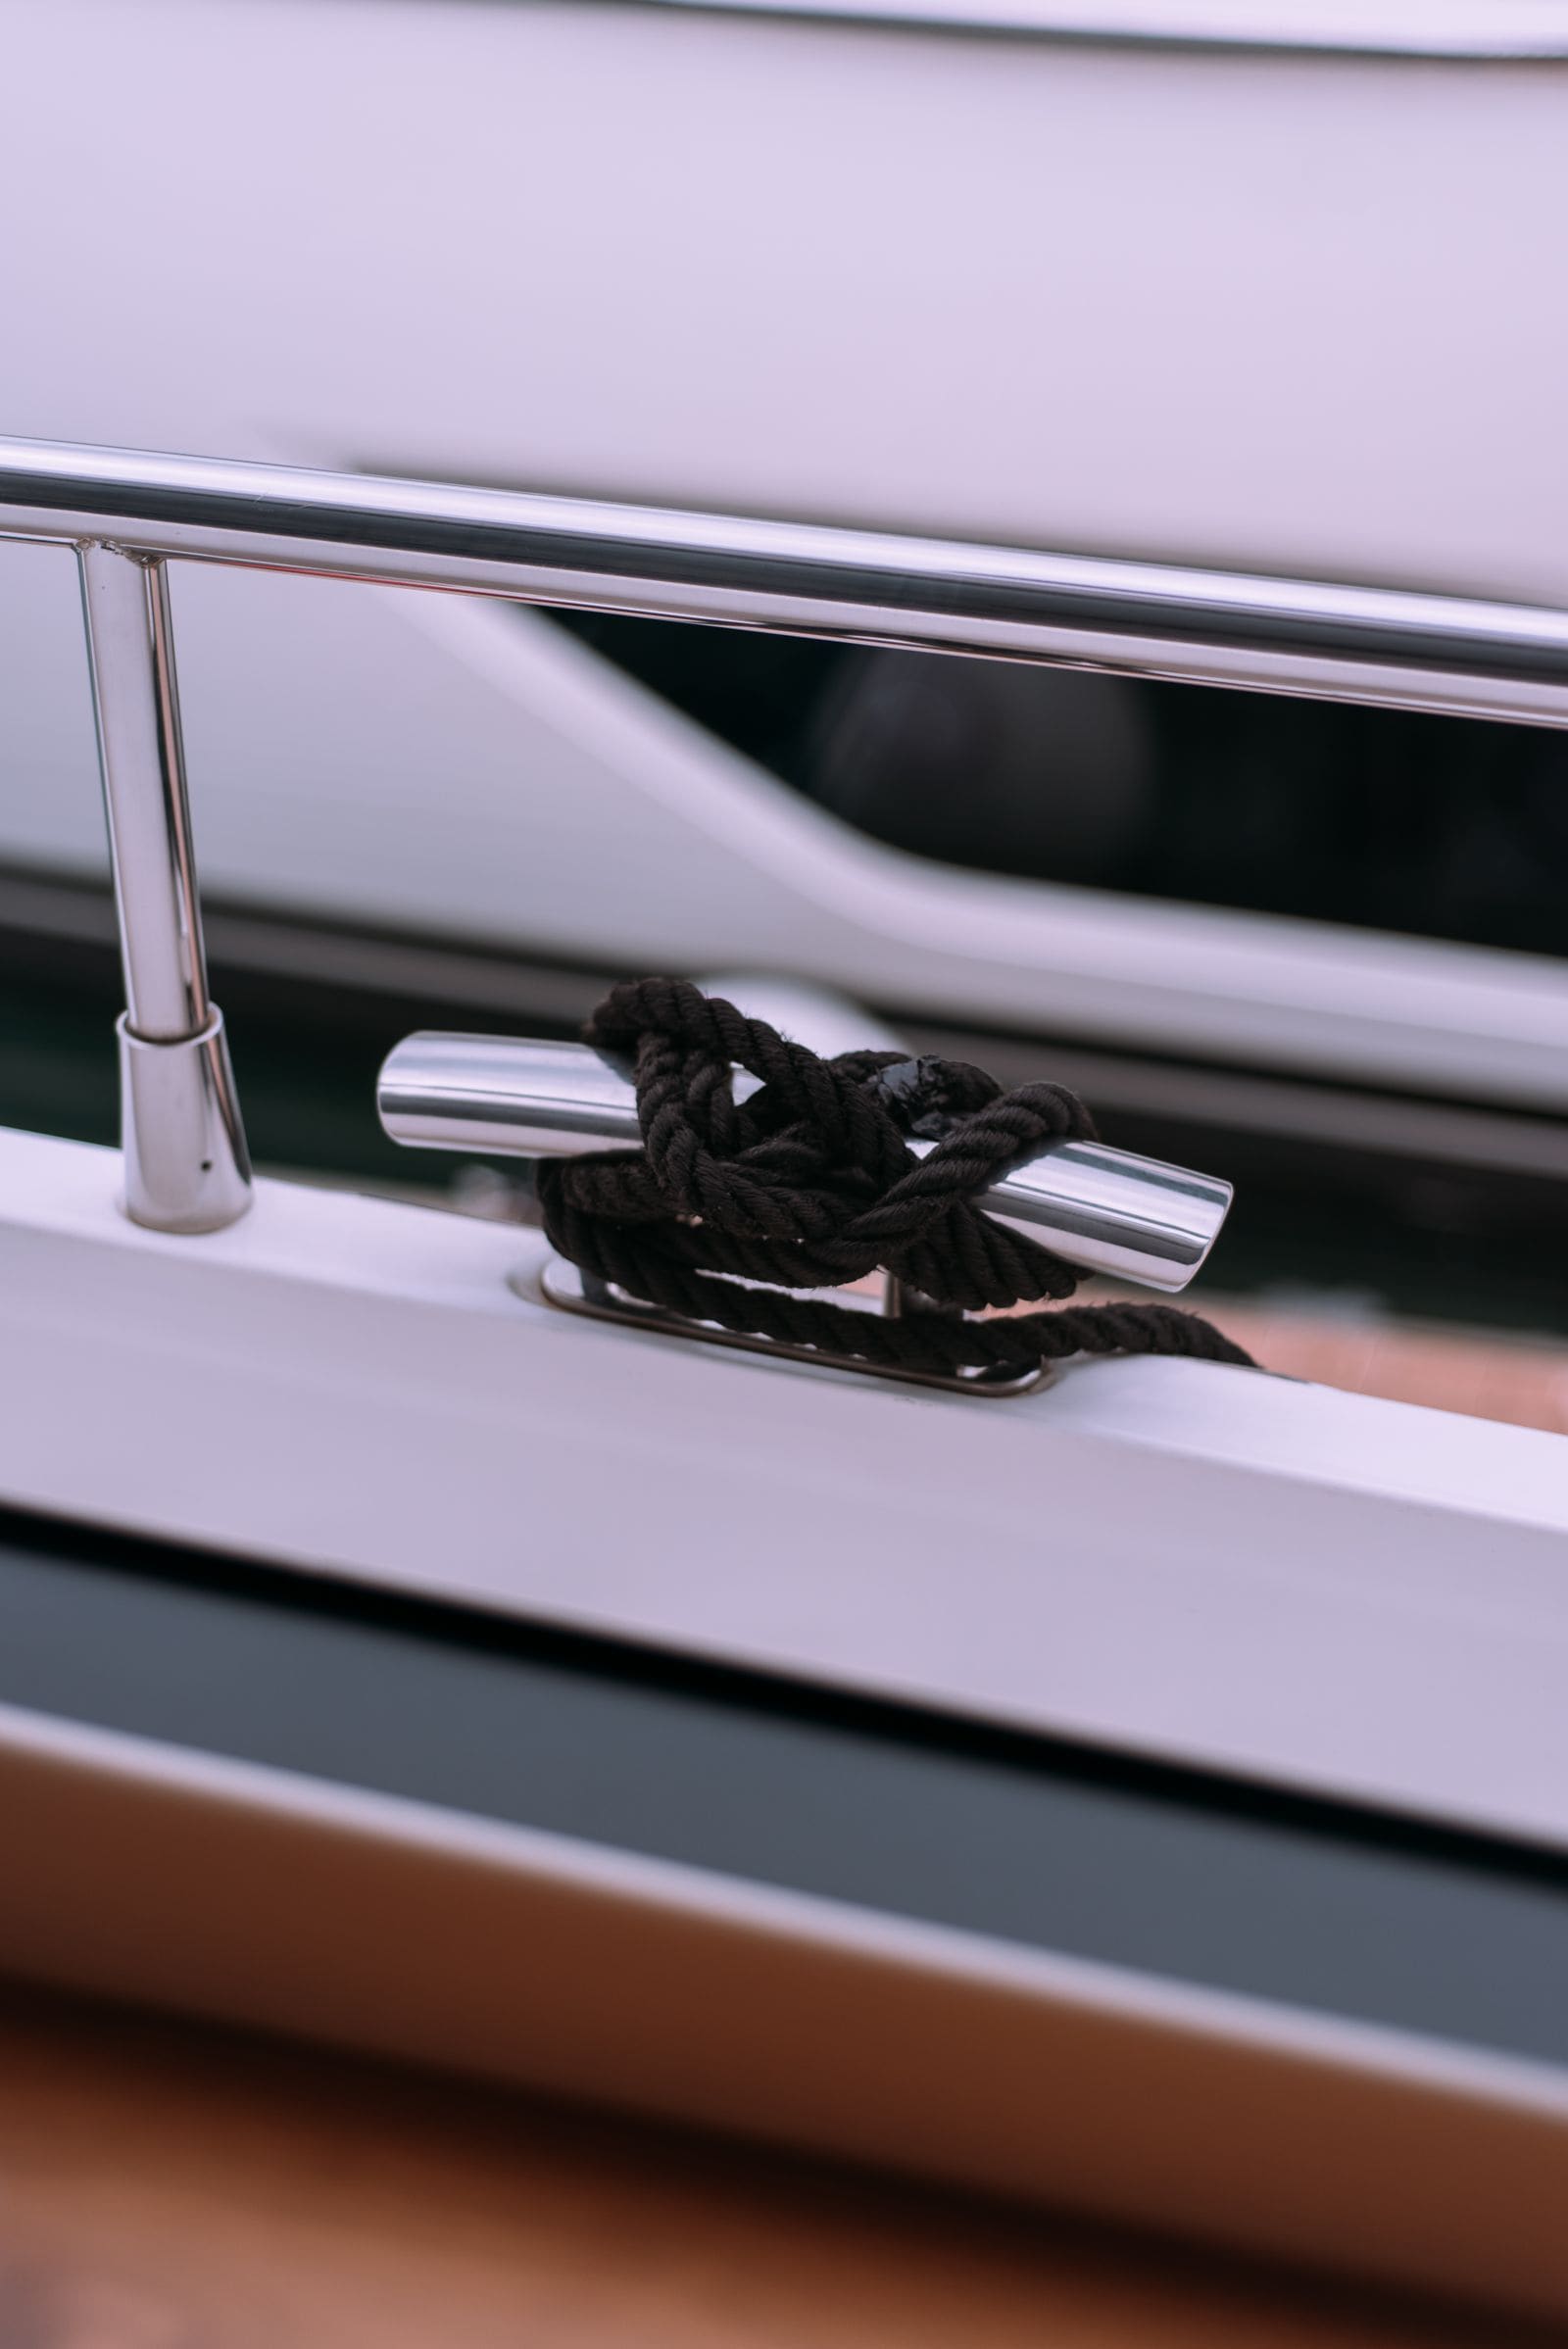
How to Clean, Protect and Inspect Stainless Steel Boat Hardware
Remove tea stains and rust from rails, cleats and fittings without scratching them, passivate stainless so it stays clean longer, understand why 304 and 316 behave differently, and spot the hidden crevice corrosion that weakens fittings from underneath.