How to Install and Set Up Forward-Facing (Live) Sonar
Mount a live sonar transducer such as Garmin LiveScope, Lowrance ActiveTarget or Humminbird MEGA Live on your trolling motor or a pole, give it clean power, route the cable so it survives stow and deploy, and dial in the basic settings. Most "bad picture" and "dead transducer" problems trace back to one of these steps.
Time
3 h
Shop would charge
$200-600
Applies to
All engines · Fishing boat, Pontoon, Center console
Safety first: Disconnect the trolling motor from its batteries before you work on the shaft or head, so it can't start or turn while your hands are near the prop. Every power wire you add needs a fuse close to the battery: an unfused wire that chafes through can start a fire. If you smell hot insulation or see smoke, cut power at the battery switch and leave the wiring to a marine electrician.
Owners often ask
- My LiveScope picture is full of streaks and dropouts. Should I power it from the trolling motor batteries or the cranking battery?
- How do I zip-tie a forward-facing sonar cable to the trolling motor shaft without it breaking when I stow and deploy?
This guide walks you through it. Still stuck? Ask the AI Mechanic about your engine.
Tools
- Screwdrivers, hex keys and a small socket set
- Wire stripper, crimper and heat gun
- Multimeter
- Black electrical tape and a few UV-rated zip ties
- Drill with bits and a fish tape (for routing cables through the boat)
- Marine sealant for any new holes above the waterline
Parts & supplies
- Live sonar kit for your brand (transducer, mount, and sonar module if your system uses one)
- The mount made by your sonar maker for your trolling motor or pole
- Fuse holder and the fuse rating your sonar maker specifies
- Marine-grade tinned wire of the gauge your sonar maker specifies, heat-shrink butt connectors
- Ethernet or network cable and extensions from the sonar maker, if needed
Before you start
What live sonar is. Forward-facing or "live" sonar shows moving, real-time images of fish, bait and cover in front of or below the boat. The main systems are Garmin LiveScope, Lowrance ActiveTarget and Humminbird MEGA Live (Minn Kota sells its own version too). They are much more sensitive to mounting angle, power quality and cable care than a regular fishfinder transducer.
Check compatibility first. Each system works only with certain displays and software versions. For example, Humminbird lists MEGA Live 2 as working with specific XPLORE, APEX and SOLIX G3 units on a minimum software version, and not with HELIX. Look up your display, your trolling motor and the mount on the sonar maker's compatibility page before you buy anything.
Know your parts. Depending on the brand and generation, the kit can be:
- A transducer, a separate sonar module (the "black box") and cables to the display, or
- A transducer with the electronics built in that connects with a power and network cable. Garmin's LiveScope 2 wiring diagram, for example, shows the transducer going straight to a Y-split power cable and the chartplotter.
Read the installation guide for your exact model. This guide covers what they have in common.
Steps
- Trolling motor shaft or barrel: the transducer turns with the motor, so it points wherever you steer. This is the most common setup on bass and multi-species boats. Some motors have a dedicated mounting point on the lower unit (Lowrance offers a Recon motor mount, and Garmin a bottom mount for its Force Kraken).
- Pole mount: a separate pole, often with its own motorized or manual turning head, lets you aim the sonar without moving the boat. Garmin says pole installs are similar to shaft installs and call for a rubber liner on thin poles. Pontoon and center-console owners often prefer a pole.
Use the mount made by your sonar maker (or one it approves) for your motor. Garmin warns that third-party or homemade mounts can lead to a damaged or lost transducer, and that loss is not covered by its warranty.
Live sonar has several views (Garmin and Lowrance call them Forward, Down and Perspective or Scout; Humminbird uses Forward, Down and Landscape). Each view needs the transducer at a specific angle. Decide which view you'll use most, then follow the mount instructions for that angle. Garmin's tool-free knobs let you switch views quickly; its low-profile hardware locks one view in place.
Keep the transducer where it won't hit the ramp, trailer or dock when you launch, haul out or stow the motor. Garmin lists this as a basic mounting rule.
Disconnect the trolling motor first. Clean the shaft where the mount will clamp, fit any rubber liner that comes with the kit, and tighten the clamp evenly so the mount points the right direction (Garmin's barrel mount has arrows that must point up). Attach the transducer and hand-tighten the knob, or use the low-profile hardware for a permanent position.
On Humminbird MEGA Live, fit the mask that comes in the box. Humminbird says it prevents double returns on screen, especially in Forward mode, and gives a shorter mask length for the narrowest angle. Check your model's guide.
This is where most live sonar cables fail. The motor rotates and the shaft stows and deploys, which bends the cable thousands of times. Garmin's rules for LiveScope 2:
- Tape the cable to the shaft above and below the rotating joint with black electrical tape. Zip ties and clamps can over-tighten, crush the cable or cause fatigue; if you use zip ties, keep them loose.
- Leave a service loop around the rotating joint, centered on the joint, so the transducer can turn fully both ways without the cable pulling tight.
- Don't bend the cable tighter than the minimum bend radius in the manual.
Then turn the motor fully left and right and stow and deploy it several times while watching the cable. It should never stretch tight, rub on the prop or get pinched in the mount.
Run the cable along the same path as the trolling motor's cables, through a cable grommet or an existing chase, to the module or display. Garmin says the transducer cable must not touch the prop, should stay away from other electrical wires and interference sources, and must not be pinched when stowed or deployed. If you drill any new hole, keep it above the waterline, seal it, and use a grommet so the edges can't chafe the jacket. Coil extra cable loosely; never cut and splice a transducer cable unless the maker says you can.
Put the black box in a dry place inside a console or storage compartment, off the floor where bilge water or rain can reach it, and where you can still see its connectors. Mount it so cables enter from below or the side and drip loops keep water from running into the plugs. Leave room to unplug the cables later.
- Run power from a dedicated circuit: straight to the battery through the fuse the maker specifies, or through a properly wired switch panel. Garmin's LiveScope 2 diagram shows a fuse in the positive lead and warns not to remove it.
- Don't power it from the trolling motor batteries unless your manual says that's fine. Humminbird specifically warns not to connect MEGA Live (1st generation) or MEGA 360 through the trolling motor battery bank because it can cause interference and false "Out of Water" messages.
- If the power lead is too short, extend it with the wire gauge from the maker's table, using marine connectors and heat shrink. Garmin gives a maximum extension length; longer runs drop the voltage the transducer needs.
- Connect any drain or shield wire exactly as the manual says. Humminbird traces rust on the MEGA Live wet switch to a drain wire that isn't connected to the battery negative, and says that rust can permanently damage the transducer.
Plug the network or Ethernet cable into the display or network switch, using the maker's adapter if your display has an older port. Then update the software on the display, the sonar module and any accessory (such as a steering head) to the current versions. Humminbird's troubleshooting list starts with software, and some features and compatibility depend on it.
Power up with the transducer in the water; most live sonar is not meant to transmit in air. Select the transducer as the live sonar source if the display asks. If your system has a heading sensor or compass (Garmin LiveScope 2 has a compass calibration step), calibrate it on calm water following the on-screen steps.
If nothing shows up, look at the sonar module's status light before you start pulling cables. Garmin's LiveScope Plus instructions, for example, list blink codes on the module: one pattern means it's powered but waiting for the chartplotter, others mean a software update is running, the transducer isn't detected (check that connection), or the input voltage is too high. Other brands use their own codes, so keep the list from your manual on your phone.
Start with the defaults, then adjust one setting at a time:
- Gain: lower it to show only the strongest returns; raise it to see more detail, but more noise too (Garmin's explanation).
- Range (forward and depth): automatic follows the bottom; set it manually when the bottom changes a lot or you want a fixed view ahead.
- Mode: confirm the display is in the mode that matches your mount angle. Humminbird can choose the mode automatically, but you can set it by hand.
- Sonar transmit: turn it off when you're not using the sonar.
For more on reading the screen and tuning the picture, see the sonar settings guide.
Live sonar can pick up noise from your other fishfinders. Humminbird's MEGA Live 2 rejects interference from units on the same network automatically, but MEGA Live 1 needs the setting turned on, and units that aren't networked can't be filtered at all. If you see streaks or speckles, turn off other transducers one at a time to find the source, network your units if your brand supports it, or use the sonar-sharing settings in your display manual. Electrical noise is a separate cause: Garmin includes a snap-on ferrite bead with LiveScope Plus and says to clip it around each transducer cable near the connector to reduce interference. If your kit came with one, make sure it actually went on.
- Stow the motor before running at speed and slow down in stumpy or rocky water: a hit can crack the transducer or bend the mount.
- Don't paint the transducer or its shaft. Humminbird says paint can block drain holes and stop the shaft sliding, and the damage isn't covered by warranty.
- When trailering long distances or storing the boat, consider removing the transducer (many mounts use a knob) and keeping it indoors. Live sonar transducers are expensive and are a common theft target.
- Rinse with fresh water after saltwater use; no pressure washer on the transducer face.
Look for cuts or flattened spots in the cable at the pivot, a loose mount clamp, corrosion on plugs, and cracks in the transducer housing. Recheck that the cable still clears the prop through full rotation. Garmin notes that growth on the transducer face builds up quickly and cuts performance; wipe it off with a soft cloth and mild detergent rather than scraping it. Log each check in your BoatMend boat profile.
Common mistakes
- Zip-tying the cable tight to the shaft. The cable fatigues and breaks at the tie, usually right at the pivot.
- No service loop. The first full turn of the motor pulls the cable tight; over time the jacket splits.
- Powering from the trolling motor batteries or splicing into another accessory's wire. That brings noise, "Out of Water" messages and random dropouts.
- Skipping the software updates. Many "won't connect" problems are version mismatches.
- Wrong mount angle for the selected mode. The picture looks upside down, half empty or doubled.
- Leaving the transducer on the motor while trailering on rough roads or launching without watching it near the trailer bunks.
When to call a pro
- You need a new circuit from the main panel or batteries and aren't comfortable sizing wire and fuses
- You smell hot wiring, a fuse keeps blowing, or a wire is warm to the touch
- Holes must be drilled near or below the waterline, or through a structural deck
- The transducer still shows "Out of Water" or won't connect after you've updated software and checked power and cables: the sonar maker's tech support or a dealer can test it
- The cable or transducer housing is cut or cracked: it usually needs factory repair or replacement
Tips
- Take a photo of every connector and label both ends of each cable before closing up the console.
- Keep the service loop and tape points marked with a paint pen so you can see if anything slips.
- A spare fuse of the right rating in the boat's toolkit saves a fishing day.
- Write the transducer serial number in your BoatMend profile for insurance and theft reports.
Official references
We read these to write this guide. Your engine's own manual always wins.
- Garmin – LiveScope 2 Transducer Installation Instructions, Mounting Considerations
- Garmin – LiveScope 2, Cable Considerations
- Garmin – LiveScope 2, Routing the Transducer Cable
- Garmin – LiveScope 2, Installing the Transducer on a Pole
- Garmin – LiveScope 2, Installation Wiring Diagram
- Garmin – LiveScope 2, Power Cable Extension
- Garmin – LiveScope and Perspective Sonar Settings (ECHOMAP UHD help)
- Lowrance – ActiveTarget 2 Shaft Mount
- Humminbird Help – MEGA Live 2 Compatibility and Installation
- Humminbird Help – MEGA Live Mask Installation
- Humminbird Help – MEGA Live Modes and Viewing Angles
- Humminbird Help – MEGA Live Interference
- Humminbird Help – Out of Water Message on MEGA Live or MEGA 360
- Humminbird Help – Why am I seeing rust on my MEGA 360 or MEGA Live wet switch?
- Humminbird Help – Can I paint my MEGA 360 or MEGA Live?
- Humminbird Help – How to Prevent Wear and Tear to the MEGA Live TargetLock
- Humminbird Help – Mounting a transducer to a trolling motor
- Garmin – LiveScope Plus LVS34 Installation, Installing the Ferrite Bead
- Garmin – LiveScope Plus LVS34 Installation, Blink Codes
- Garmin – LiveScope Plus LVS34 Installation, Cleaning the Transducer
Safety: BoatMend is for information only and does not replace a certified marine technician. You are responsible for your safety and your boat. Read the full disclaimer.
Last updated 2026-10-25
Related guides
Fish Finder Settings: How to Tune Your Sonar for a Clearer Picture
Get more out of your fish finder by setting frequency, gain (sensitivity), range, contrast, color palette and noise filters on purpose instead of leaving everything on auto, plus how to set the depth offset and track down interference from other electronics.
How to Place and Adjust a Side-Imaging and Down-Imaging Transducer
Get a clear, even picture on both sides of your side-imaging sonar by putting the transducer in clean water, at the right height, level, and where nothing blocks its beams. Then test at trolling speed and fine-tune in small steps.
Fish Finder and Depth Sounder Transducers: Mounting, Fixing Bad Readings and Cleaning
Where and how to mount a transom-mount transducer so it reads cleanly at speed, how to track down lost bottom readings and noisy screens, how to clean and paint a transducer without ruining it, and why thru-hull transducers are a haul-out job for a pro.
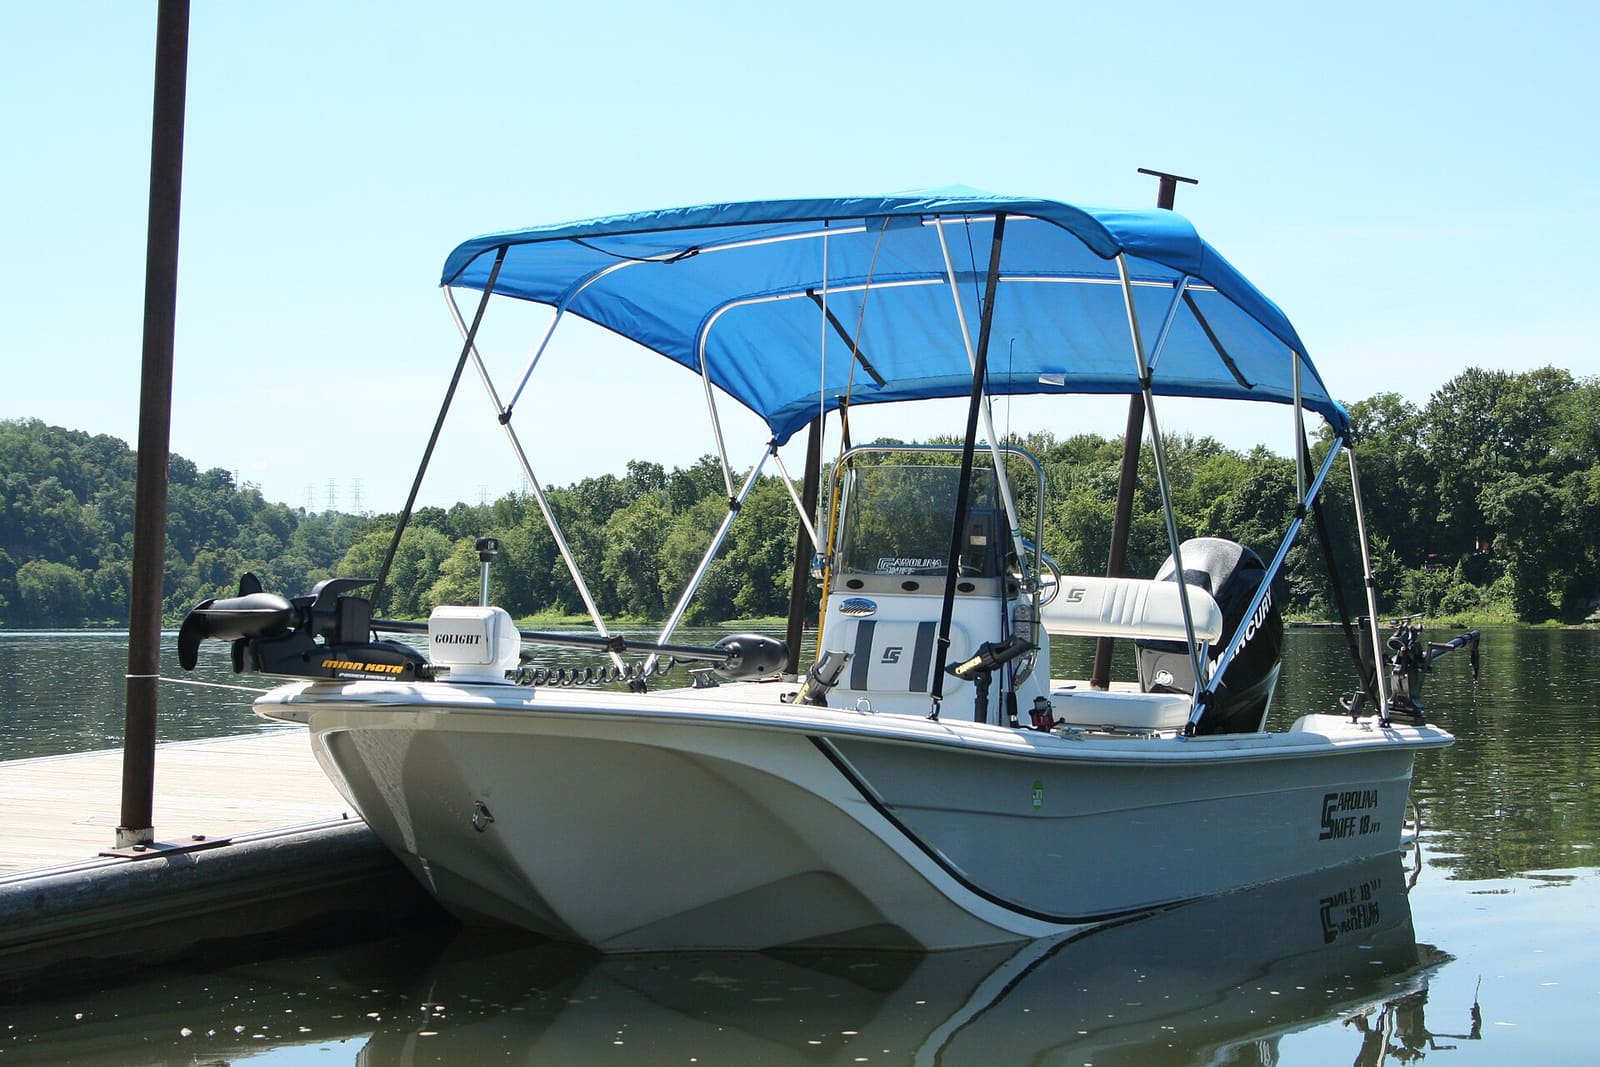
How to Install a Bow-Mount Trolling Motor
Mount a bow-mount trolling motor so it stows and deploys cleanly and stays put: pick the right shaft length and spot, check clearance in every position, through-bolt it with backing, consider a quick-release bracket, and wire it with the breaker, wire size, plug and voltage the motor maker specifies.
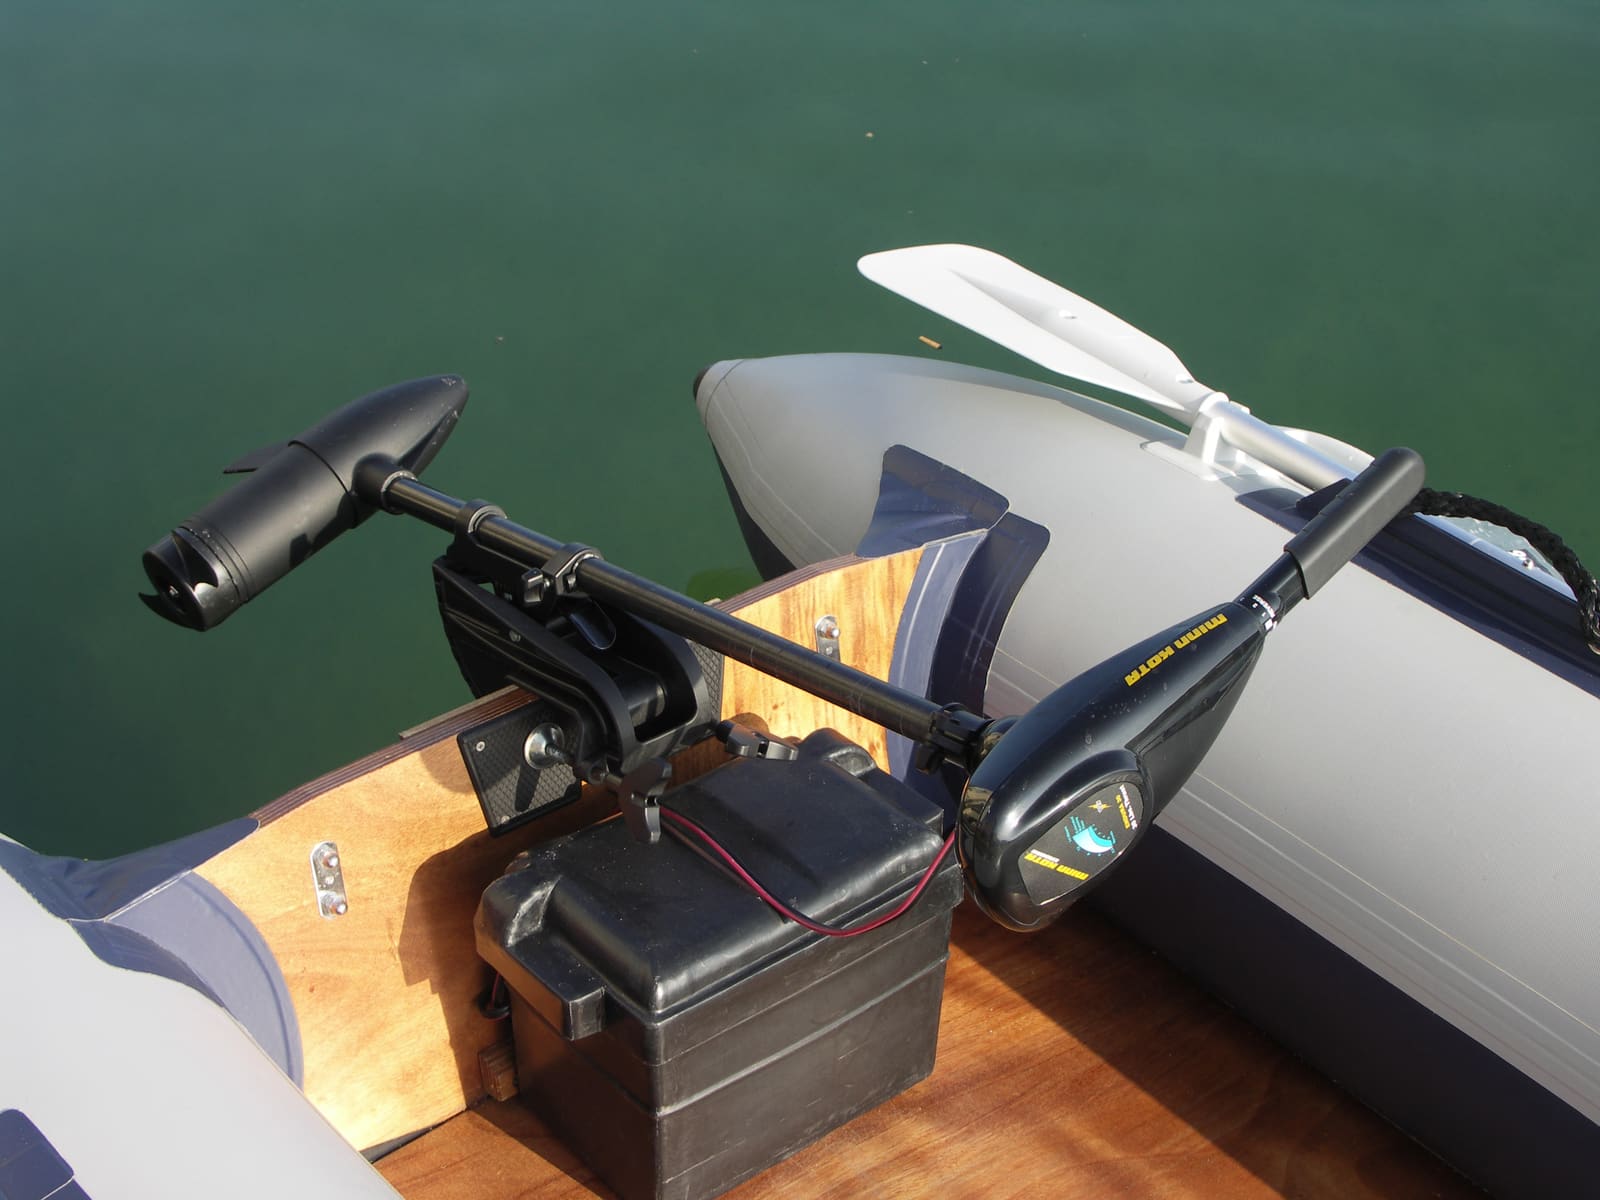
How to Wire a 12, 24 or 36-Volt Trolling Motor and Charge Its Batteries
Set up the battery bank for your electric trolling motor the right way: matched deep-cycle batteries in series or parallel, a circuit breaker sized from the motor maker's chart, a proper plug, and a multi-bank charger that keeps every battery healthy. High-current wiring that runs long distances or ties into other systems is a job for a marine electrician.
Electronics That Reset or Shut Off When You Start the Engine: Finding and Fixing Voltage Sag
If your chartplotter, fishfinder, VHF or stereo blinks off or reboots when you crank the engine or switch on a big load, the cause is almost always low voltage reaching the device. This guide walks from the cheapest checks (battery, connections, grounds) to the real fixes: a dedicated electronics feed, start isolation between batteries, and voltage-stabilizing converters.
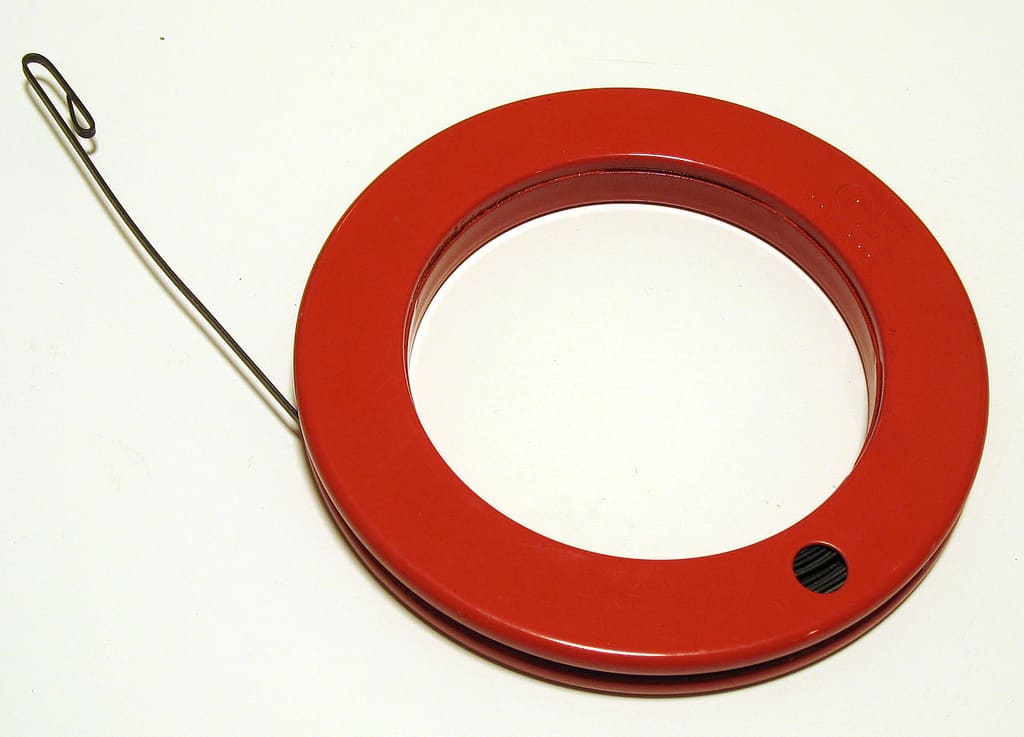
How to Run New Wires Through a Boat (Chase Tubes, Pull Lines and Deck Penetrations)
Get a new transducer cable, light or power wire from the stern to the helm or up through the deck without a fight: use the chase tube and a fish tape or pull string, protect the wire from chafe and heat, support it every 18 inches, seal every penetration and label both ends.

Fuse Keeps Blowing? How to Troubleshoot a Boat Fuse Block or Breaker Panel
Work through a blown fuse or tripping breaker the safe way: confirm it, tell a short from an overload, isolate the device or wire at fault, replace a worn breaker or panel switch with the same rating, and label every circuit, without ever fitting a bigger fuse.